Clean Raspberry Pi Case for Original Prusa Enclosure

Case for the Raspberry Pi inside the original prusa enclosure! Instructions and part list provided!
21
61
1
788
updated January 26, 2023
Description
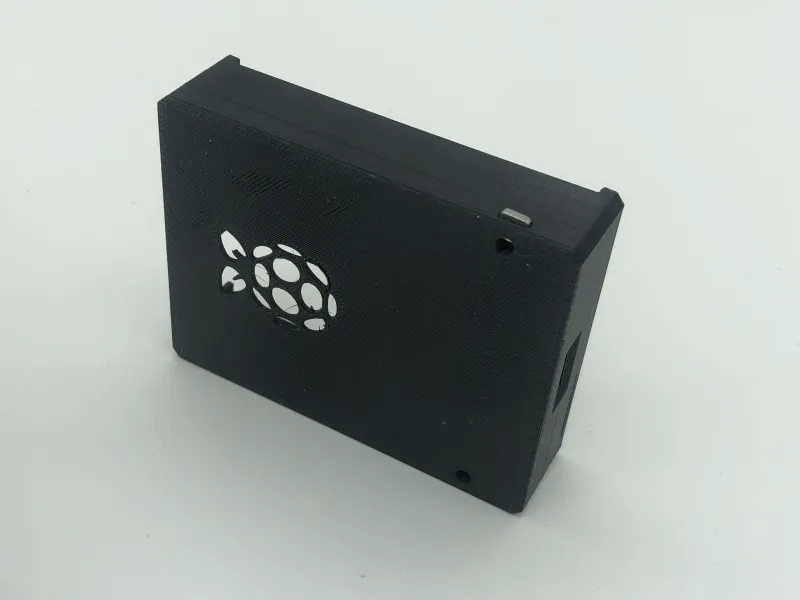
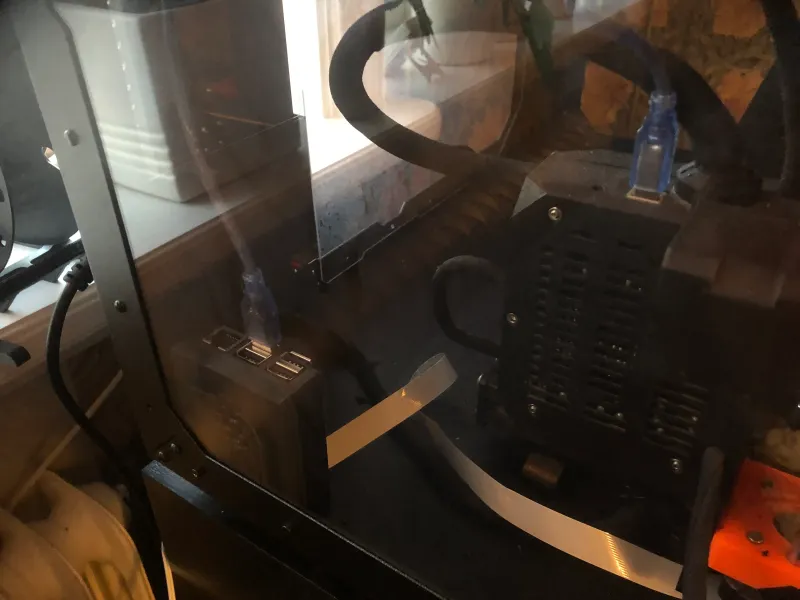
PDFLocated at the back of the enclosure; makes cable routing much easier for both the POWER and USB cable.
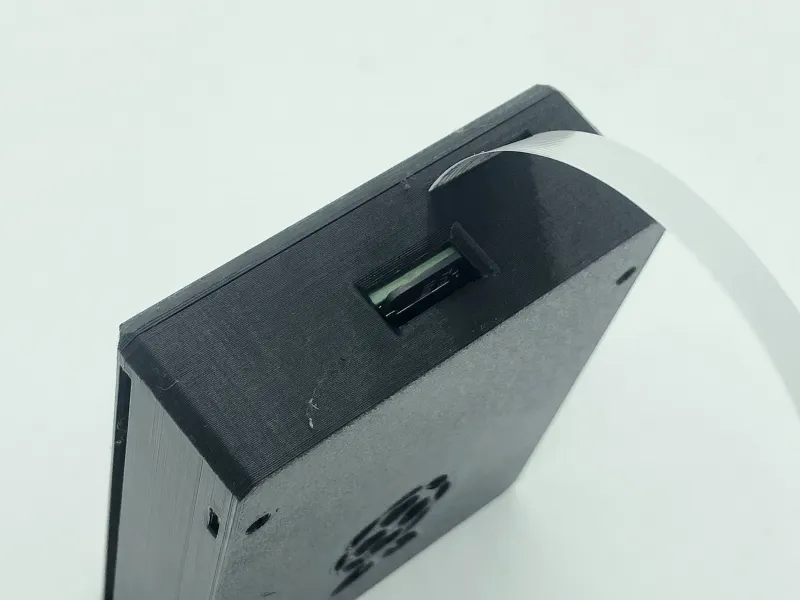
Also supports the raspberry camera cable via slot underneath.
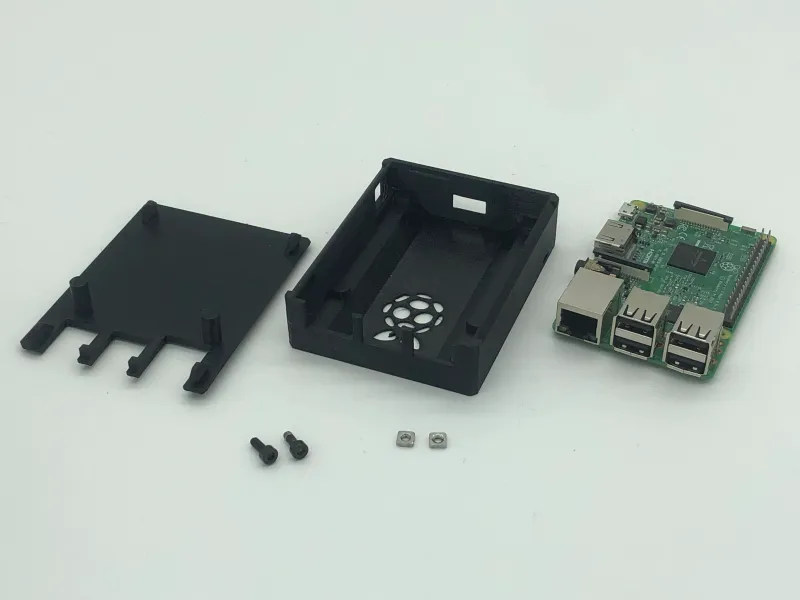
Part list
- PiCase-TOP
- PiCase-BOTTOM
- M3nS nut (2x) - (Prusa spare parts)
- M3x8 screw (2x) - (Included with the enclosure)
Assembly instructions
I strongly recommend installing the Hinged lid (add-on) before assembly. Not only is it a great add-on, it also makes the attachment of the PiCase easier: https://help.prusa3d.com/guide/6-hinged-lid-add-on_354154
Step 1 Nut insertion
- Insert the two M3nS nuts in the PiCase-BOTTOM.
- Using an Allen wrench, push the nuts to insure proper nut insertion.
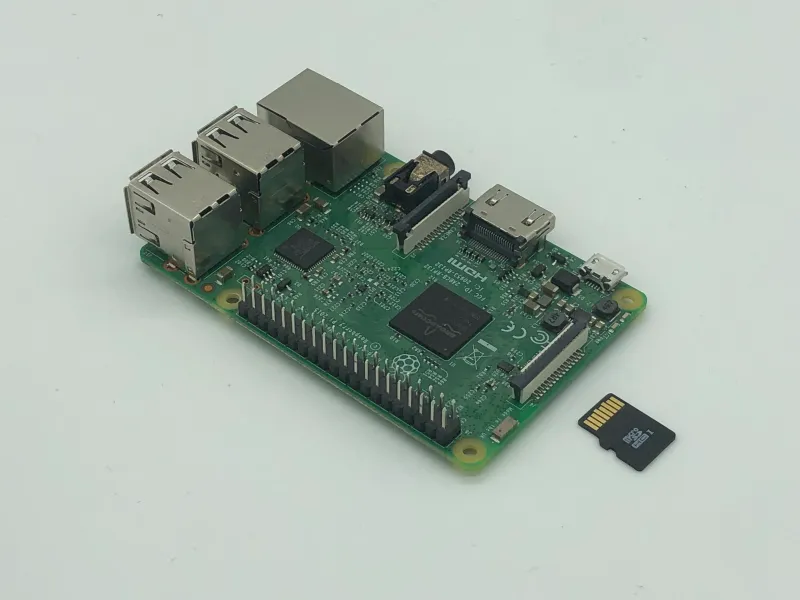
Step 2 Raspberry Pi preparation
- Remove the Micro SD card from the Raspberry Pi. The card will later be inserted again
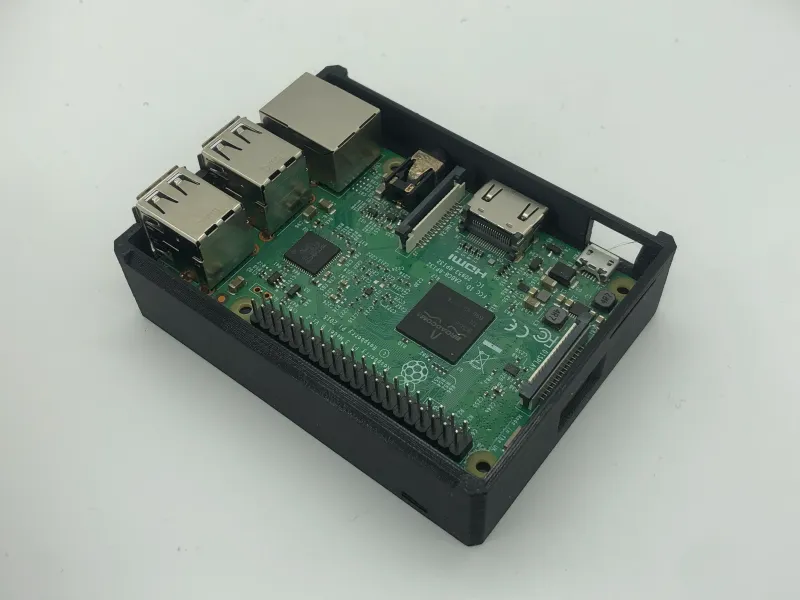
Step 3 Raspberry Pi installation
- Place the Raspberry Pi inside the PiCase-BOTTOM
Step 4 Camera wire connection (Optional)
- Pass the Camera Wire through the slot on the back and connect it to the Raspberry Pi
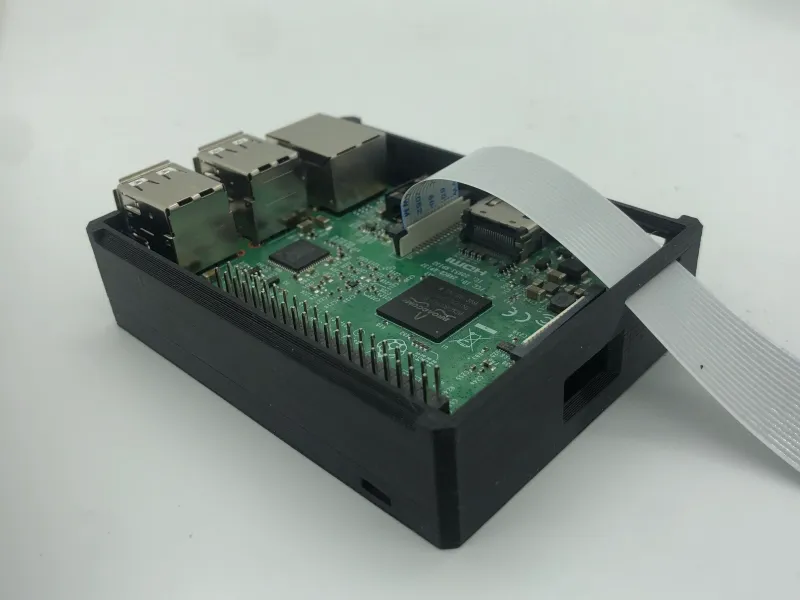
Step 5 PiCase-TOP installation
- Snap the PiCase-TOP on the PiCase-BOTTOM
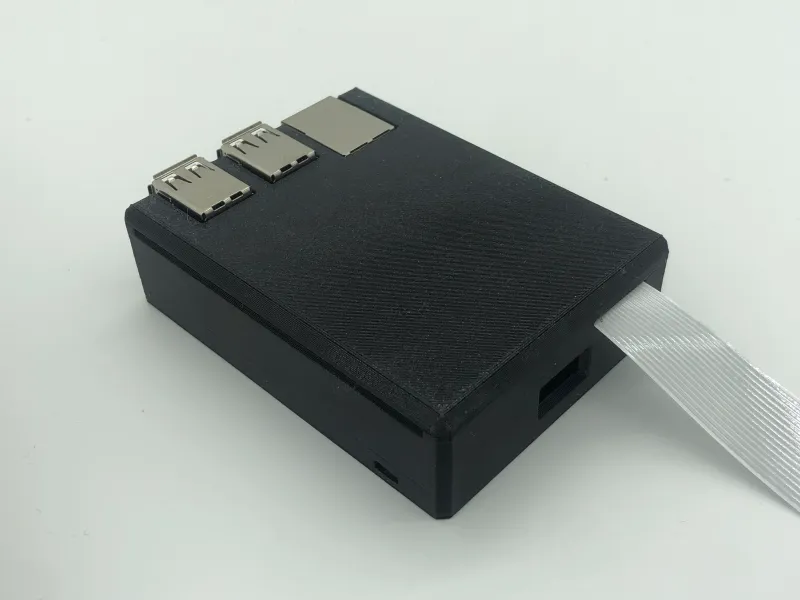
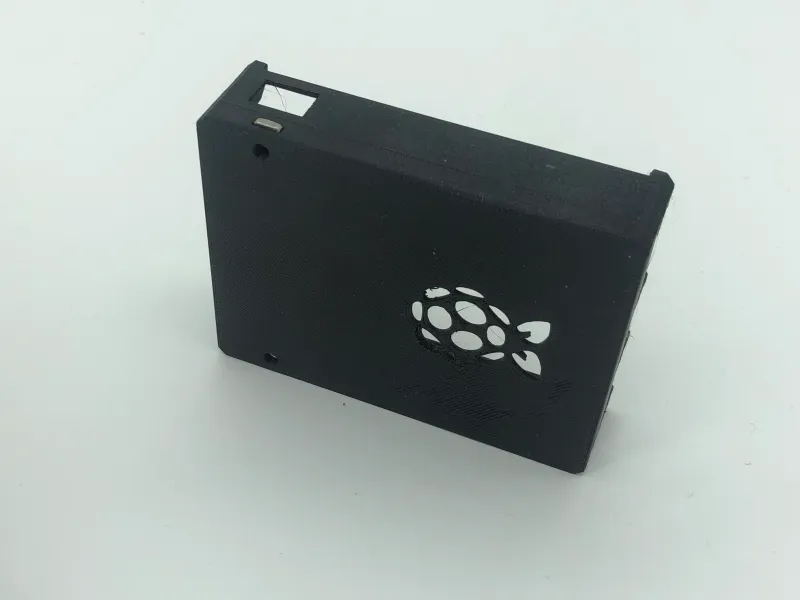
Step 6 Micro SD Card insertion
- Insert the Micro SD Card through the slot on the back
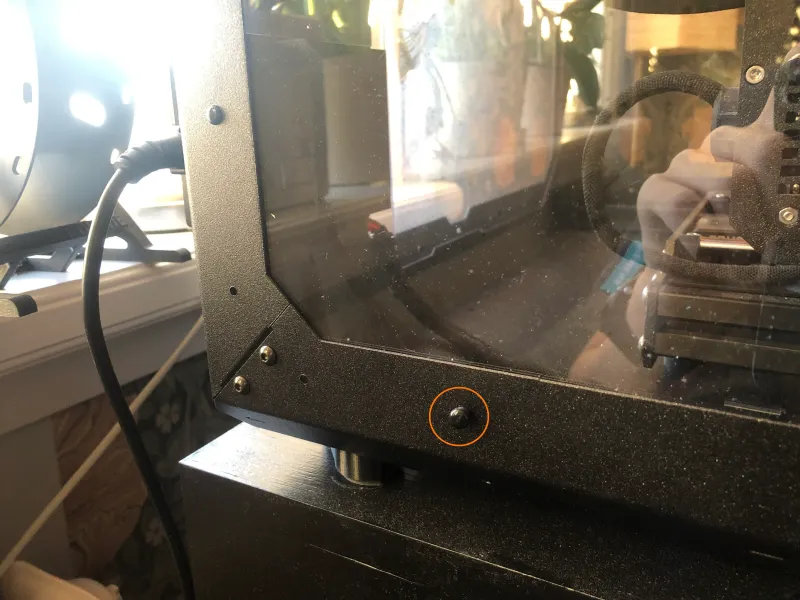
Step 7 Original Prusa Enclosure preparation
- Remove the highlighted nylon rivet.
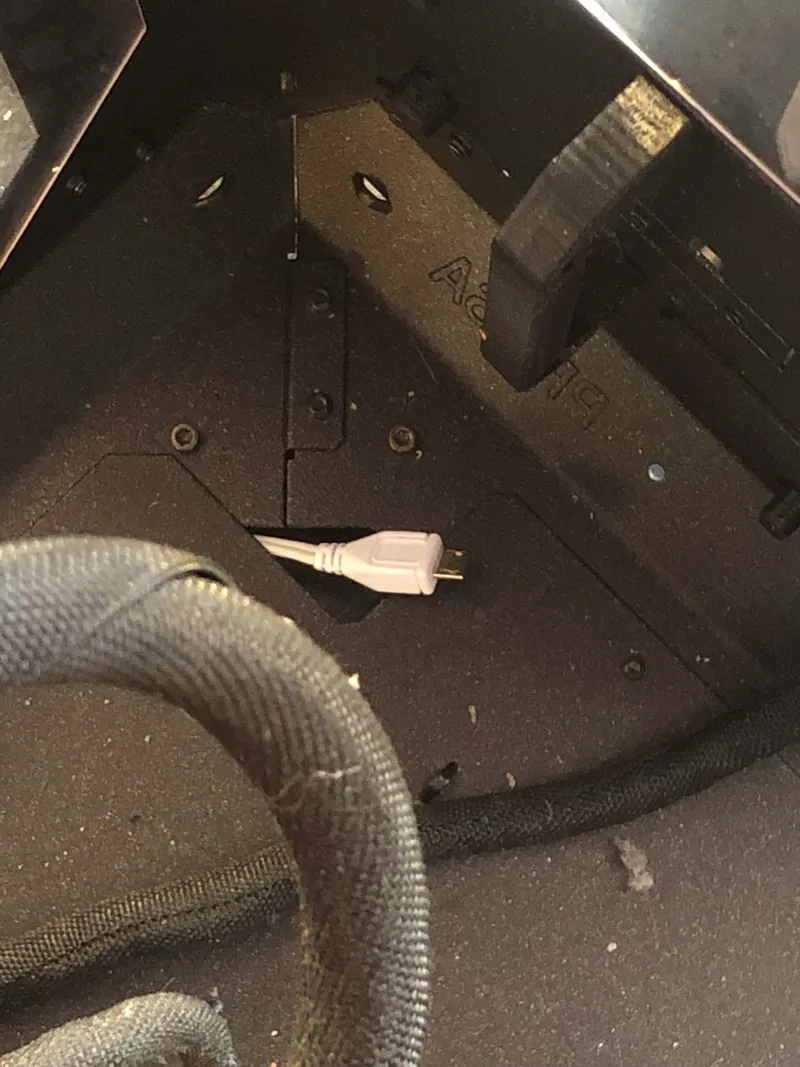
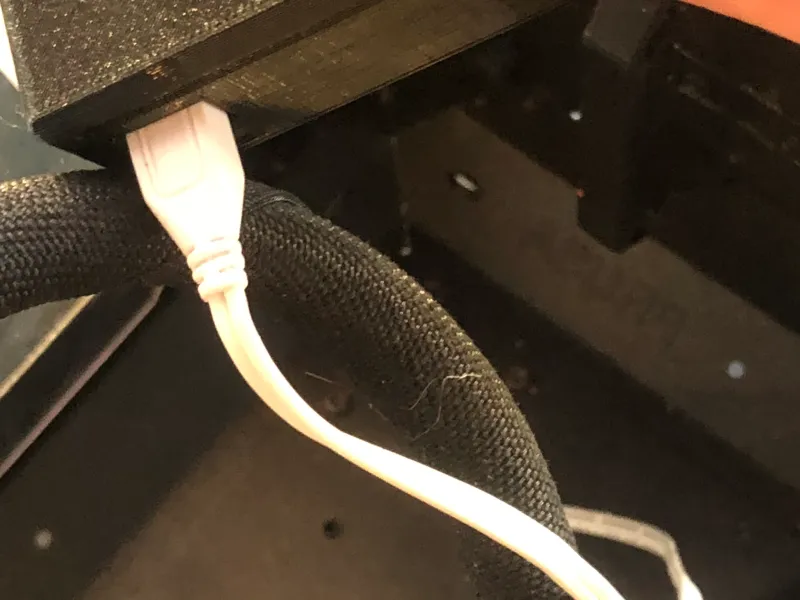
Step 8 Power cable connection
- Pass the Raspberry Pi's power cable through the hole at the back of the enclosure.
- Connect said power cable to the Raspberry Pi.
Step 9 Pi Case installation
- Align the holes on the case with the ones on the enclosure.
- Insert and tighten the two M3x8 screws through the highlighted holes.
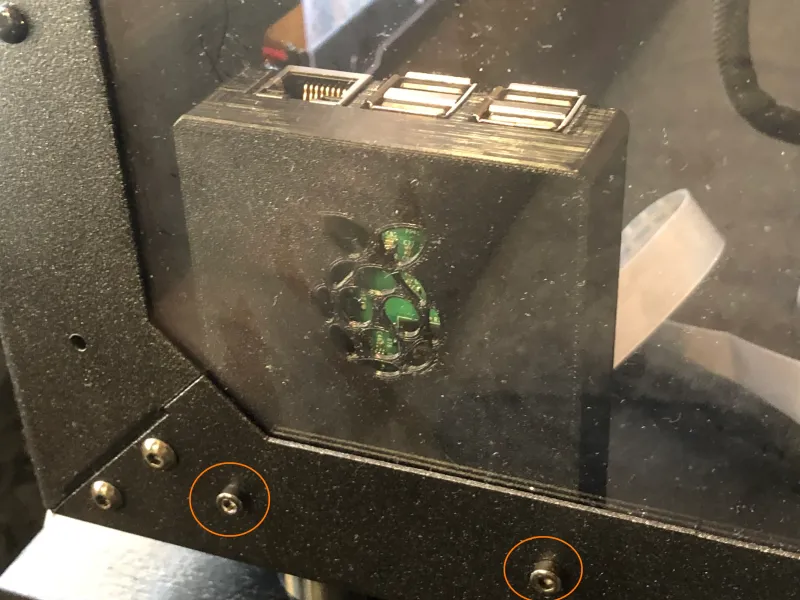
Well done! You have successively installed the PiCase!
Tags
Model origin
The author marked this model as their own original creation.