Raspberry Pi Camera mount for Original Prusa Enclosure

Get the perfect camera angle with this camera mount! Fits the Raspberry Pi Camera V2.
51
245
8
1718
updated March 21, 2023
Description
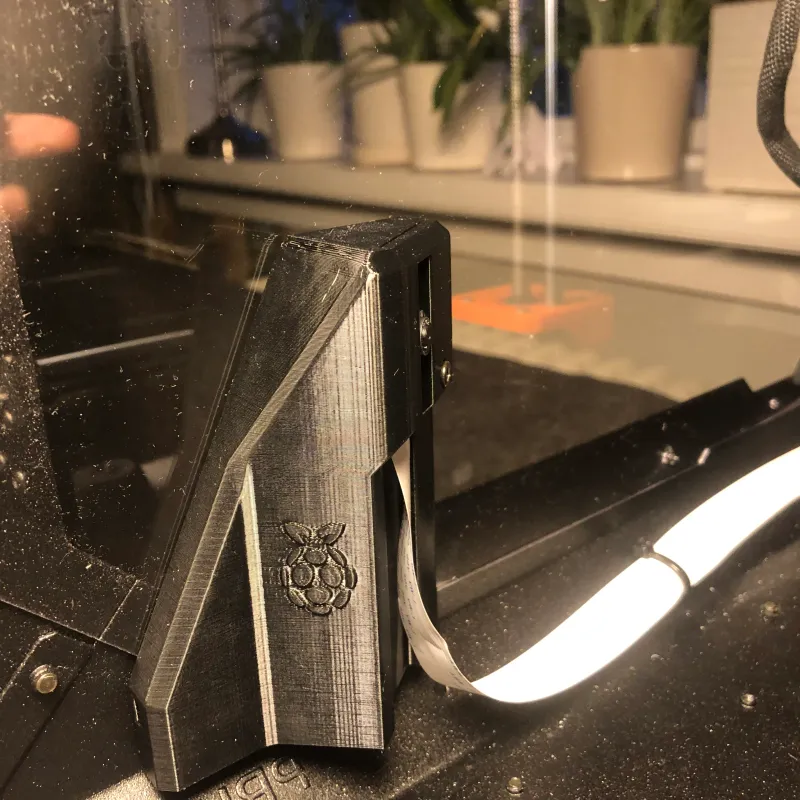
PDFPerfect camera angle!
Doesn't block the light from the LED-addon and supports all the official prusa add-ons.
Fits the Raspberry Pi Camera V2
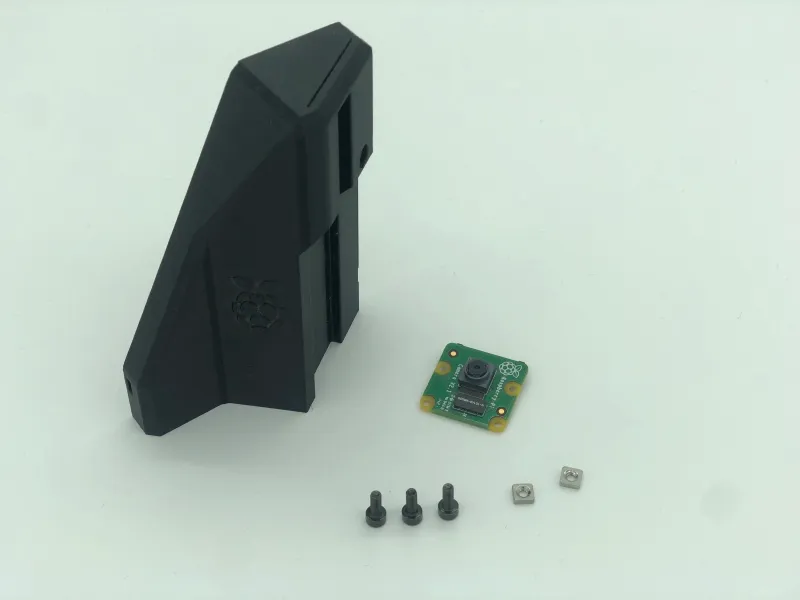
Part list
- PiCameraMount
- Raspberry Pi Camera V2 (and the cable)
- M3nS nut (2x) - (Prusa spare parts)
- M3x8 screw (3x) - (Included with the enclosure)
Assembly Instructions
Step 1 Nut insertion
- Insert the two M3nS nuts in the PiCameraMount.
- Using an Allen wrench, push the nuts through the slots to insure proper nut insertion.
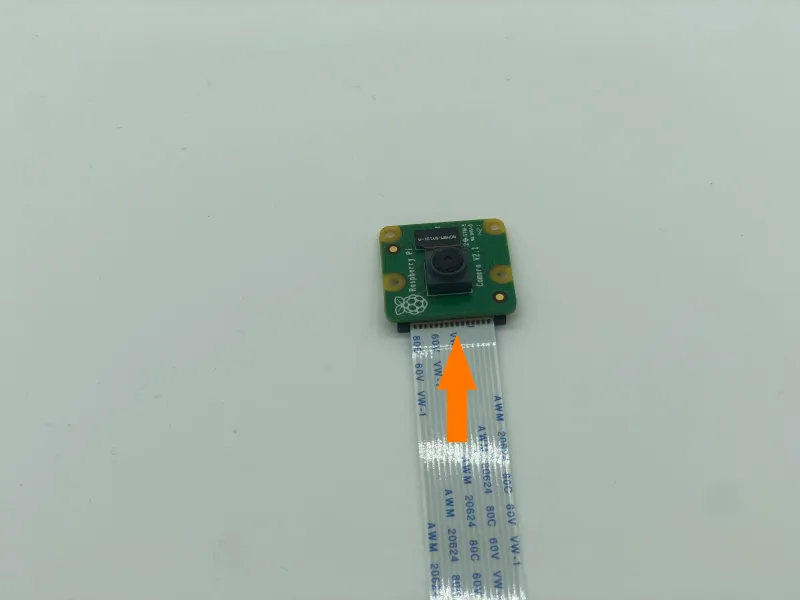
Step 2 Camera preparation
- Connect the Raspberry Pi Camera with the cable.
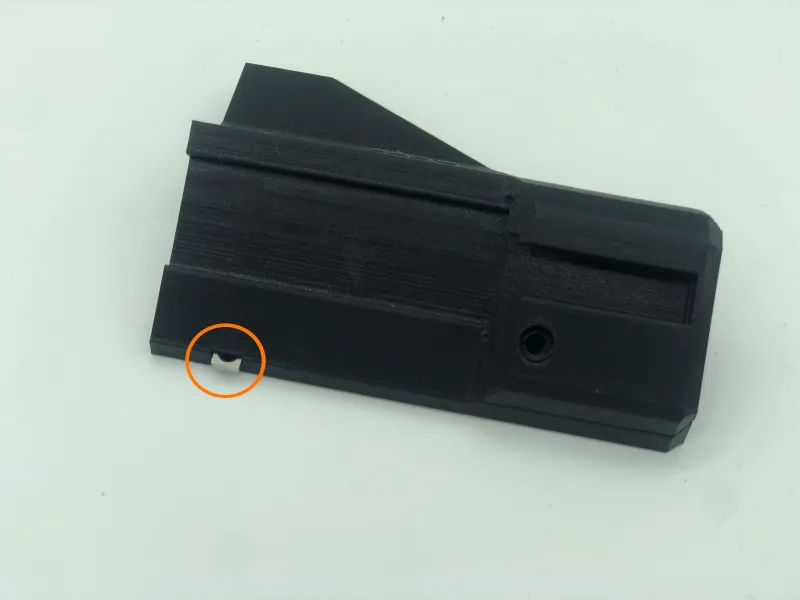
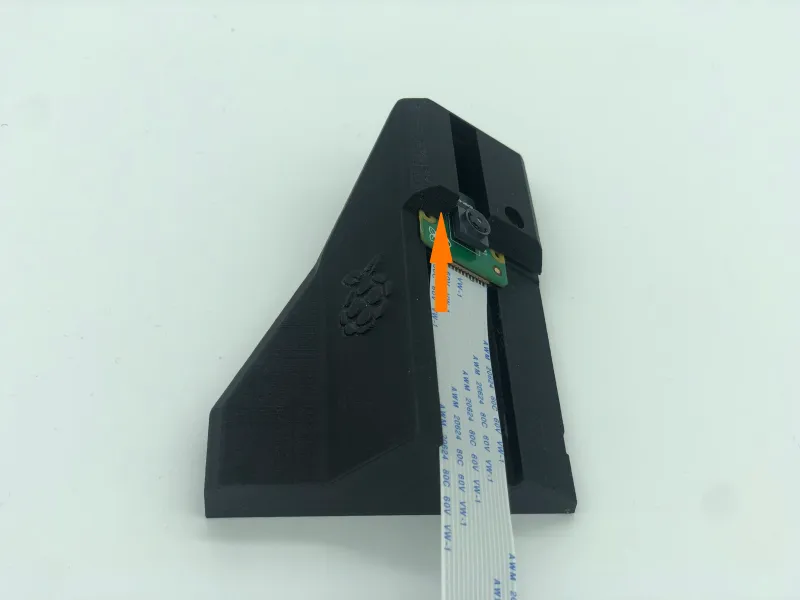
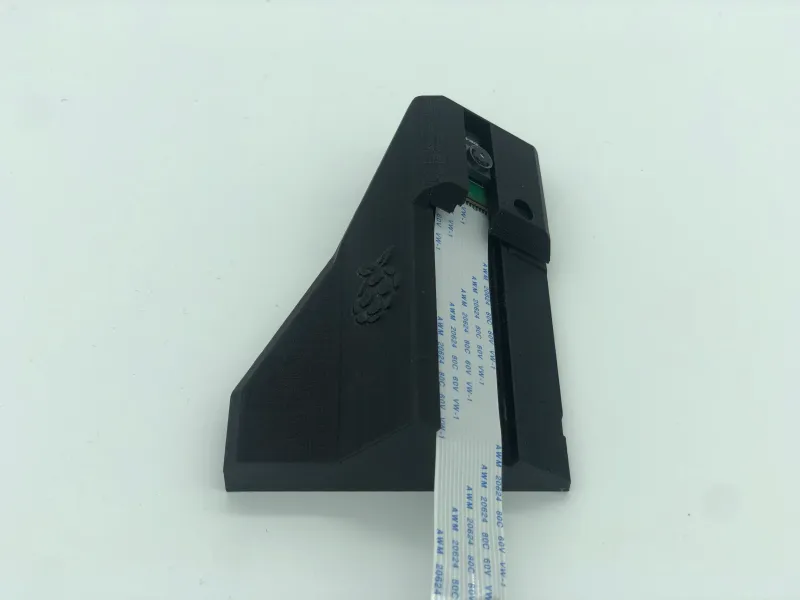
Step 3 Camera installation
- Slide the camera inside the PiCameraMount.
- Secure the camera with a M3x8 screw in the highlighted hole.

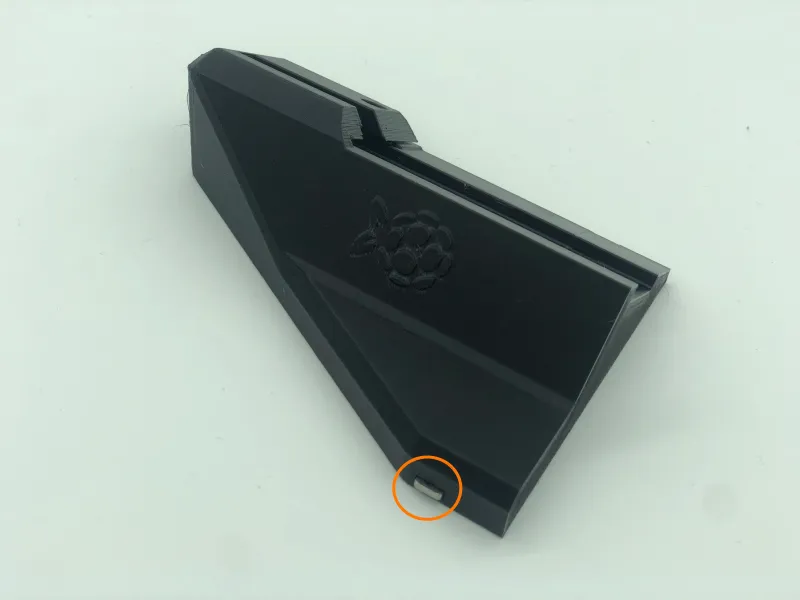
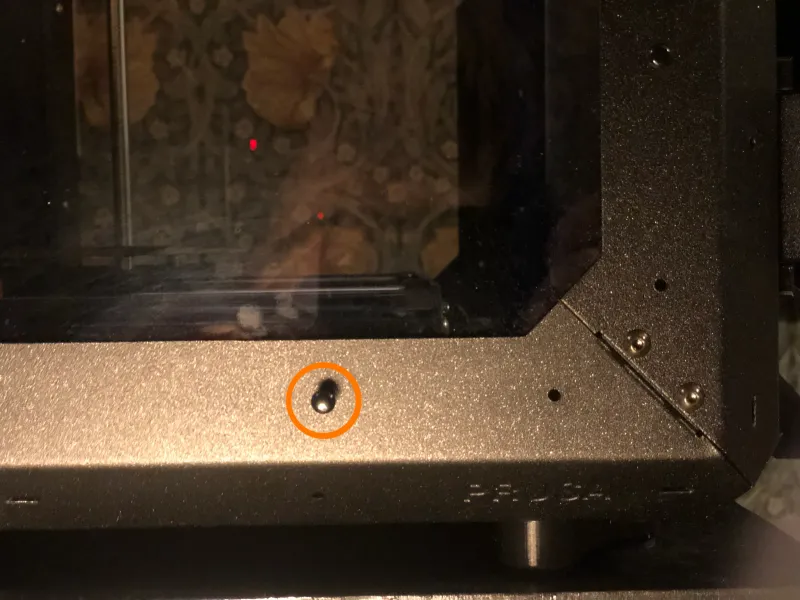
Step 4 Enclosure Preparation
- Remove the nylon rivet located highlighted in the picture.
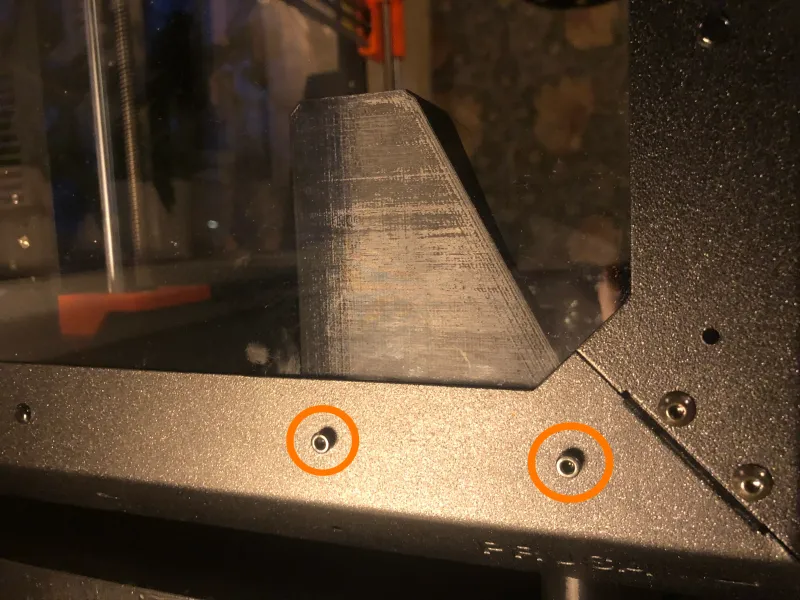
Step 5 PiCameraMount installation
- Align the holes on the PiCameraMount with the ones on the Enclosure.
- Secure the mount with two M3x8 screws.
Well done! Please post a make of your mount!
Tags
Model origin
The author marked this model as their own original creation.