


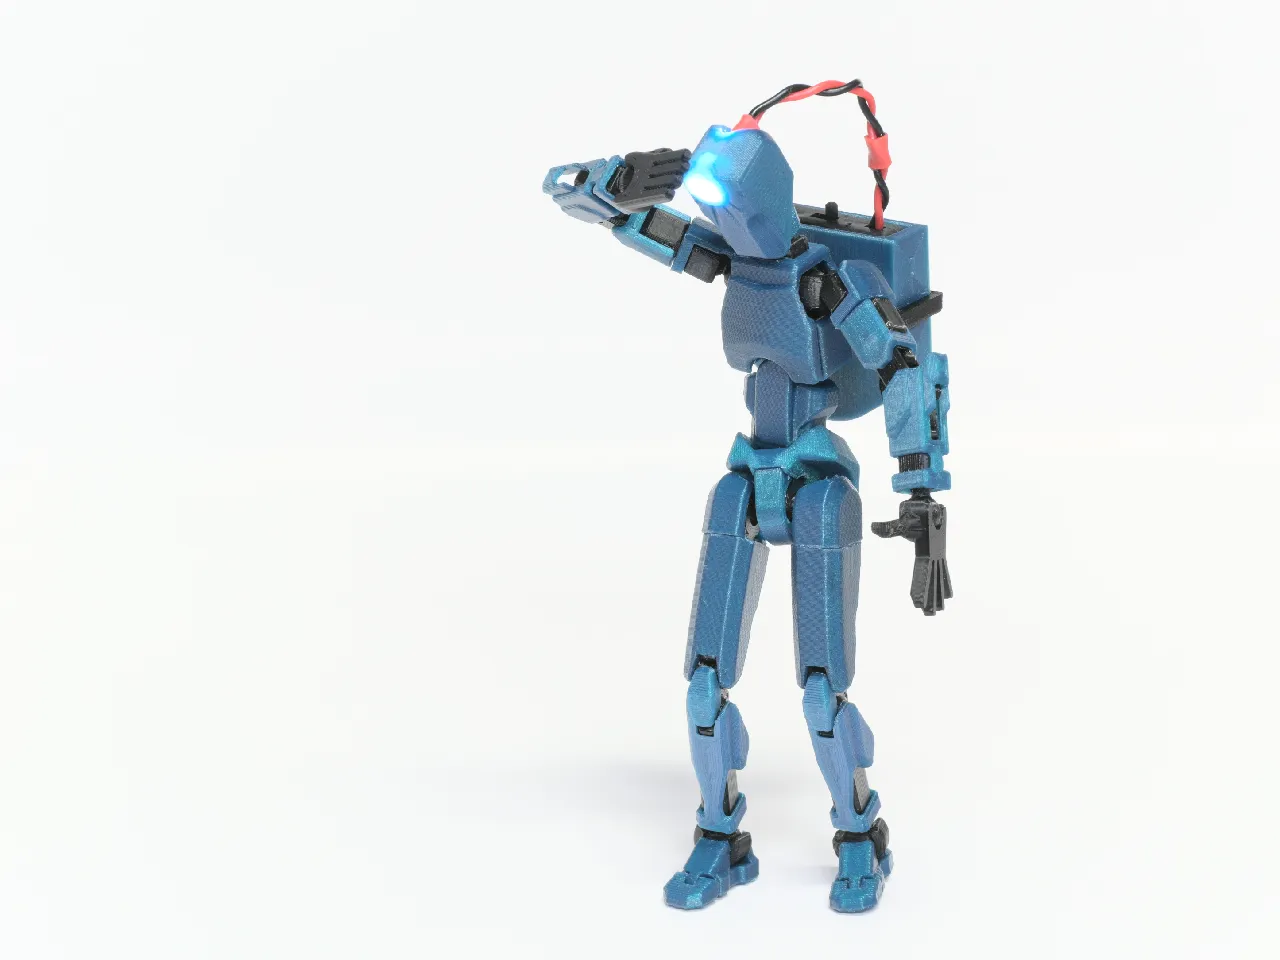

love the red light looks sick


Printed in PETG. Some of the tolerances were a bit tight for my printer so I had to do some filing to make everything slide smoothly but worked well, nice design.

View one more comment
I haven't printed any of the threaded parts yet but I can give them a try and see how they work in PETG. I mostly used that out of laziness and a little bit for the extra thermal protection for soldering etc.
@BrendanO_1373793 If you are using thin wire gauges for hobby electronics (like Arduino for example), I don't think you have enough heat to require the entire assembly to be heat resistant. (The metal in the wires will want to take up most of the heat.) If you use a blower or hot air, that is completely different.
Looks very great but as @kyleobrien_222264 mentioned they are very difficult to understand which parts for what. Photos also looks very good for finished products. Hope you can write - draw - classify 3mf files to understand easily.
@wertasd_654632 Yeah, I'm still working to get the right balance. Thanks for your patience with the long list of parts.


@FlyingGyroscope, firstly, love the design. Would you be willing to upload the STL files? I would like to make a few modifications, unless you would like to make them yourself.
The first would be to include a notch in the bottom of the J hook so that it has 2 claws instead of one long one. This would enable better speaker and microphone compliance.
The second is on the M5 nut cutout that would be nice to extrude for a larger grab of the nut (even the ability to glue the nut on).
Finally, to experiment a little with the idea of ribs in the joint so that there isn't the need for as much friction as the stand would click into place. This is likely going to be more difficult to do and perhaps it is only a few options that would be needed. It also presumes that friction fitting does not work well enough.
View 6 more comments
@FlyingGyroscope you are right, no ribs needed on the joints, and after printing I realized that the nut image I was looking at was not where the nuts actually go (found the slot). Works wonderfully. I added the hole to make a notch in the holder and it has worked really nicely. First printed a Medium and then a Small. The Small does great for an iPhone 12 Pro.


@PeterSchneid_2425253 I'm happy to hear it turned out great.

I went to check the printed screws but didnt understand what I was supposed to do, I have to download the f3d files and setup my own screws, but what is the measures?
View one more comment
@FlyingGyroscope Thank you, I will print and come back with results


Exactly what I needed and looks beautiful printed in ABS on an effects plate.
I did print the new ones and apparently still have old patter spools, but that's no bother. These are for a machine at my day job and I'll simply print a few more of the old style as well.

@CVABuck Thanks for my first make. That effect does look pretty cool. Do you find that ABS sticks to it the same as regular PEI flexplates? Do you need gluestick?
@FlyingGyroscope I didn't have any adhesion issues at all with this, or a lightswitch cover that I did. Glue stick will fill the microscopic interference patterns and prevent the effect from imprinting on the print, so I just cleaned real well with IPS before printing.


It was my first time working on somebody else's model in fusion, but it came out the way I imagined it. Looks good and works perfectly.


Hello ! Not only does the design look great, but the print itself looks great too. What is the reference of this grey filament ?
@PO_334770 https://us.polymaker.com/products/polylite-pla-pro?variant=39574346399801. I print at 213 C and 40 mm/s external walls with a Revo Highflow.
@FlyingGyroscope Well that's excellent, thanks ! This will be the perfect opportunity for me to finally try some PLA-pro. Looking forward to it :)


The scraper works very well and really is ergonomic. I've printed it in Esun PLA and it looks perfect.


Love the Gridfinity base option! It lets me create a really nice soldering station.
I would supply more detailed instructions on how to assemble this, as I took a lot of time examining the photos, but I managed eventually.
Thanks!


@nurdok_952765 Thanks for my first make, and I appreciate the honest feedback. I thought the same thing as I was playing with CAD over the holidays. I have an update coming "soon" and it will use substantially less fasteners.


updated link for the dehydrator: https://www.amazon.com/Rosewill-Countertop-Dehydrator-Adjustable-RHFD-15001/dp/B018UR4XJI?th=1
@TominMN_192895 Thanks for catching the broken link. I try to proofread, but I didn't think to click all the links. I've edited the description.


Just a bit of self promotion - I've made a very simple funnel to simplify the loading process. https://www.printables.com/model/628621-simple-nevermore-micro-funnel

I really like the Nevermore Micro filter. I'm using an older version in my Trident, so when I finished building my Salad Fork, I immediately went to see what the latest version was.
The new Nevermore Micro V6 design is really an improvement in many ways. However, I found the "jalousie" to be frustrating and problematic. After following all the instructions, including the jalousie-specific print setting suggestions, and printing all parts on a well-tuned printer in quality ASA, my jalousi broke the 4th time I tried to open it. I understand the desire to have a screwless design, and the jalousi design looks cool, but it's fragile, and is almost certainly going to break at an inconvenient time, and it provides no practical benefit over something like a snap-fit lid.
So I resigned myself to remixing the design to get rid of it. Then I noticed someone posted this remix on the Voron Discord. The design is simple, elegant, and 100% functional. I hope the Nevermore guy abandons the jalousi and adopts this design, because this is superior in every way.
Kudos to the author for providing the CAD file, although I would prefer the actual sources (like Fusion 360) rather than just .step.
With this in place, my only remaining quibble with the Nevermore Micro V6 is the heatset insert without sufficient surrounding plastic in the plenum. I plan on fixing that myself. (edited)

View 2 more comments
@motocoder It was not my intention to make you go back and edit anything, or censor anything you said, or tell you what to say. Only a small portion of people that download this model leave a comment or rating. You had taken time to leave a positive review. I just wanted you to consider also taking time to say something to the original designer. You were, and still are, free to be critical in your review.
(deleted)