Stand, Holder for Phone and Electronic Screens (Adjustable, Folding, Strong)

Description
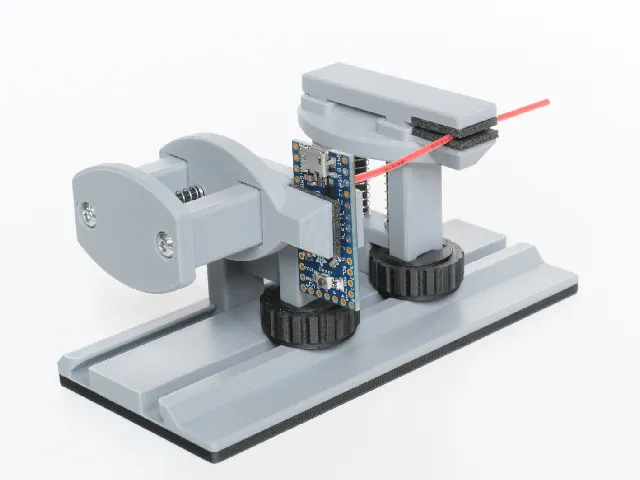
PDFThis stand holds an electronic screen at any convenient angle. It is sturdy, easy to assemble and print, and folds up for storage.
Small sizes can fit in your pocket, and the largest size can hold a tablet. It can also accomodate handhelds like a Nintendo Switch.
Which Size Exactly?
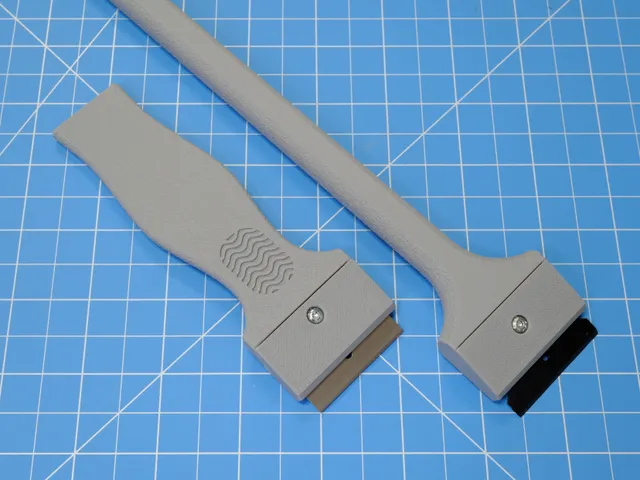
The curved endstop at the bottom comes in two versions. Thin (diameter = 14 mm) is sized for a typical modern smartphone. Thick (diameter = 19 mm) is sized for larger electronics and phones with cases.
Pick a large stand for increased stability or a small one for faster prints and convenient portability. If your stand will be on an uneven surface, medium is a good place to start. (Try medium with a thick endstop for a Nintendo Switch.)
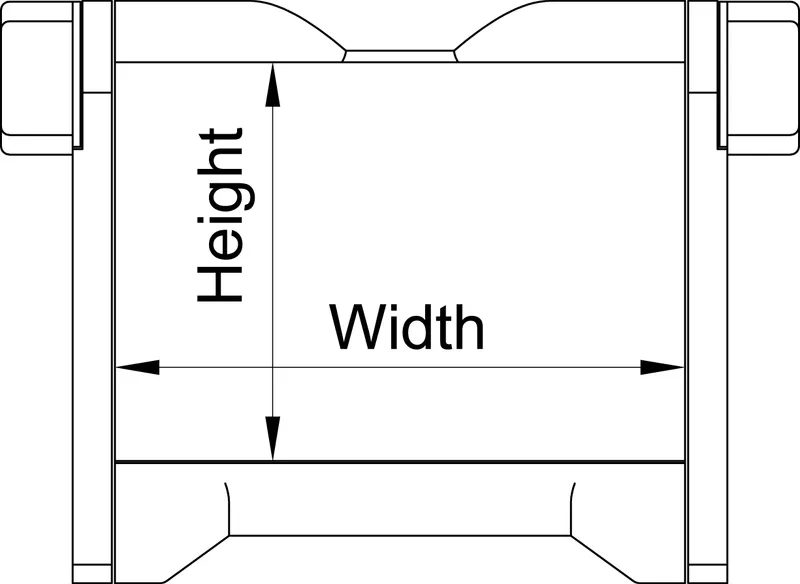
| Height | Width | |
| Small | 40 | 55 |
| Medium | 55 | 70 |
| Large | 70 | 90 |
| Jumbo | 105 | 115 |
Note that Height (as labeled in the drawing above) includes the usable space that your phone actually touches. The overall height of the printed parts is certainly larger than this value.
Metal Fasteners
Metal fasteners make the strongest and easiest to adjust hinge. You can use M5 or ¼-20 socket head cap screws (SHCS).
- (2) M5x16 SHCS and (2) M5 hex nuts, or
- (2) ¼-20 x ¾-inch SHCS and (2) ¼-20 hex nuts
The screws will cut threads into the printed knobs for a tight fit. Use some glue to make the connection permanent.
Printed Threads
You can also make printed fasteners for a fully printed project. (Thread template here: https://www.printables.com/model/989431-custom-threads-for-3d-printing-parametric.) I have a few recommendations below.
Tune your seams! Bulging seams cause binding and excess friction. I have success printing threads with thin layers (0.1 mm), scarf seams, and random seams. Printing external perimeters first can also help.
The test print uses a standard tolerance with the bolt labeled Bolt_D. If you want to chase the perfect fit, you can dial in your slicer/printer settings or print alternate bolts.
- A is the tightest fit (smallest tolerance)
- H is the loosest fit (largest tolerance)
The steps in clearance are pretty small, so move up or down several sizes if your test threads did not work. Shift one size to fine tune the perfect amount of friction.
Thanks for visiting, and enjoy!
Minor update: Fixed the bottom chamfer on several models, and adjusted some sizes after more testing. Adjusted the brace for a more consistent appearance between sizes.
Major fix: Thanks to Luigisvc for pointing out that some files were missing from the downloads. The printed bolts are now back where they belong.
Tags
Model origin
The author marked this model as their own original creation.