Circular Sock Knitting Machine for my MOM and YOU!


Description
PDFWe now have a Version 2 Sock Knitting Machine Legare style with Ribber and Yarn Stand. Please check it out.
https://www.printables.com/model/355228-circular-sock-knitting-machine-for-my-mom-and-you-
~~~~~~~~~~~~~~~~~~~~~~~~~~~~~~~~~~~~~~~~~~~~~~~~~~~~~~~~~~~~~~~~~~~~~~~~~~~~~~~~~~~~~~~~~~~~~~~
I LOVE YOU MOM YOUR THE BEST MOM EVER! Please give my mom a HEART!!!
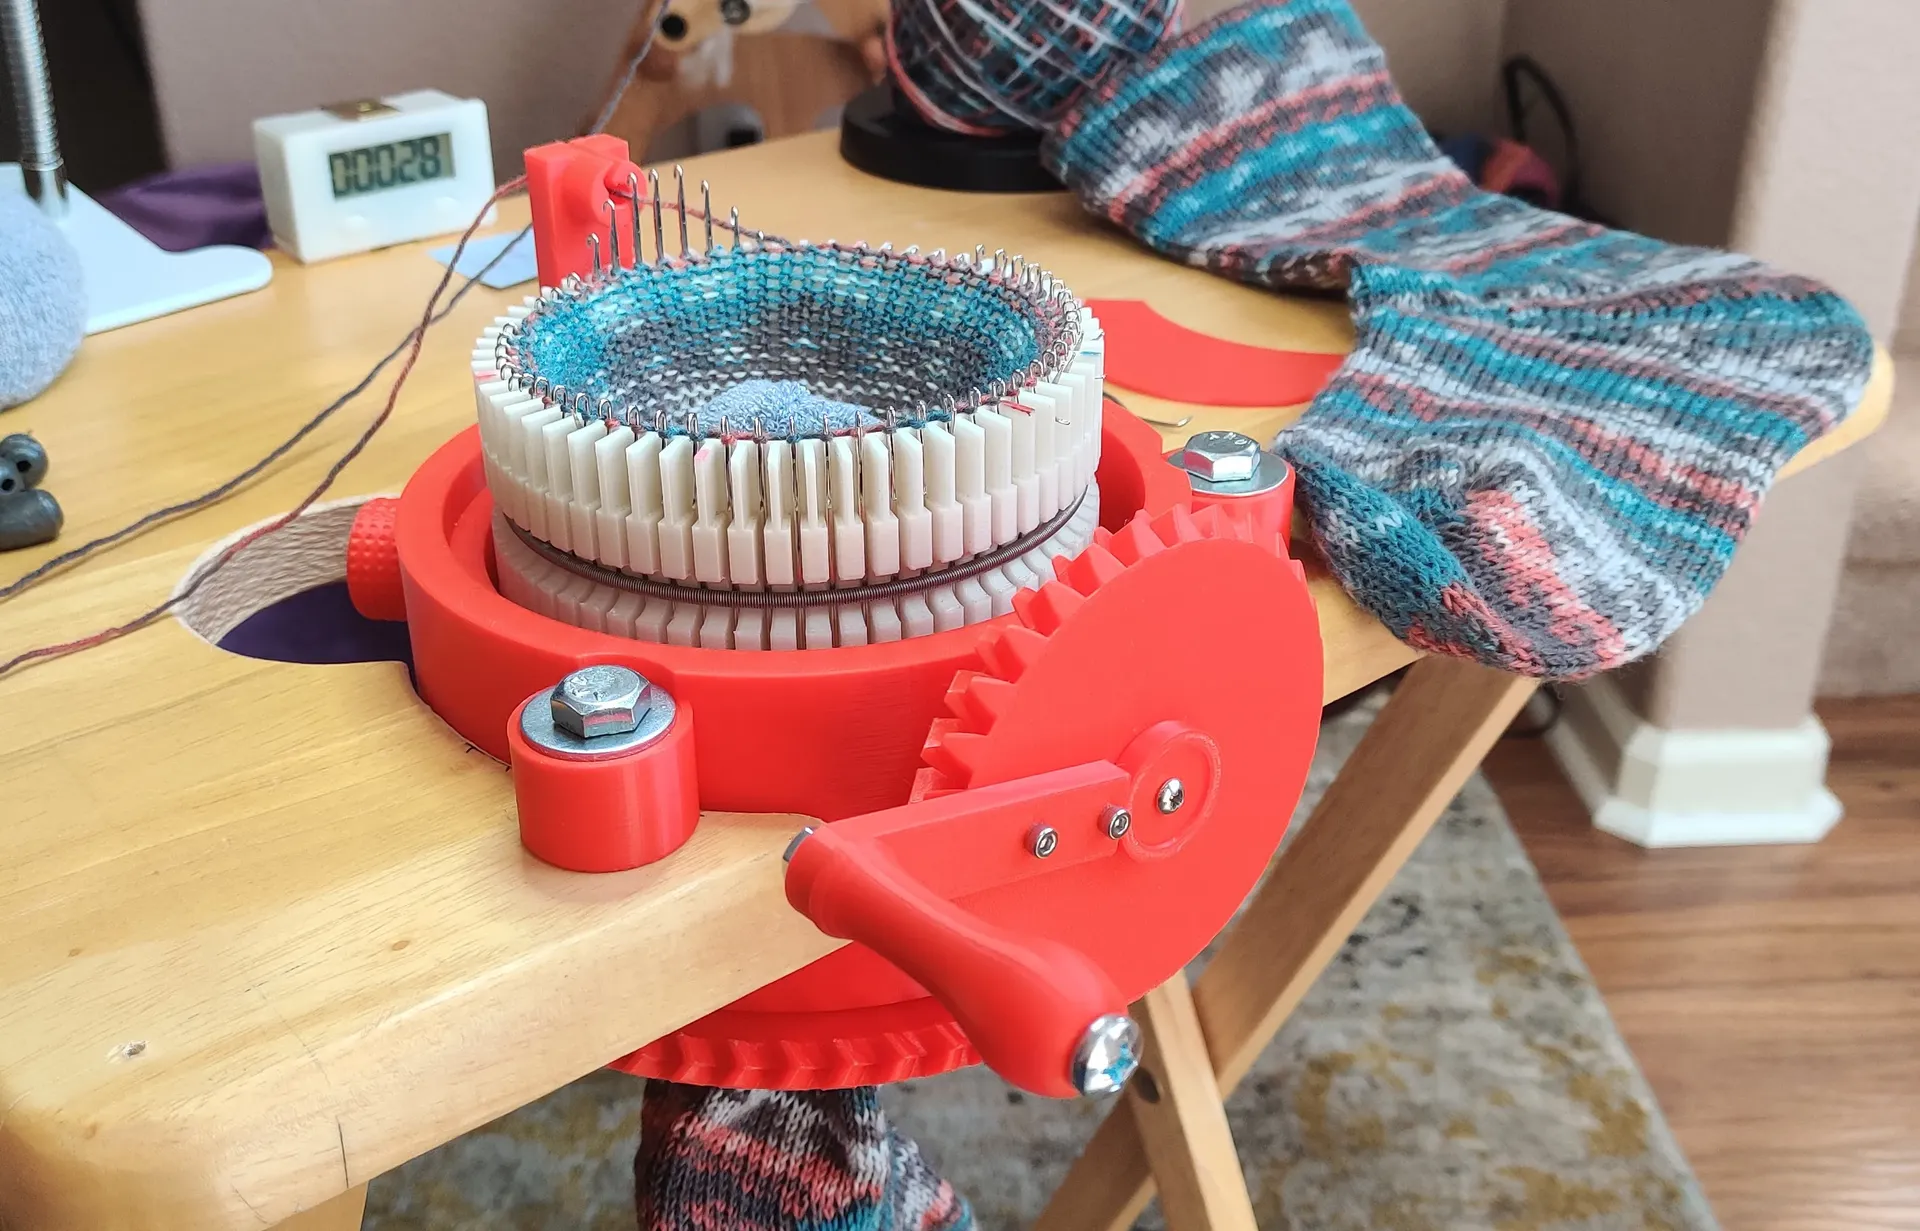
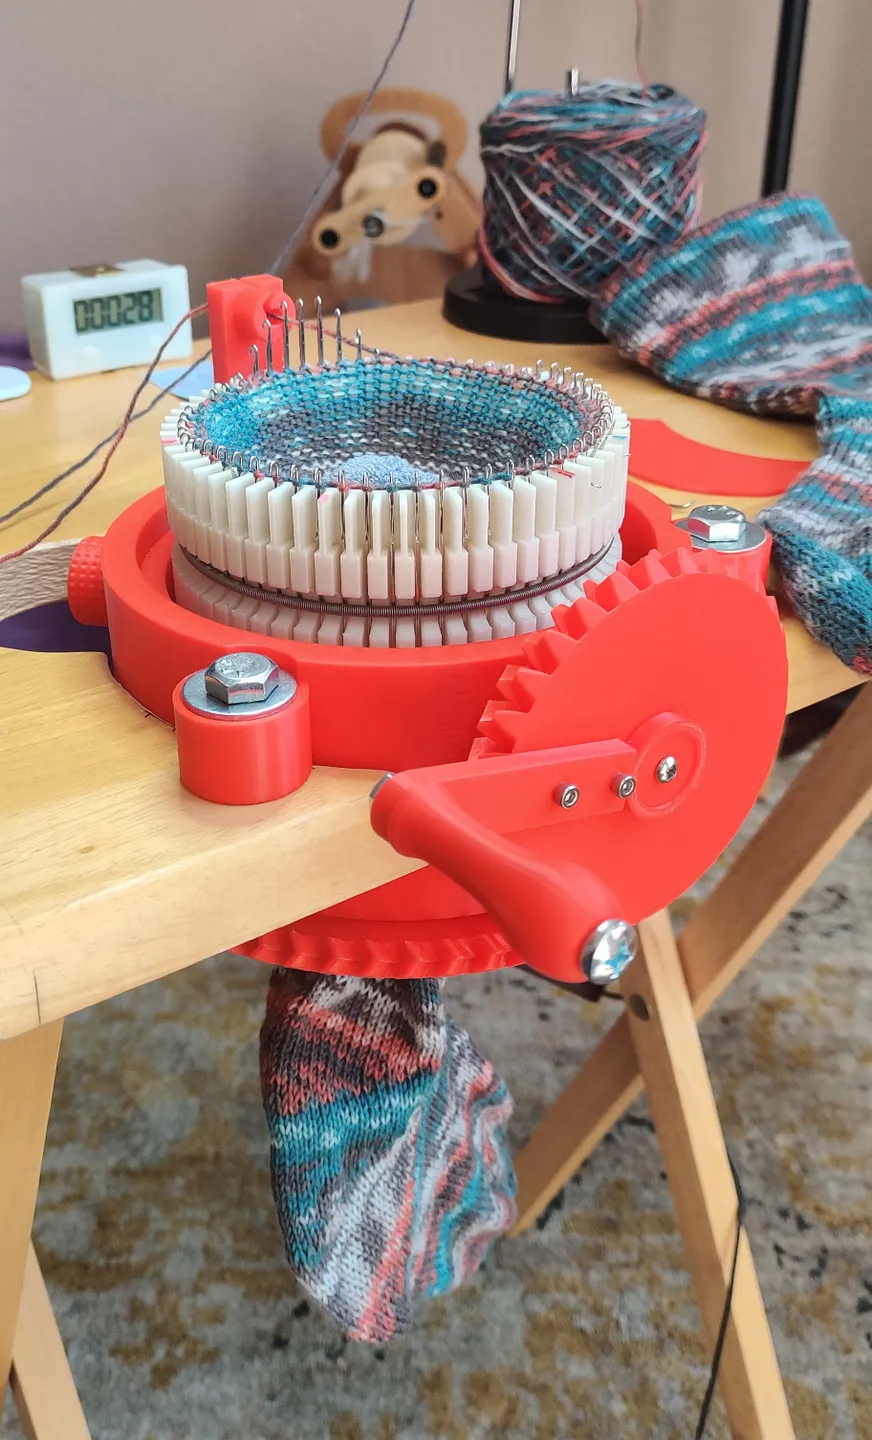
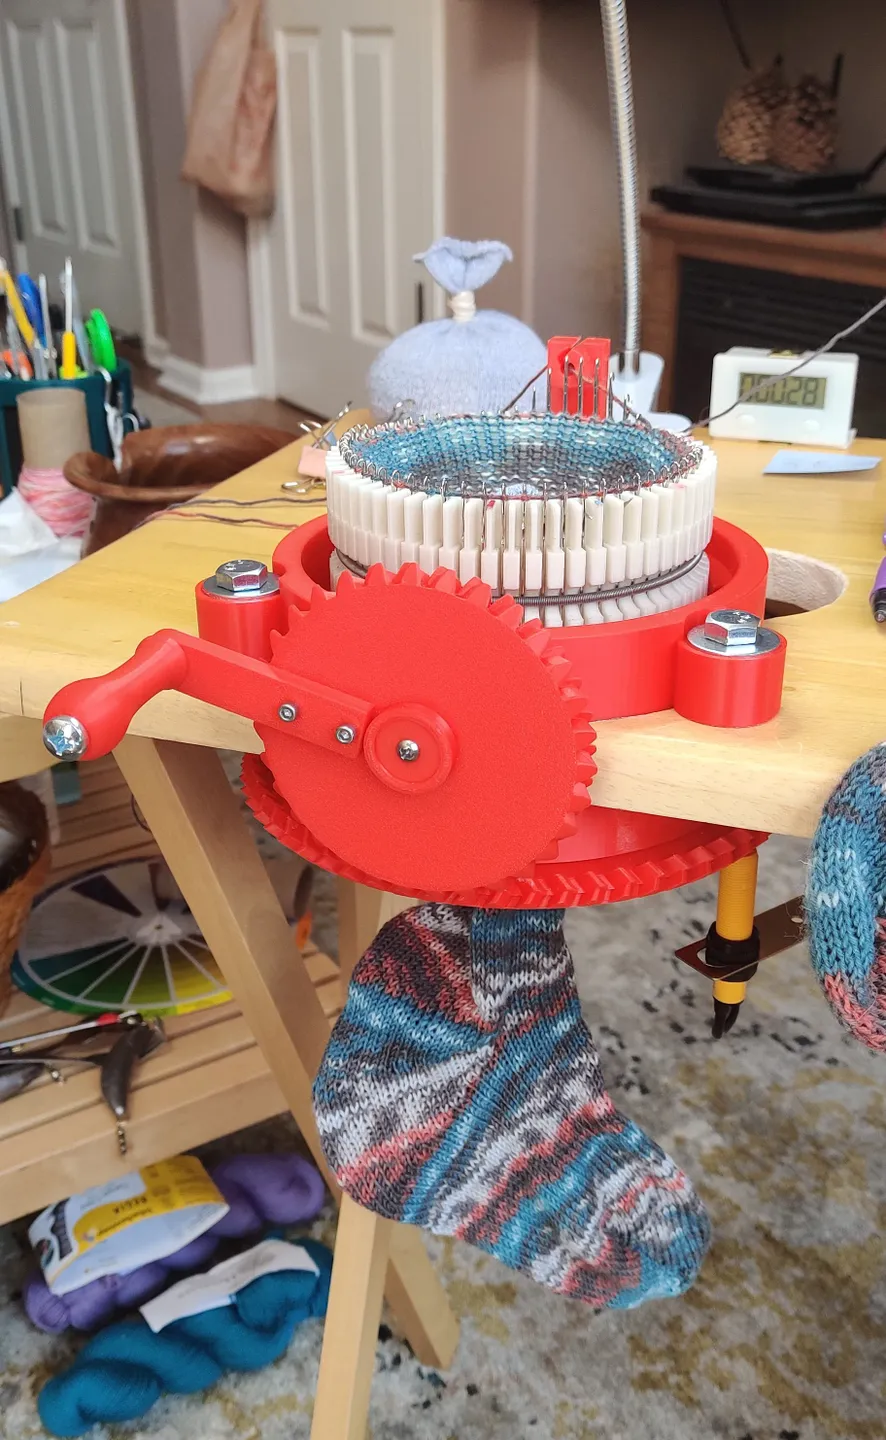
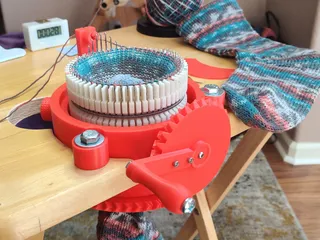
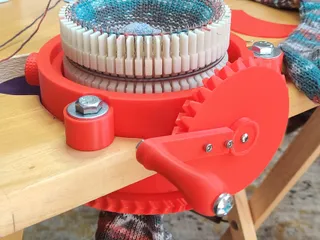
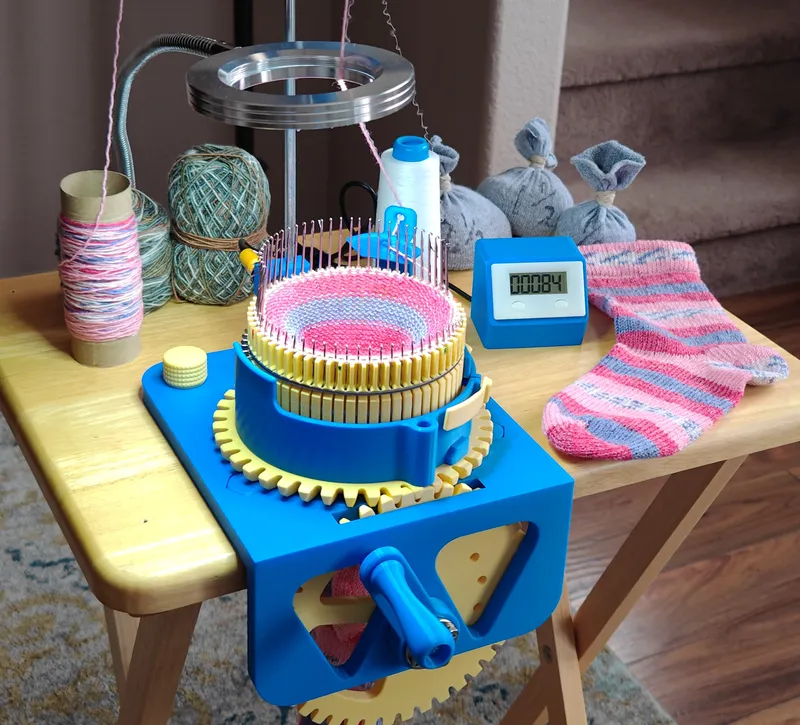
My Mom is a very skilled seamstress. She saw this circular sock knitting machine and I printed it out for her. She was so excited to know I could make this for her. We worked on upgrading it with everything she wanted.
She is always sewing and knitting and making things for other people. She more than deserved this.
I combined a lot of upgraded parts and I redesigned parts whenever my mom wanted some changes. She is the expert in sewing and knitting. I can't comment on using the machine. She combines decades of sewing and knitting experiance and YouTube (Dean and Bean's Sock Machines as a referance) to become good at using this machine and makes wonderful socks very fast.
This is a complex print and it requires some assembly, the assembly is very simple. It takes 10 minutes to assemble.
Using the machine has a VERY high learning curve.
All the upgrades I have done as per my Mom's requests!
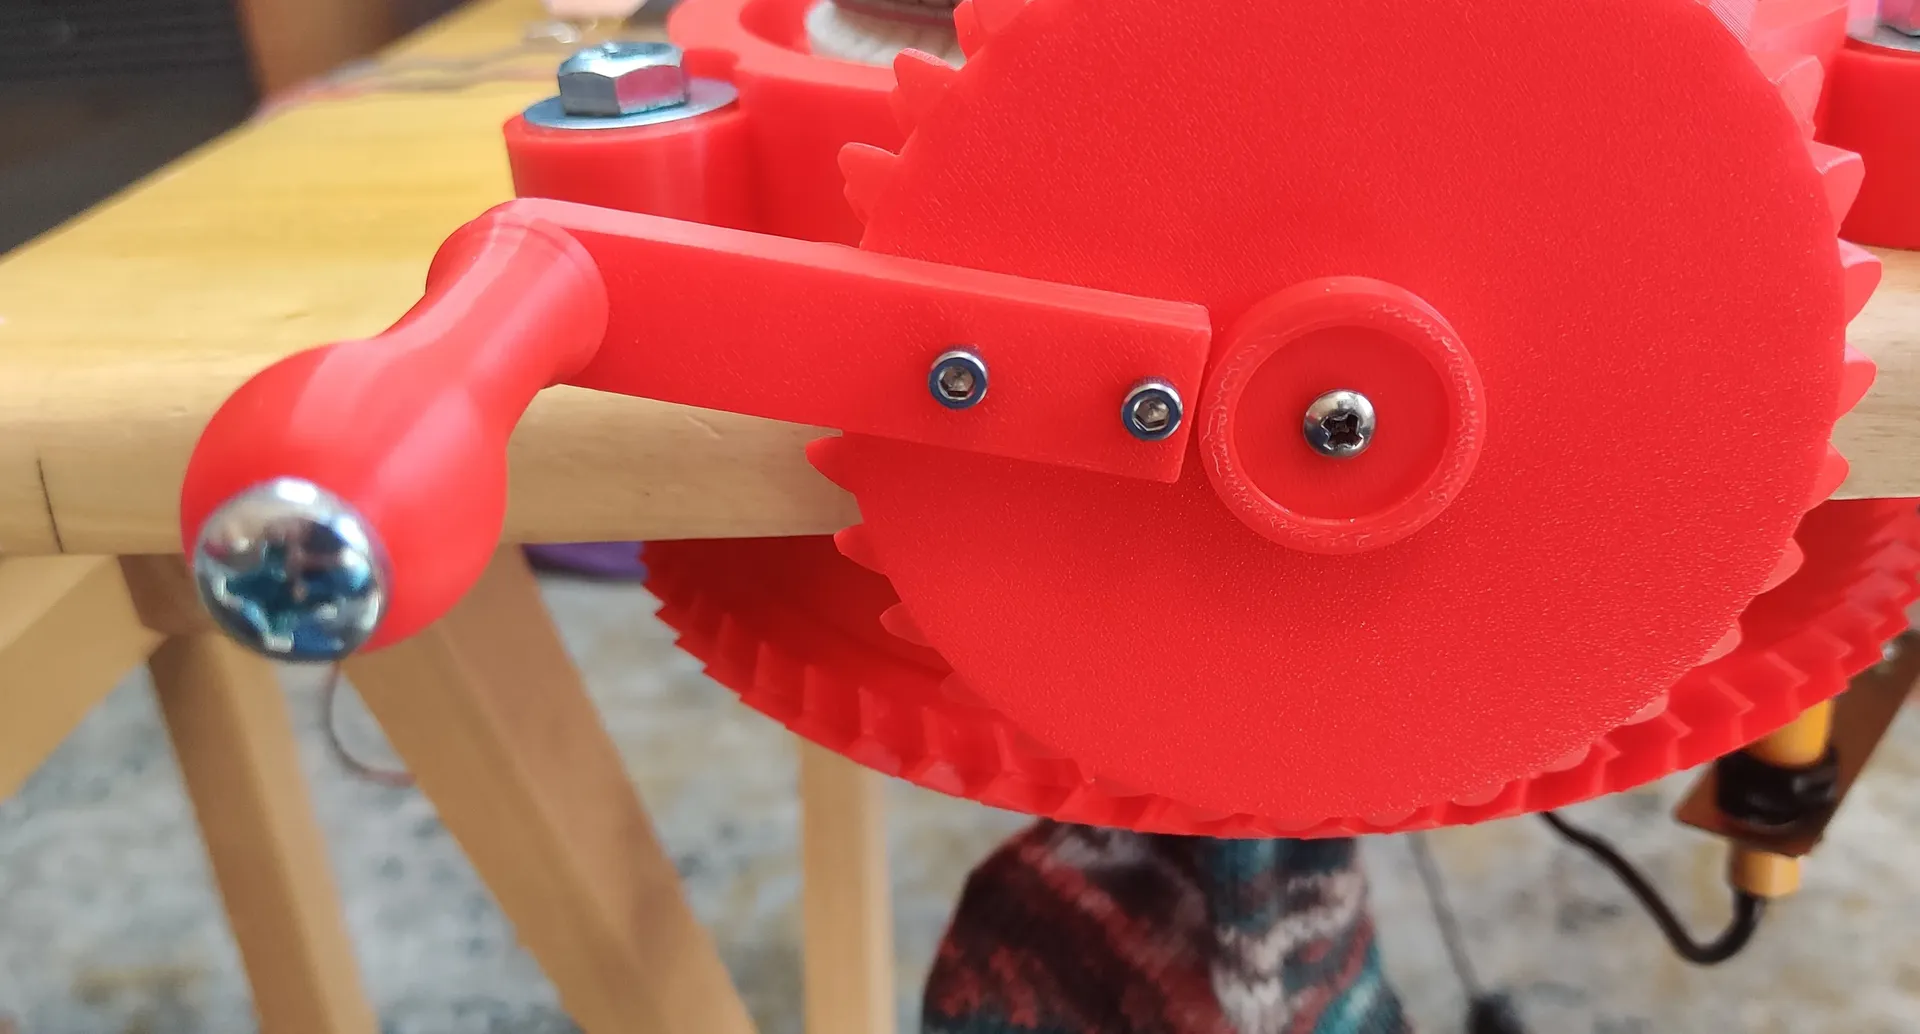
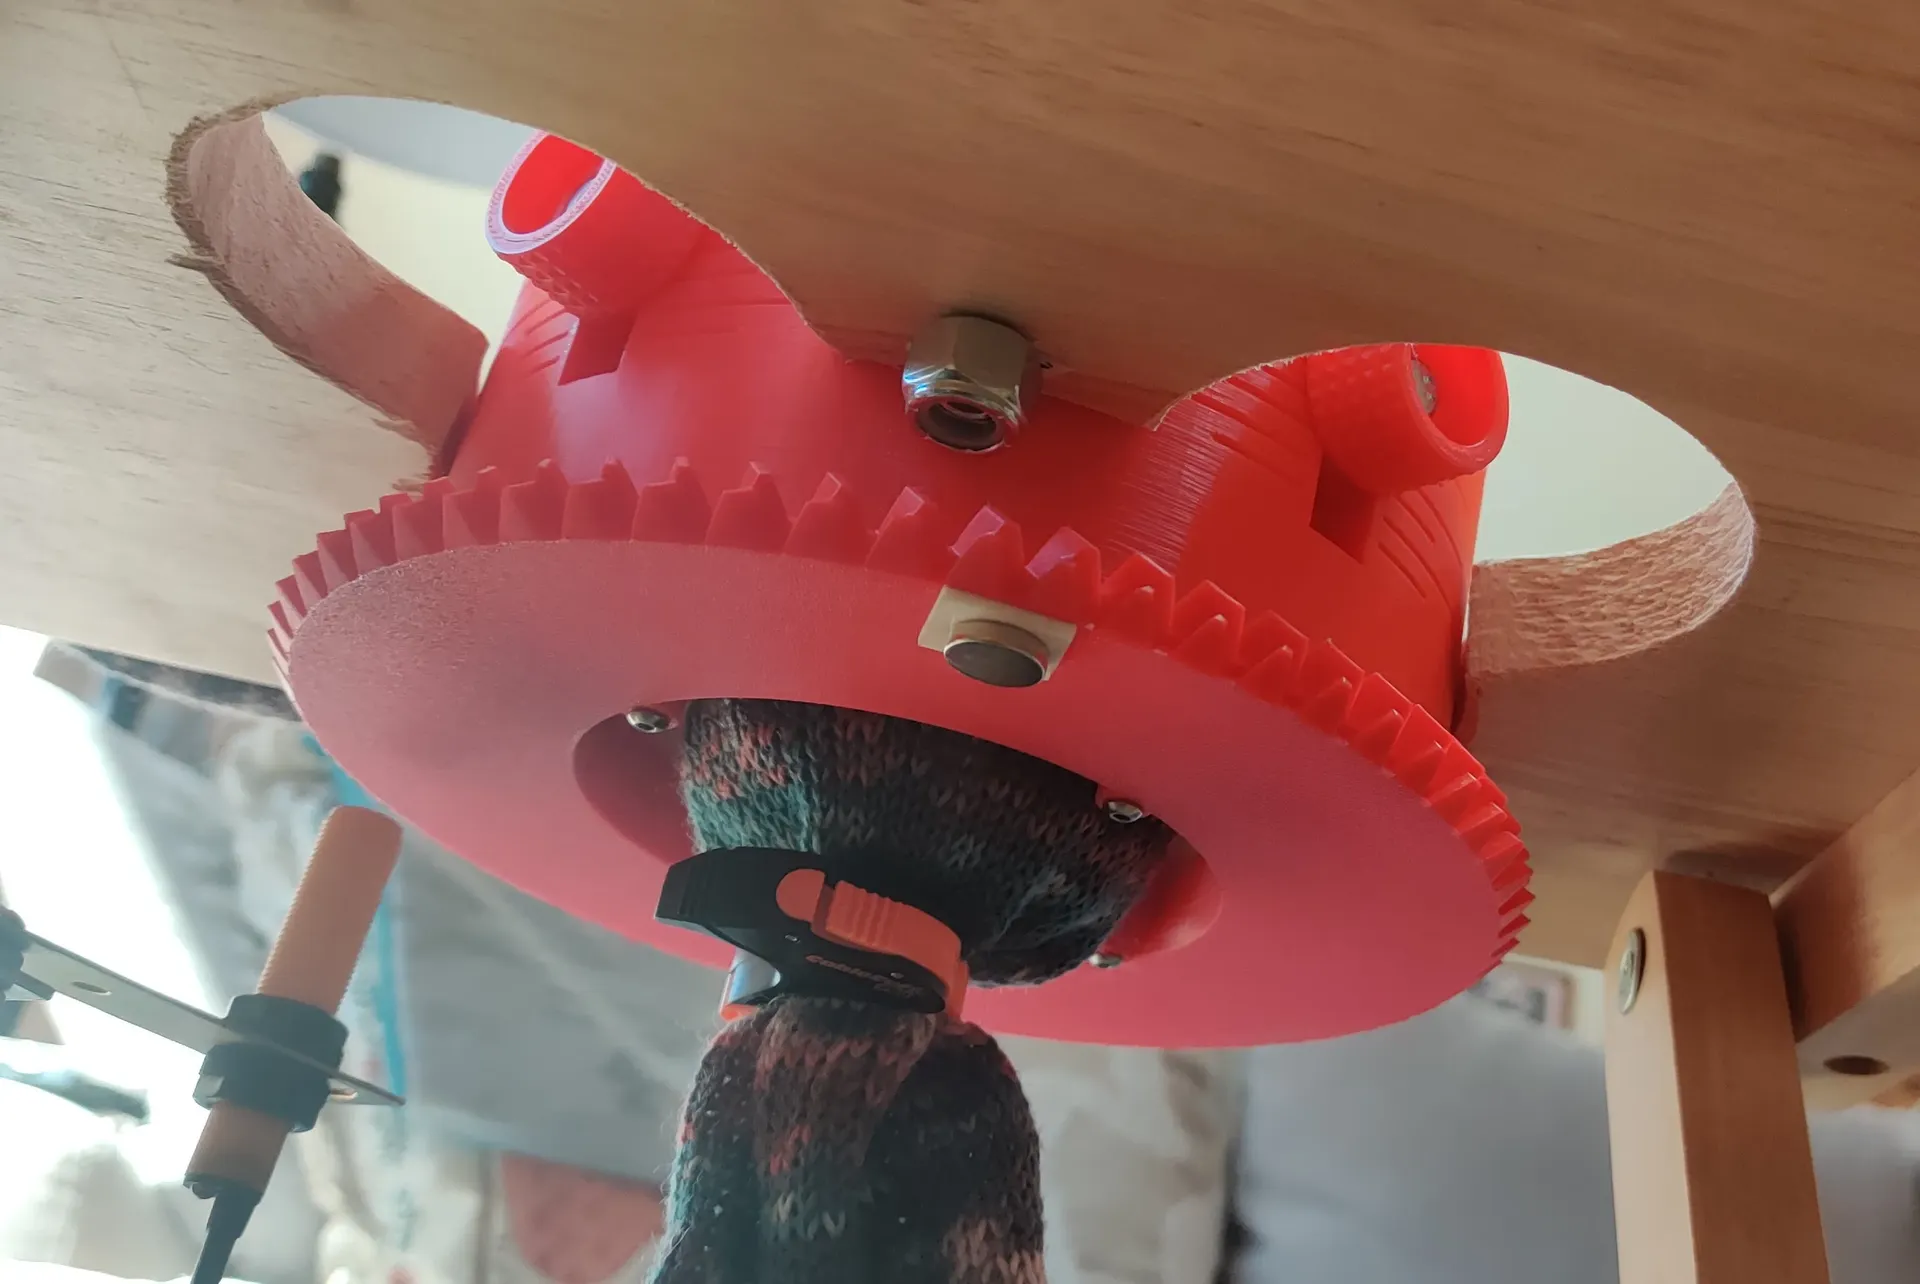
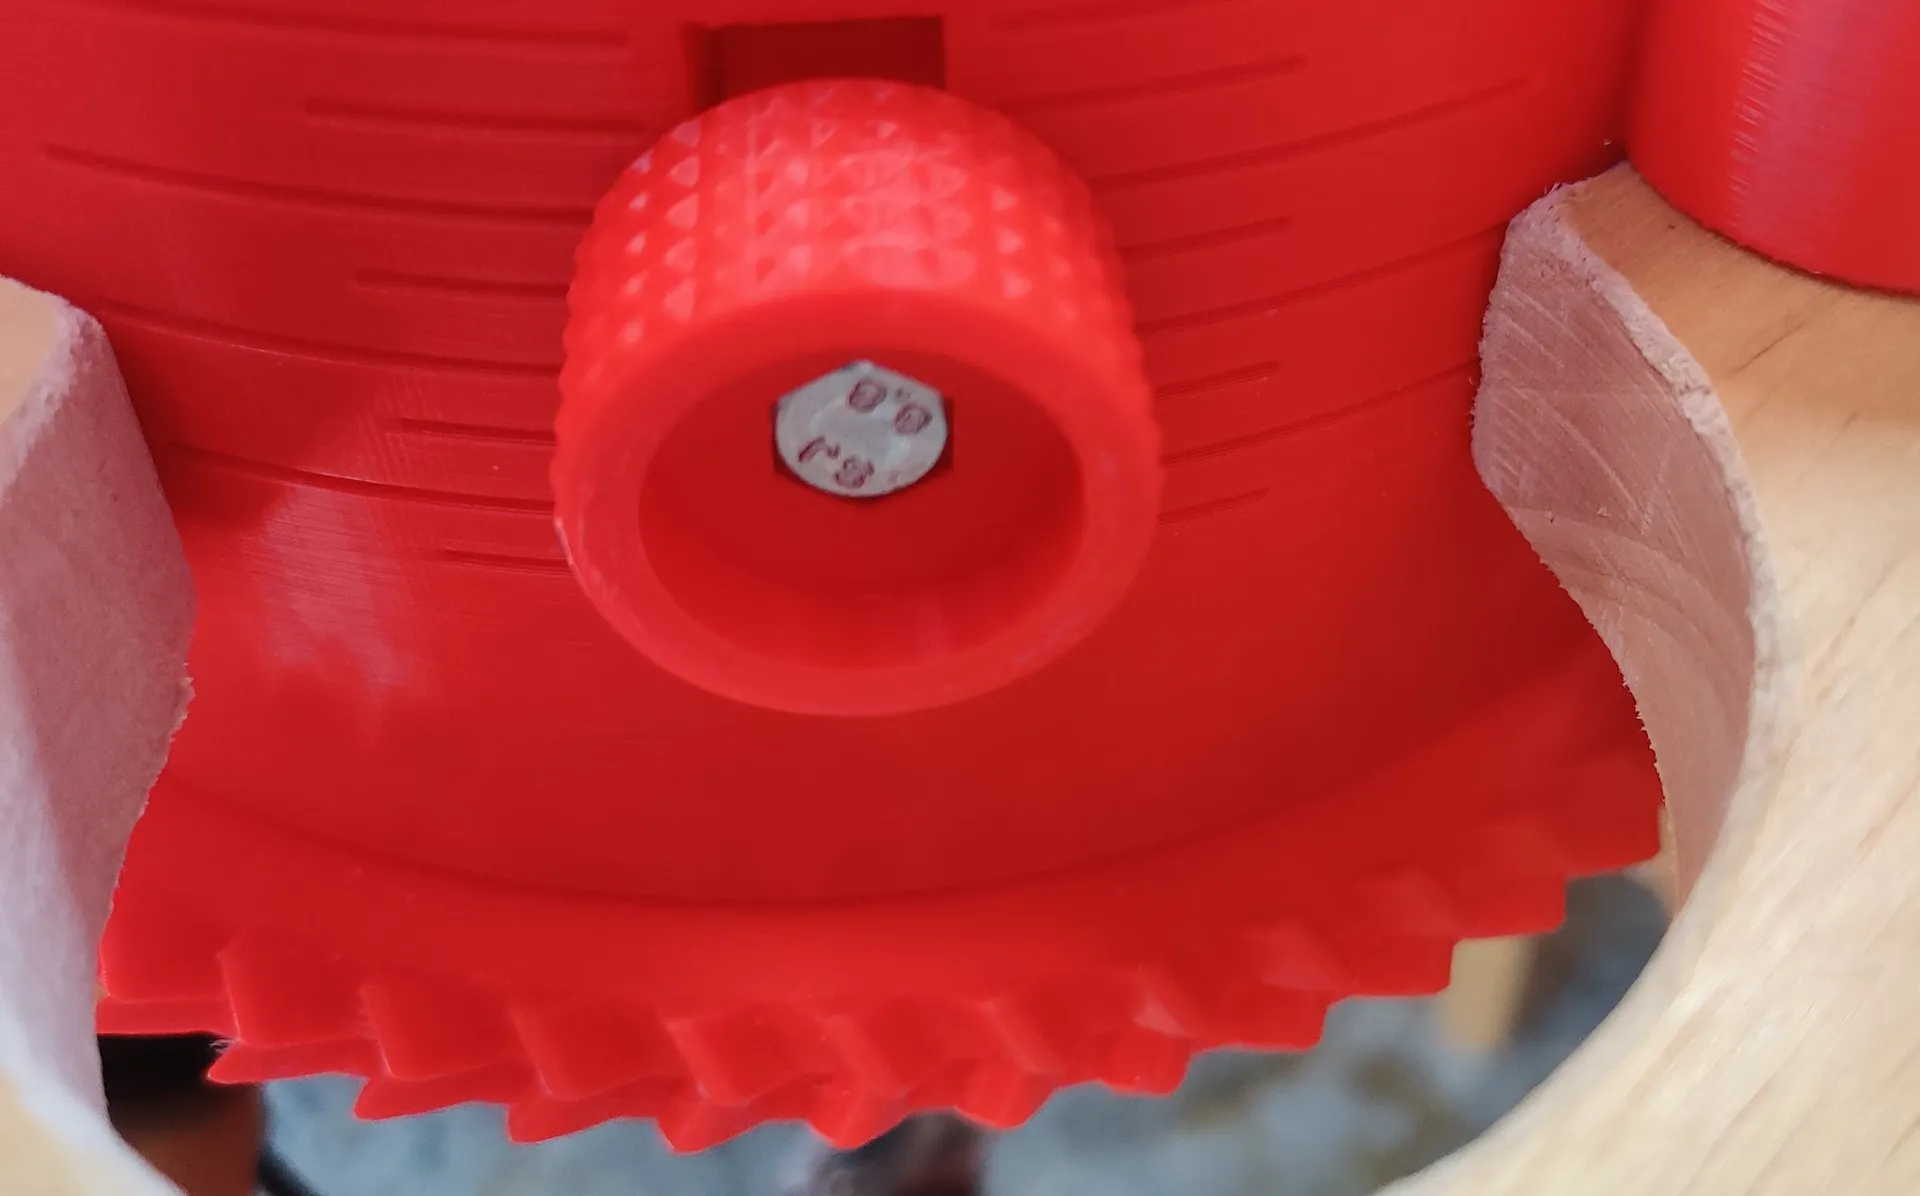
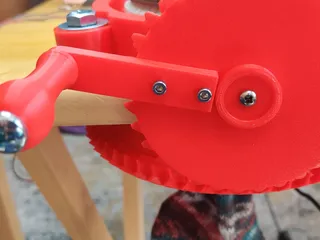
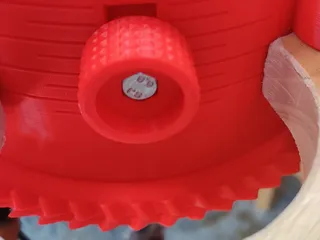
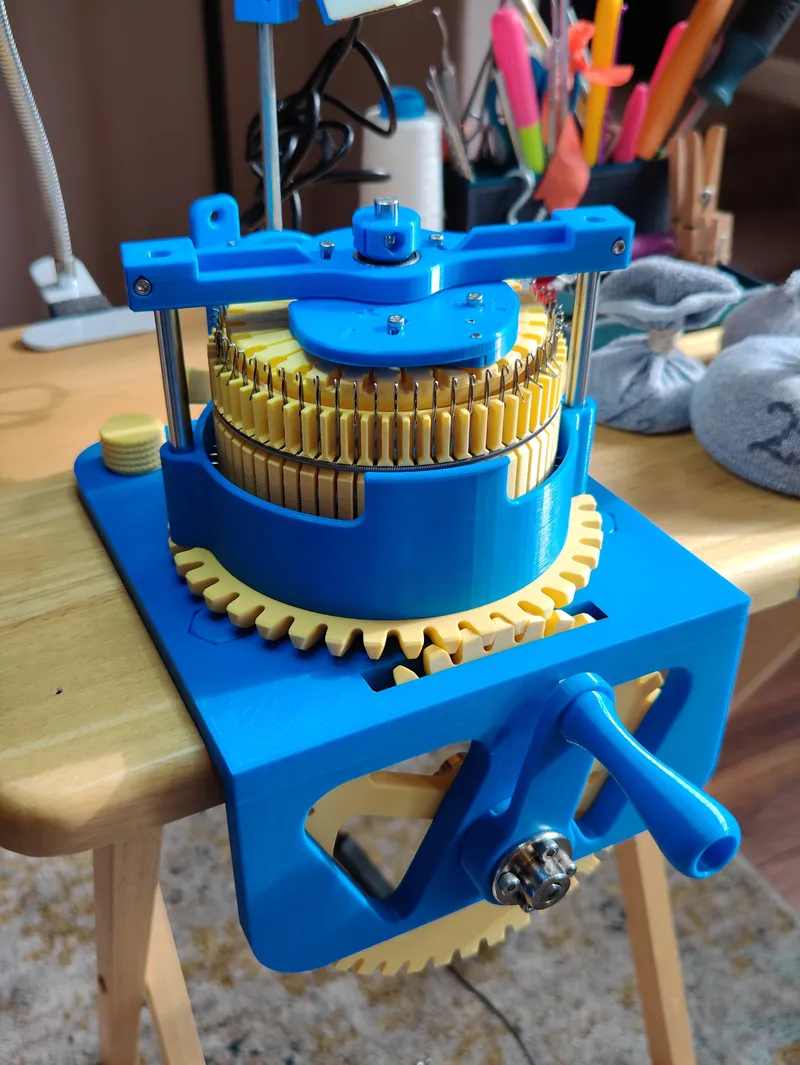
I added cutouts for the bolt washers. Added marks for the cam adjusters. Added a thread guide insert. I made a template for cutting the table to set the machine into a table. Knurled the cam nuts. Remodeled the main handle. Raised the cam nut guides on the main collar. Fit the cam nuts and cams tighter to the hex bolts and nuts. Made a needle lift tool. I made a screw hole for a hook mount on the setup basket. Remodeled the cams with a clip on the corner to fit better. Clipped corner on the cams go towards each other. My Brother cut the table with the template and he also cut all the needles to length.
I am including the leg base mounting files but I highly suggest table mounting the machine by using the collar template to cut out a mounting position.
https://www.thingiverse.com/thing:4435634
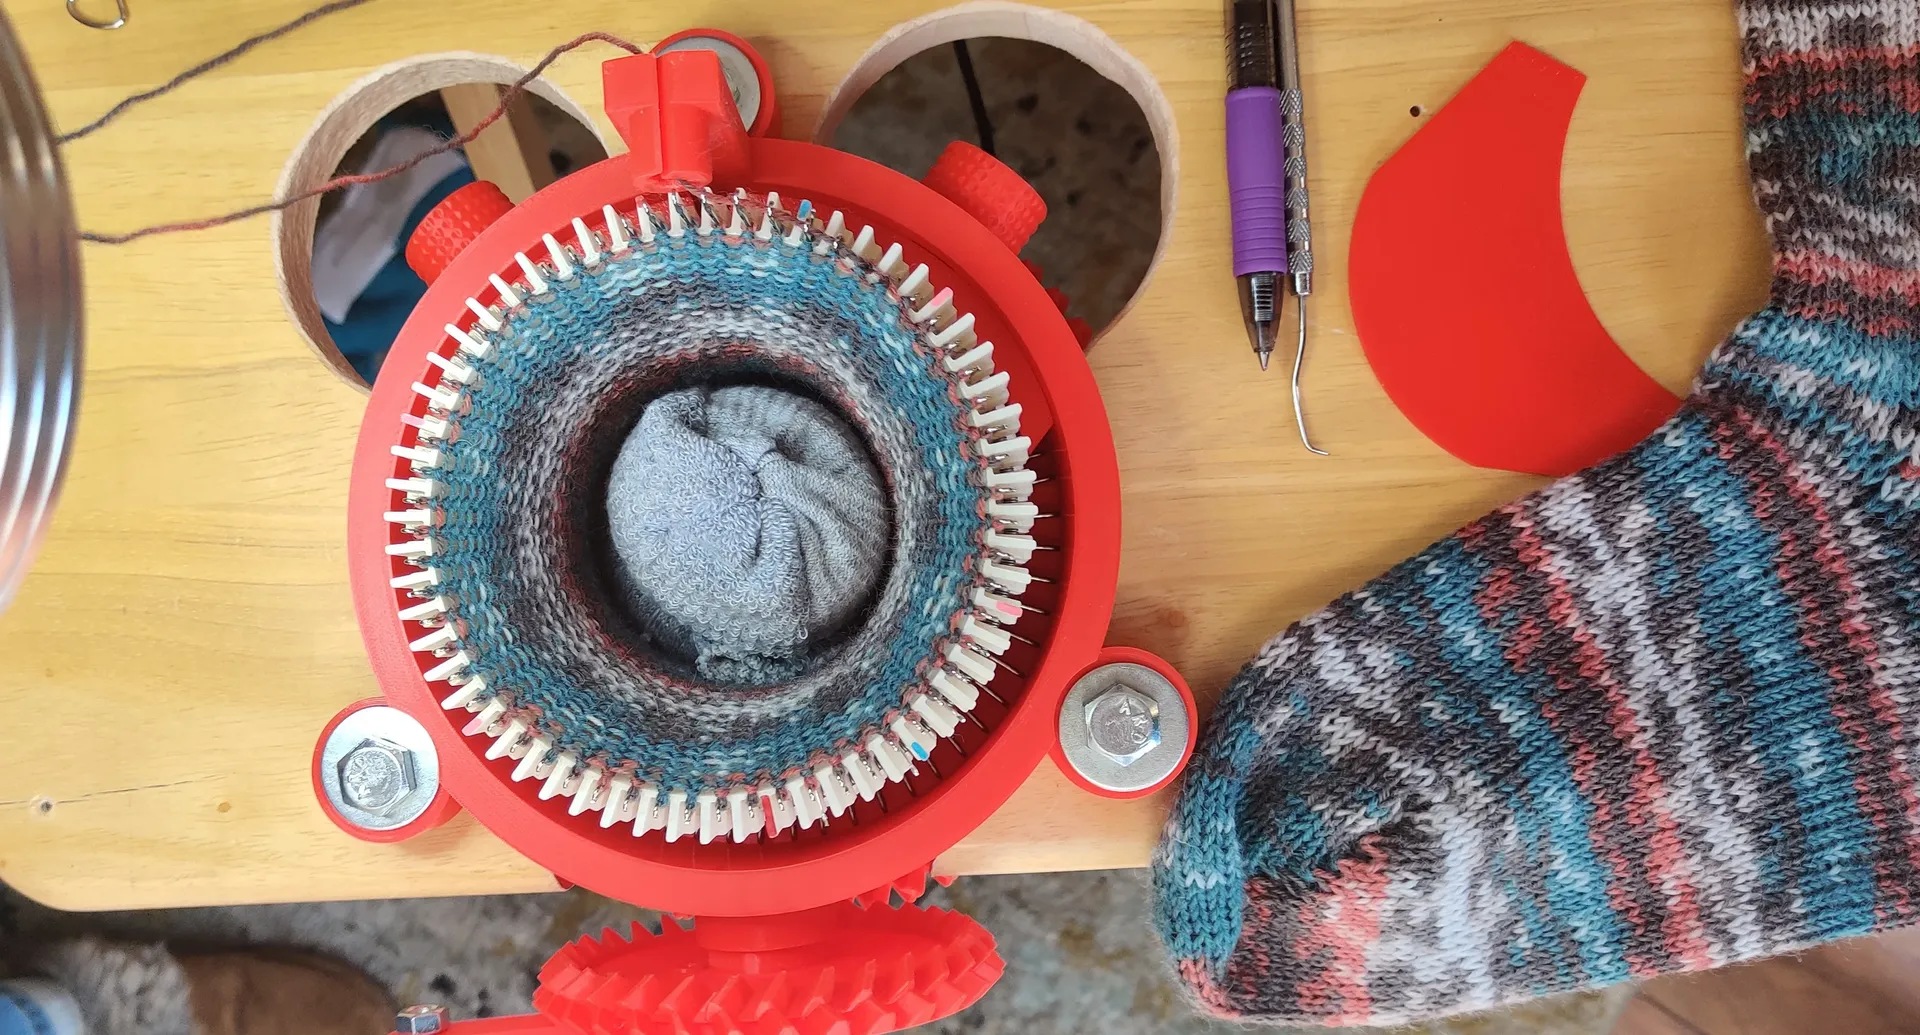
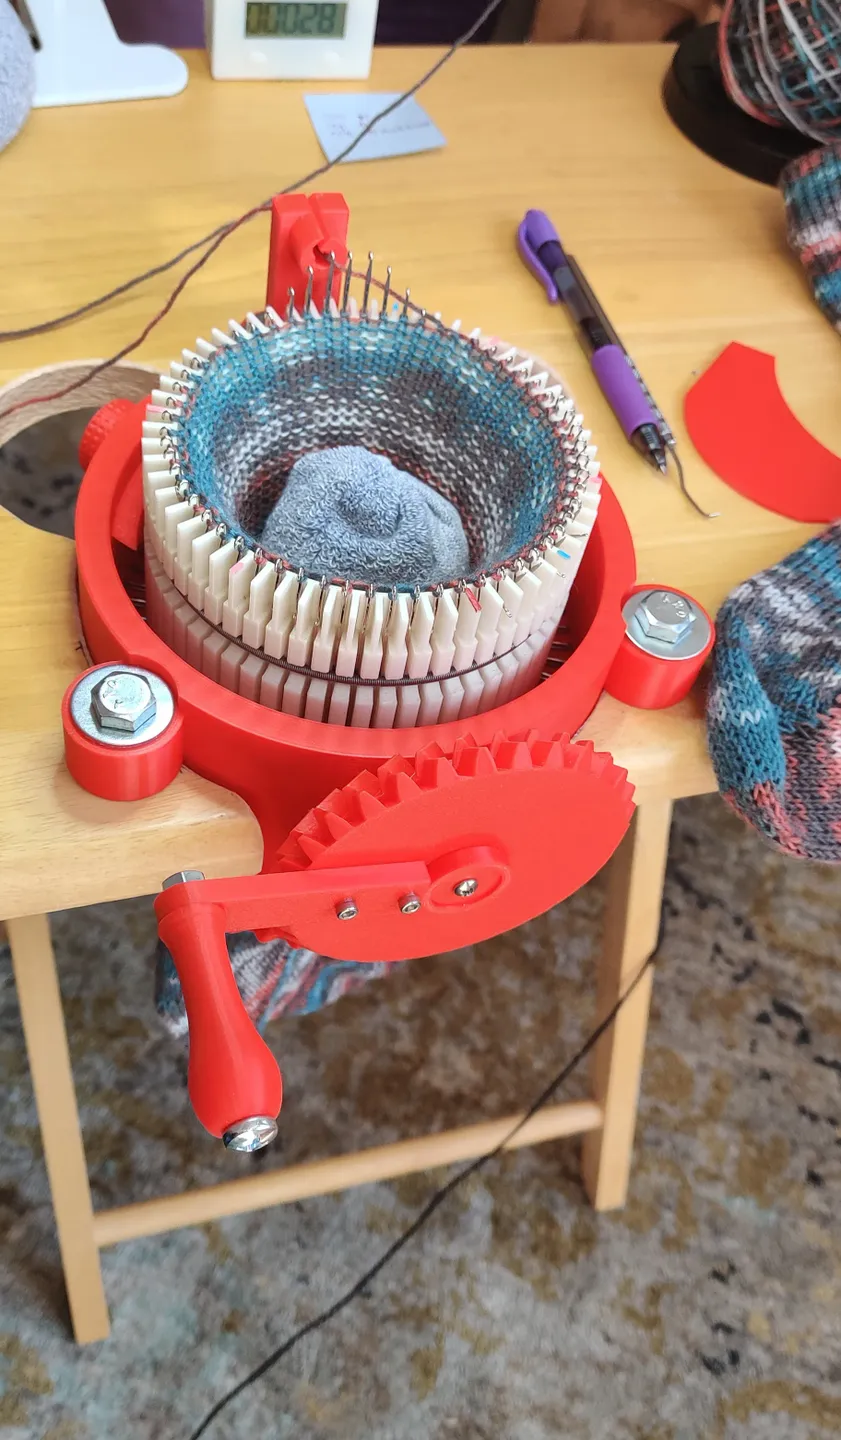
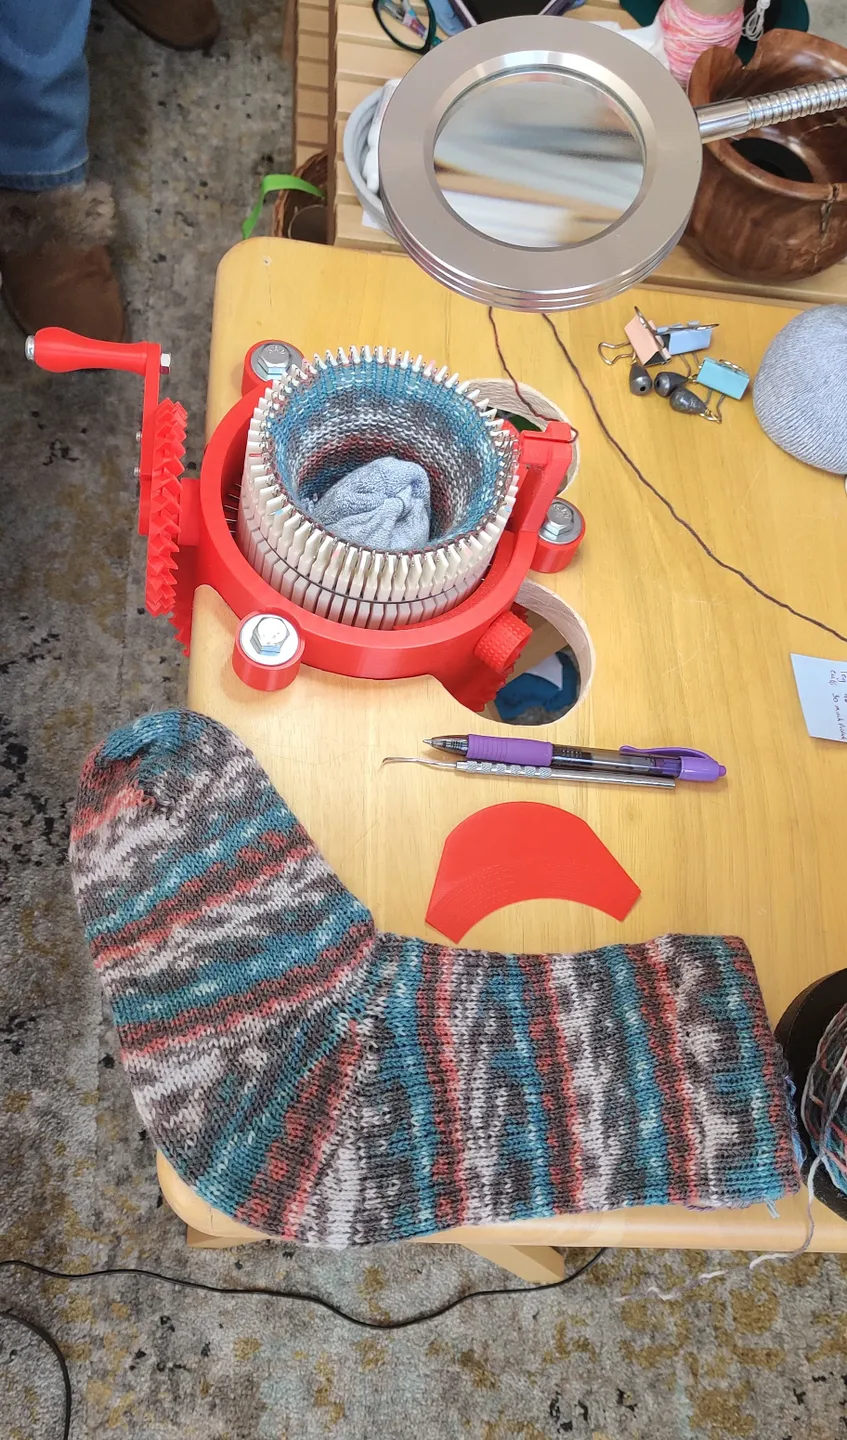
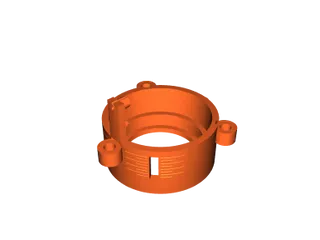
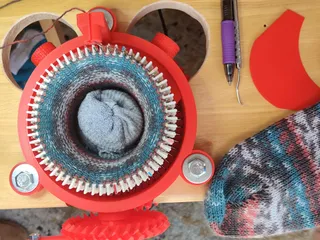
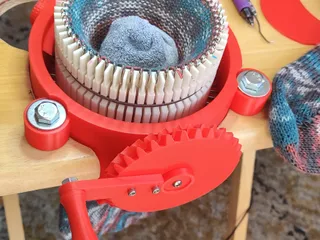
The cylinder is 60 needles.
I added 48 slot and 54 slot cylinders for this machine. GCode, Slicer, STL, available in the project files. Links below to the origionals. By Gebsews
https://www.thingiverse.com/gebsews/designs
https://www.thingiverse.com/thing:4573346
https://www.thingiverse.com/thing:4688903
I aquired the scad file that the cylinder was made with and another user Josh edited the scad file for the cylinder and added a variable so you can create a cylinder with the amount of slots you would like.
https://www.printables.com/social/184226-josh/about
It is uploaded to the project as cylinder_variable.scad. At the top of the file is a $slots variable. Changing this and rendering it in OpenSCAD will generate a new cylinder with the desired number of slots
The origional project was in german and I translated all the names of the machine parts to english.
Feel free to print in .20 or higher as I printed in .15 and it requires a lot of print time. I simply wanted the highest quality for my Mom!
I printed this in PLA.
PLA works perfectly fine for this machine.
~~~~~~~~~~~~~~~~~~~~~~~~~~~~~~~~~~~~~~~~~~~~~~~~~~~~~~~~~~~~~~~~~~~~~
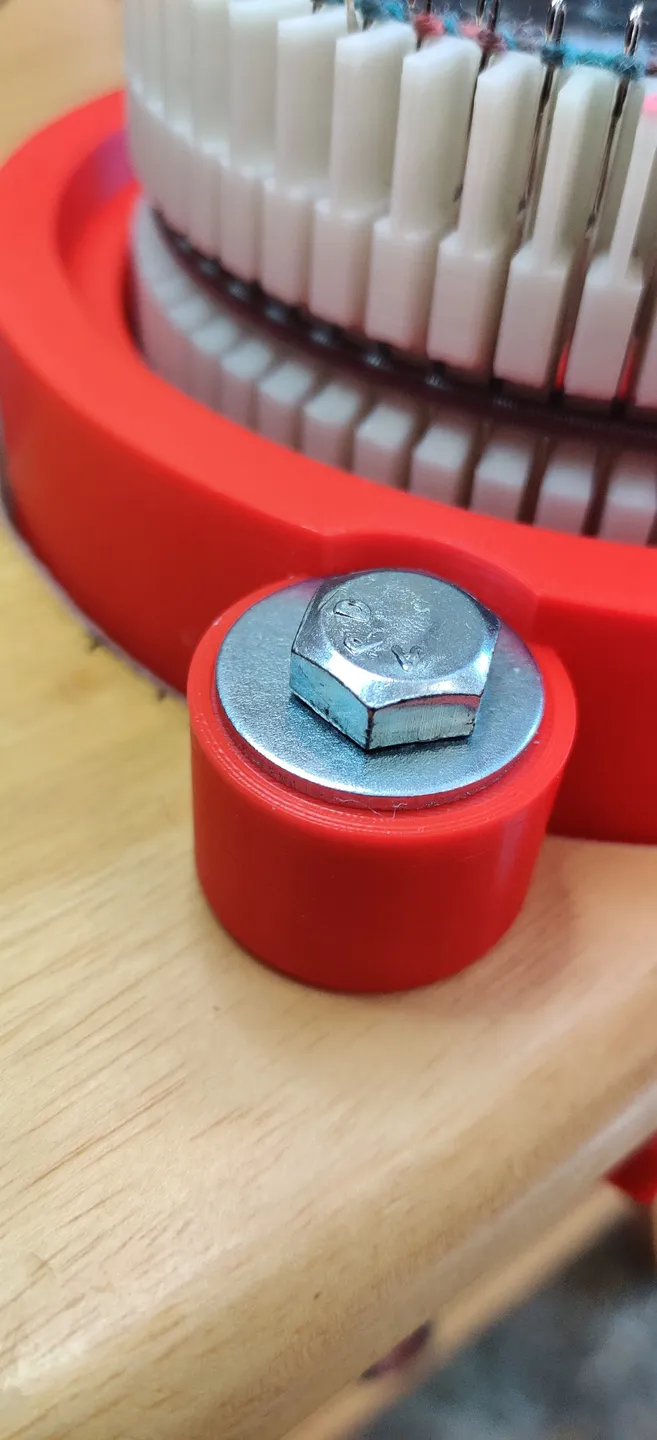
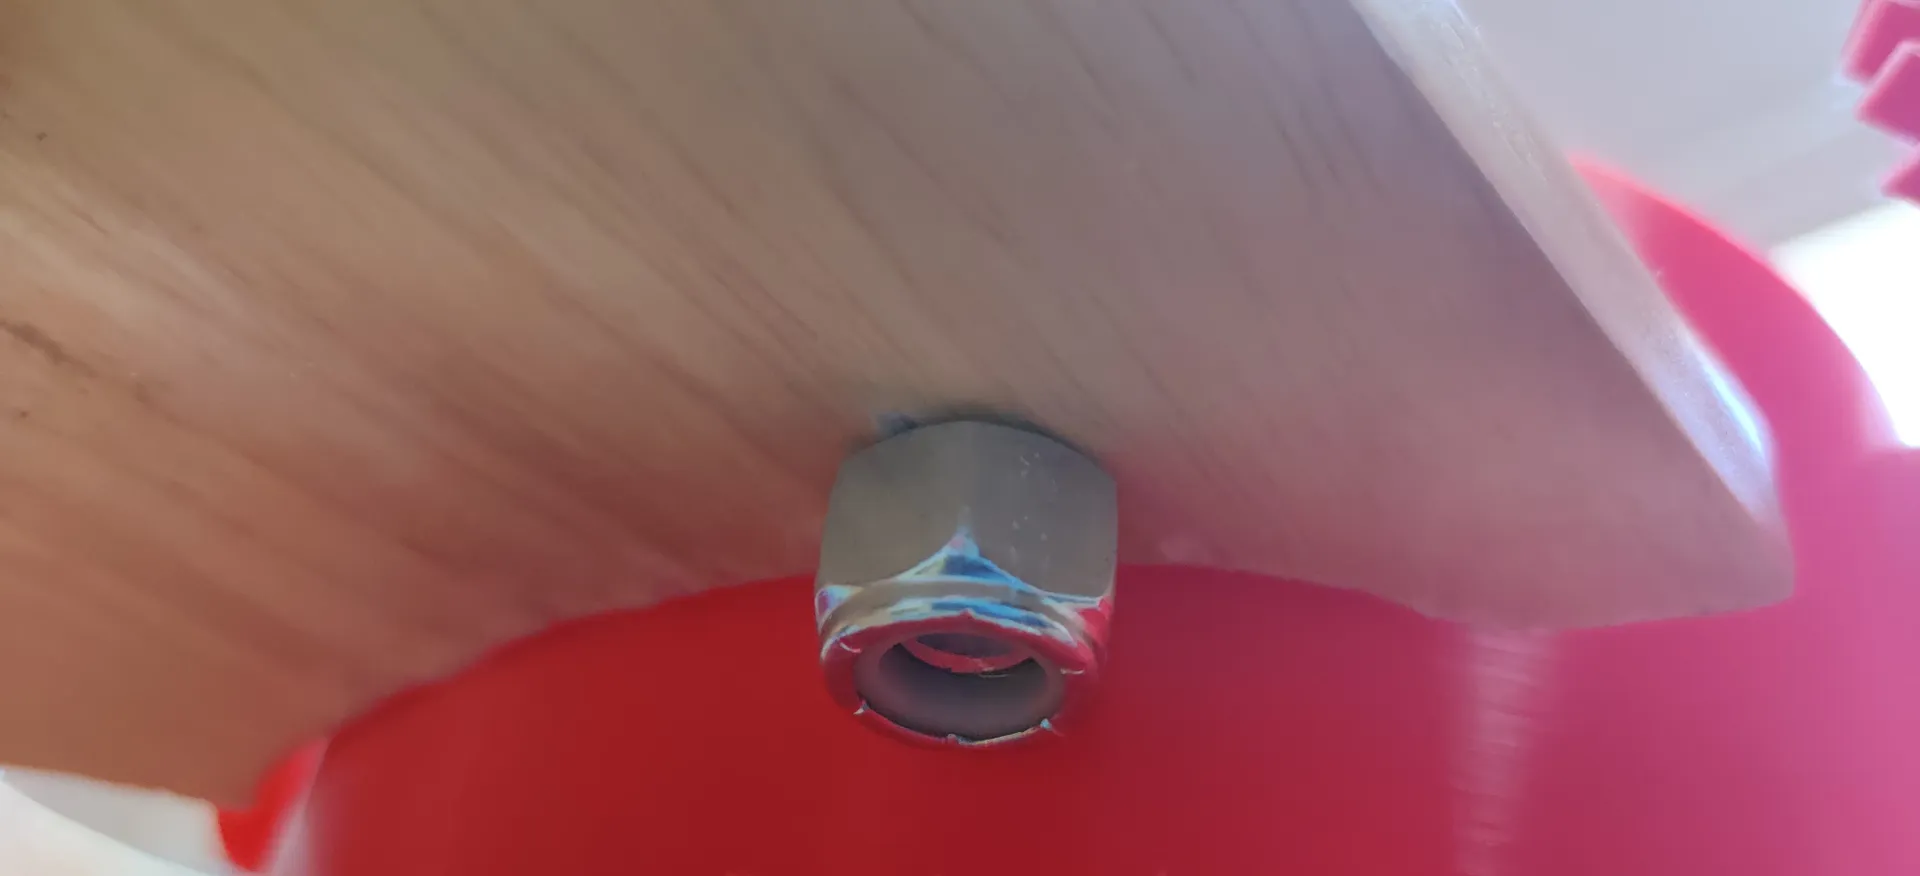
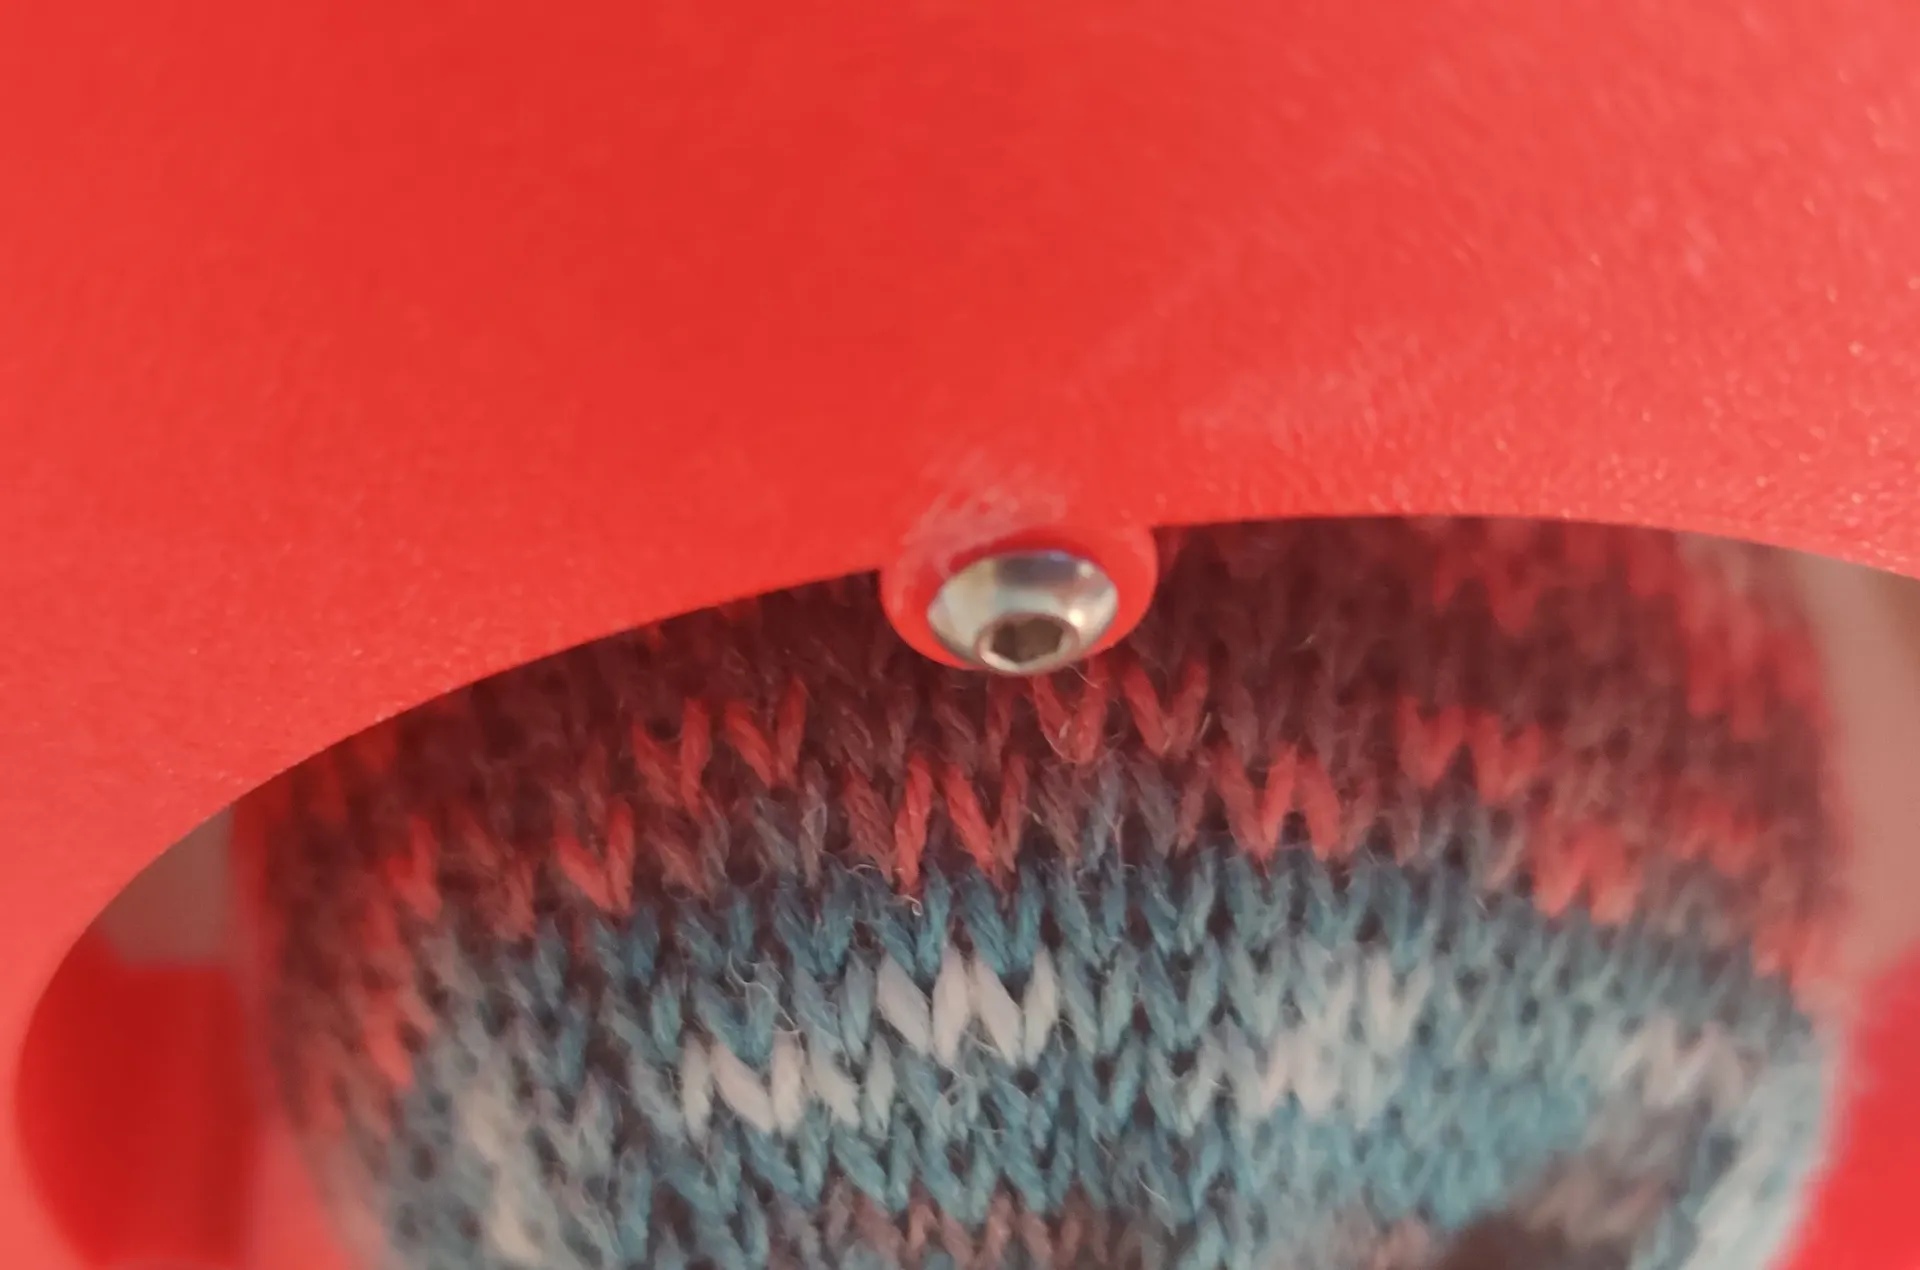
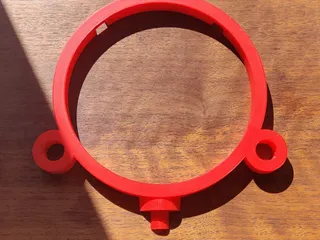
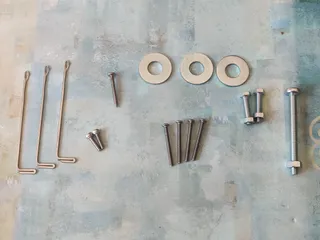
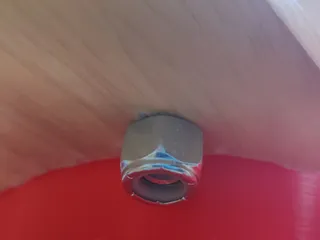
Here is the hardware you will need. I added close up pictures of the hardware. Its really easy to put together.
2x 5mm x 25mm hex bolt with nuts for the cam nuts and inside cams
4x 3mm x 30mm for the cylinder and gear
1x 6mm x 65mm with nut for the main handle
2x 3mm x 15mm for the main handle mount
3x 25mm washers w/ 3 x bolts 36mm (Not in pictures) for the main machine table mount
1x 3mm x 25mm screw for main handle center mount
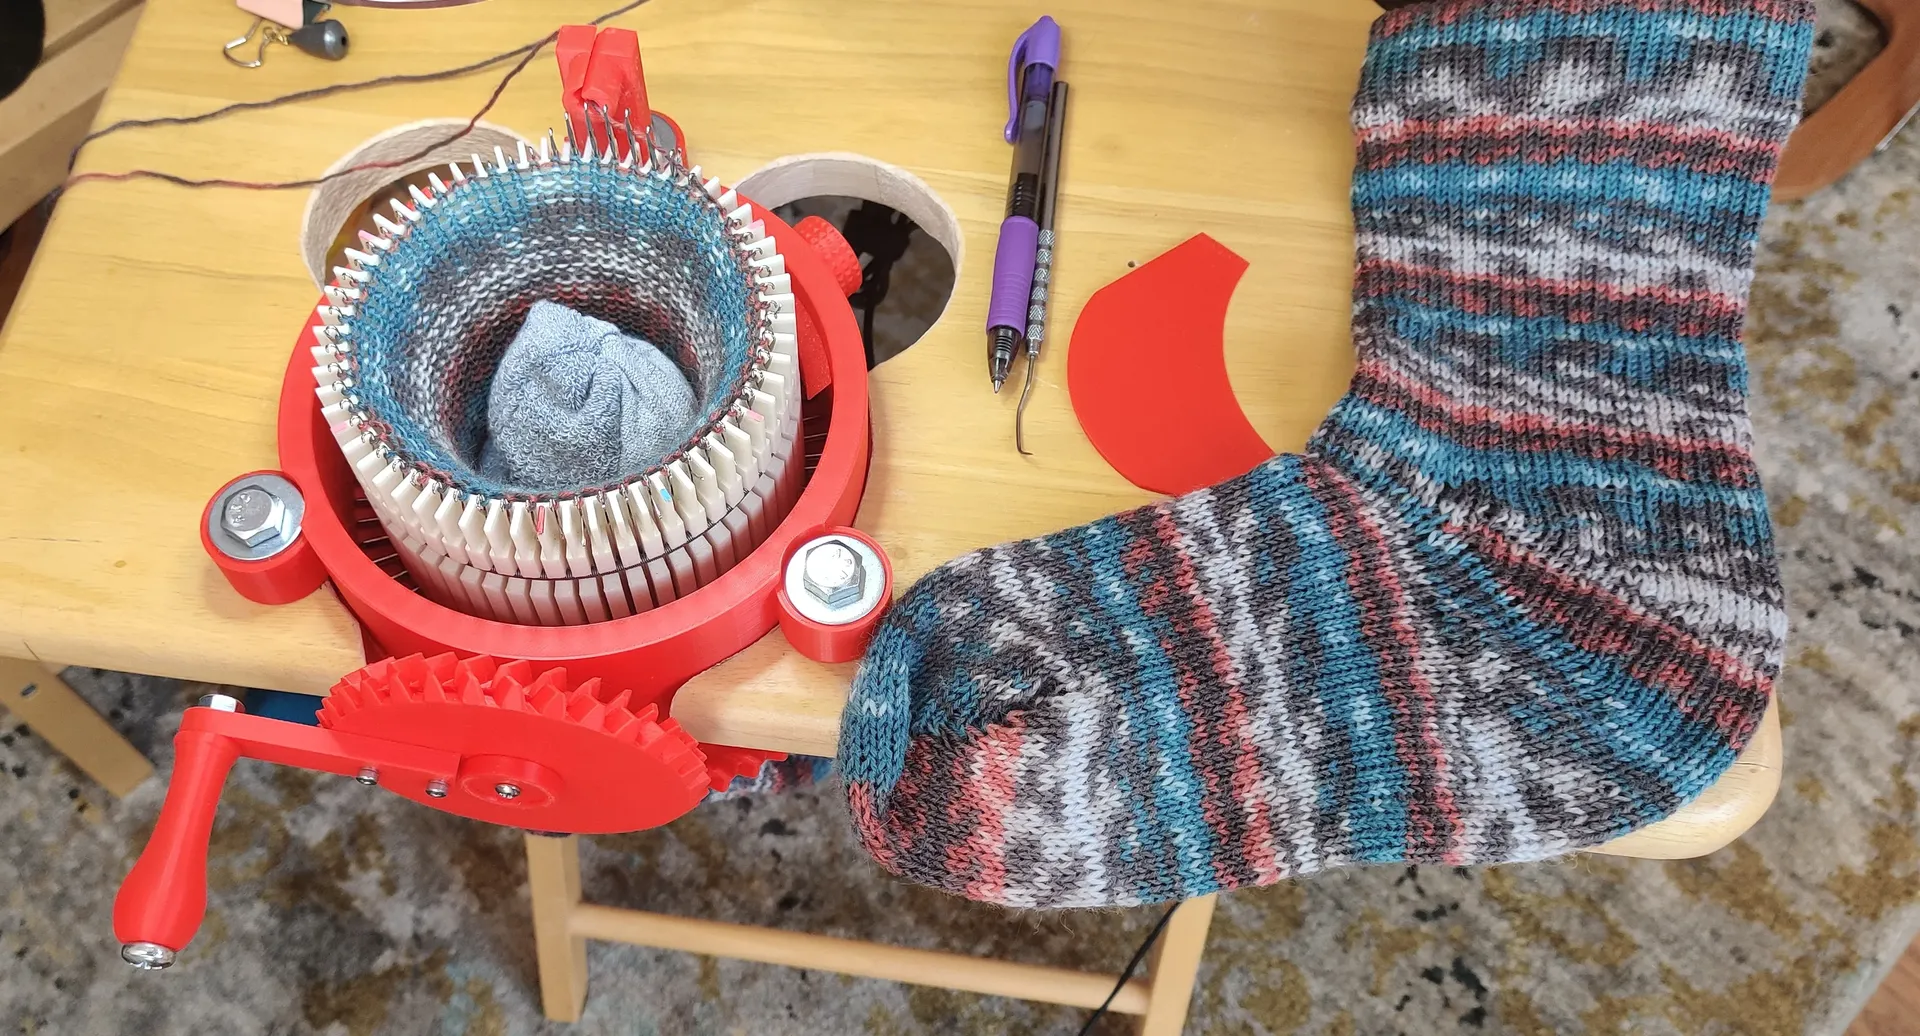
These are the correct needles to order. Brother KR850 replacement. Cut them like in my picture with the hardware. They will fit perfectly. After cut they will be 79mm.
https://www.amazon.com/dp/B08L819RGX
https://www.ebay.com/itm/333676947119
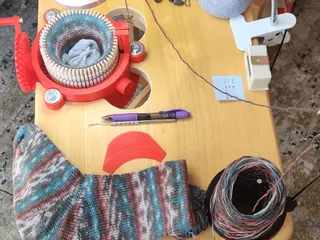
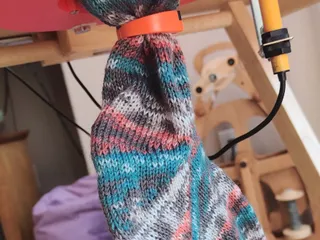
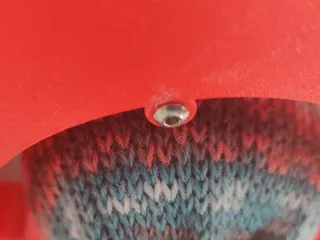
This is the spring my mom uses now. She orgionaly used rubber bands but likes this spring a lot more. You can see it in the pictures.
Sock Machine Cylinder Springs -
.110 inches wide
https://www.angoravalley.com/sockmachines/accessories.html
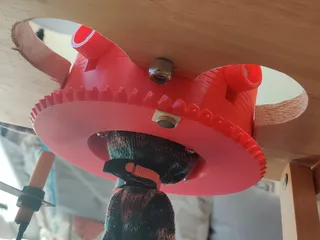
This is the digital magnetic counter my Mom uses to count her rows. It counts by a magnet on the large gear on bottom.
~~~~~~~~~~~~~~~~~~~~~~~~~~~~~~~~~~~~~~~~~~~~~~~~~~~~~~~~~~~~~~~~~~~~~~~
This is the origional creator and files. Dieter Flemmigdifl difi
https://www.thingiverse.com/thing:3310883
The upgraded cylinder.
https://www.thingiverse.com/thing:4665553
I added 48 slot and 54 slot cylinders for this machine. GCode, Slicer, STL, available in the project files. Links below to the origionals. By Gebsews
https://www.thingiverse.com/gebsews/designs
https://www.thingiverse.com/thing:4573346
https://www.thingiverse.com/thing:4688903
The upgraded small gear. After haveing been notified by someone I took a closer look at this model. It was very messy, I then remodeled the center parts. Although it sliced fine with PrusaSlicer people were having problems with other slicers. I uploaded the new model and it should work better if you have any problems please let me know.
https://www.thingiverse.com/thing:4603052
The YouTube creator my mom watches to learn how to use the machine and make wonderfull socks! Dean and Bean's Sock Machines! She uses there youtube videos and downloadable PDF files for referance to learn from. They also sell sock knitting machine I highly suggest checking them out.
https://www.youtube.com/channel/UCNqtUpqKexDmHTqHfdkbsnQ
If you would like to please contact me and I will forward any questions to my Mom and will get you an answer.
My MOM has some TOP tips to share here! I will try and expand this section with my moms help!
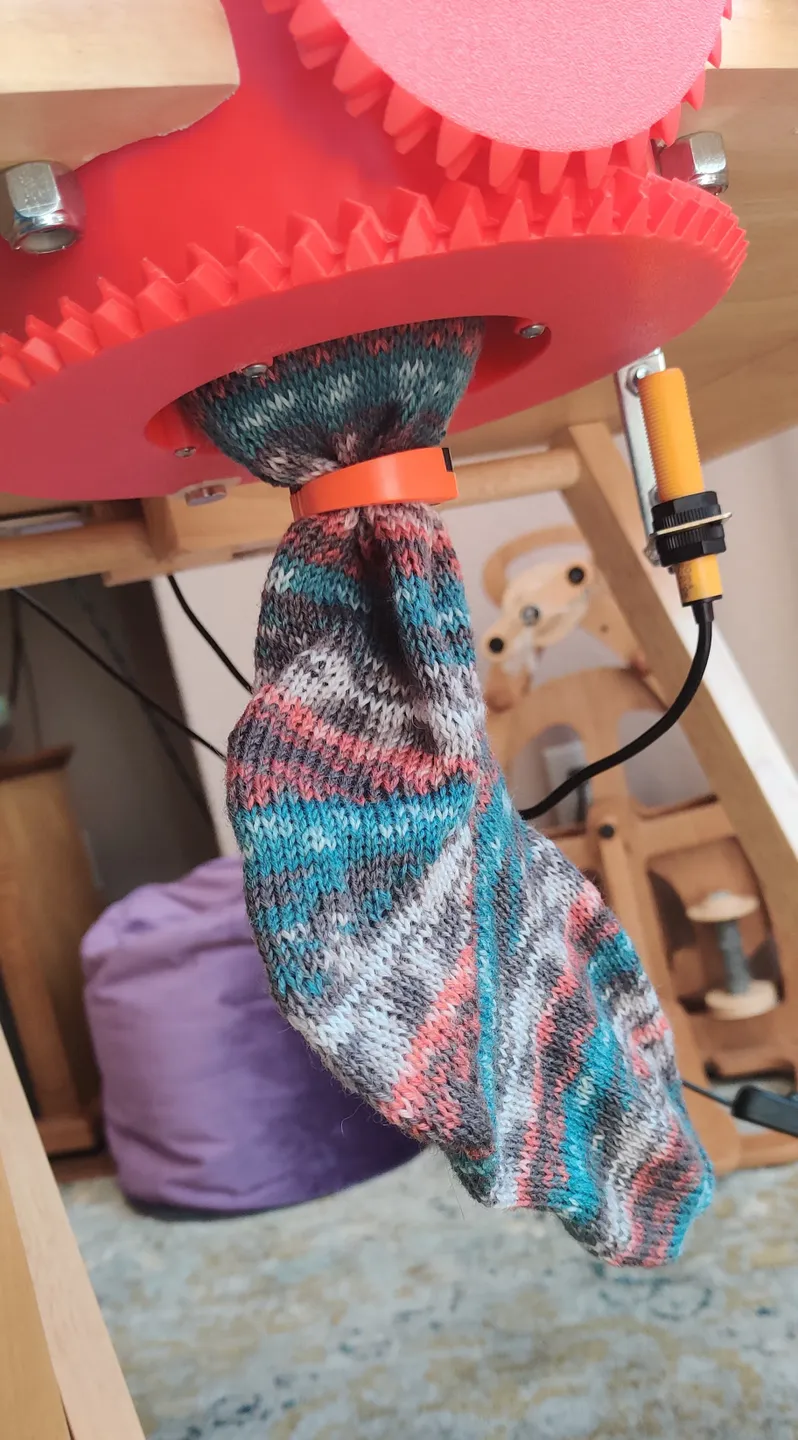
Be sure you have enough weight in the center pulling the knitting down as you are cranking. I made 3 weights from toes of socks and added BBs to .5 lb, 1 lb, and 2 lb. Closed with a tight rubberband. Wrote the weight on each. Just like in the Dean and Bean's videos. You can combine weights to make more weight if needed.
The tension of the yarn coming from the source is 0. Yarn should be loose, free, and flowing only guided by your hand.
After I understood how the machine worked, I downloaded the pdf for Dean and Bean's Original Susan's Sock Pattern and Instructions. I printed the pdf, assembled like a book, and referred to the pdf (instead of looking at the videos). I occasionally still referred to the D&B's videos at times. PDF link on the page below!
https://www.deanandbean.com/susans-sock-pattern
Please double check you are watching the Original Machine videos. D&B is now producing a 2.0 CSM, but that is different from the D&B Original Machine.
The link below is the video list for Dean and Beans Original CSM that I used to learn and make socks with the 3D CSM which is identical to D&B Original Machine.
I used a setup Bonnet instead of the setup 3D printed "Set up basket". I used the following D&B YouTube playlist to make and use the setup bonnet.
Tags
Model origin
The author remixed this model.


