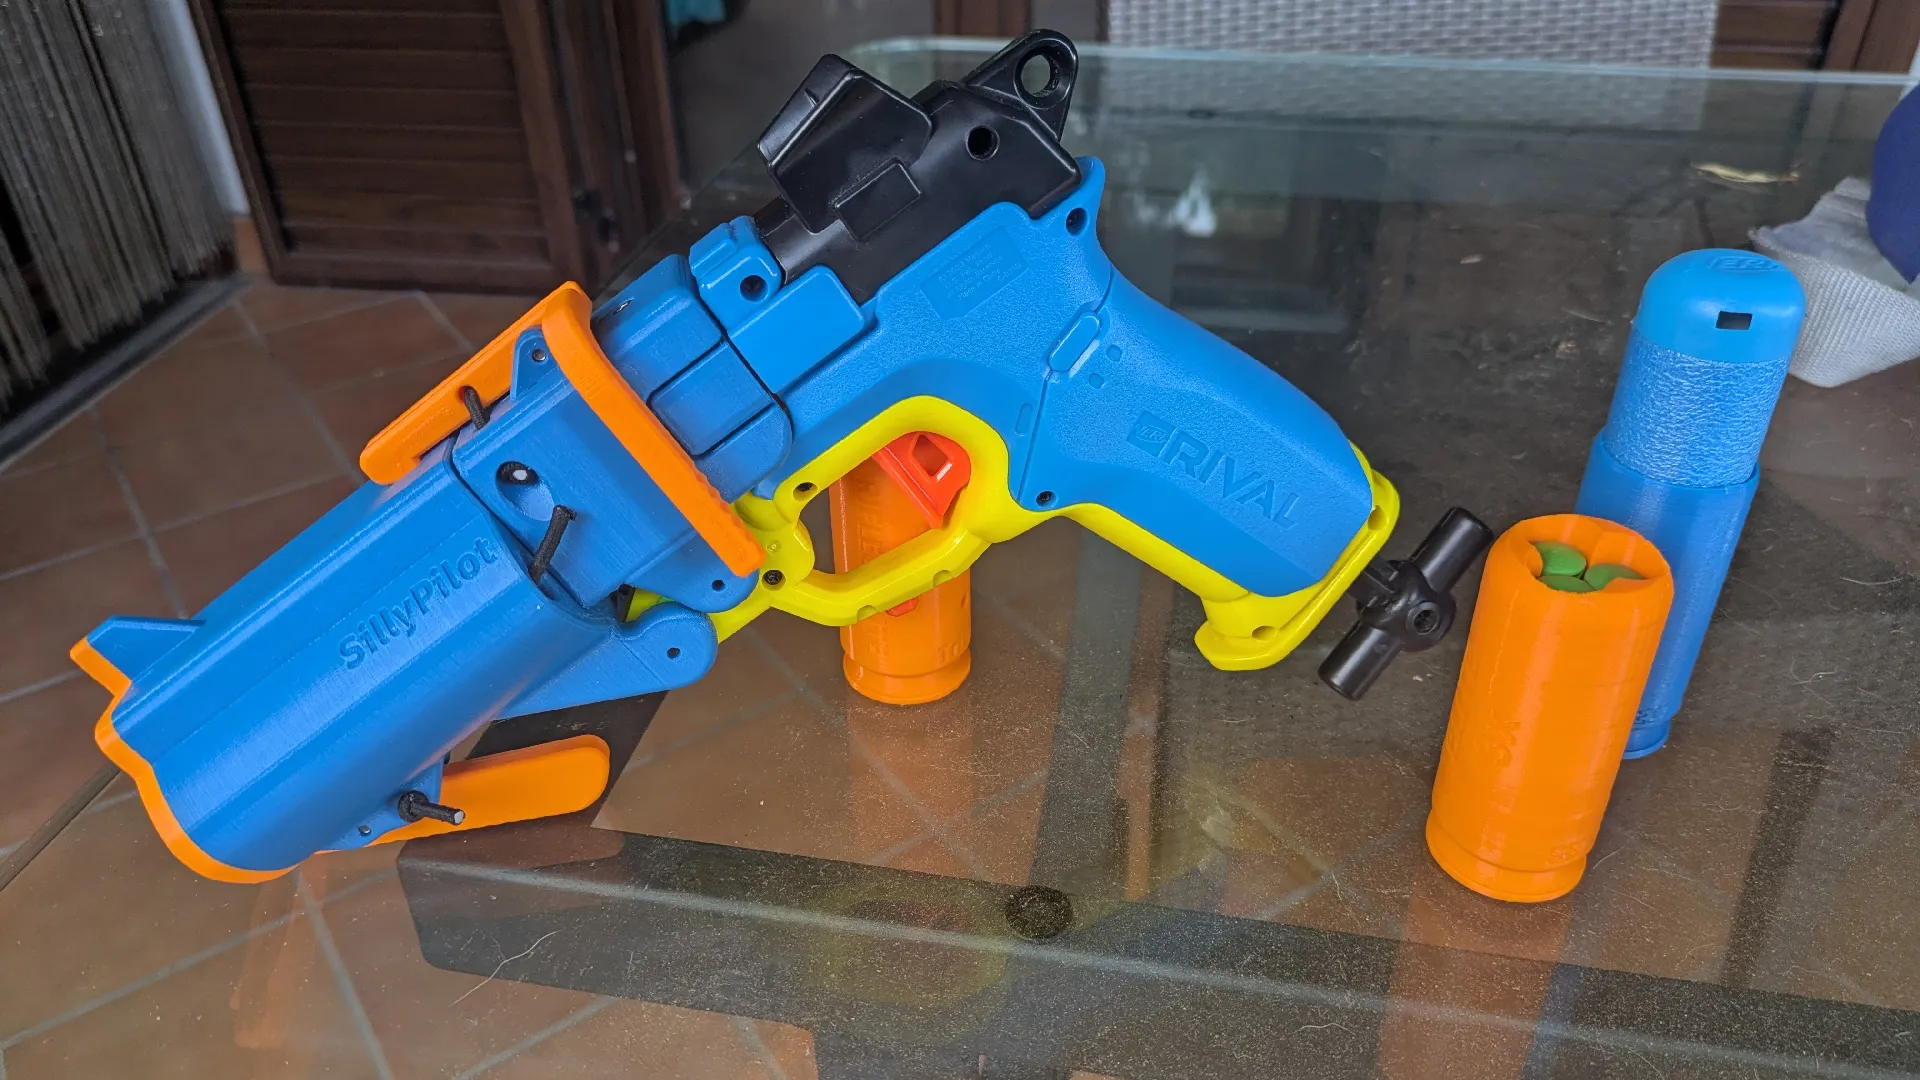
SillyPilot - Silly Shell conversion for the Nerf Rival Pilot


Description
PDFIntroduction
After hearing the news that Sillybutts was pausing the development of his Silly Shell kit for the Nerf Pilot i decided to try my hand at the same concept:
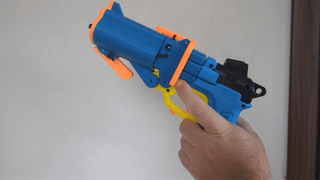
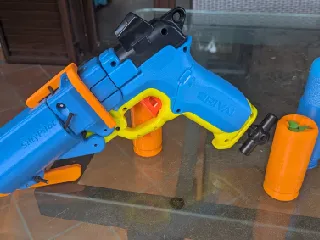
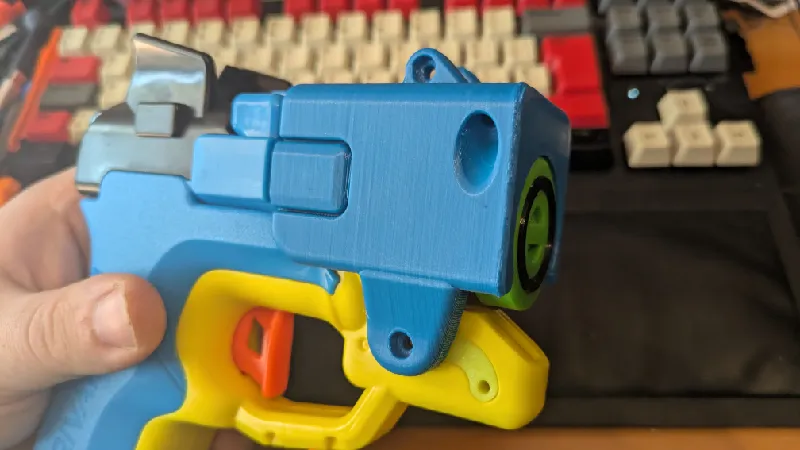
Introducing the SillyPilot!
This kit requires minimal modding of the Pilot and minimal hardware too
Hardware
You'll need the following hardware:
~50cm of 3mm elastic cord
2 M3x16mm hex cylinder head bolts
2 M3x20mm hex cylinder head bolts
2 M3x25mm hex cylinder head bolts
And, depending if you have easier access to metric or imperial o-rings, you'll also need:
3 Dash 016 o-rings
or
3 16mm id x 2mm cross section o-rings
Alternatively, if you choose to use my TPU gasket as the breech seal you'll need only 2 o-rings.
Printing instructions
All pieces can be printed with 5 perimeters and 15% infill, all files where exported in the right orientation
The only files that need supports from the build plate are the Barrel Releases and the Barrel Shroud.
Speaking of the barrel releases, they are designed to be operated by the index finger of the hand holding the blaster, so the RH and LH indicate which hand you should use for that release, or you can print the “ambi” one and it can be used by both hands, but for that one it's strongly recommended to file the sloped face on the underside, in order to render a bit smoother the breech's closure.
Pilot modifications
First of all disassemble the barrel of the Pilot, then you can proceed with the cutting:
(I'm sorry if the photo doesn't show clearly what you should cut, but i only have one Pilot, if someone can send me a clear photo of an unmodified breech, i will use it instead, also, mine was previously modified for other mods, so the yellow part has been trimmed, but for this kit none of those cuts are needed)
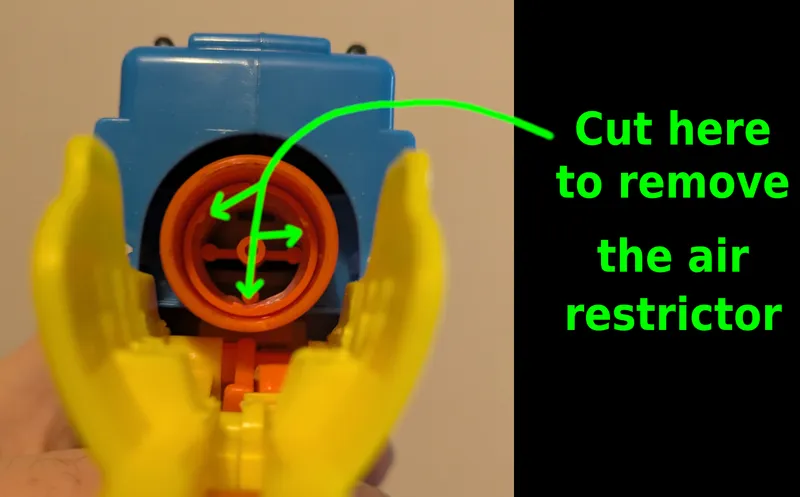
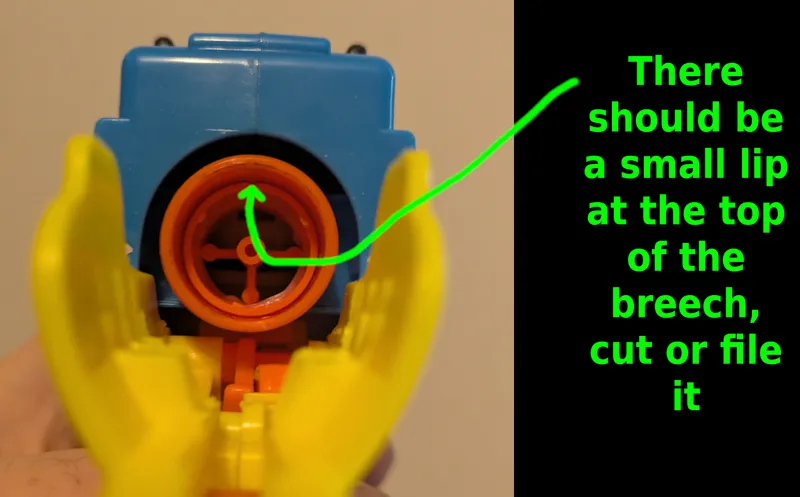
To remove the upper lip mentioned in the second image i've used a small chisel tip for hobby knives, but you could use a normal hobby knife blade, some small knippers or you could also file it with a rounded plastic file, if you choose the file i recommend to use some grease to help the o-rings seal on the grooves left by this operation.
Assembly
Before starting with the instructions let me say that these photos where taken with older versions on the components, so some parts could have some slight differences, but nothing that changes the assembly. Let's continue to the assembly guide.
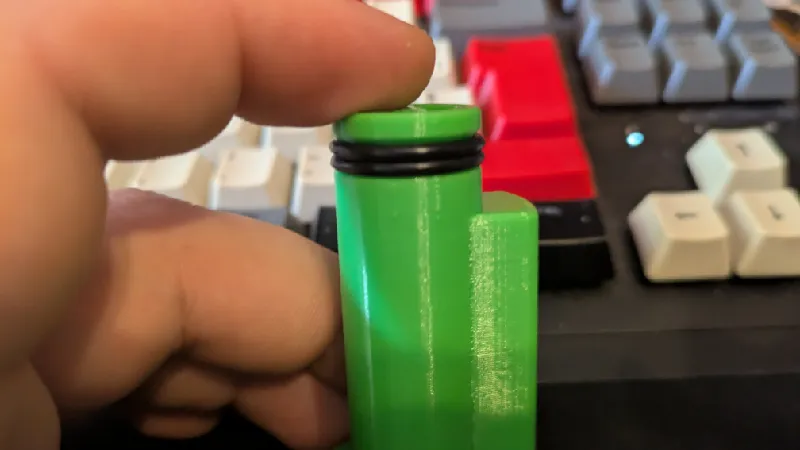
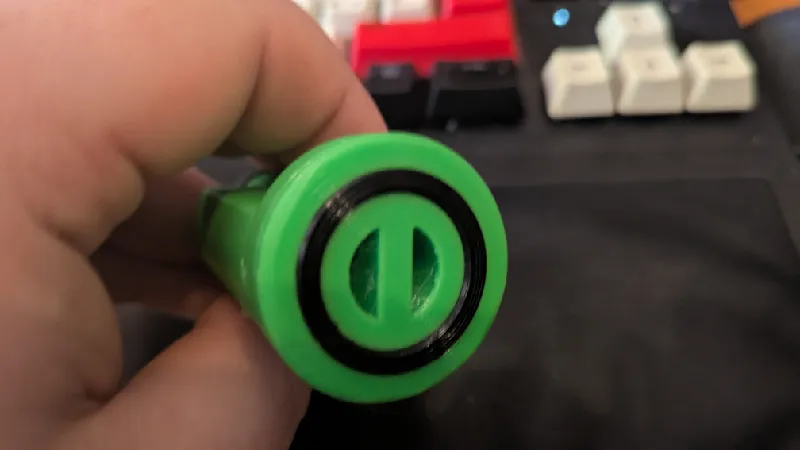
Slide the two o-rings on the “Main barrel” part.
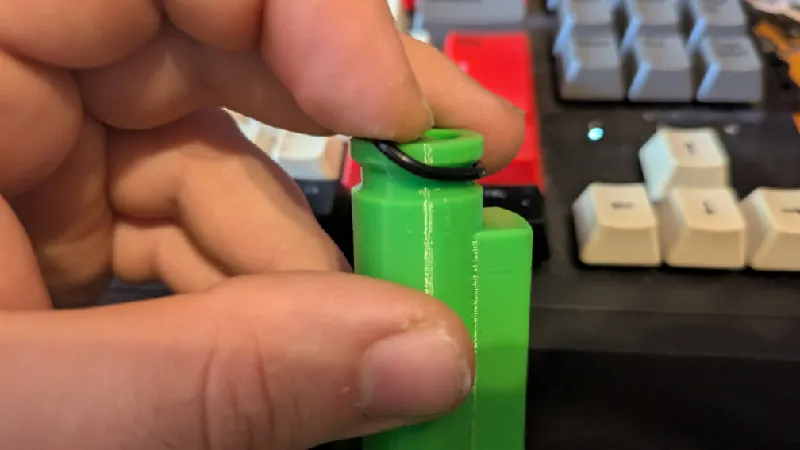
Then you can glue the front o-ring in its groove, or insert the TPU gasket in place
(pictured is the TPU version).
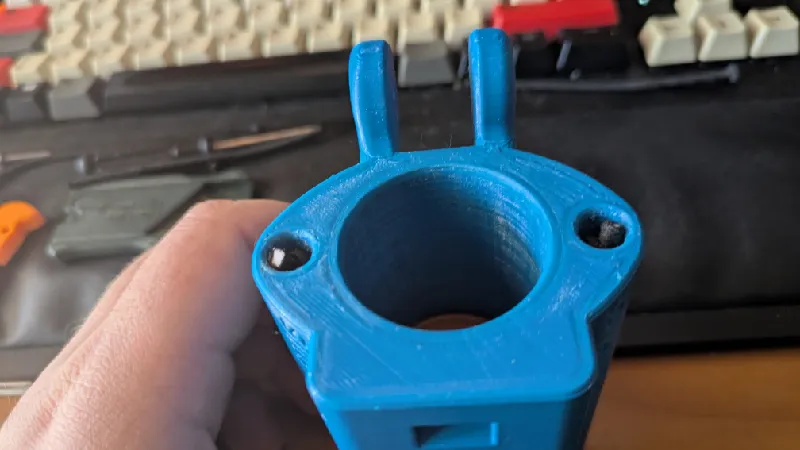
Now you can insert the “Main barrel” in the Pilot's breech, be sure that the screw holes are pointing up!
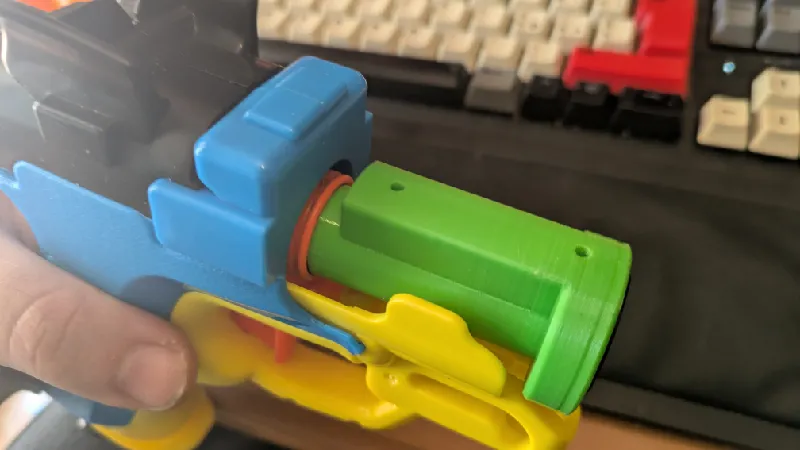
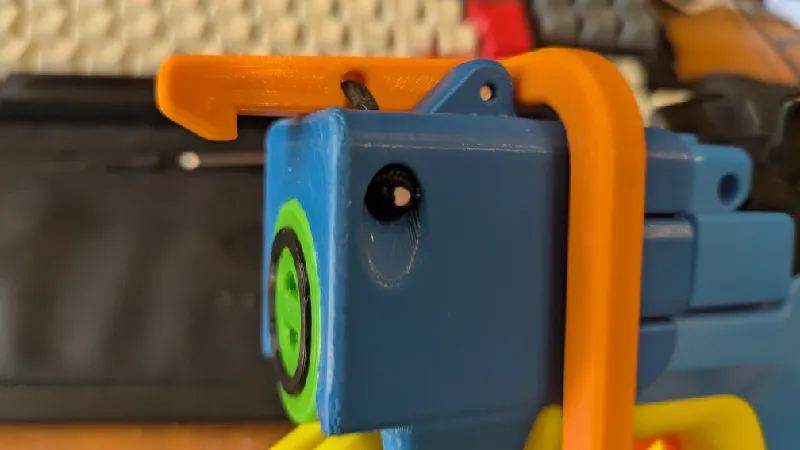
Insert the “Cam plug” in the cam.
Now you can slide the “Barrel shroud” on the “Main Barrel” piece.
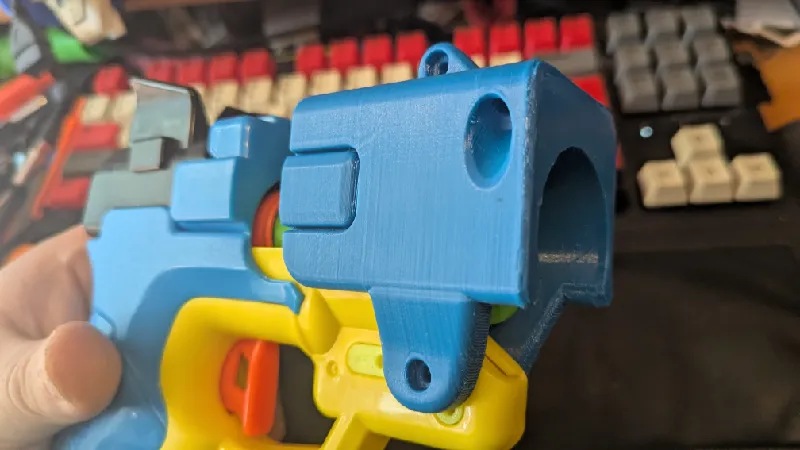
Screw the M3x16mm bolts in the holes at the top.
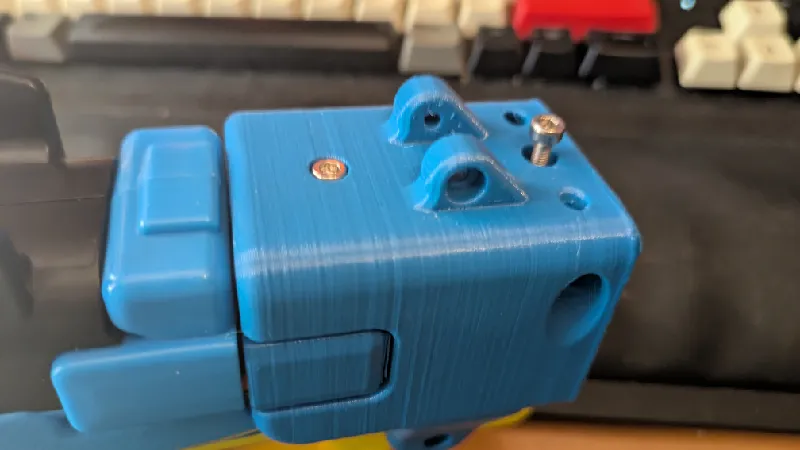
And one of the M3x25mm in the hole at the bottom.
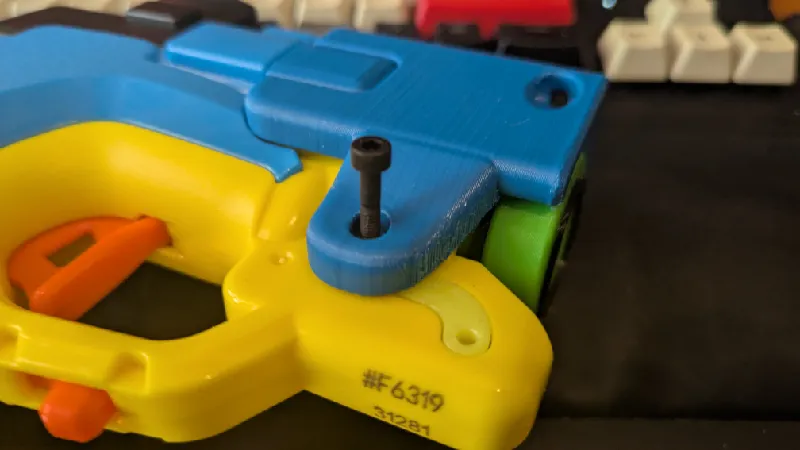
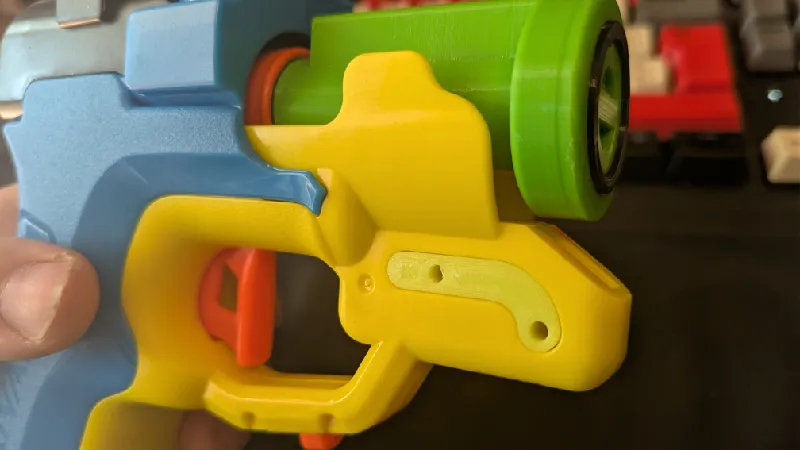
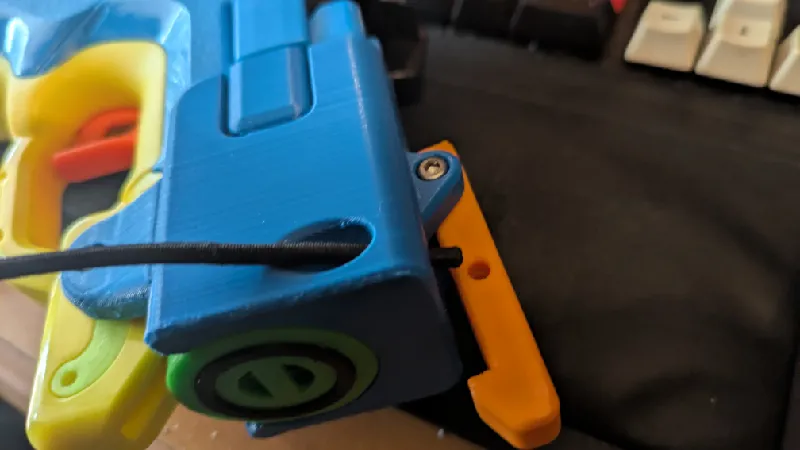
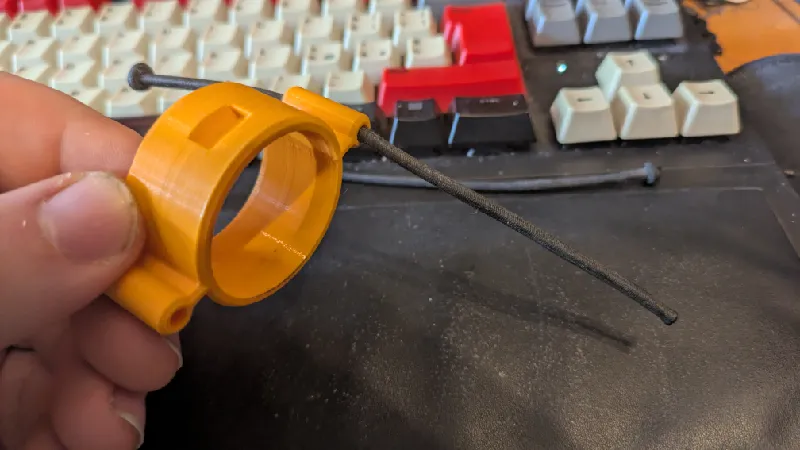
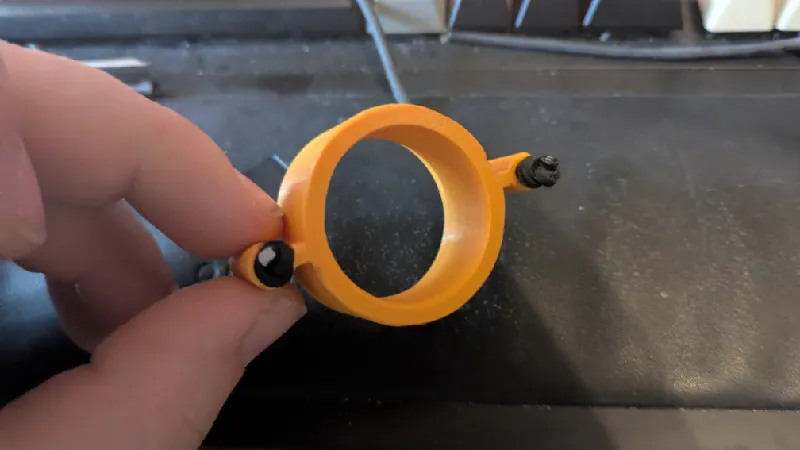
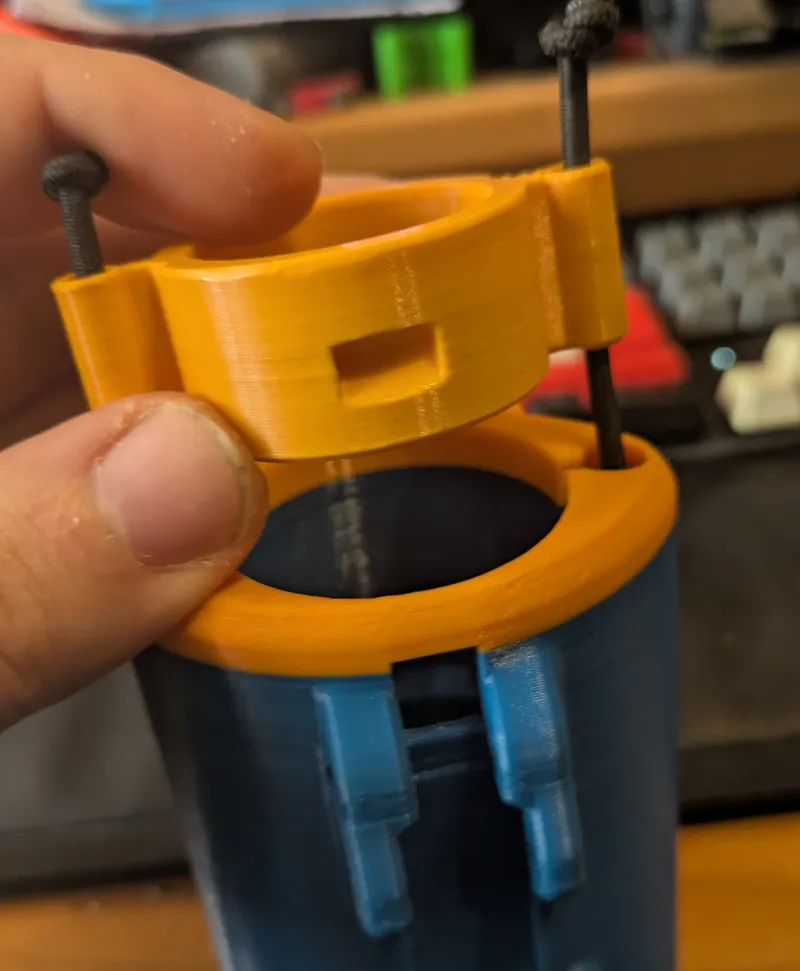
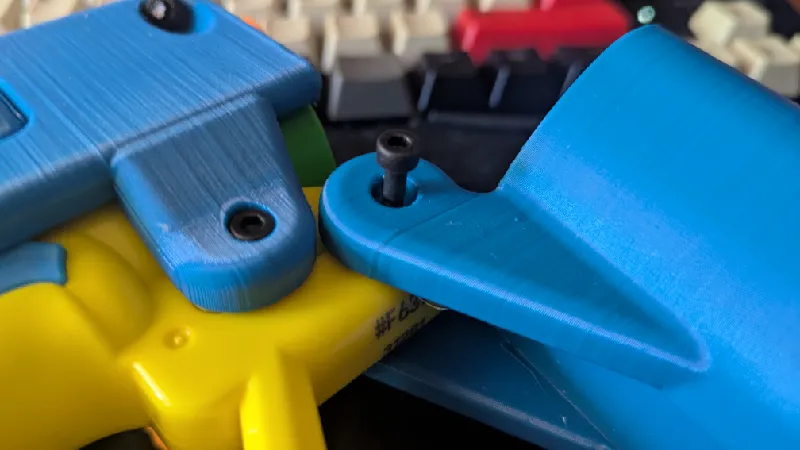
Insert the “Barrel release” of your choice in its hinge and screw it in place with one of the M3x20mm bolts, be careful to screw into the hole nearest to the lever!!!
now we can put in place the first piece of elastic cord, start by tying a knot at one end.
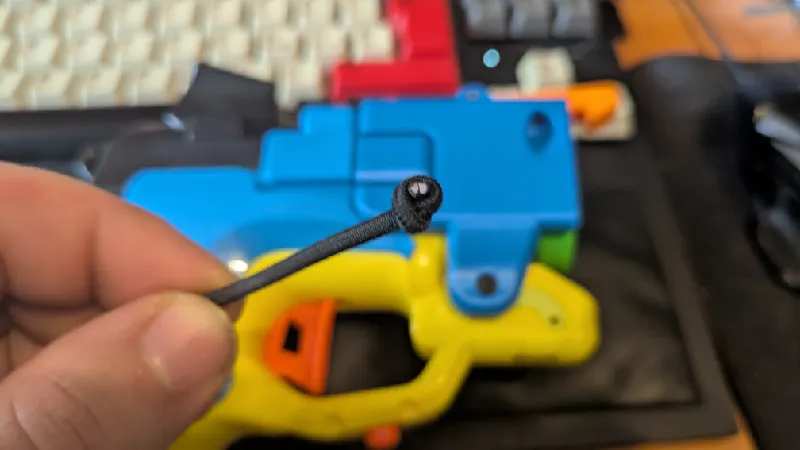
Then feed the other end in the holes showed in the following pictures.
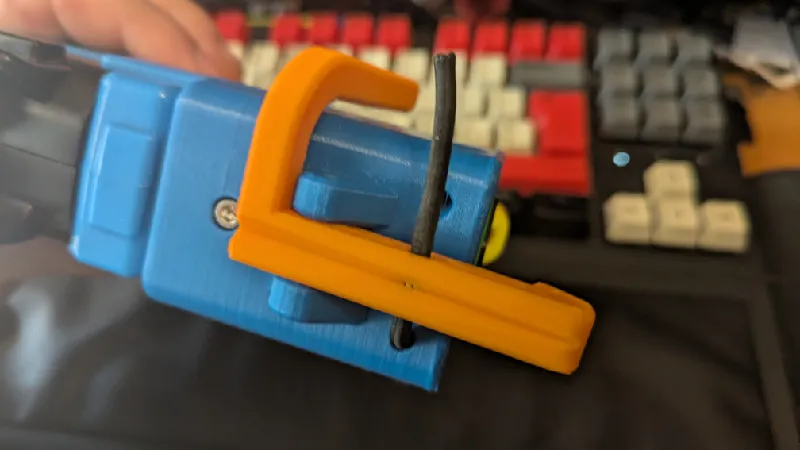
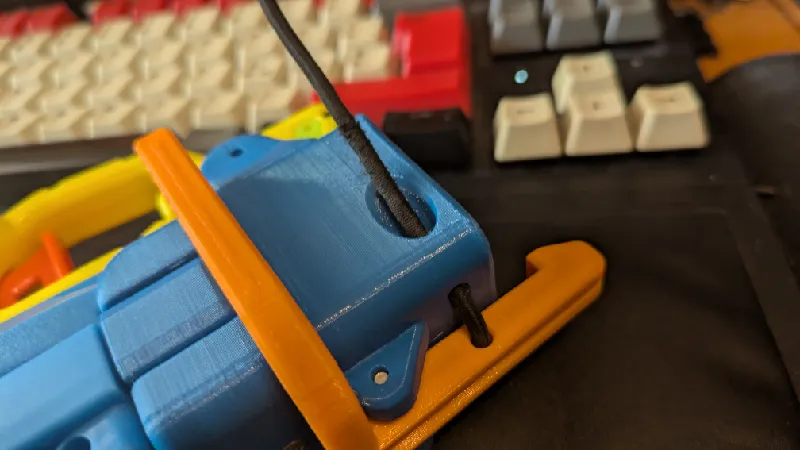
Now tension the string as much as you can and tie another knot at the loose end
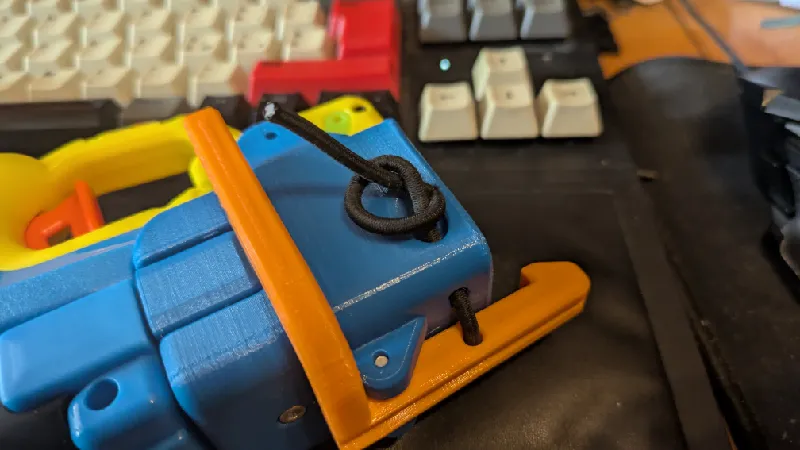
Check if the lever has enough strength to retain the breech, otherwise you will need to tension the cord even more.
When the cord has been sufficiently tensioned, you can cut and sinder the excess cord.
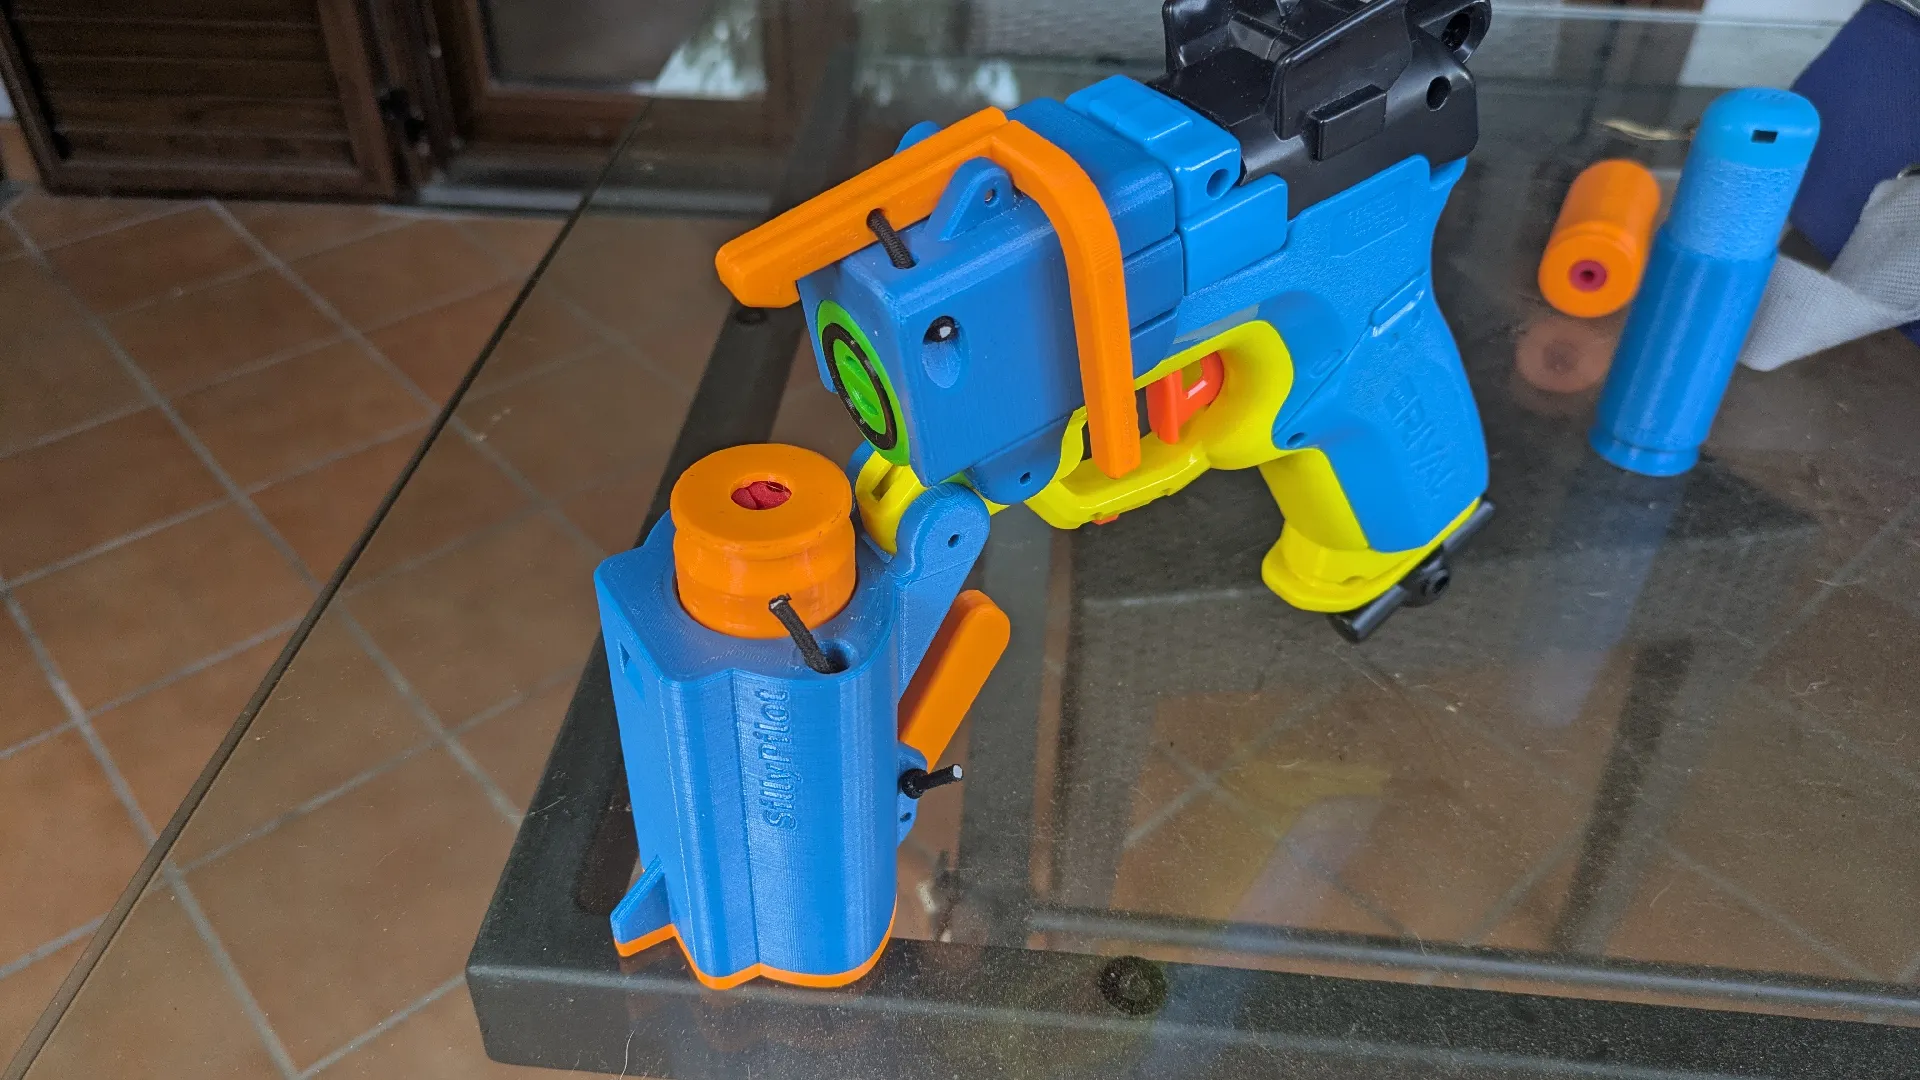
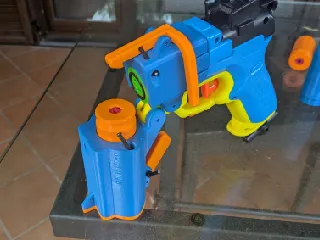
Now let's focus on the front part of the kit, the “Breech”:
First of all cut 2 pieces of cord of around 15cm, sinder both ends and tie a knot only on one end of both cords, just like with did for the “Barrel release”, then feed the loose ends in the holes of the “Ejector”. Since the “Ejector” is not symmetrical reference the pictures for the correct orientation, but as a general guideline, the flat face goes at the front.
Now feed the cords through the holes at the front of the breech.
Next, just like the “barrel release”, tension the cords and tie them.
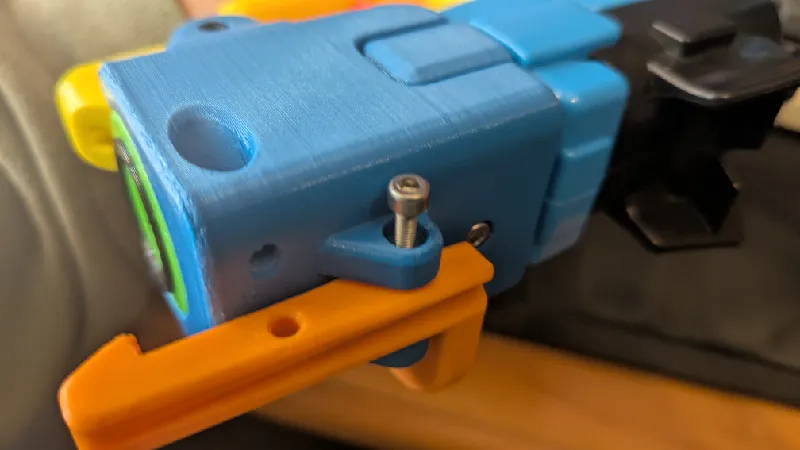
Now slide the “Ejector catch” in its place and screw the last M3x20mm in its hole.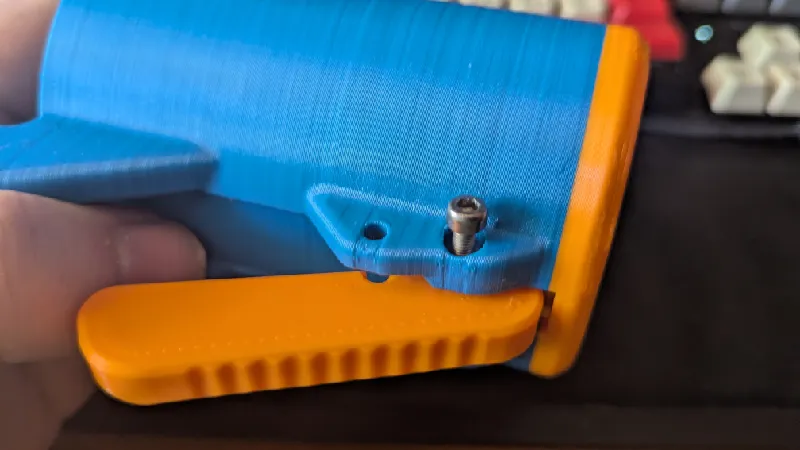
Next, like always, tie a knot on one end of the cord and feed the other end in the holes of the “Breech” and under the hook of the “Ejector catch”.
Tension the cord, tie the last knot and cut the cord in excess.
To finish off screw the last M3x25 in the holes of the “Breech” and the “Cam plug”
And you're done!
Operation
Performance - WIP
All test were conducted with an unmodified Pilot, apart for the installation of the kit.
I don't have Rival, Ultra, Hyper and N1 ammo to test, if someone can submit results, they will be added to the table.
| Dart Type | Shell | FPS average |
| Full length | Elite x1 PCAR | 85 |
| Short dart x1 | Elite x1 PCAR | 90 |
| Short dart x2 | Elite x1 PCAR | 60 |
| Full length | Bottlenose 8 inches | 110 |
| Short dart | Bottlenose 8 inches | 155 |
| Full length | Elite x3 | 56 |
| Short dart x3 | Elite x3 | 62 |
| Short dart x6 | Elite x3 | 55 |
| MEGA Accufake | MEGA Accufake | 62 |
| MEGA XL | MXL Rifled | 35 |
Final notes
The ejection system doesn't have enough force to eject larger shells, like the Bottlenose or the Sniper ones, but you can still easily grab them via the lip at the bottom of the shell.
I would strongly thanks Sillybutts for the creation of the Silly Shells and for giving me the idea of this kit, i really hope that some day we will see his version of this kit.
And i also want to thank Spyr for designing the Yeethammer, because its ejection system was a strong inspiration for the one of this kit.
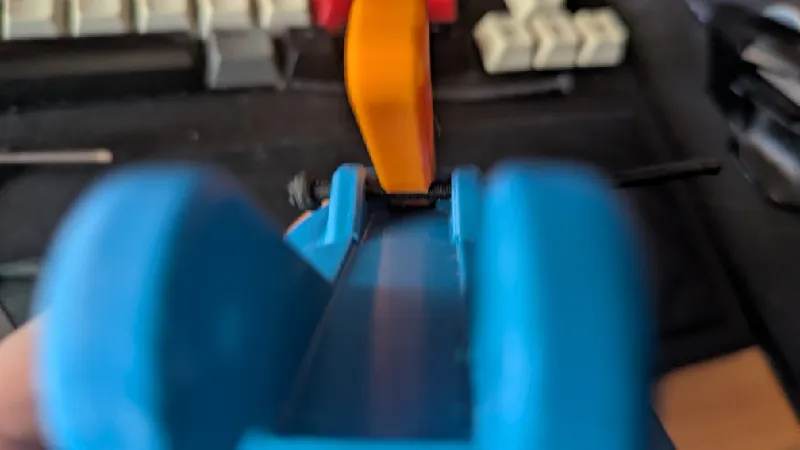
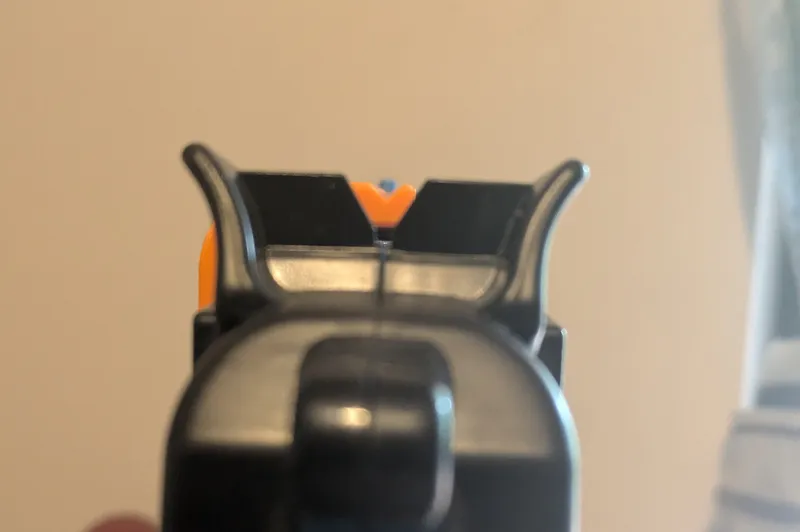
Also, here is a photo of the sight picture with the kit
Tags
Model origin
The author remixed this model.

Differences of the remix compared to the original
This kit is designed to use Silly Shells