Guts Berserker brand of Sacrifice PIP

Description
PDFLesson Plan and Constraints:
This is part one of my final project; our task was to make anything.
Summary / How to:
My Print In Place (PIP) design features Berzerker's Brand of Sacrifice, I chose this because the story Berzerk is one of my favorite manga I have read.
For anyone creating their own, I recommend to just make offsets of the lower triangles
Assembly/Construction Instructions:
Creating constraint box:
- Create a new part
- Select the front plane
- For this design, you will use a circle
- Extrude the circle
Making the design:
- Import the photo in the appearances tab
- Scale the photo so it fits on
- Trace the shape
- Once your shape is made, use the “fillet” option to make any pointed shapes more rounded
Offsets:
- Once you have your shape select the offsets tab
- Keep offsetting the shape until it can’t (NO THIN POINTS)
- You should only be able to offset the main body once,
- Move from the main body to the two triangles in the symbol
- Offset those around 8 to 10 times
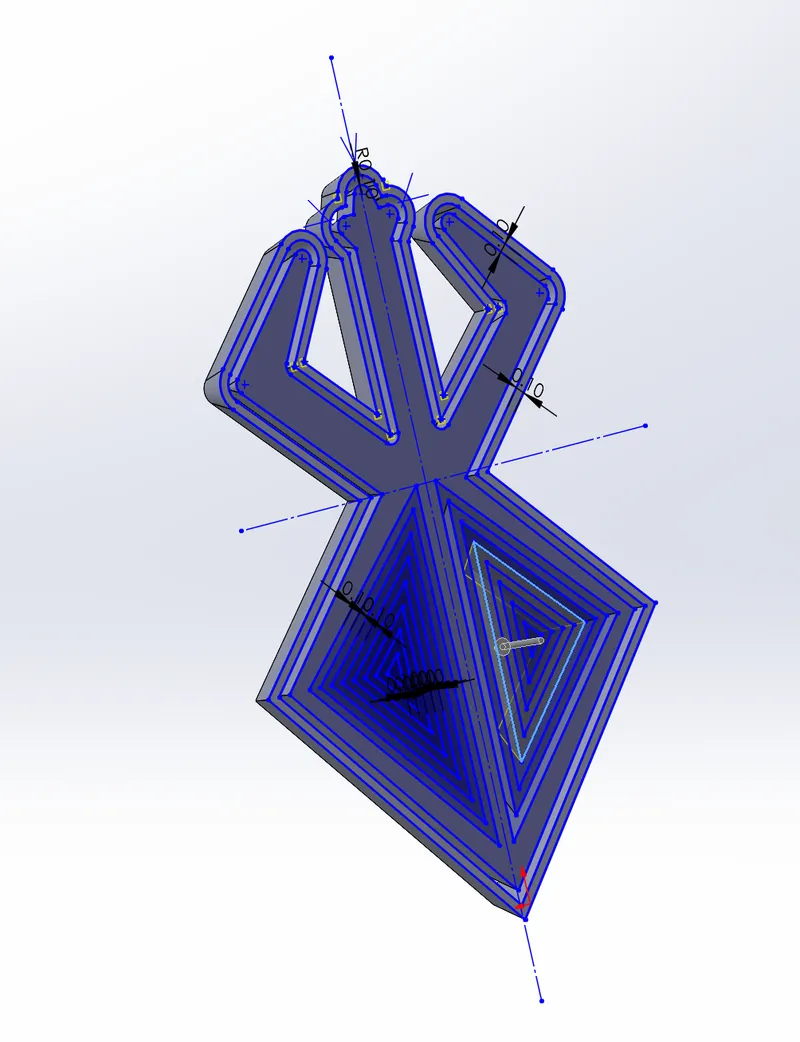
Boss-extrude:
- Select the outermost layer and extend
- Make sure the height is 0.5 cm
- And set the degree to 20.00
Extrude Cut:
- For the cuts and extrudes you will interchange them
- For every boss extrude there will be a followed-up extrude cut
- For every cut you must reverse the direction
- Set the degree to 15.00
- And the height to 0.5 cm
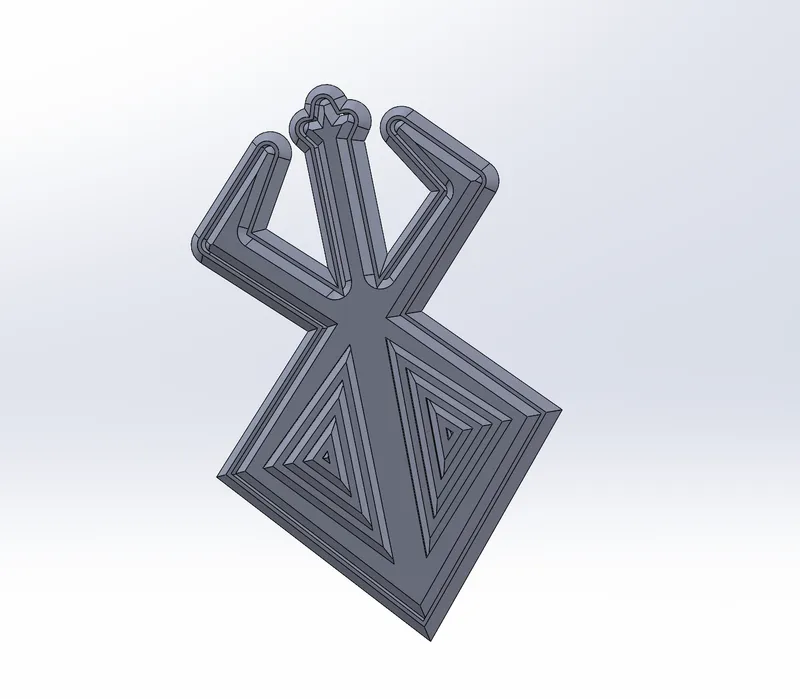
Mirror the figure:
- Select the front plane used for the feature tree (front plane)
- Navigate to the mirror settings, then change the menu option to [Bodies].
- Select every ring, and make sure [Merge solids] is selected
- Click the green check mark to finalize the mirror, after this is done the other half of the symbol should be filled out.
Design Choices / Changes:
When making the Berzerker symbol, the overall process wasn't overly complex, but there were some important design and technical considerations to keep in mind. Initially, my intention was for it to be an additional detail for my final project, not the main focus. However, the process evolved as I realized some challenges made the project more intricate than I had anticipated.
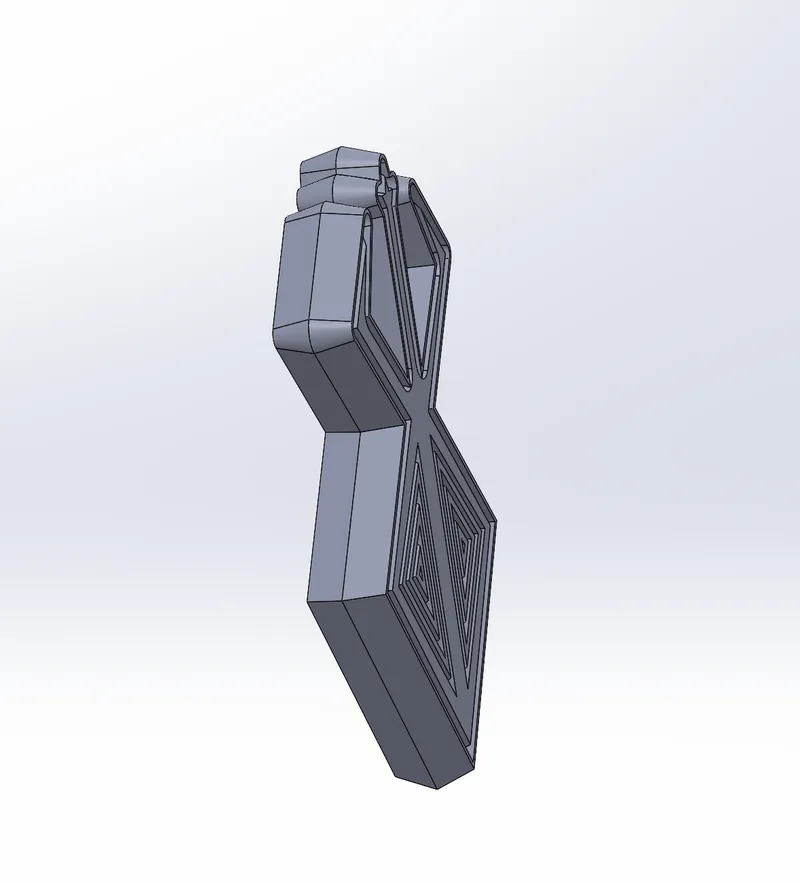
The primary challenge stemmed from ensuring that the three-pointed sections at the top of the symbol would print properly. These points were relatively thin and delicate, which made them prone to breaking or becoming misaligned during the printing process. The issue with printing thin, pointed shapes is that they have minimal surface area to adhere to the print bed, making them especially vulnerable to warping, detaching, or bending as they are being printed. Also, the small size of these points meant they didn’t always have the structural integrity needed to withstand the forces at play during the printing process.
I also wanted to make the entire body have a PIP effect but that would be impossible because the most offsets I could get were just one, so instead of wasting extra filament I just opted to make the holes of the symbol to give the PIP effect.
Model origin
The author marked this model as their own original creation.


