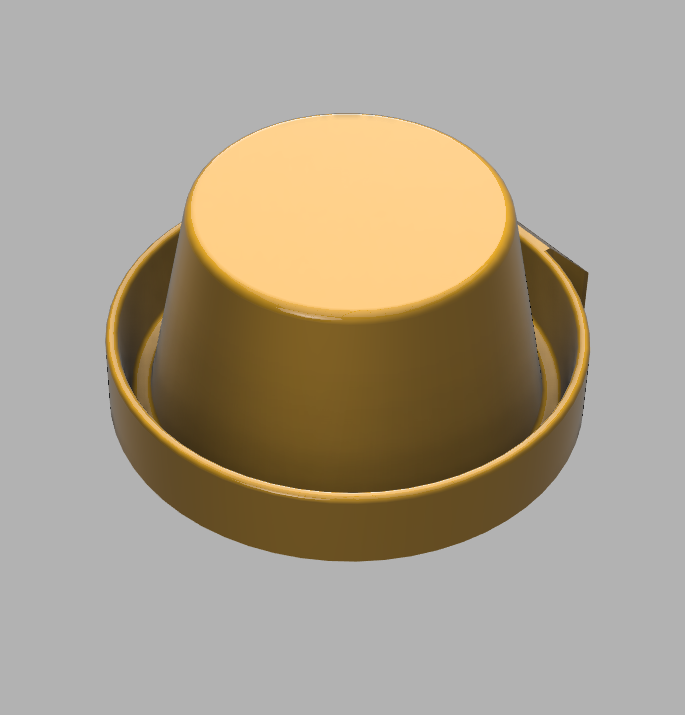
Modular Dolce Gusto Capsule Dispenser System


Description
PDFModular Dolce Gusto Capsule Dispenser System
A turntable version is also available
Update 09. Mar 2025:
- Added two parts to beautify the system, closing unused openings
Update 23. Jan 2025:
- Added another set of Units (Useful Stuff) consisting of a base, mid and top unit with attachable accessories such as a mug holder and a mug ring
Update 22. Jan 2025:
- Uploaded the accessory files (small tub/bottle stand) again because the files were not visible correctly after the first upload
Update 21. Jan 2025:
- Exchanged the two DolceGustoExtension Files (.3mf and .stl) due to a missalignment of the wall mount holes, now the holes align with the matrix of all other parts.
- Added a Bottle stand for wall mounted sytems
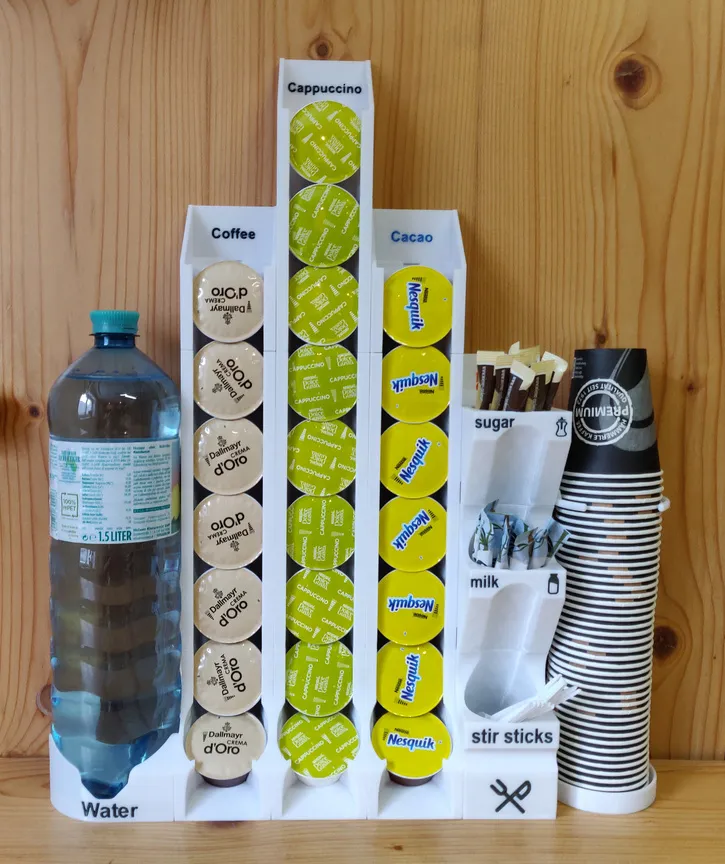
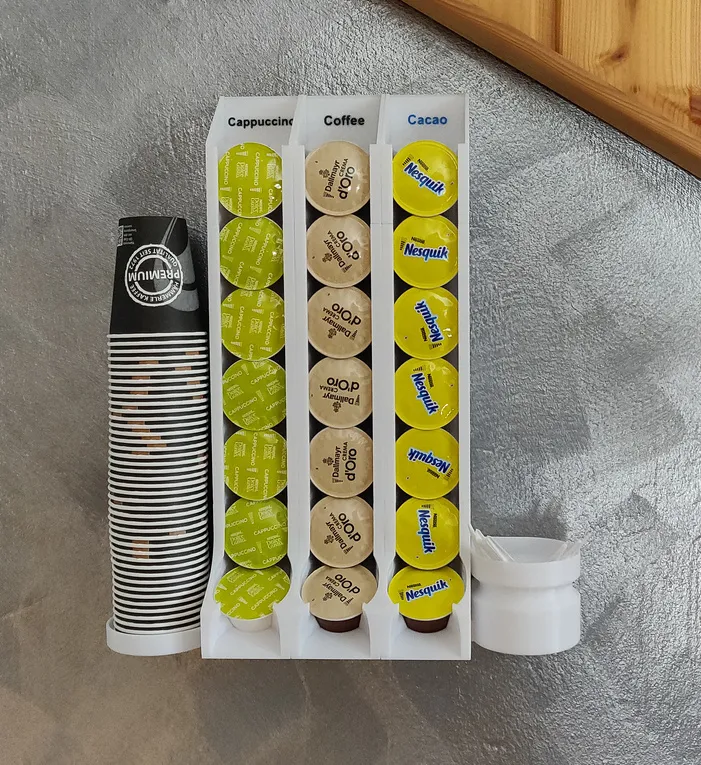
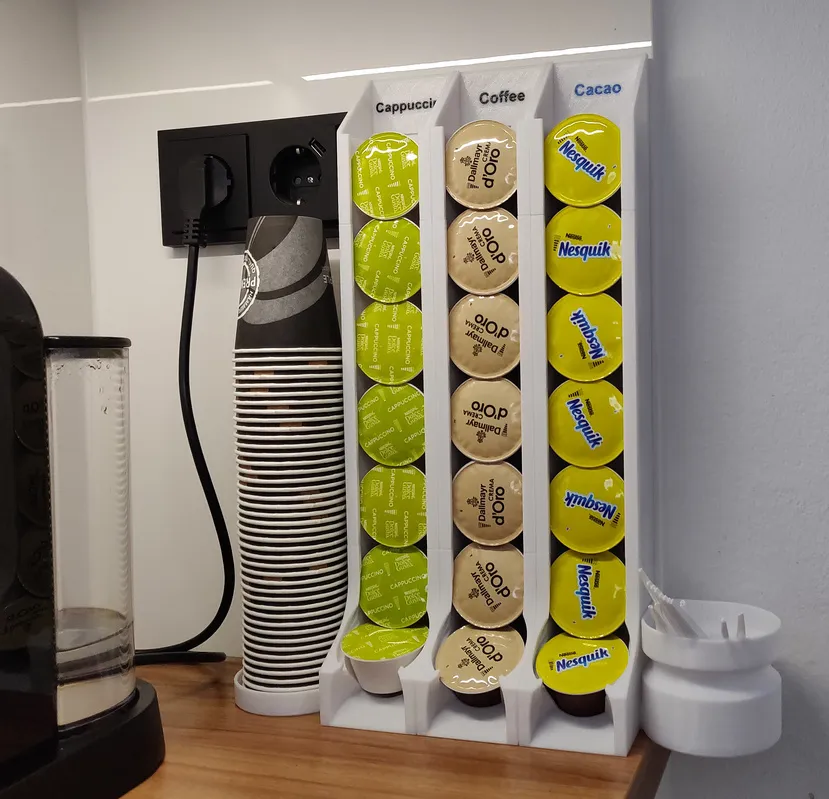
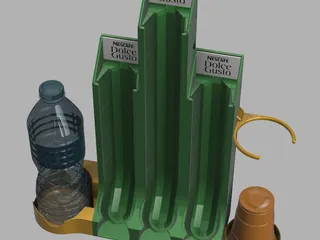
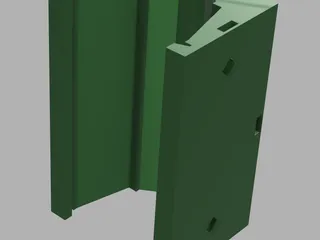
A modular dispens system with a base unit (2 capsules) expandable to a big dispenser system, usable as desktop or wallmounted. All units are connectable without glue. For use as a wall mounted system, the minimum configuration is two base units next to each other or one base unit and one extension on top of each other.
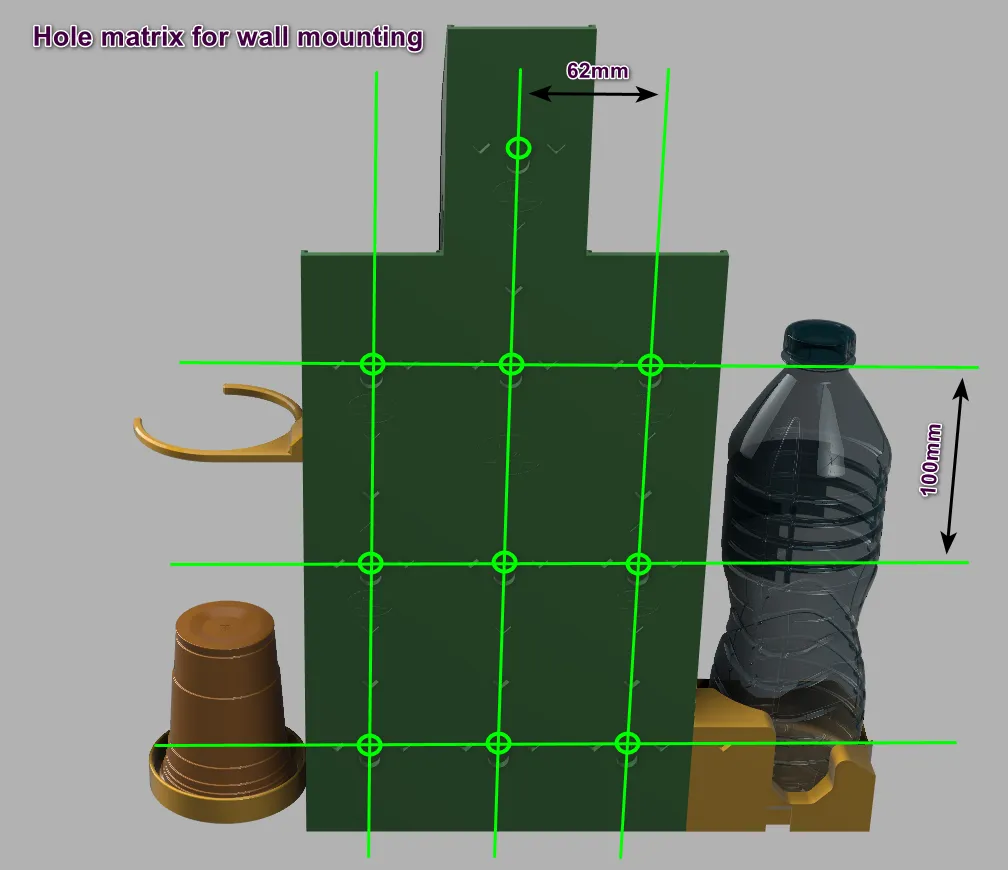
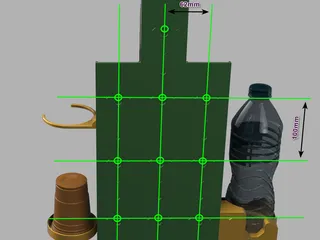
Each dispenser unit has a hole on the back to hang it up with a 3.5mm countersunk screw. The hole matrix is 50mm from the bottom of the base unit, plus 100mm for the first extension or multiples of 100mm for multiple extensions or the top unit (height). The side spacing is 62mm for 2 columns or multiples of 62mm for multiple columns (width).
For stable wall mounting, use at least one screw on each outer base unit (bottom left and right) and one screw on the middle top unit. This creates a mounting triangle.
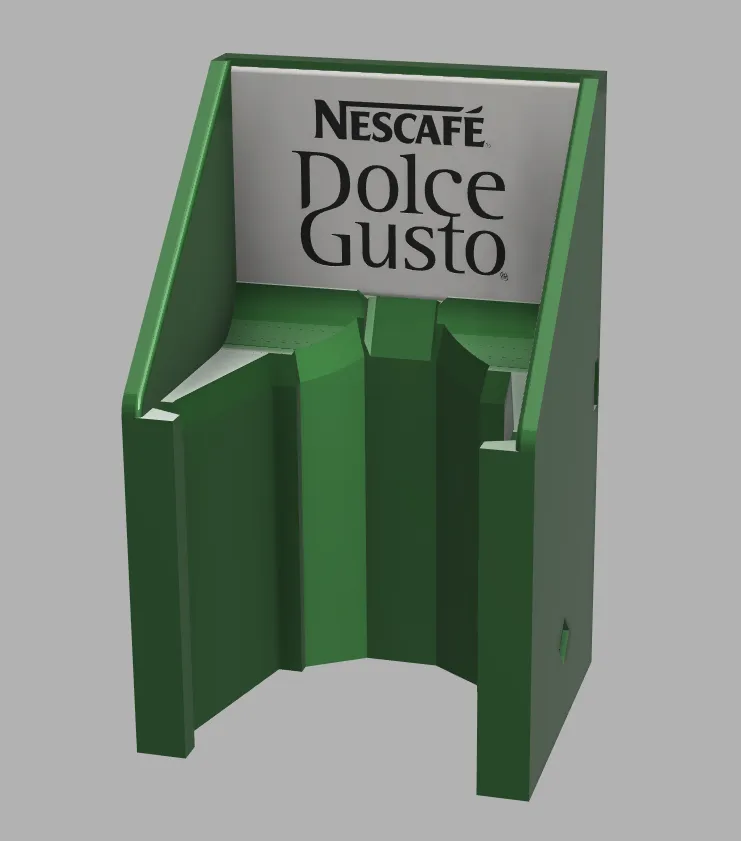
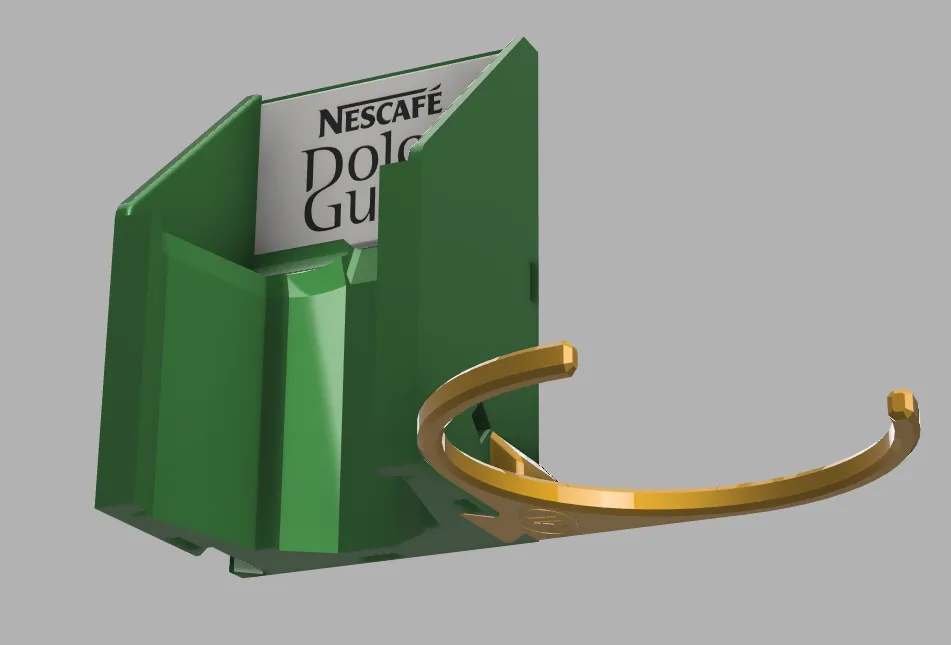
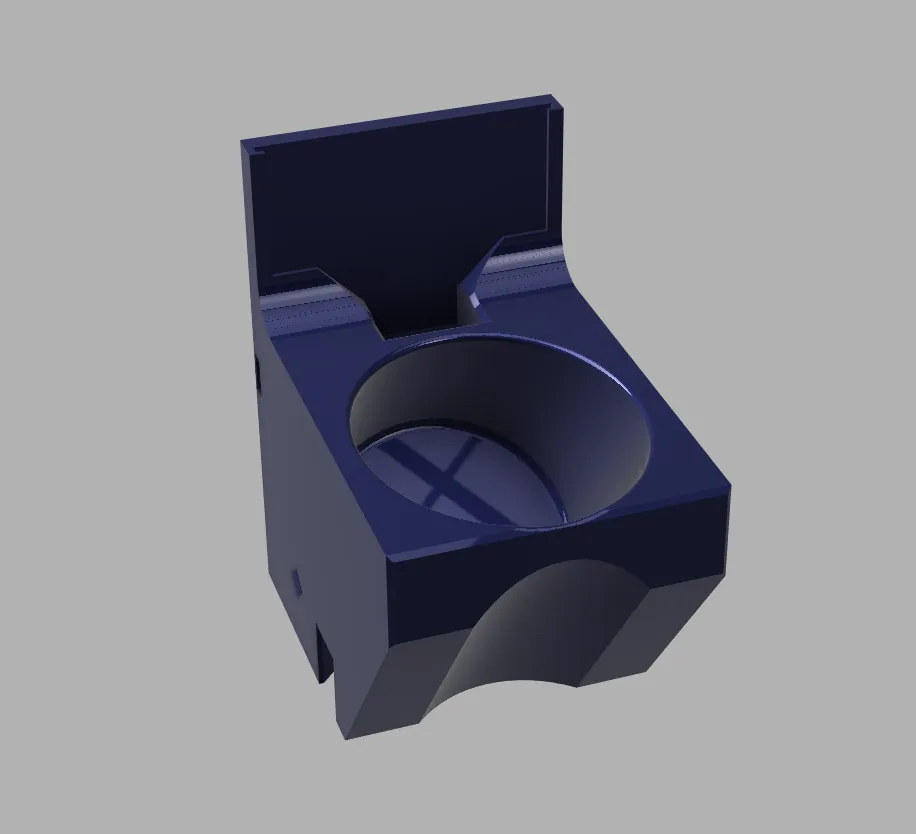
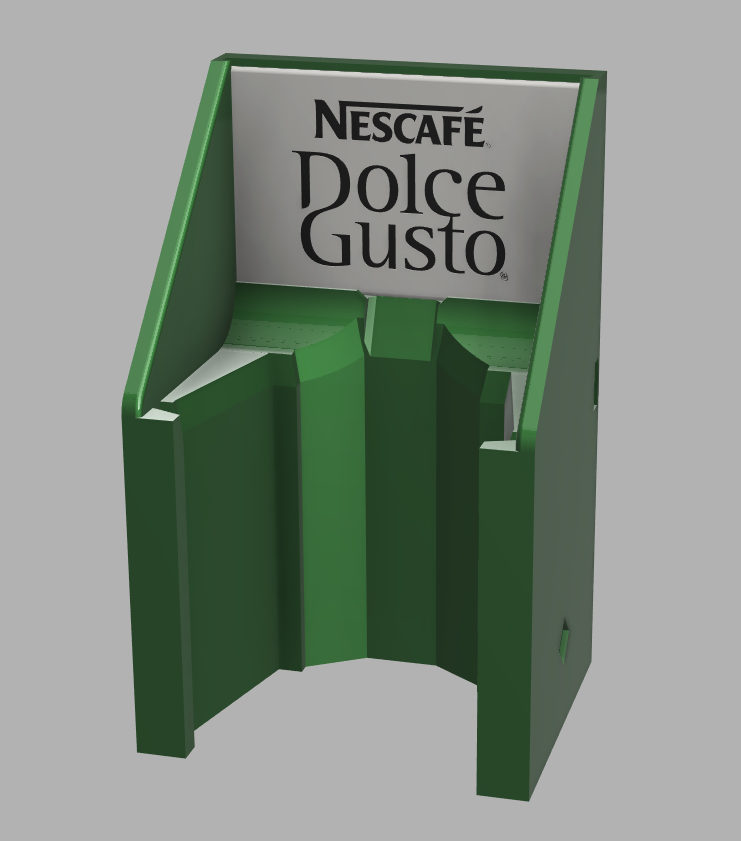
The top unit is optional and can be provided with a replaceable label. For accessories scroll further down.
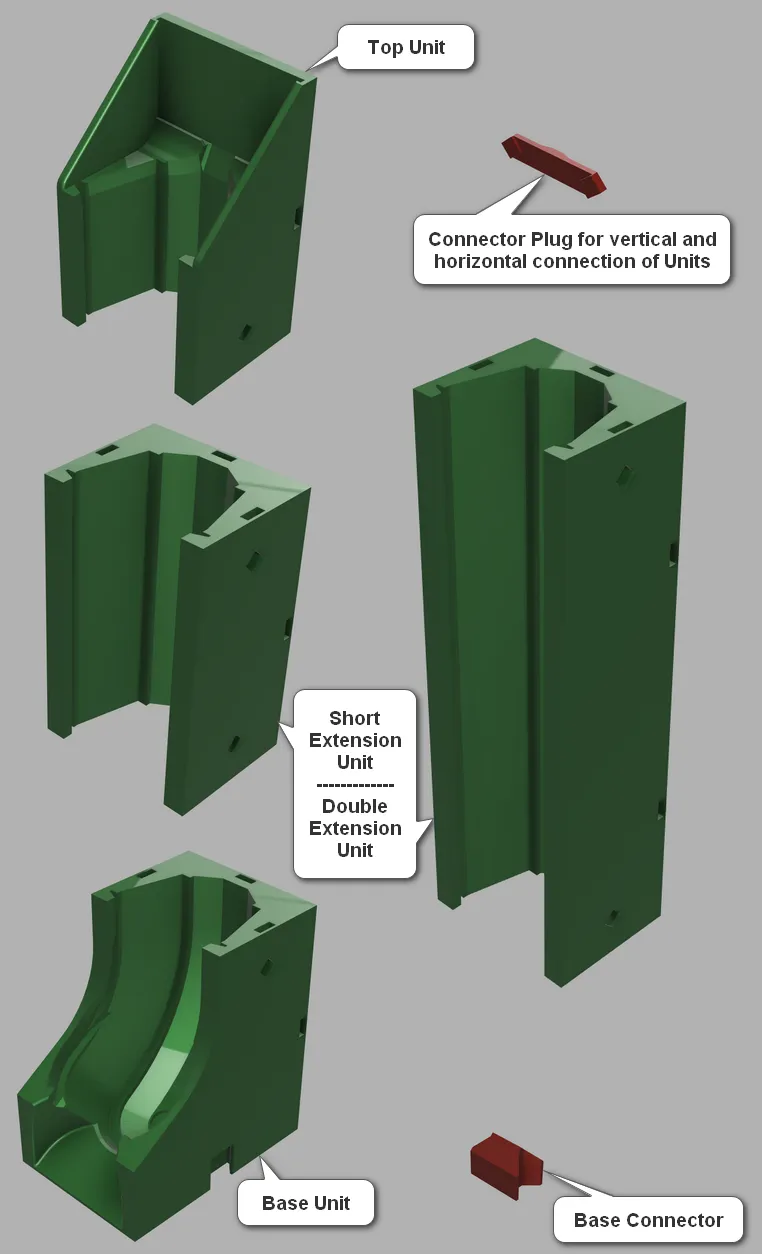
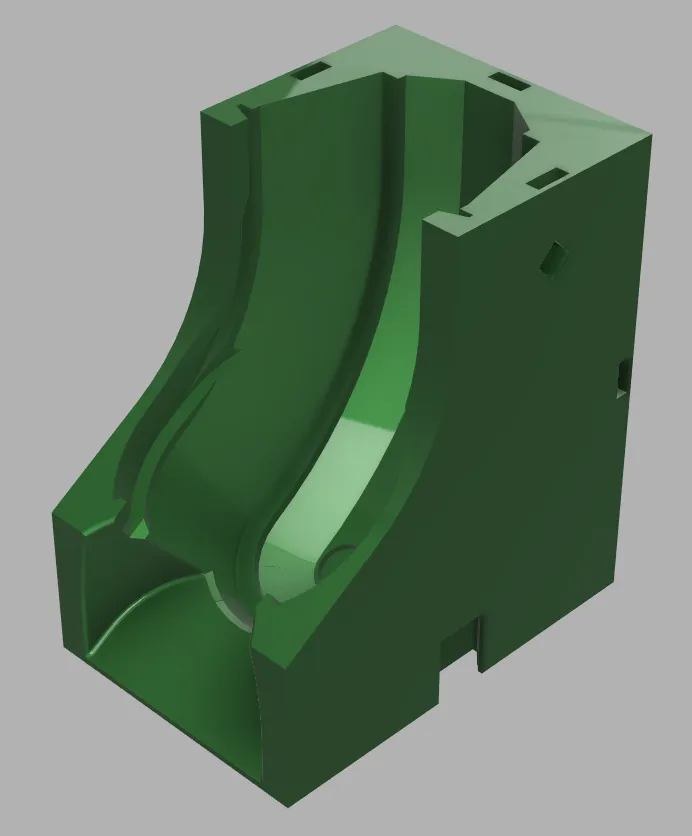
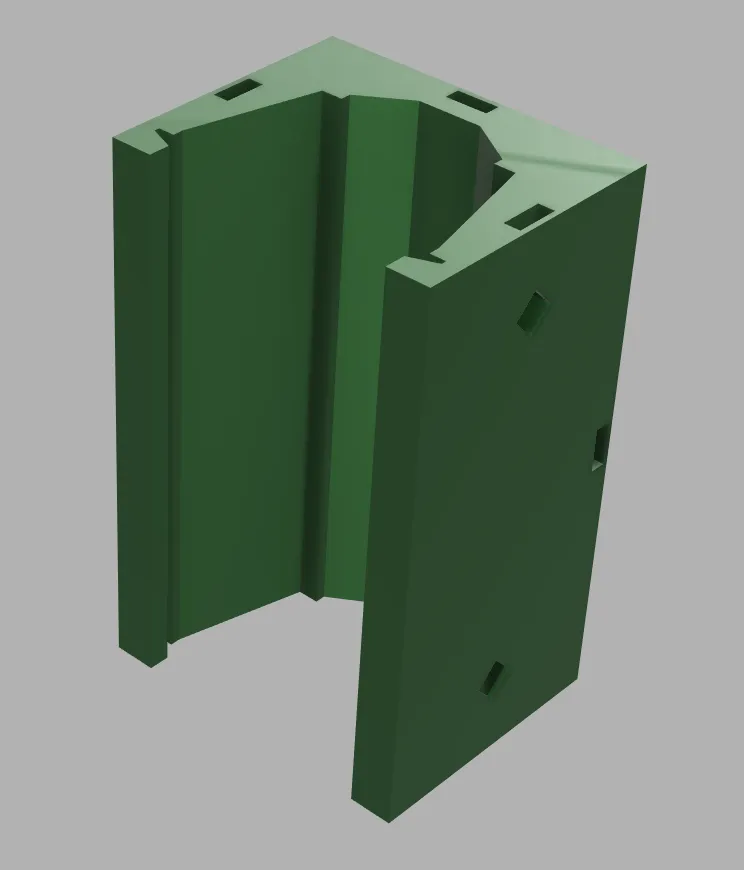
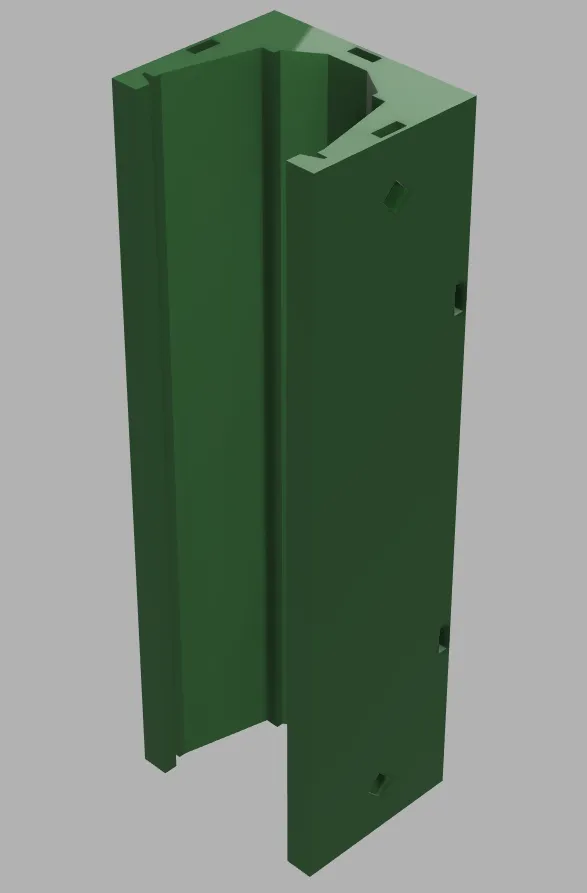
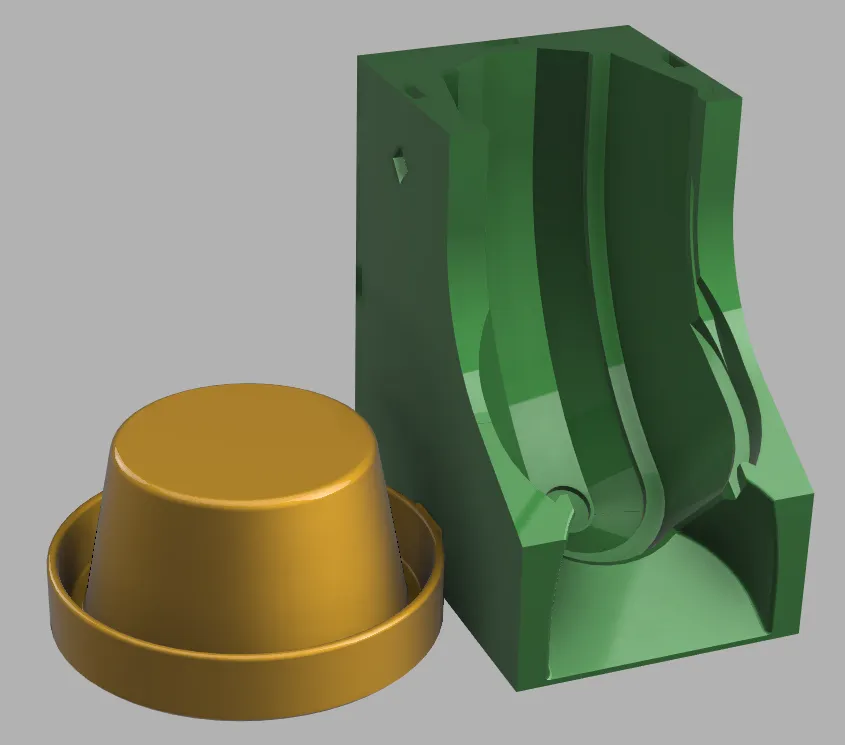
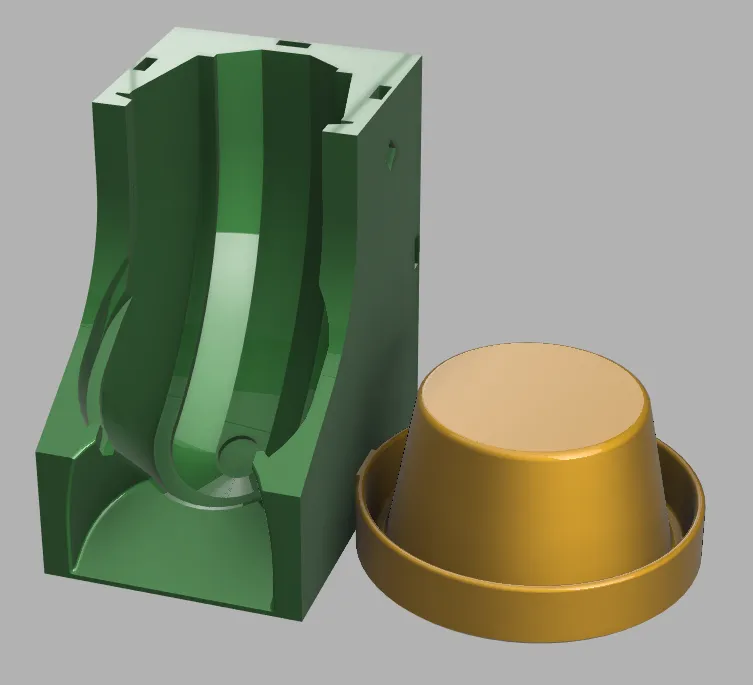
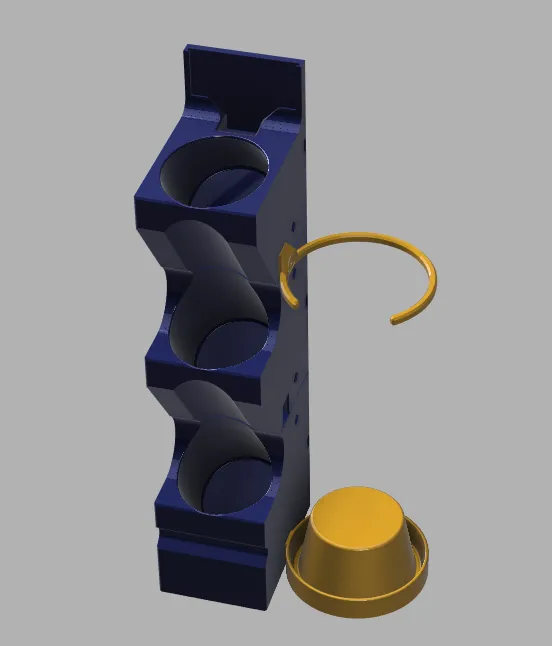
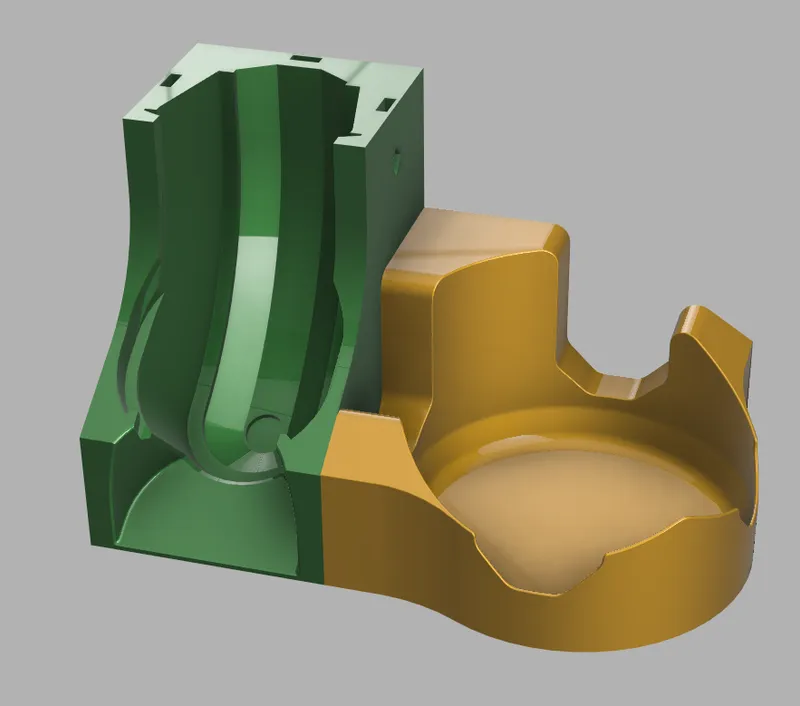
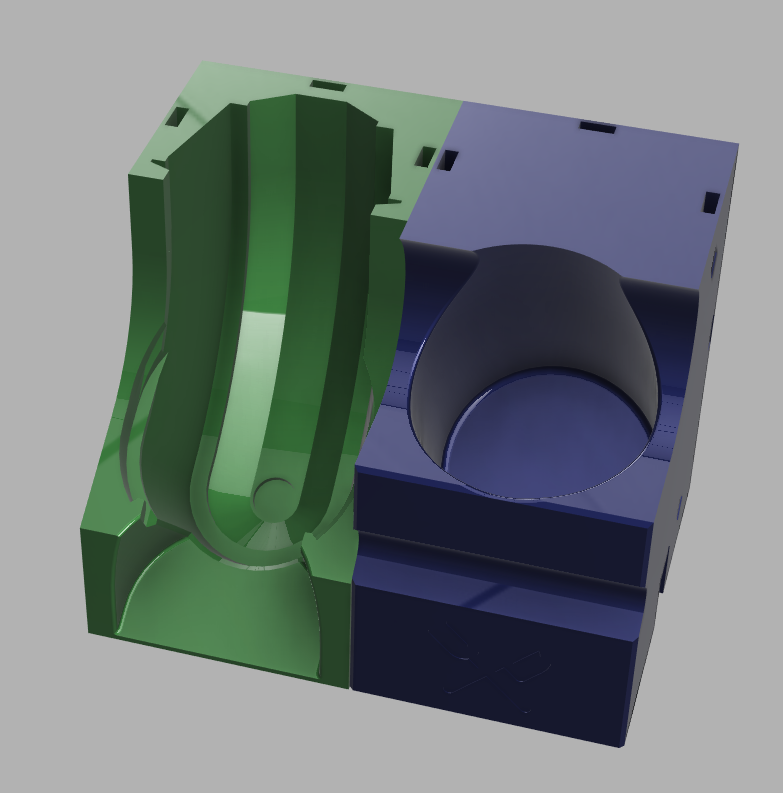
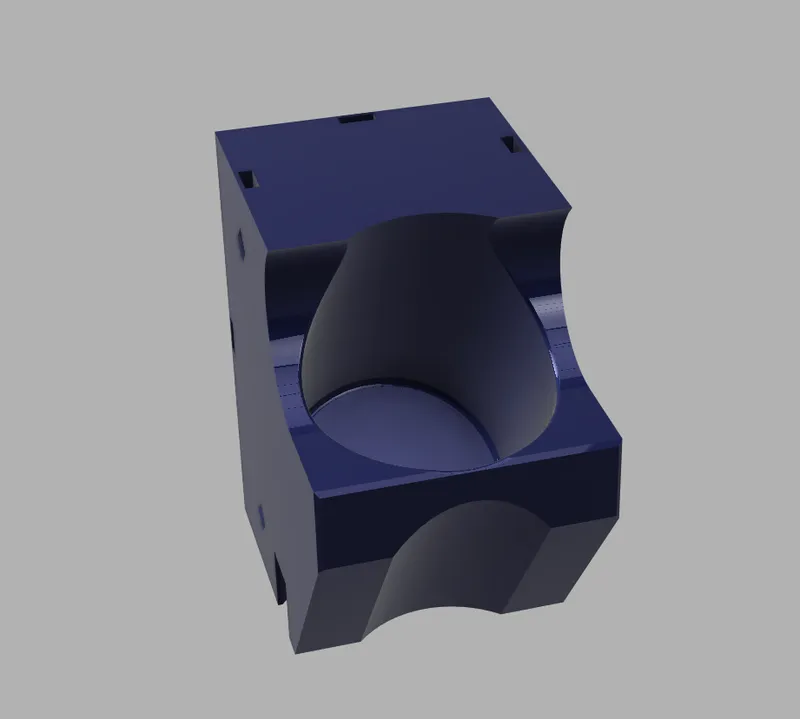
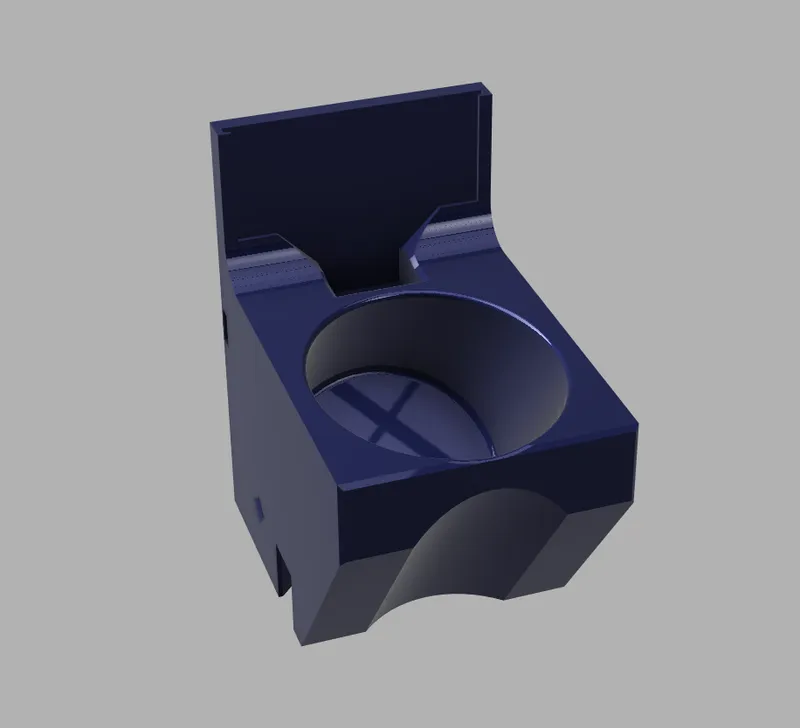
Base System components
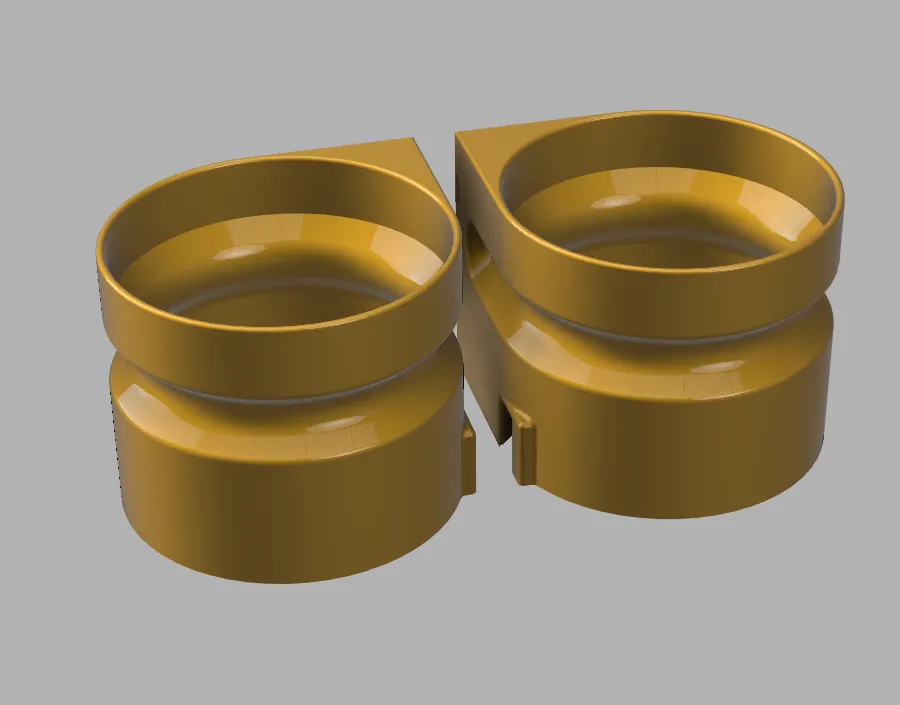
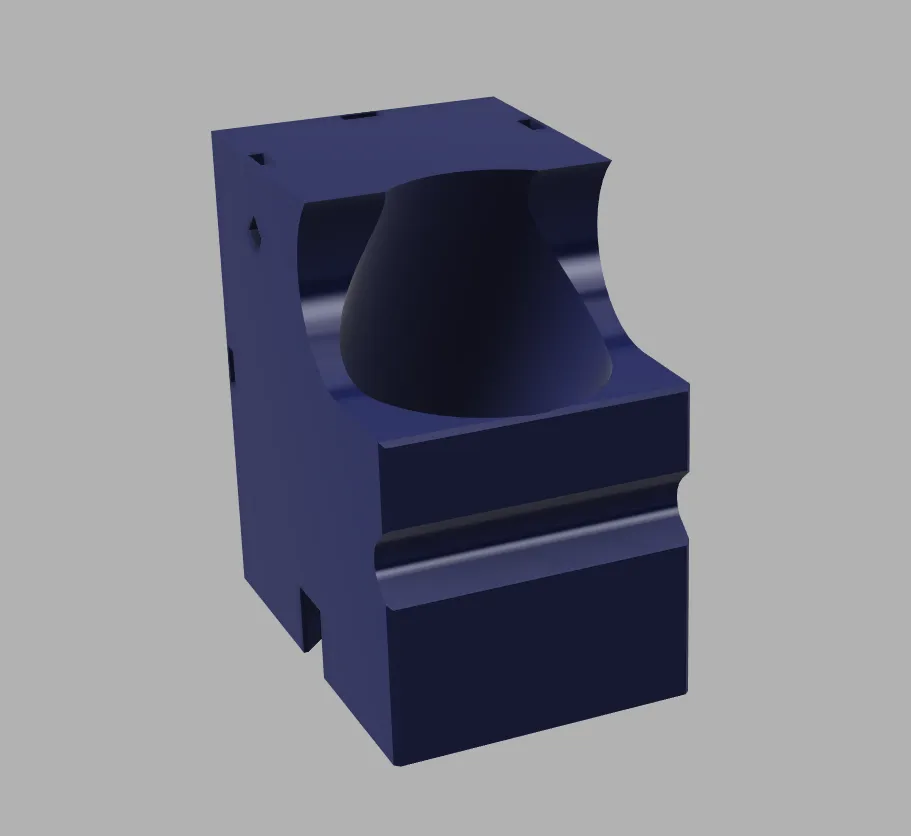
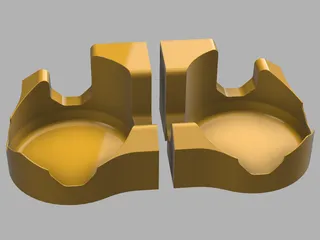
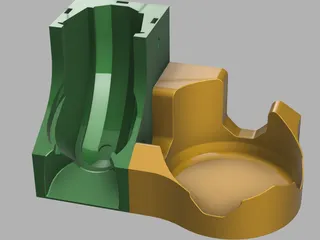
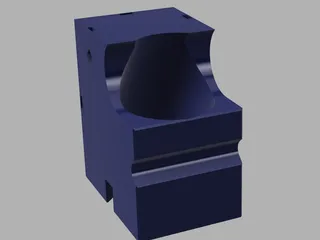
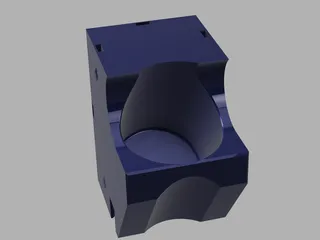
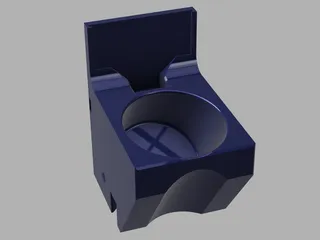
- base unit (2 capsules) hight 100mm, depth 90mm, width 62mm
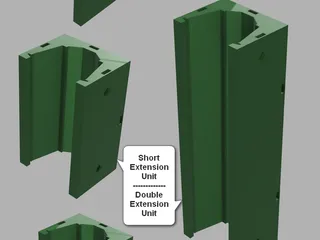
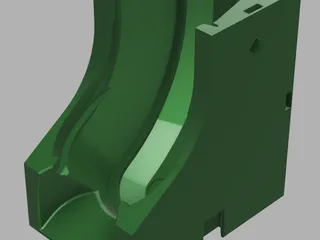
- extension unit (4 capsules) multiple expansions possible, h 200mm, d 50mm, w 62mm
- short extension unit (2 capsules) multiple expansions possible, h 100mm, d 50mm, w 62mm (use with printers which can't print 200mm height)
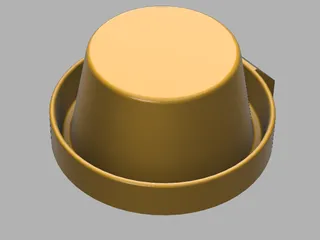
- top unit (1 capsule, with changeable labeling) h 100mm, d 50mm, w 62mm
- top plus accessories, like the ‘top unit’ with additional attachment options for accessories
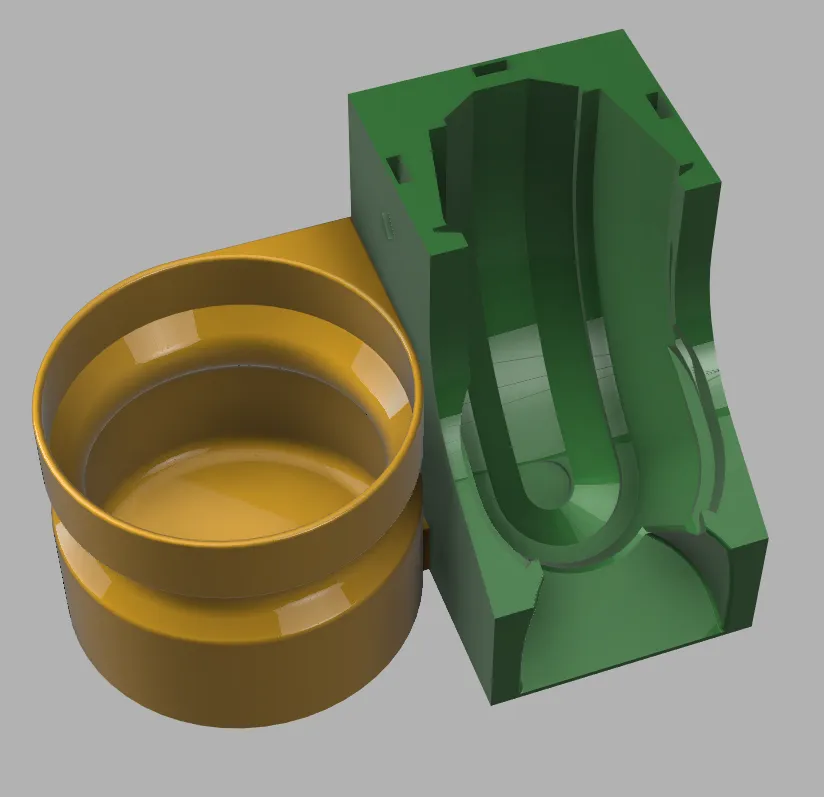
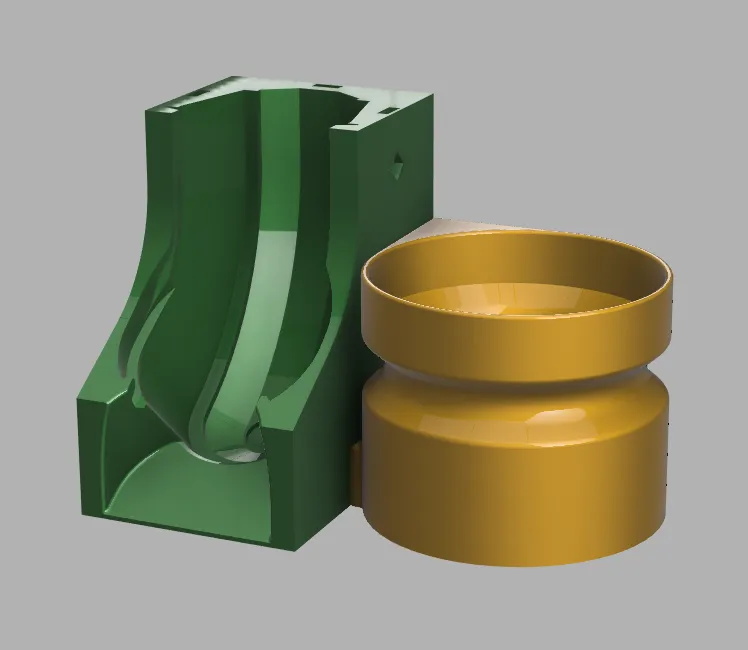
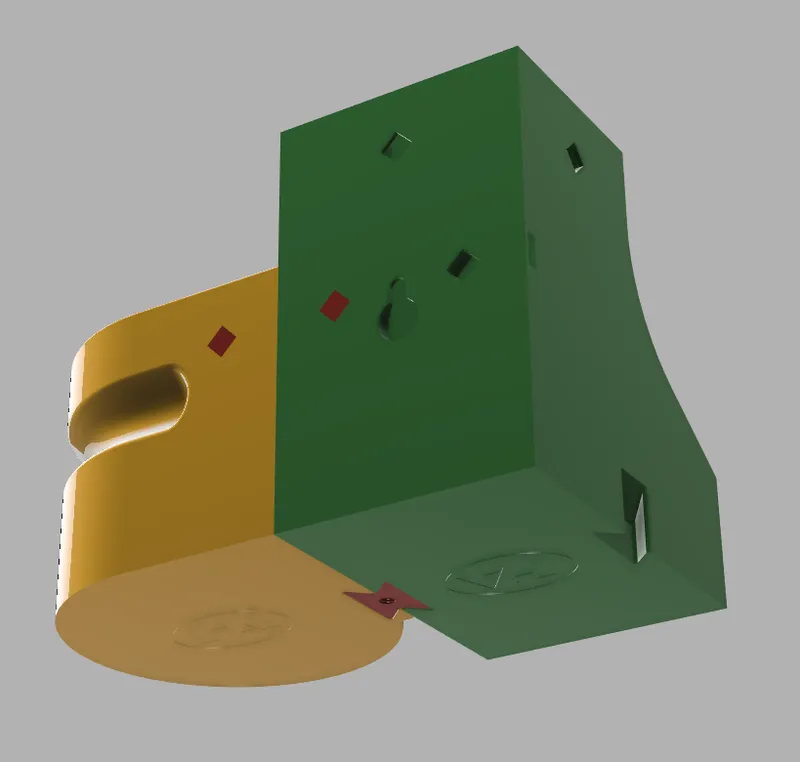
- base connector to hold the bottom of base units together (columns)
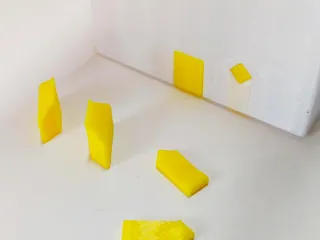
- connector plug to put the units together vertically and horizontally
Accessories
- Label for top unit (to put your own text on it use the slicer)
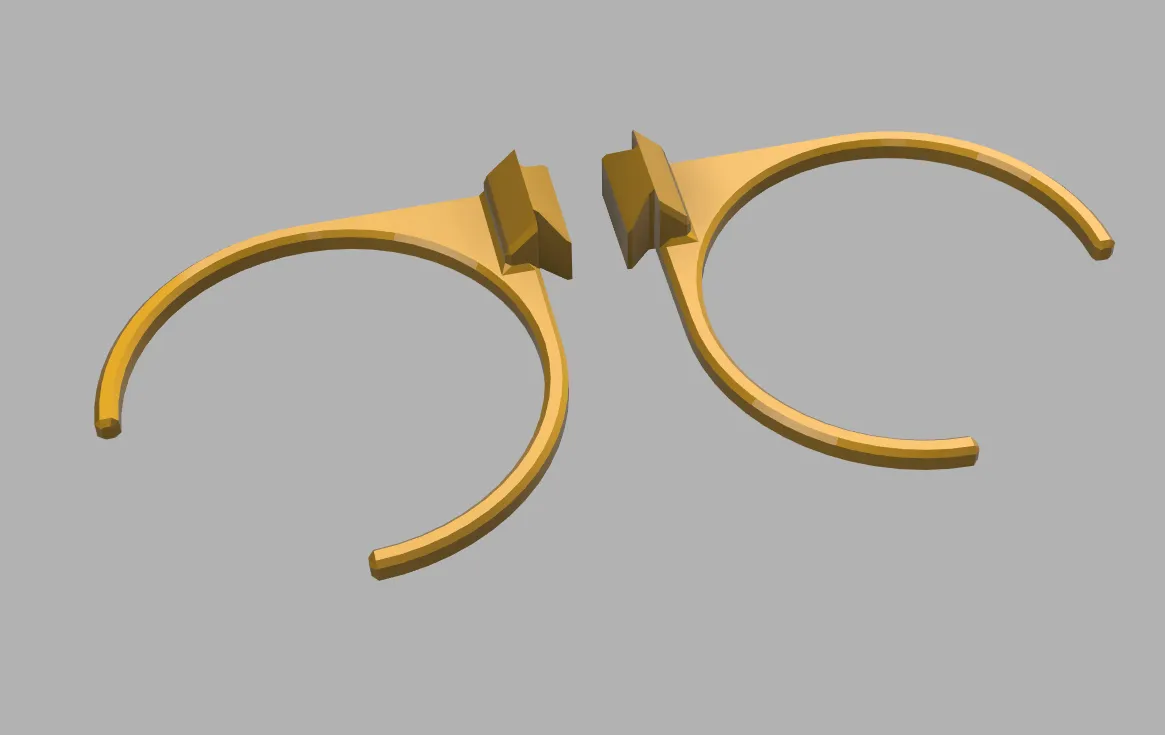
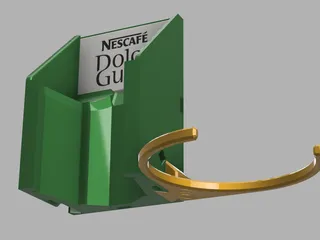
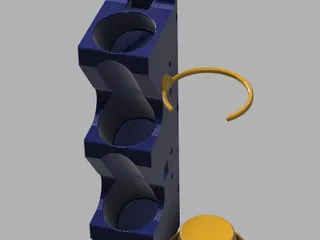
- Mug holder, for use on left or right side of dispenser base
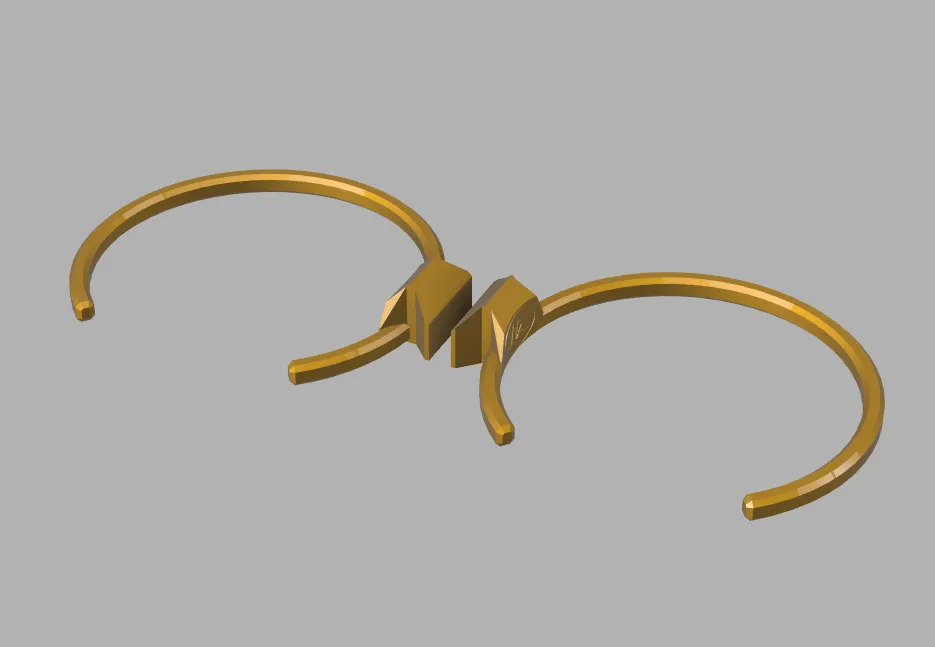
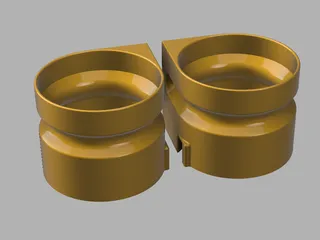
- Mug ring, for use on dispenser ‘top plus accessories’ to hold stacked mugs, left and right version. Be aware that the mug ring must be fitted to the top plus unit before attaching the assembly to an expansion unit!
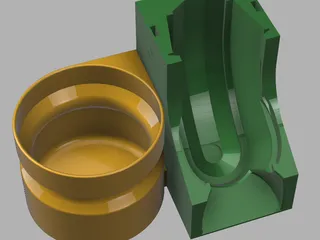
- Small tub, left and right versions for dispenser base, usable to hold spoons, sugar etc.
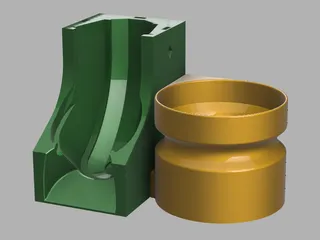
- Bottle stand, left and right versions for dispenser base, thought for water supply if tap water is not drinkable.
Useful Stuff
- Useful Base unit, to offer spoons or stirrers or something else. Add a SVG icon with the Add-SVG function of prusa slicer if desired, see title picture for example.
- Useful Mid unit, to offer milk or sugar or something else. Add a SVG icon with the Add-SVG function of prusa slicer if desired
- Useful Top unit, to offer stuff and hold a label. Add a SVG icon with the Add-SVG function of prusa slicer if desired
- Useful Mug holder, for use on left or right side of Useful base
- Useful Mug ring, for use on left or right side of Useful top
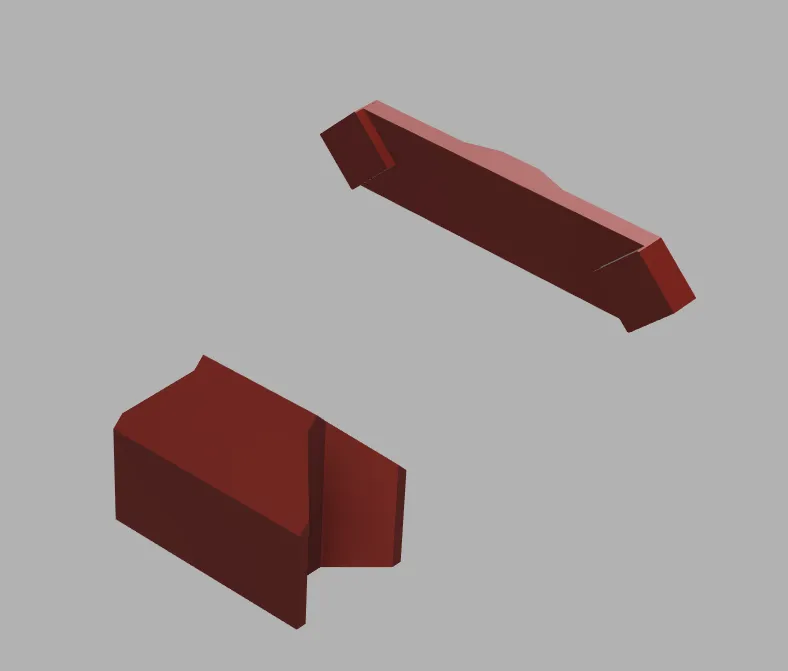
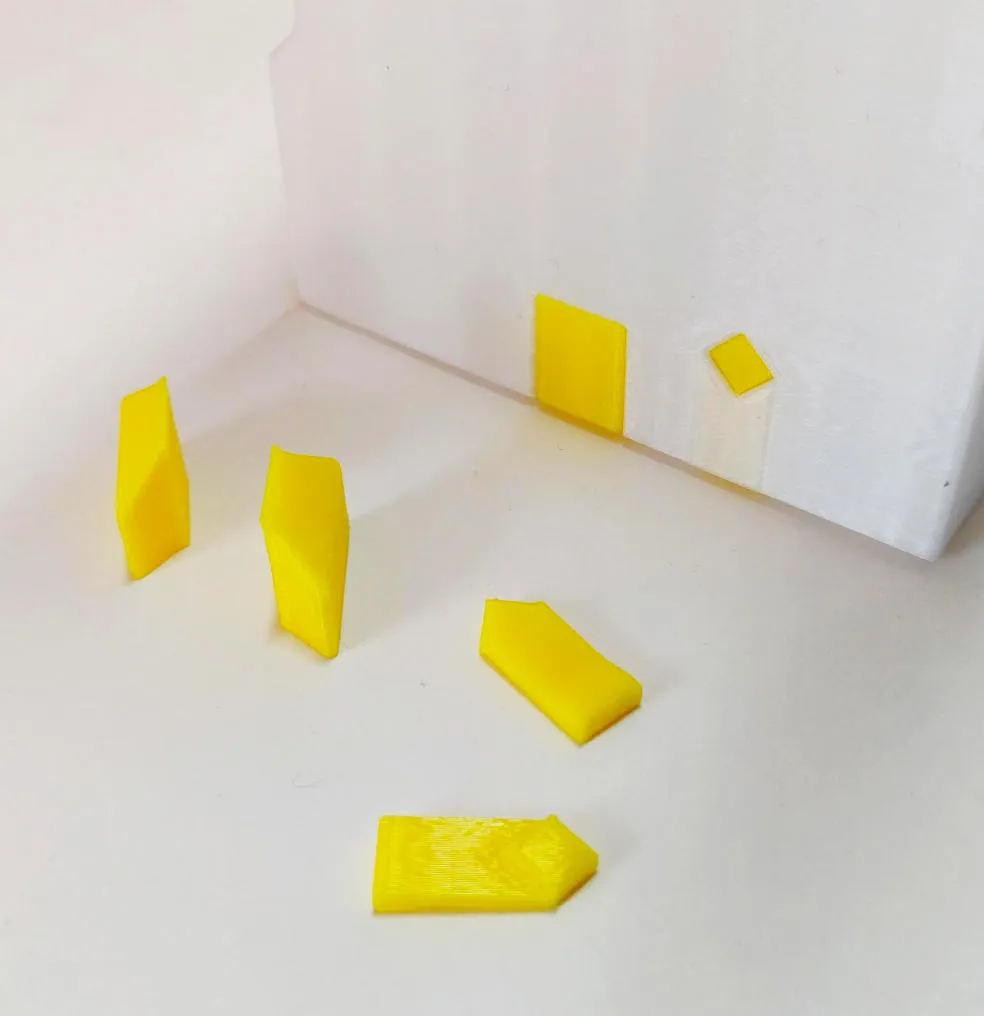
Beautify
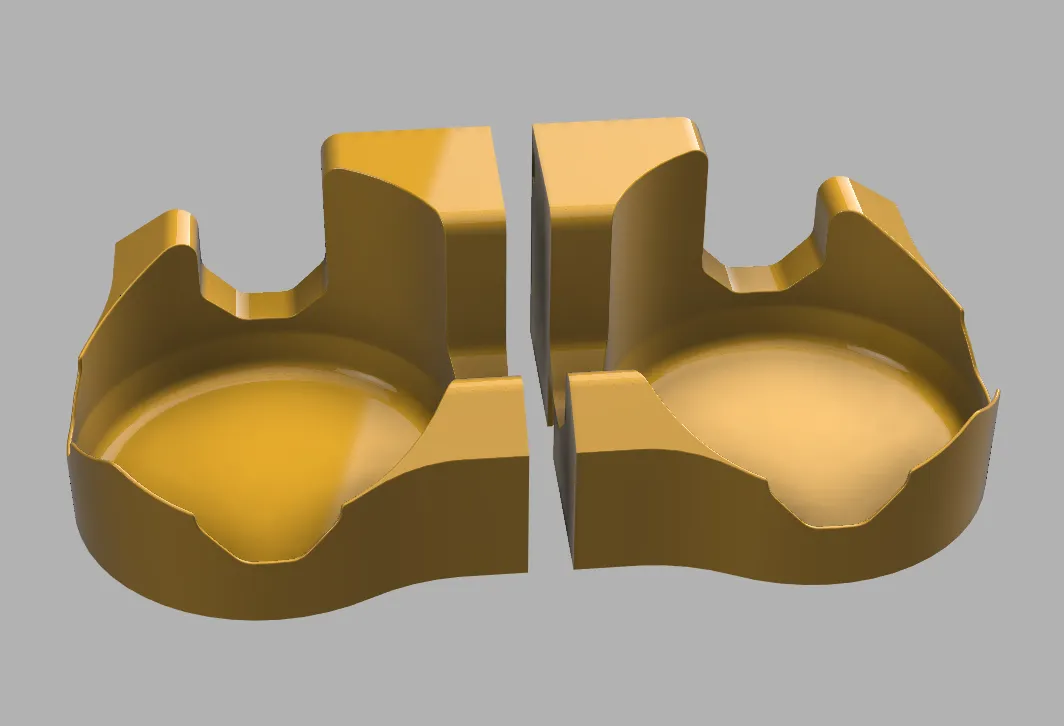
- half base connector to close up unused openings
- half connector plug to close up unused openings
Printing instructions
- for best results do not change the vertical orientation of the parts
- PETG or PLA (all functional tests have been made with PETG printed parts)
- 0.4 nozzle
- 0.2mm Speed
- no supports needed
- 10% infill for the dispenser parts and accessories, 15% for the connectors
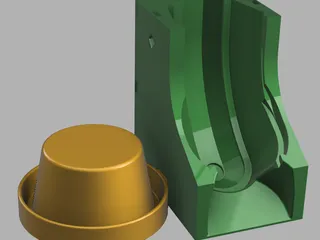
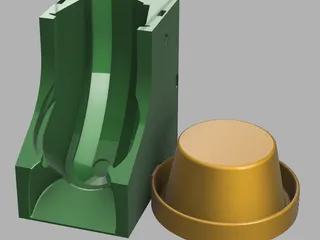
- base connector best fits when printed at a scale factor of 98% (PETG), might be different with PLA
Assembling Dispenser Base (see video)
- it is essential to assemble the vertical units first, then put together the columns horizontally.
- put 3 connector plugs into the holes on top of the base unit
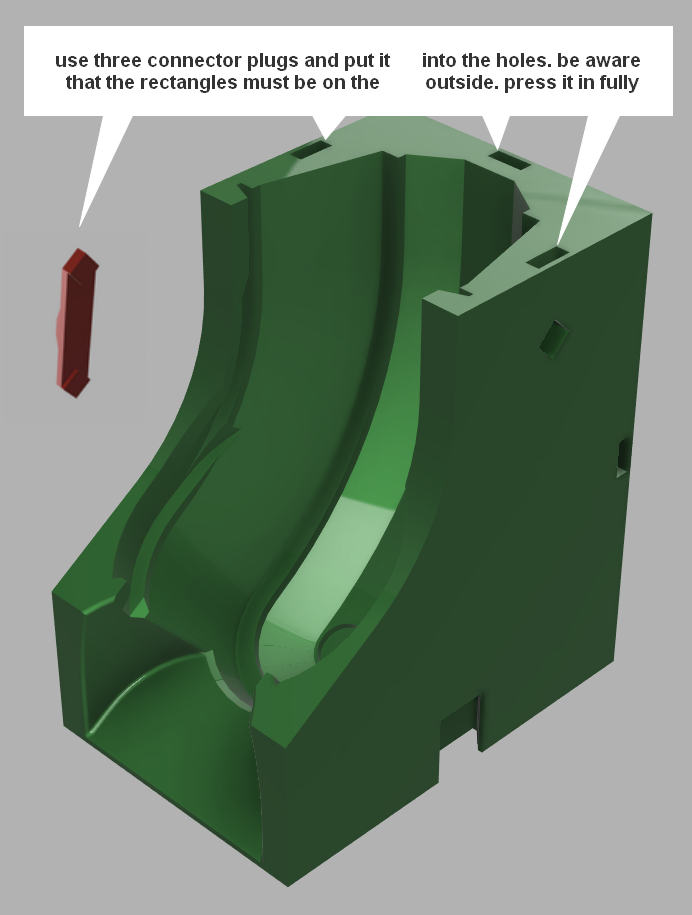
- take an extension. look at the backside, the arrow must point up. put the backside hole over the backside connector plug and lower it a little over the plug, now press the two side plugs together that they fit into the side holes lower the part until it is fully flush with the base unit.
- if you like to use more extensions, repeat the previous steps.
- do the same if you like to connect the top unit.
- to attach a second column assemble the vertical unit first as described above.
- now put connection plugs into the first column at the desired side of the expansion, use every hole which corresponds to a hole on the expansion column. be aware that there are only connection holes near the backside.

- attach the extension column to the base column until it is fully flush.
- now take the base connector, hold the columns together and put the connector into the hole on the bottom side.
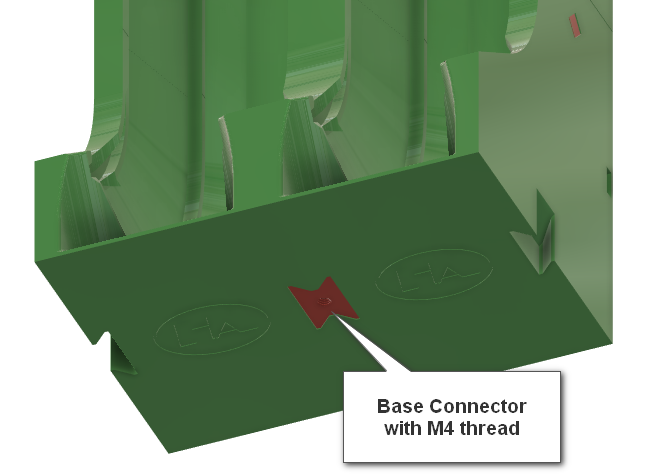
- base connector info:
- the M4 thread is thought to disassemble the plug using a screw.
- disassembling the dispenser has to be done in reverse order.
- add more columns if desired
- enjoy the capsule dispenser
Assembling Accessories
- Label, put it into the slot on the top unit
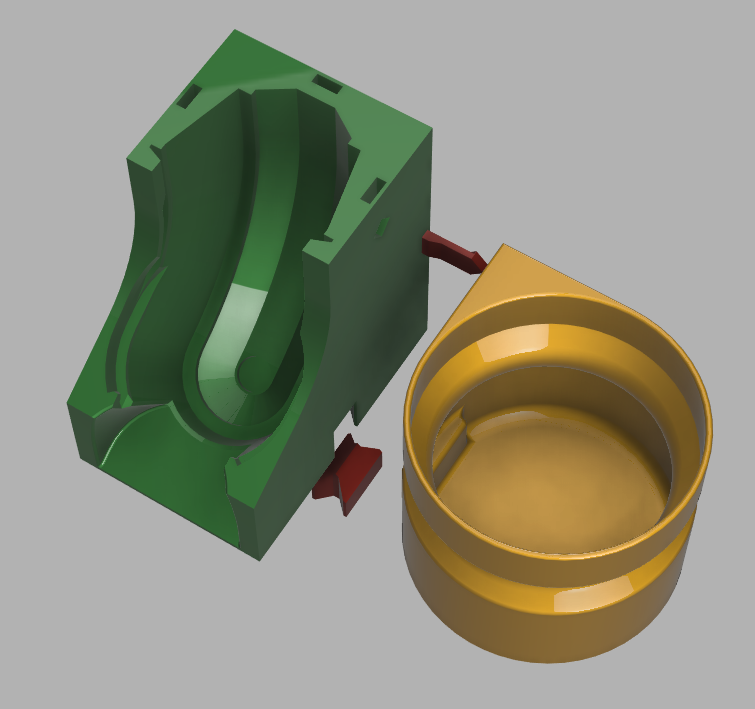
- Mug holder with integrated connector, attach it to the left or right side of the dispenser base. Put a stack of cups (70mm diameter) on it.

- Mug ring with integrated connector, use left or right version, attach it to the top plus accessories unit before attaching the assembly to an expansion unit!

- Small tub, use left or right version, attach it to a dispenser base unit. First use a connector plug to attach it the base unit, then use a base connector to secure it to the base. Put spoons or stir sticks or maybe sugar or whatever into the tub.
- Bottle stand, use left or right versions, attach it to a dispenser base unit. First use a connector plug to attach it the base unit, then use a base connector to secure it to the base.
Useful Stuff clumn
- Useful Base unit, attach to left or right side of a dispenser base unit
- Useful Mid unit, attach on top of the useful base unit, multiple units possible
- Useful Top unit, attach on top of a useful base or mid unit. A label can be inserted if dersired
- Useful Mug holder, attach left or right to a useful base unit
- Useful Mug ring, attach to the left or right side of a useful top unit

- beautify with half connectors if desired

- enjoy useful stuff, accessories and dispenser.
Tags
Model origin
The author marked this model as their own original creation.


