Printer frame mount MMU3 Cassette Compatible Buffer for Prusa MK4/MK4S

Description
PDFUPDATE: 26. November 2024 Adapted the top-buffer-mount for R4 Cassettes (from bluex) wich has 0.8mm more lenght space and guides to hold it better in place. Now it is easier to take cassettes in and out. The new R4 part should work for all MMU3 buffer cassettes.
This frame mount is intended for the MK4/S within the Original Prusa Enclosure. Because the buffer (MMU3 Cassette Compatible Buffer) is attached solely to the mk4/s frame the mount can be used whenever the buffer position is not occupied by the power supply.
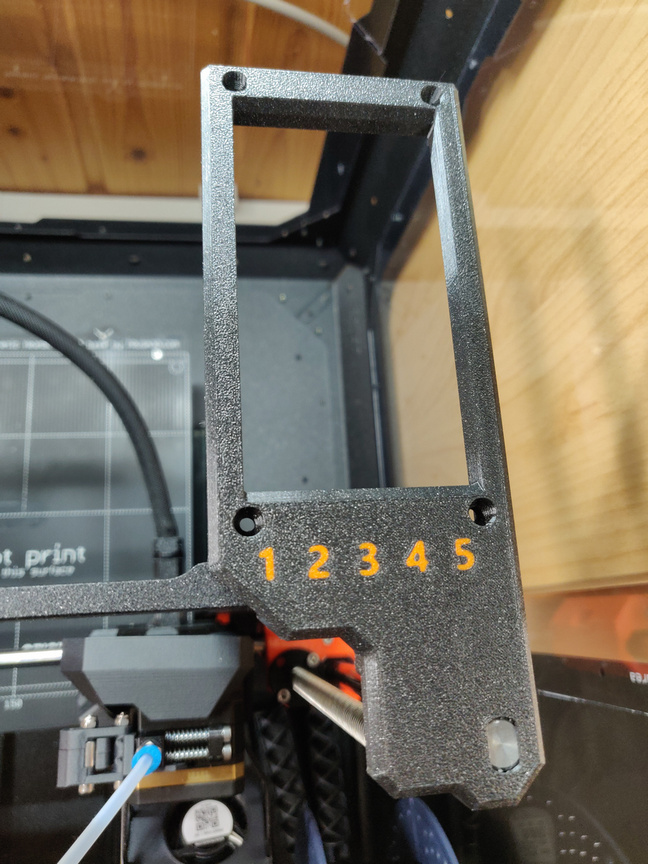
I made a new mount for the buffer, remixing the original z-top-right-R3 part (Prusa MK4/MK4S), which also allows cassette numbering on the top area.
To make it stable i made a bottom support which holds the buffer in place.
parts to print (PETG / 0.2 structural / 0.4 nozzle / 25% infill / supports needed for bottom part):
- for the top mount print z-top-right-R3-buffer-mount, choose your own numbering
- for the bottom mount print buffer-bottom-support
parts needed:
- 1x M3x12 screw
assembly instructions:
- power off the printer
- for easy assembling, remove the printer from the enclosure. If this is not possible try to rotate the printer so that the right side is accessible through the front doors.
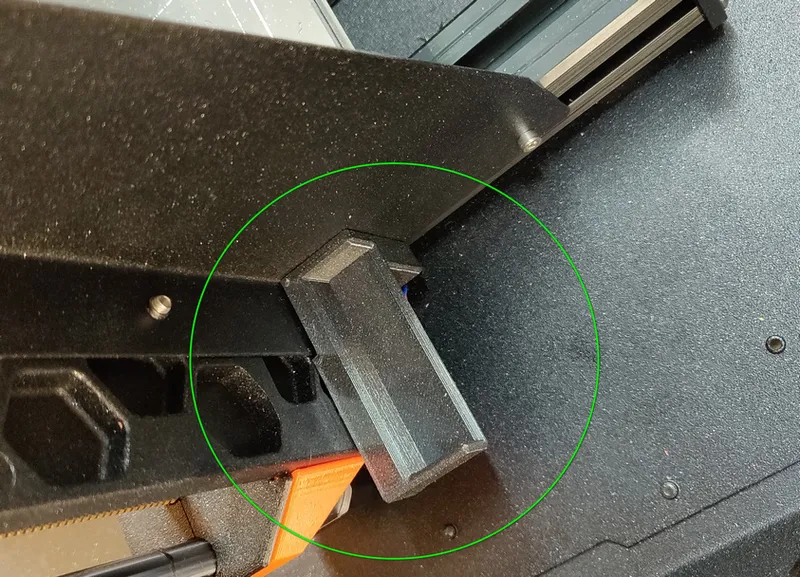
- locate the bottom mounting screws of the printer frame support
- remove the left bottom screw (green arrow)
- there maybe a zip tie, holding the motor cable to the frame (red arrow). Remove the zip tie

- take the buffer-bottom-support and the M3x12 screw, attach the part to the frame
- now locate the z-top-right part, remove the two screws M3x10 and remove the part carefully pulling it upwards. If the smooth rod gets out from the bottom (z-bottom-right), dont worry, put the rod into the z-top-right-R3-buffer-mount, go to next step
- put the z-top-right-R4-buffer-mount from the top over the frame and the rods
- align the holes in the z-top-right-R4-buffer-mount with the holes in the frame
- Don't use excessive force !
- use the two screws M3x10 to attach the part to the frame
- now place the buffer from the backside into the bottom support and move the upper side into the bracket, attach the buffer with 4 screws to the top mount
- because the top right mount of the z-axis has changed, do a calibration of the xyz-axis
- That's it, the buffer is attached
Tags
Model origin
The author remixed this model.

Differences of the remix compared to the original
made a new top mount for the buffer which uses a remix of the original z-top-right-R3 part
made a bottom support for the buffer


