Picatinny laser pointer for Yeethammer

Description
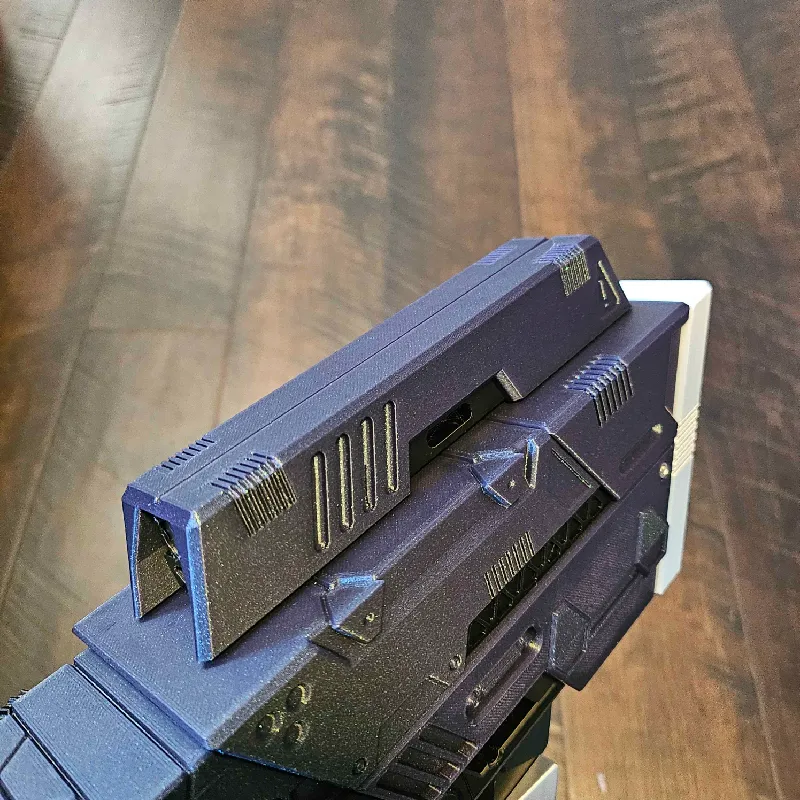
PDFA laser pointer attachment for picatinny rails. Not designed to be accurate or adjustable, this is purely for fun, and mostly just for attaching to homemade nerf guns. Specifically this is designed for the Yeethammer by Spyr.
DO NOT AIM THIS AT THINGS WITH EYES. LASERS CAN DAMAGE EYES.
Assembly/use specifics:
Hardware:
This was completely designed around this $10 laser pointer from amazon: https://www.amazon.com/dp/B0CGZQTTD2 (If this link is dead, the product was de-listed. If anyone knows another compatible pointer please make a comment with a link and I'll update this one!)
A different pointer might work, but it needs to match these dimensions:
152mm x 14mm
Button protrudes 2mm from the housing, is 6mm in diameter, and is 51mm from the front end.
Pretty sure there's a bunch of this near identical pointer on amazon and other sellers, if you get a different one than the one listed just measure it and adjust the model accordingly. The only thing that may be challenging is adjusting for different diameters of the housing.
I removed the “pen clip” from the back of the pointer just by bending it out, but you don't need to remove it.
Printing:
You need a printer with 180cm³ print volume or more.
All parts are oriented for printing, you need 2x of the “picatinny_block”, 1x of the “picatinny_laser_mount” and 1x of one of the laser switches (the non-cover versions are just nice little sliders that hold the button down).
The “picatinny_laser_mount” part will almost certainly need a brim, since it should be printed upright. The “laser_switch” and “laser_switch_button” parts will probably also need a brim since they don't have large contact areas with the print bed.
Assembly:
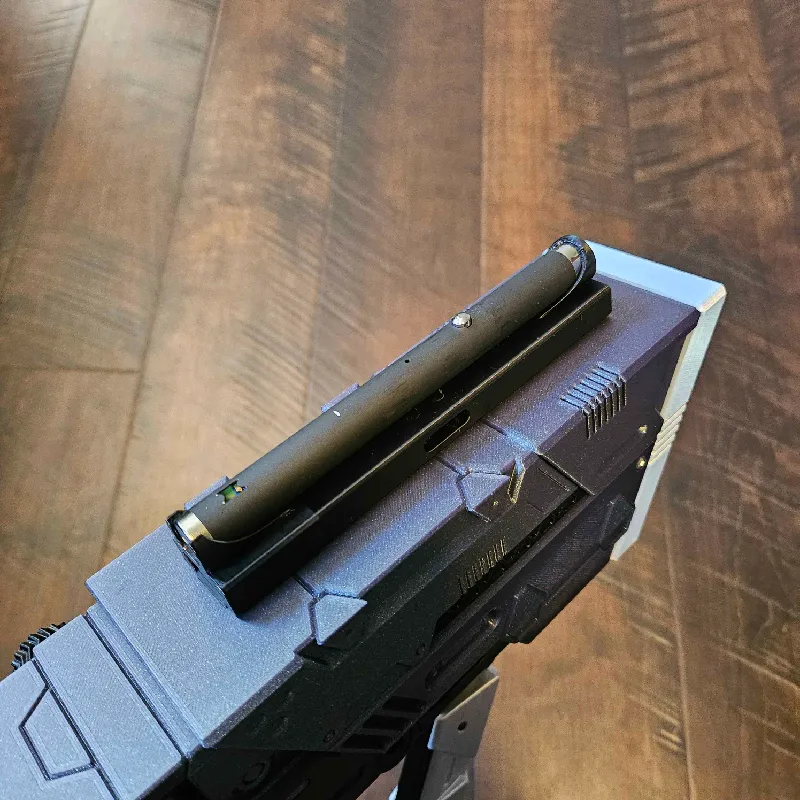
To start with, slide the “picatinny_laser_mount” onto your picatinny rail with the closed loop facing forwards, then drop the two “picatinny_block” parts into the holes in the top of the mount. (They will be held in place by the laser)
You may need to trim the inside of the closed loop so you can insert the front of the laser pointer. Push until the laser pointer goes in all the way, and you can clip it into the open loop at the back of the mount. It should be held there by the small backstop. This also holds the “picatinny_block” parts in place, and keeps the rail from sliding.
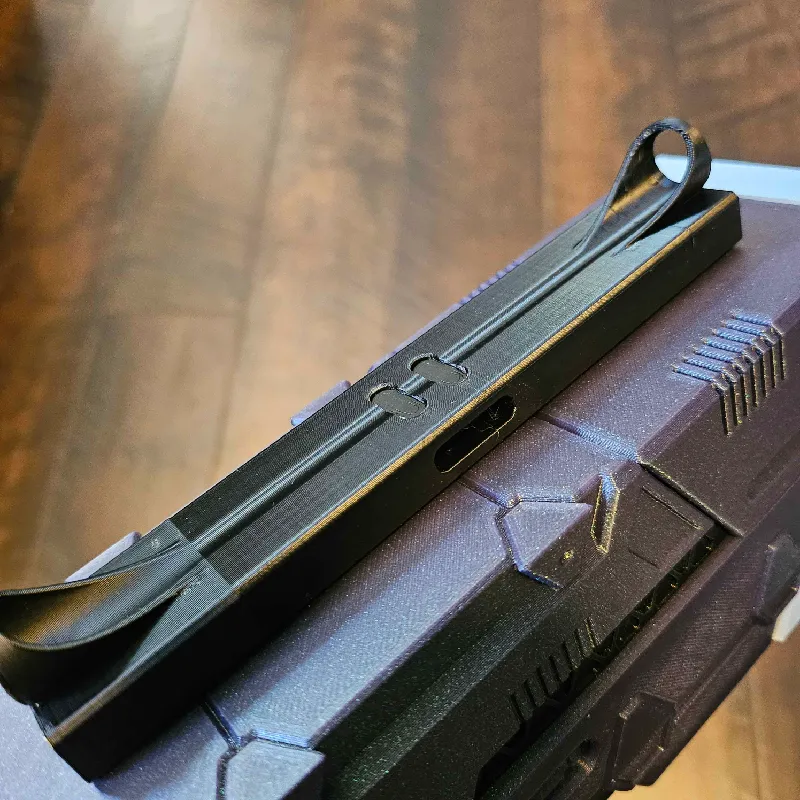
Finally, either clip on one of the small sliders, or line up the “laser_cover_switch” with the warning indentation facing the front, and the large interior clip aligned with the laser pointer button, and clip it in place.
The cover should slide with a little resistance, and activate the laser pointer.
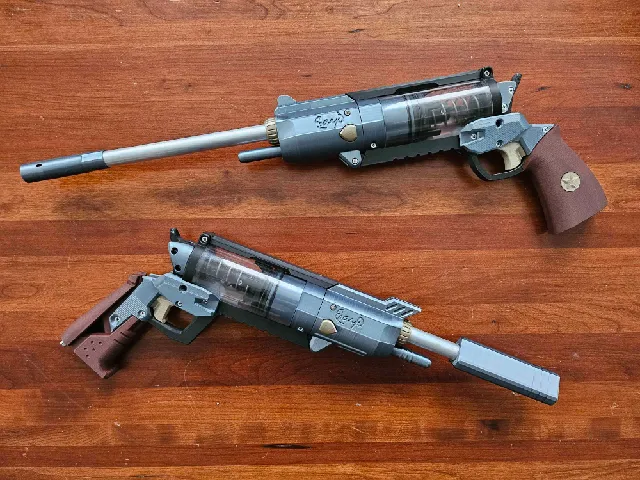
Like mentioned before this is essentially designed specifically for the Yeethammer, including the fit and styling.
I've got some ideas for a version where the whole cover is stationary, and there are some bolts/switches for the laser activation, this would let another picatinny rail be mounted on the top for other attachments or optics or whatever.
Tags
Model origin
The author marked this model as their own original creation.