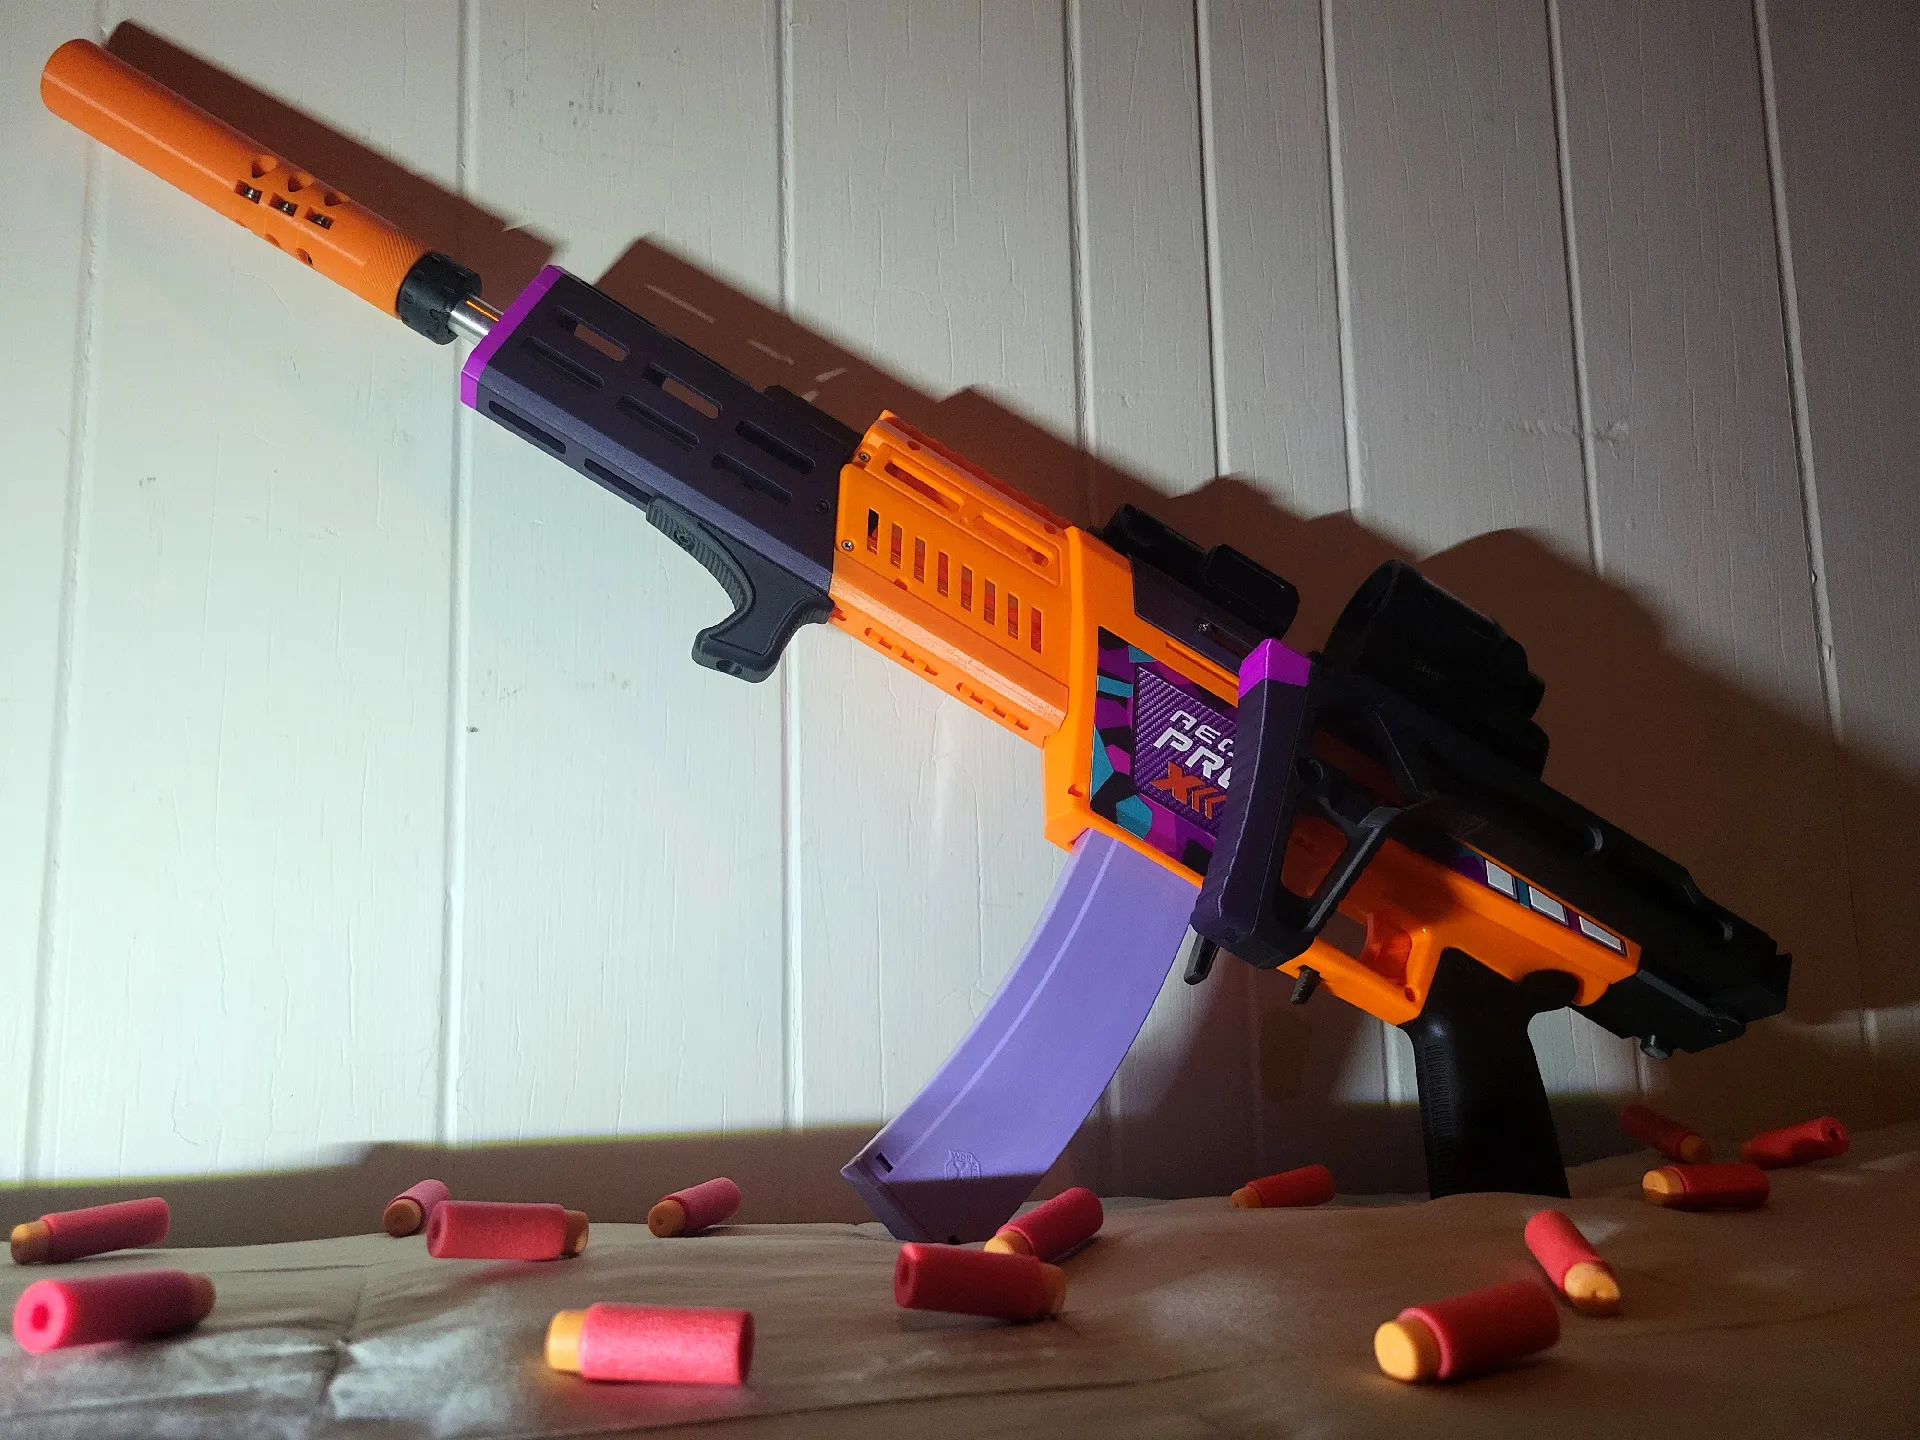
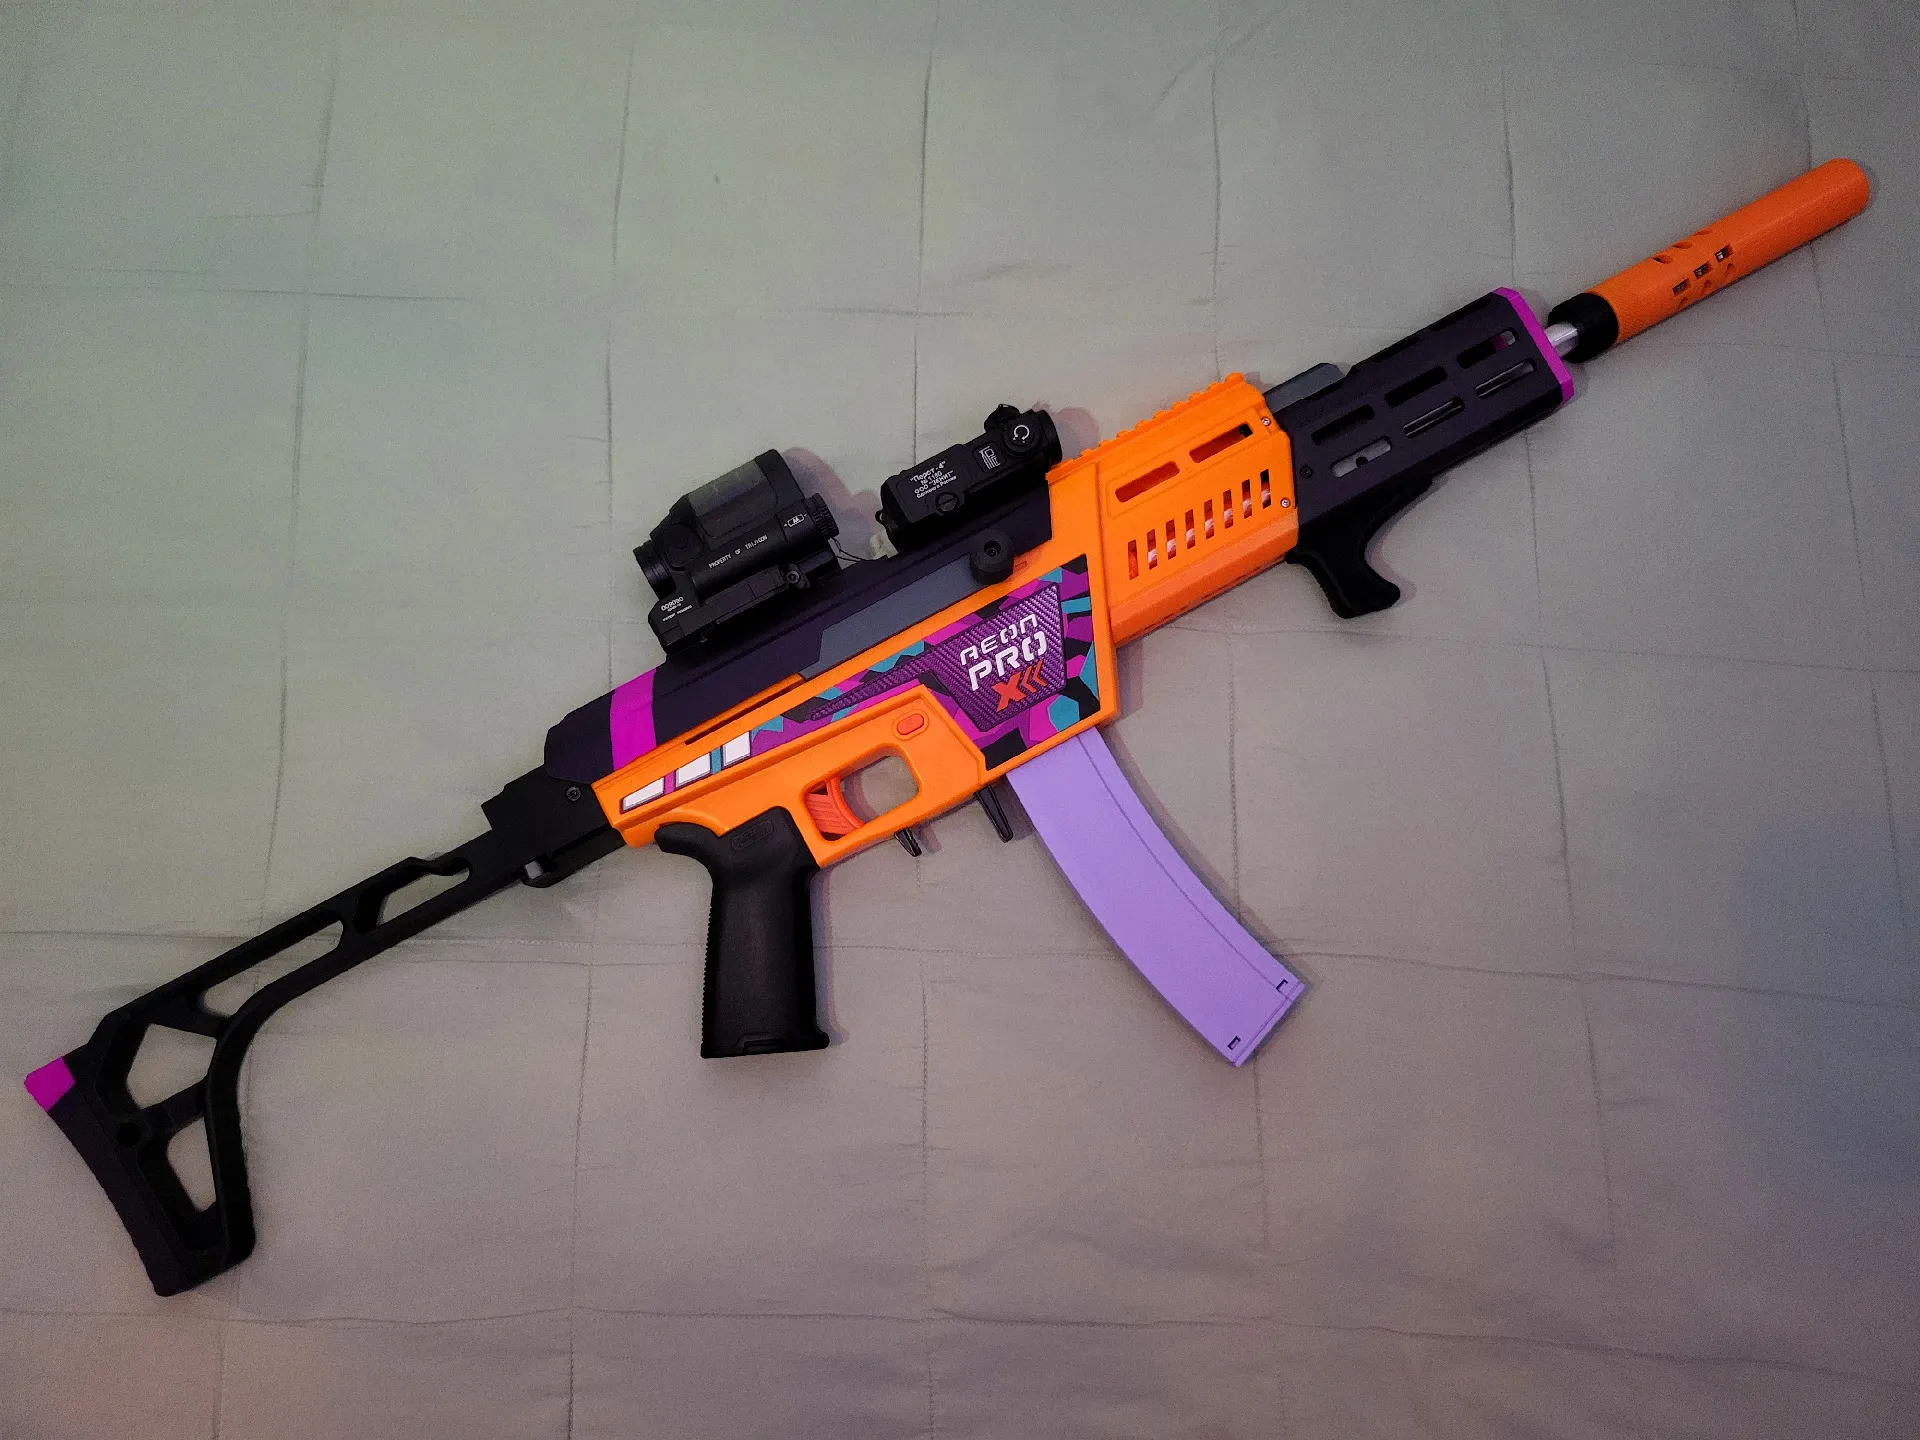
APX-24 DMR Kit for the Adventure Force Aeon Pro X


Description
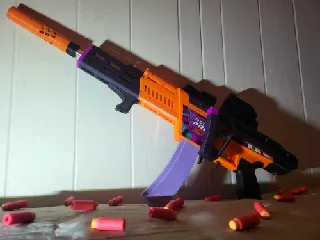
PDFBLASTER OVERVIEW
The APX-24 DMR kit transforms the Adventure Force Aeon Pro X blaster from a top primed pistol into a side primed “bolt action” primary blaster. This kit can be easily installed without disassembling the blaster, requiring the removal of only 8 screws, 4 holding the stock front end on and 4 holding the top slide on. This kit adds features to the APX, including the ability to use longer barrels (thus increasing performance), more M-LOK at the front of the blaster, an extended top picatinny rail, and a smooth bottom for the blaster (making it more ergonomic to hold).
This kit includes an extended front handguard and barrel clamp, a side folding stock, a side prime conversion, and a top cover. Please note, the top cover cannot be used without the side folding stock, and the side prime conversion must be used with the top cover. The front handguard and barrel clamp can be used independently of the top cover, side folding stock, and side prime parts. Similarly, the side folding stock can be used independently of the top cover, front handguard and clamp, and side prime parts.
Please note that this kit was designed with slightly bigger printers in mind, so the original parts are intended for a Bambu P1S. However, alternate parts do exist for smaller printers with a 250mm max build height.
TOOLS REQUIRED
All you really need to build this blaster is a set of metric hex keys, some cutting pliers, and a decently-tuned 3D printer that has a 220x220mm bed (so basically any Ender 3 class of printer). A recommended set of tools is listed below:
- Cutting pliers
- Metric hex keys
- 3D printer with a 220x220x250mm or larger print volume
HARDWARE
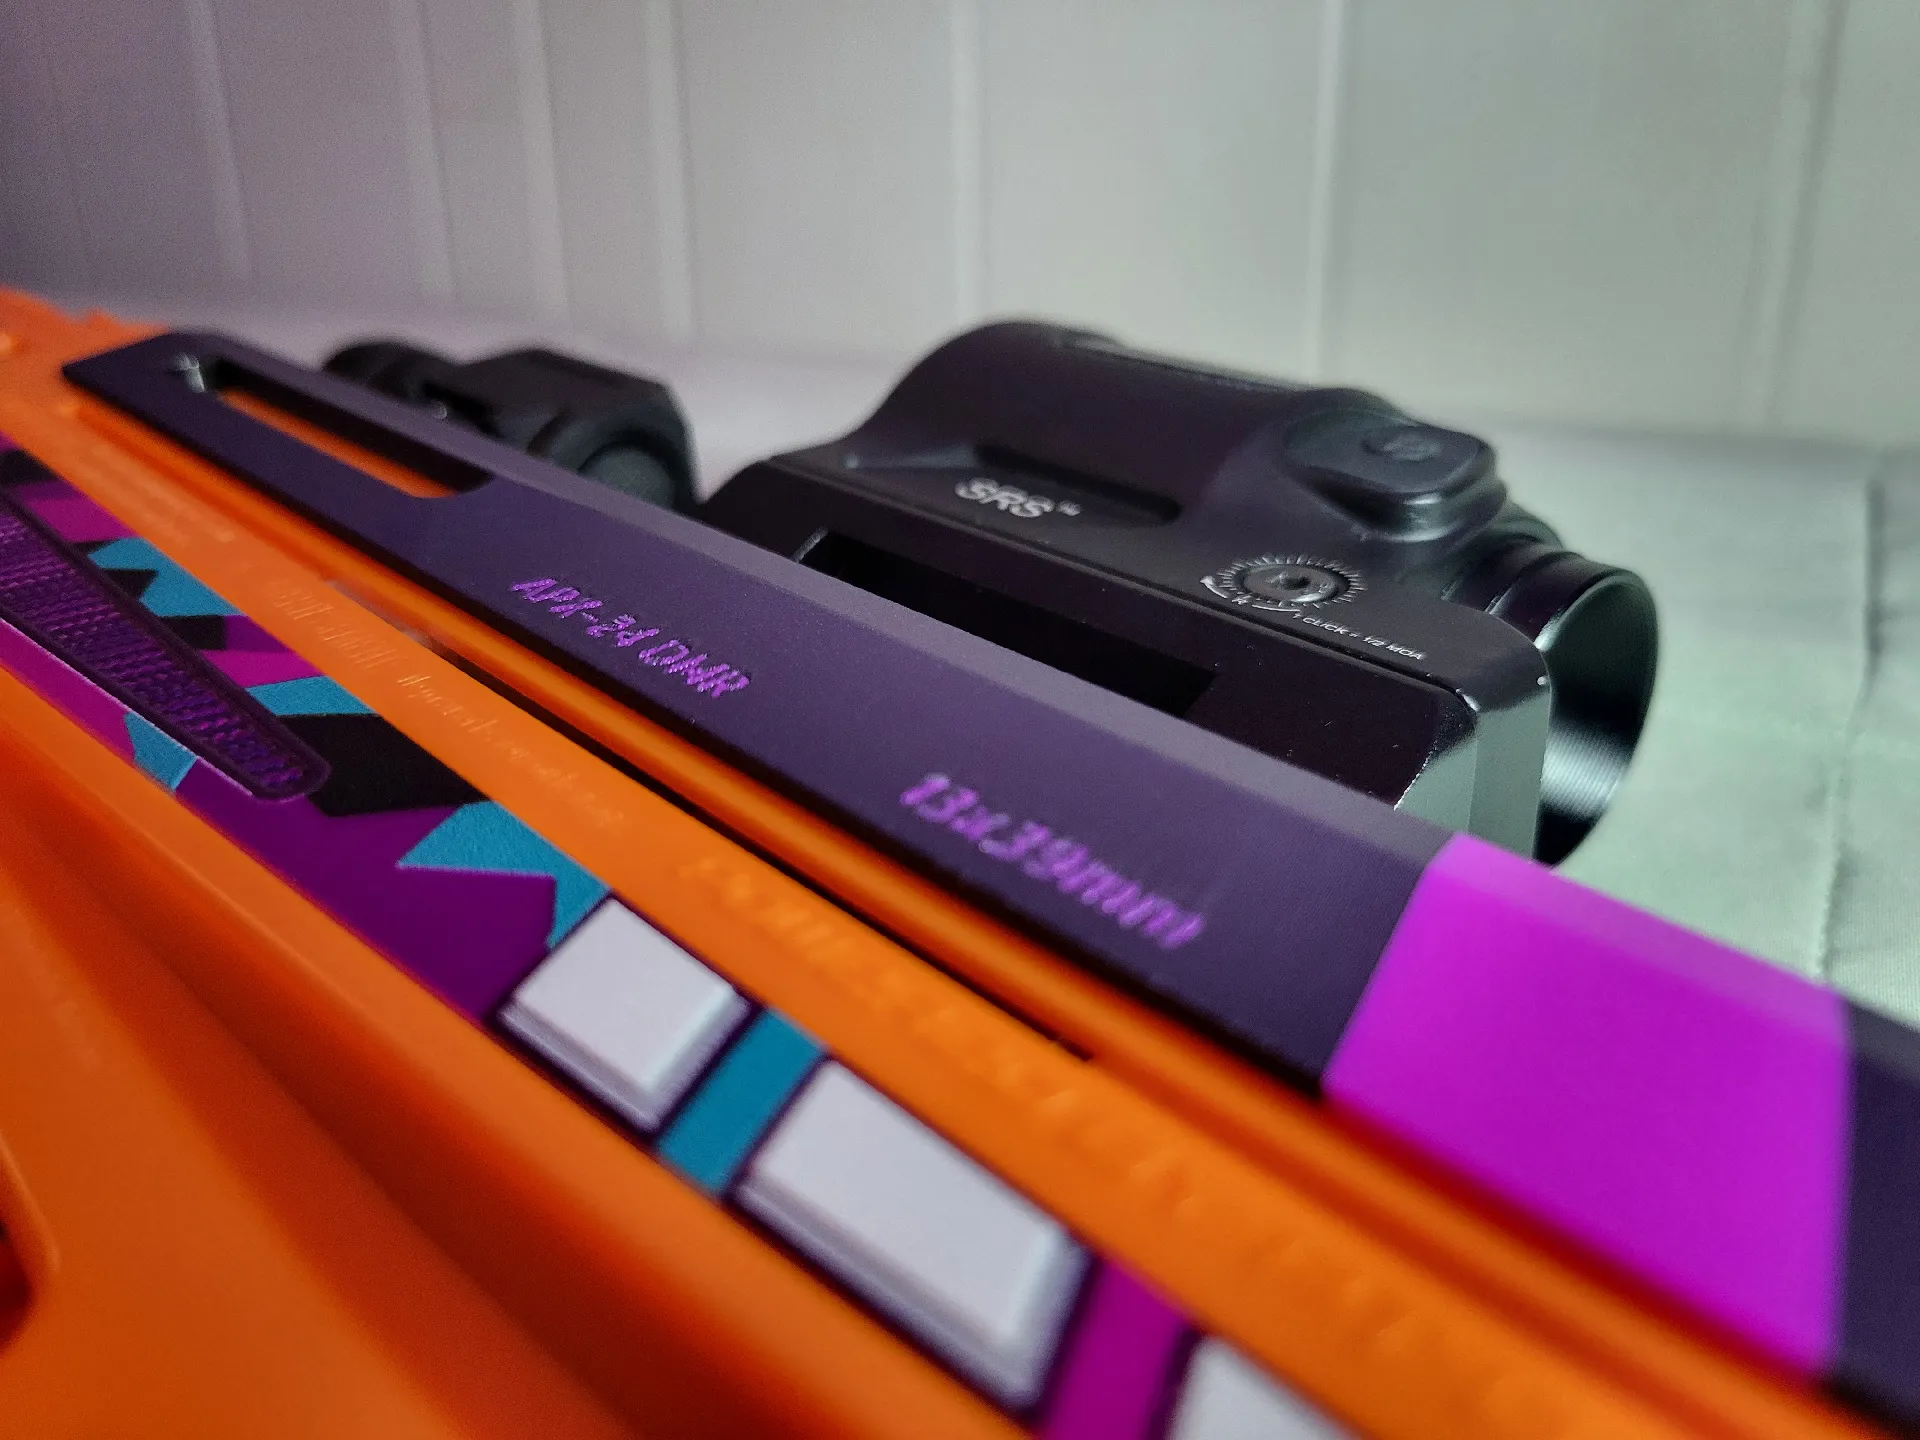
This kit is optimized to work with a 30cm long 13mm barrel, which is available at most Nerf hobbyist shops, including Out of Darts and SilverFoxIndustries. This is seemingly the optimal barrel length for the Aeon Pro X, achieving 180FPS on the stock spring. All other hardware can be purchased at your local hardware store, or online at Amazon.
Screws (SHCS stands for socket head cap screw):
| Part Description: | Quantity: |
|---|---|
| M2x12mm SHCS | 2 |
| M3x4mm SHCS | 2 |
| M3x16mm SHCS | 1 |
| M4x6mm SHCS | 2 |
| M4x20mm SHCS | 2 |
| M5x6mm SHCS | 1 |
| M5x30mm SHCS | 2 |
Nuts:
| Part Description: | Quantity: |
|---|---|
| M2 Hex Nut | 2 |
| M3 Hex Nut | 5 |
| M4 Hex Nut | 2 |
| M5 Hex Nut | 1 |
Other:
| Part Description: | Quantity: |
|---|---|
8mm Diameter Compression Spring (Must be less than 5mm thick when fully compressed) | 1 |
30cm 13mm Barrel (Recommended length, can be longer or shorter) | 1 |
ASSEMBLY
Assembly is simple. You will not have to totally disassemble the blaster to install these parts. Follow these steps to install each part (I recommend doing it in the order presented if installing the full kit):
Front Handguard and Barrel Clamp:
- Remove the 4 phillips head screws holding on the front end and remove it. Set aside all 4 screws for later use. Remove the stock barrel from the blaster.
- Install the Barrel Clamp onto the Front Insert using an M4x20mm SHCS and an M4 hex nut.
- Install an M3x16mm SHCS and an M3 hex nut into the Barrel Clamp. Do not fully tighten.
- Place two M3 hex nuts, one on each side, into the cutouts on the inside of the Front Insert. These are located in the hole where the barrel will pass through later.
- Slide your new barrel loosely into the combined Barrel Clamp and Front Insert.
- Slide the combined barrel, Barrel Clamp, and Front Insert onto the blaster. Screw on using the 4 phillips head screws set aside from earlier.
- Slide the barrel back until it is as far back as it can go. Tighten the M3x16mm SHCS on the Barrel Clamp. This will keep the new barrel firmly in place.
- Check for a proper air seal by plugging the end of the barrel with your finger and firing the blaster without a dart loaded. If the seal is good, you should not hear anything until you move your finger off the end of the barrel, at which point air should come out and the plunger should fully reset.
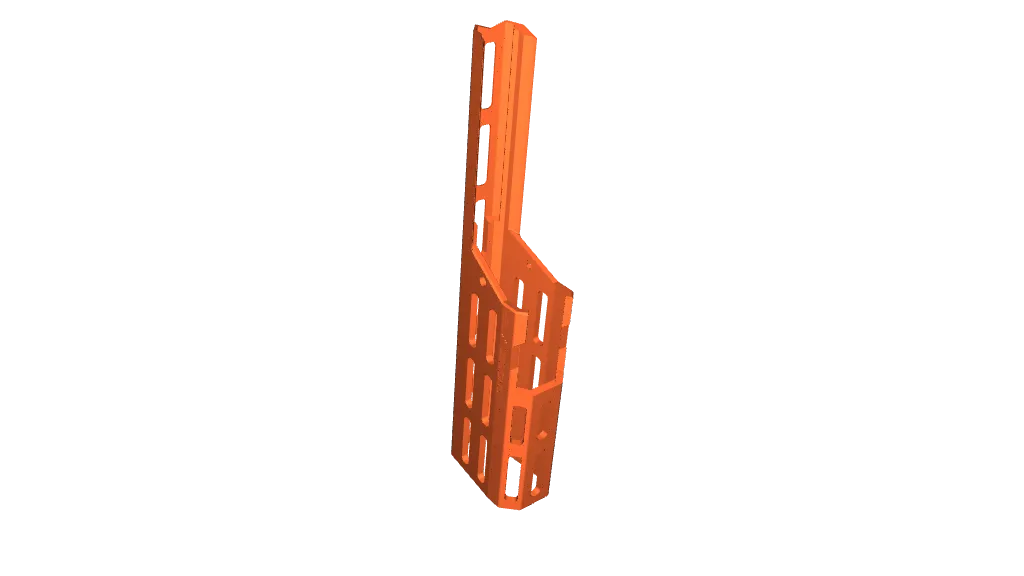
- Slide on the Front Handguard and secure it in place using 2x M3x4mm SHCS.
Side Prime Conversion:
- Remove the 4 phillips head screws holding on the priming slide and remove the slide. Set aside the 2 short ones for later use.
- On the Priming Sled, place an M4 hex nut into the hexagonal cutout.
- Install the Priming Sled onto the blaster using one of the original short phillips head screws. This screws directly to the blaster's plunger tube. Make sure the M4 hex nut does not fall out of the cutout on the Priming Sled during installation.
- Install the Priming Handle onto the Priming Sled using an M4x20mm SHCS, aligning the flat section of the Priming Sled with the corresponding flat section of the cutout on the Priming Handle.
- On the opposite side of the blaster, install the PT Retainer using one of the original short phillips head screws.
Side Folding Stock
- Install the Stock Point onto the stock attachment point of the blaster, screwing two M4x6mm SHCS into the sides.
- Place two M2 hex nuts into the hexagonal cutouts on Latch Bottom. These will need to be pressed into place and should bottom out in the cutouts.
- Place Latch Bottom with the installed hardware in the corresponding cutout in the Stock Point. The cutouts for the hex nuts on Latch Bottom should face downwards.
- Place the Button into its corresponding cutout on the bottom of the Stock Point with the 8mm compression spring in the corresponding cutout in the Button, and screw one M5x30mm SHCS into the Button through Latch Bottom. Make sure the screw bottoms out.
- Using two M2x12mm SHCS, screw Latch Top to Latch Bottom.
- Using an M5x30mm SHCS and an M5 hex nut, install the Stock onto the Stock Point. Make sure the screw isn't too tight, as this is the pivot point for the stock's folding mechanism.
Top Cover
- Install the Dust Cover onto the blaster. You may need to remove the previously installed PT Retainer to get it to fit. Reinstall the PT Retainer after installing the Dust Cover if removed. Install the front of the Dust Cover onto the blaster first, then rock the part back.
- Line up the screw hole on the Dust Cover and screw one M5x6mm SHCS into the Stock Point. DO NOT OVERTIGHTEN.
3D PRINTING
All parts come pre-oriented for printing; yes, you will need supports for some of the parts. This part orientation leads to the best part quality and strength, so it is not advised to reorient the parts.
I recommend printing everything with a minimum of 4 walls and 25% infill. All parts benefit being printed with lots of walls and high infill; I personally printed everything out with 6 walls and 50% grid infill.
The PT Retainer specifically benefits from the use of a single wall on top surfaces. (An option in Bambu Studio, I'm unsure what other slicers have this as an option.) Other parts do not benefit (except maybe in looks) from using this option.
Parts that require supports:
- Front Insert
- PT Retainer
- Priming Handle
- Latch Top
- Latch Bottom
- Stock Point
- Stock
- Dust Cover (I recommend using tree supports; you will need to support at least the picatinny rail. You might need more supports depending on your printer's ability to do overhangs and bridges.)
SUGGESTIONS, QUESTIONS, OR ISSUES? CONTACT ME!
I can be found on Reddit and Discord, but I am most active on Discord. I can be found on the /r/Nerf Discord server, but if you need, you can DM me. If you do make this blaster, I'd love to know!
My Discord username is: @brooklyn_tony198
My Reddit username is: u/BrooklynTony198
Please note that I will generally not be accepting friend requests for DMs; to DM me on Discord, please join the /r/Nerf Discord server first and DM me through there.
IF YOU WANT TO SELL HARDWARE KITS OR PRINTED COMPONENTS OF THIS KIT, PLEASE CONTACT ME FIRST.
NONE of my files are to be used or sold by Frontline Foam, by downloading my files, you agree that you are not Frontline Foam and/or related to Frontline Foam or Derrikk Sun.
Tags
Model origin
The author marked this model as their own original creation.


