Cubey Puzzle Box

Description
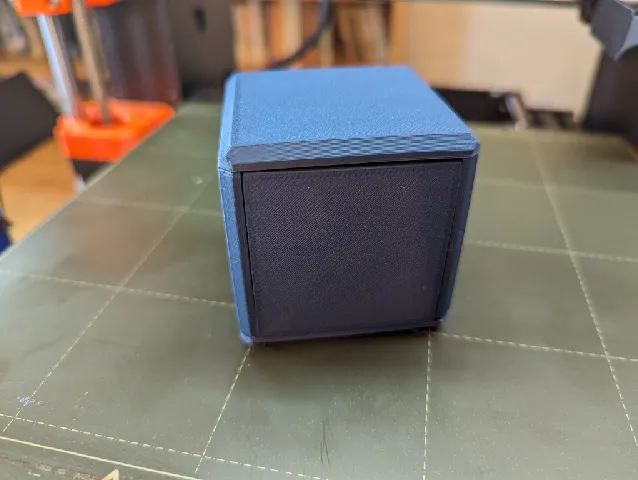
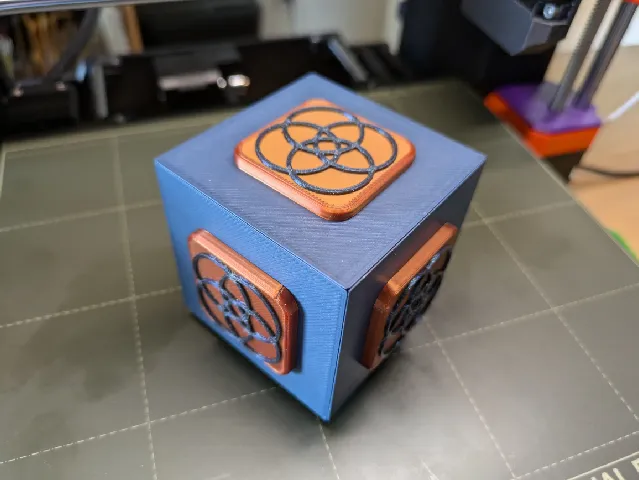
PDFA small cube with six apparently identical sides. By sliding the smaller panels one by one, you can lift the top off the box.
The box was adapted from Cubey by Bruce Viney. The original copyright notice on the plans for Cubey says These plans are free. If you sell or give away this puzzle, please mention where the plans came from. The current site for Bruce Viney's plans is https://brucevineywoodenpuzzles.wordpress.com/.
Instructions
Print all the pieces. I recommend printing the parts for each side together and then doing the initial assembly of the side. It's easy to get confused about which part is which.
Each side has three parts:
- the panel: the main sides of the box and in each case has a rectangular cut out.
- the slider, which will be on the inside of the box.
- the outer panel: the decorative small panel. It has four pins which should press fit into the slider.
Note that all of the outer panels are the same, so you can just pick one of them and print it six times.
To help with alignment and identifying the parts, the inside of the outer panels have some symbols on them:
- bottom has a single arrow pointing to the front.
- back has two arrows pointing upwards along one edge.
- left has the letter L and an arrow pointing to the front.
- right has the letter R and an arrow pointing to the front.
- front says F and has one arrow pointing upwards.
- top has an arrow in the middle of each side edge, pointing to the front. There is also one edge with a very slight chamfer. It should be facing downwards at the back.
In each case, insert the raised part of the slider into the cut out of the panel, and then press the outer panel onto the slider. If it is too tight, lightly sand the pins down. If too loose, glue it into position. Press fitting worked for me. Check the outer panel plus slider move easily.
Notes for each side:
- Bottom. The slider has tabs on each side with a notch between them. The shorter side should be towards the back of the box, and the arrow pointing to the front.
- Back. Nothing special to note.
- Left. The slider will only fit one way round.
- Right. The slider will only fit one way round.
- Front. Orient the slider so that larger space on the raised part is at the bottom, and the arrow points upwards.
- Top. The narrow part of the slider is at the front. Note that if you move the slider and it sticks over the edge of the panel, you have the parts the wrong way round.
Next you can assemble the cube. I recommend doing a dummy run where you hold (or tape) the parts together. There are tabs to help orient the parts. The tabs that connect the front to the left and right may be rather tight. Clear out the recesses in the front edge of the left and right parts if needed. The assembly order is:
- Attach left and right to front.
- Put all the sliders in the up position.
- Put bottom slider towards the back and attach the bottom to the previous assembly. Check the bottom slider moves easily.
- Move the bottom slider to the front, and the left and right sliders to down.
- Attach the back and check its slider can move.
- Put back, left and right sliders up and check the bottom slider again.
- Move bottom slider to front, and the left, right and back sliders to down.
- Put the top slider at the back. The top show now drop into place. You can lightly sand the back edge if it is too tight.
When you are confident with it, take it apart and reassemble, gluing the parts together. Do not glue the top in place! For glue, I recommend a gel superglue such as Loctite Ultragel Control. Use just a couple of tiny spots on each side, so it doesn't ooze out. Hold the pieces in place for about a minute to let the glue start bonding, and when you have finished the whole process, let the cube sit for a few minutes so the glue can set more thoroughly.
To close the box:
- top slider to front.
- left and right sliders up.
- back slider up.
- bottom slider to back.
- front slider down.
To open it again:
- find the front slider. It is the only one that moves. Move it up.
- bottom slider to front.
- back slider down.
- left and right sliders down.
- top slider to back.
- lift the top off.
Solving the puzzle without the instructions is easy. Once you have identified the front slider, there is only one slider which can be moved at a time.
Model origin
The author marked this model as their own original creation.