Ender 3 Pro Y Axis Overhaul
Description
PDF10/12/2021 update:
- Added a mount for an accelerometer for input shaping.
- Updated the Y tensioner to a new, better version with less backlash which now requires an M4 bolt >34mm long. The original bolt from the old tensioner can be reused.
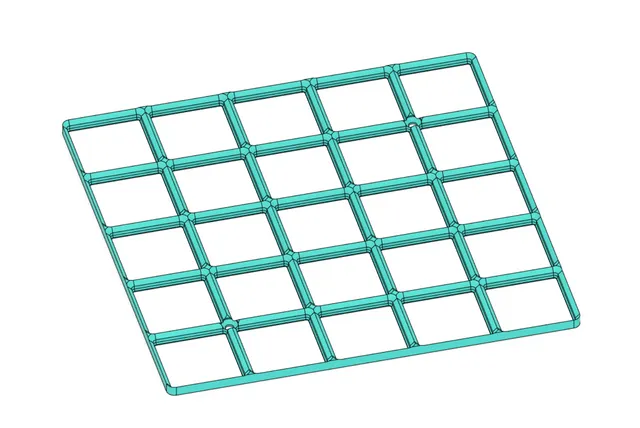
- Uploaded a custom lightweight aluminium 3-point mounting plate, with new, smaller and lighter rail mounts and a drill guide to go along with it. This new setup weighs 102g (new plate is 78g), compared to the original 275g (old plate is 249g). Installation isn't very complex but I'd recommend only doing this if you know what you're doing, since it requires drilling the bed in a spot without the heater wiring running. You should probably use a drill press for this since it requires more accuracy.
On my quest to print at very high speeds on my Ender 3 Pro, I noticed some room for improvement in the Y axis mechanics.
The V rollers were inconsistent and unreliable, the belt tensioning sucked, and I wanted to improve on that.
After trying other people's designs and having issues or bad performance as they always lacked something or another, I finally decided to design my own Y axis mounting and tensioner.
The Y axis now moves on 2x mgn12 rails and mounted on mgn12h blocks while keeping the original low profile of the bed, so the full Z axis can be utilized along with no issues with the original stepper mounting.
After this Y axis overhaul, along with many changes to the Z and X axis (Both are still WIP), I can now print at 160mm/s with 1800mm/s^2 acceleration on Marlin and 3200mm/s^2 on Klipper (7200 with new plate)! This is over TRIPLE the stock Ender 3 speed while maintaining similar or higher print quality.
I'll be sharing the STEP file along with the STLs, and I would love to see the community's upgrades for my design!
This project requires:
Tools:
- 3.5mm drill bit
- M5 tap
- Hex keys
- (Optional but helpful) A pair of pliers
Hardware:
- 2x MGN12H 300mm rails
- 4x M5*12mm screws
- 1x M3*35mm socket head screw
- 1x M3*20mm screw
- 28x M3*8mm screws
- 7x M3 nuts
Printed Parts:
- Tensioner Block
- Tensioner Arm
- Tensioning Wheel
- Drill Guide L
- Drill Guide R
- 2x Rail Mount
Build instructions: This build isn't very complex and could be done without instructions, but here they are. Please excuse my poor drawing skills.
Mount the drill guides on the current Y plate. Notice: I have flipped the plate from its stock orientation to allow for a larger stepper motor, as I replaced mine. Replacing the motor is completely optional, but make sure to watch out for the orientation.

Photo shows proper mounting.
Drill the holes with a 3.5mm drill bit to allow for the rails to self-align.
Insert 6 M3 nuts into the slots on the 2x Rail Mounts. You can do this later, but it might be less fiddly to do right now.

Mount the rails loosely to the sides of the 4040 profile. Insert a screw into every other hole. The final alignment will be done later.

Screw the 2x Rail Mounts into the MGN12H blocks loosely, and then screw the Y plate we drilled earlier into the Rail Mounts. Everything should be loose right now. You should have something like this:

Now, tighten the screws on one rail, making sure to alternate back to front every screw (screw in the first one, then the last, then second to first, then second to last…). after doing this on one rail, tighten the Rail Mount screws that go into the MGN12H blocks. Repeat this whole process for the other rail. NOTICE: the 6 screw from the top plate to the rail mounts should still be loose.
We'll now move to the tightening system. Hook the belt into its slot on the stepper side, and run it through the 4040 profile and through the hole on the main belt tightening part. Belt path for now in red, dotted line = internally routed:

Tap the ends of the 4040 profile facing the tensioning mount with an M5 tap, and screw in the main tensioning block using the M5 screws.
Mount the 35mm M3 screw into the tensioning arm: You should heat the screw head with a lighter and press it into the mounting hole, as it is undersized and designed for heat mounting. Red = correct screw alignment (This picture isn't updated for the new tensioner, the current tensioning arm should not have the hole for the nut).

align the tensioning arm with the main tensioning block, and feed the 35mm M3 screw through its hole.

Insert the bearings and M4 screw, and feed the belt through the tensioning arm. The belt teeth should be facing toward the bearing. Tighten the M4 screw and make sure the arm can still move freely.

Heat press an M3 nut into the tensioning nut, then hook the belt into the slot on the main plate, and screw the tensioning nut onto the 35mm screw. Tighten the belt to a point it is springy, then screw in the 6 loose screws from the top plate to the rail blocks. Make sure the assembly is running smoothly, and if not, loosen the top screws and tighten as needed.
Replace the hotbed onto the Y axis and level the bed, and move the Endstop mount if needed. Congratulations! Your Y axis is now upgraded to a low profile Y tensioner and 2x linear rails!
Final setup should look like this, with the endstop at your desired location:


Happy Printing!
Tags
Model origin
The author hasn't provided the model origin yet.