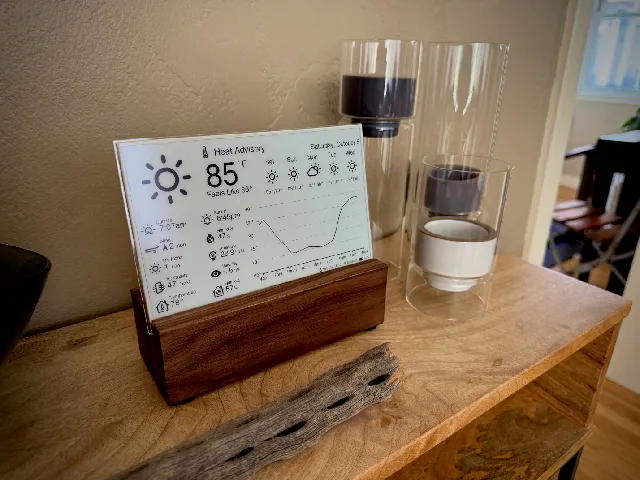
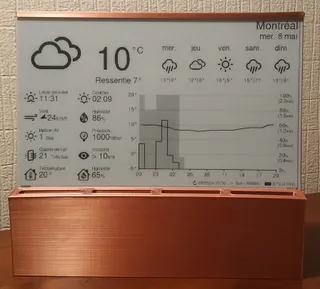
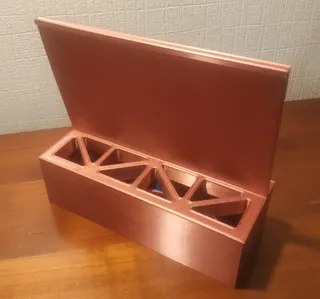
I never thought to veneer a 3d printed part before! I bought this veneer: https://a.co/d/eUSl4E0 and used my Cricut Maker 3 to cut the pieces. I wanted to use the model itself for the cut dimensions, so I did the following steps:
1) In Autodesk Fusion,
a) Insert -> Insert Mesh (3MF file)
b) Mesh -> Modify -> Convert Mesh
c) Created Sketch planes to project the edges of the top, front, side, and back on.
d) I recommend strategically making some of the edges slightly wider to avoid gaps at the edges where the veneer meets. Like on all 4 sides of the top and the 2 sides of the front.
e) Right click on each sketch and select “Save as DXF”
2) In Adobe Illustrator or Inkscape
a) Open each DXF file with 1:1 scale
b) Export each DXF as an SVG. The Cricut Design Space SW didn’t manage the DXF files correctly for me.
3) In Cricut Design Space
a) Upload each SVG and place the objects for “basic cut.” Consider the direction of the wood grain.
b) I made a copy of a side and flipped it for the opposite side.
c) Put your veneer on the Strong hold mat (I needed to place it wood side down to get it to stick) and tape the corners with painter’s tape.
d) Use the “deep cut” blade and housing. Select “Natural Wood Veneer” Material.
e) Cut the veneer
4) Apply cut veneer to stand and sand the edges.
5) Add a coat of Tung oil to the veneer to protect it.
Thank you for this model and the veneer idea! (edited)


