3D Printed concrete mini subwoofer (HexiBase remix)

Description
PDFIntroduction
A few years ago @HexiBase_264072 built several versions of a 3D printed subs using the Tang Band W3-1876S 3" subwoofer. These designs take a very long time to print though, so I made a version of his design that is hollow on the inside to make it print much faster. It can then be filled with concrete, plaster or something else that is pour-able.
In June 2023 Youtuber DIY Perks posted a video where he did the same thing with a speaker of his own design. His tip was to use plaster of paris with PV glue mixed in, which is what I ended up doing. The result can be seen in the pictures above.
I don't (yet?) have any measurements, but after some tinkering I got it setup with the KEF Q150's I have, and the bass is definitely enormously improved.
Printing
This is a pretty difficult print. During printing one of the tree-supports detached from the print-bed, which I hastily super-glued back in place. Also, the round shape of the waveguide leads to extreme overhangs near the top. This resulted in some minor spaghetti, which is not the end of the world, but this interfered with printing the outer perimeters, which weakened the layer-bonding of the outside walls. It cracked in a couple of places while handling it, and I repaired that with some super-glue as well.
All that is to say: Don't print this if you want an easy-to-print, super-clean, polished design, because this isn't one.
Assembly
After the print completes, drill a hole just big enough for you speaker-wire of choice in the bottom of the coupling chamber and through the backside. I simply hot-glued the wire in place to keep it below the rim of the side-walls.
You should also do a test-fit of the driver. It turned our to be a little small in my print, so I widened it a bit with a Dremel with drum-sander attachment.
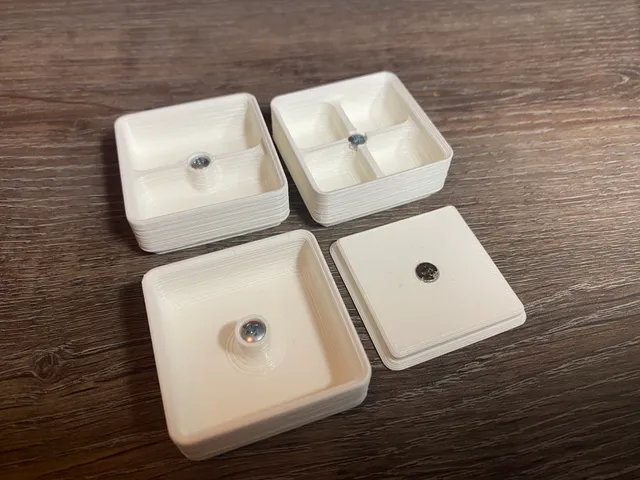
The driver is installed using M3 screws. There are hex-shaped pockets on the inside sized for M3 nuts. To get those in I used a long M3 screw to pull the nuts into the pockets. Once in there they are a pretty tight fit so they won't fall out. Then you can use M3 screws of the proper length when installing the driver.
For the pour I used Modulan 105 Modelling plaster from Hornbach. This cost just €3,39 for a 1.5kg bag, which was more than enough. Simply mix the powder with a bit more water than recommended. The instruction says 600 ml of water for 1 kg of plaster, but I used about 750 ml of water for 1 kg of plaster. Then add about 125g of PVA- (a.k.a. wood-)glue and mix well until you have a smooth, thick liquid.
Pouring gets messy, so be prepared for that. First pour about a third into the enclosure, making sure to hit each compartment, then carefully tap or vibrate the enclosure. I placed it on a wooden board, at an angle, and used an orbital sander to create vibrations. This forces any air-bubbles to the surface. Check for leaks, and if there are any try to plug them (e.g. with hot-glue). Then pour the remainder of the plaster until the enclosure is filled to the brim, mixing more plaster if needed to get there, and tap/vibrate everything some more until no more bubbles appear.
The plaster becomes rigid fairly quickly, but actual hardening takes at least 8 hours. Make sure the plaster-side is exposed to air, as this releases quite some moisture. It also becomes quite warm, but in my experience not enough to be a problem.
Once the plaster has cured you can solder the wires to the speaker and hook it up to your sound-system. Getting the subwoofer to work well with your existing speakers is beyond the scope of this guide. I assume if you are willing to spend the time and effort to make this subwoofer you know what to do with it :).
Companion project
I am working on a 4-channel USB DSP+DAC in order to flatten the response of the sub and match it with my KEF Q150's. You can that design over on github: https://github.com/jeroen94704/TeensyDSPDAC
Donate
If you find this project useful a small donation is much appreciated (but by no means required or expected): https://ko-fi.com/jeroen94704
Tags
Model origin
The author remixed this model.

Differences of the remix compared to the original
This is a remake of the original model I made from scratch in Fusion360 using the original STL as a reference. The main difference is that this model is hollow on the inside so it can be filled with plaster, concrete or sand.