Rocker Switch Fidget Clicker


Description
PDF30-Second Demo
Overview
This was made to function like some metal fidget clickers I've seen. It's intentionally small to test the abilities of my FFF printer, and to match the size of some 4x2mm magnets I already had. Scale it up with the included design files!
The designs and printing strategy were chosen to make the assembled clicker feel as good as possible. It's not about merely printing it; fidget toys are all about how they look, feel, and sound. See the printing tips and .3mf slicer files for details.
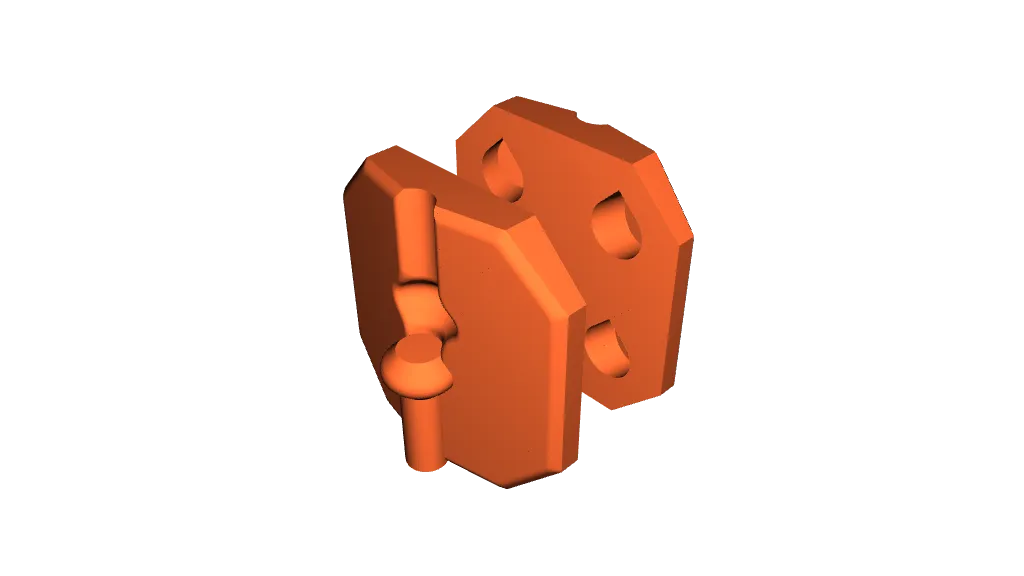
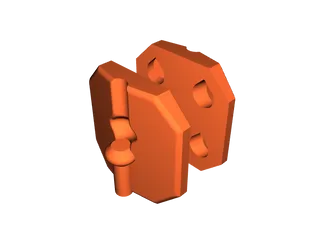
Printing Tips (Body)
- I printed these using Prusament PETG at 0.15mm with no supports.
- Position these so the axis of the hinge is vertical, as shown below. Do not print these "flat" on the plate or else the action of the assembled clicker will be rough.
- Try to print these without a brim, as it may be difficult to remove brims cleanly. For print beds that move along the Y axis like the Prusa i3 series, position these as shown to maximize adhesion during Y-axis moves.
- Try to ensure the angled surfaces are clean. Position these and paint seams so blemishes are concentrated on the flat sides.

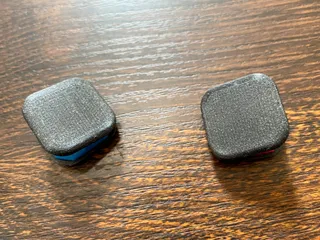
Printing Tips (Cap)
- I printed these using Prusament Galaxy Black PETG with variable layer height and supports.
- Align the top layer infill to a 90° orientation, either up and down or side to side.
- Avoid printing these upside down, as the overhangs at the edges will feel rougher. The goal is to do as much as possible to ensure a nicely filleted outer edge!
- Use random seam positions. They hide really well, especially with speckled filament as shown.
Assembly Tips
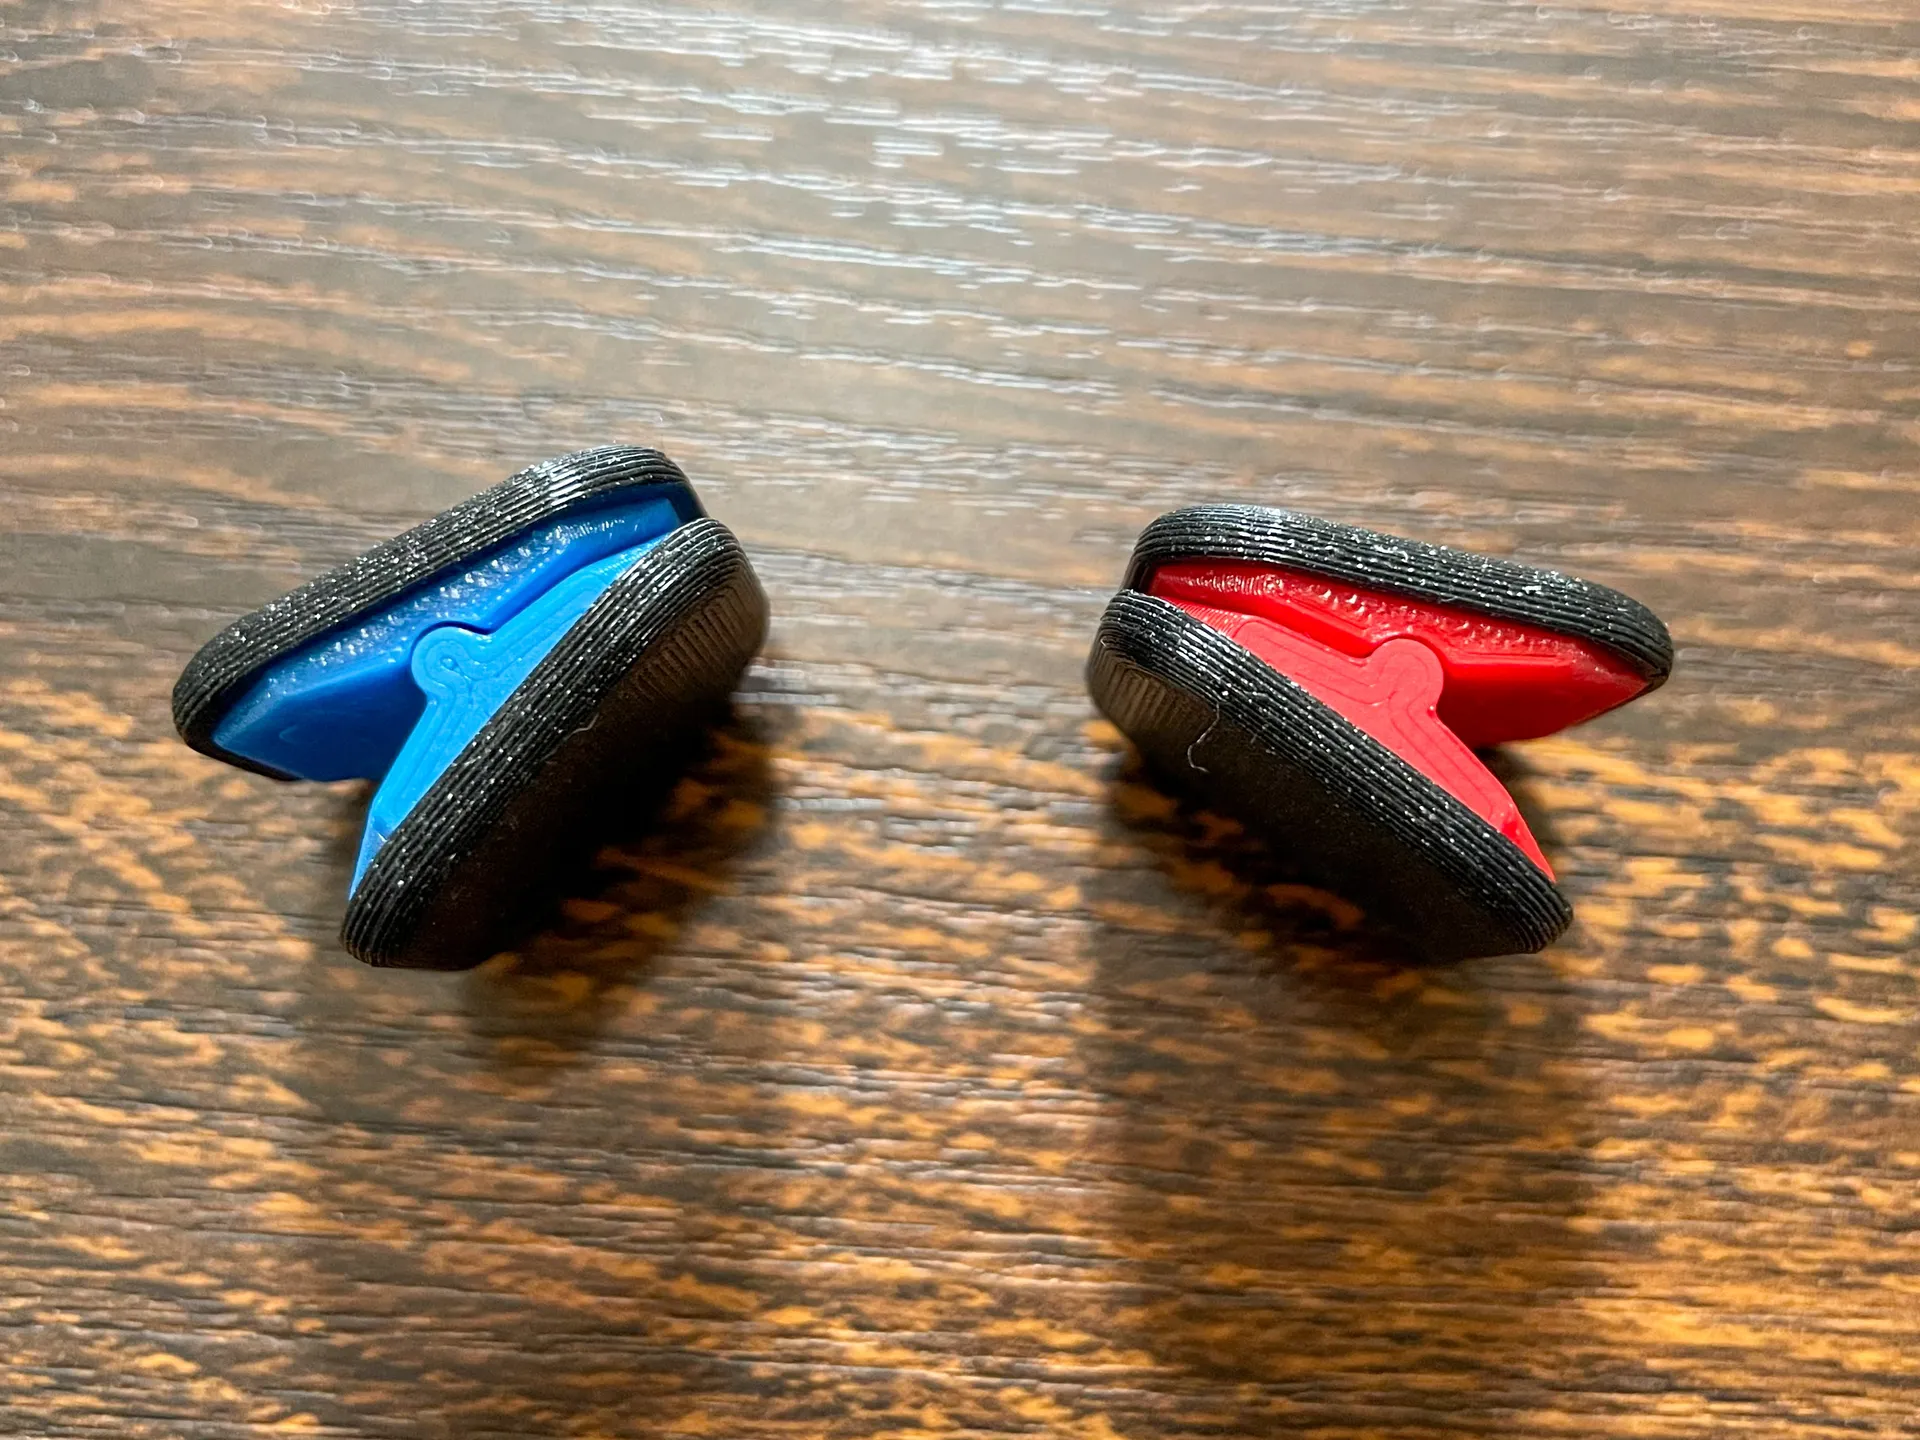
Note how the two clickers behave differently in the video. In the blue clicker, one end's magnets attract and the other end's magnet repel. In the red clicker, both ends have magnets that attract.
Decide how you want the clicker to act, and plan out the magnet orientations accordingly. Use a marker to help identify which sides will attract each other.
        Blue Clicker                         Red Clicker

,----,   ,--------,   ,----,         ,----,   ,--------,   ,----,
|    | N |        | N |    |         |    | N |        | N |    |
|    | S |        | S |    |         |    | S |        | S |    |
'------------/\------------'         '------------/\------------'
            (  )                                 (  )
,------------\/------------,         ,------------\/------------,
|    | S |        | N |    |         |    | N |        | N |    |
|    | N |        | S |    |         |    | S |        | S |    |
'----'   '--------'   '----'         '----'   '--------'   '----'
       ^
       This end will stay apart.
Try out the magnets before you put the printed caps on. If you make a mistake and insert a magnet upside down, you can put a small tool in the pointy part of the magnet hole to pry up the magnet.
Customization
- Consider ironing or adding a special pattern for the top layer of the caps. The subtle changes in texture might feel interesting, or at least change how smooth it feels. Great video with ideas: https://www.youtube.com/watch?v=3hi2_9-YCbM&t=601s
- The
.f3dmodels are reasonably well-parameterized, so you can adjust the sizes of the clicker components, magnet holes, etc. - Adjust the
slopparameter to adjust how all the parts fit together.
Tags
Model origin
The author marked this model as their own original creation.


