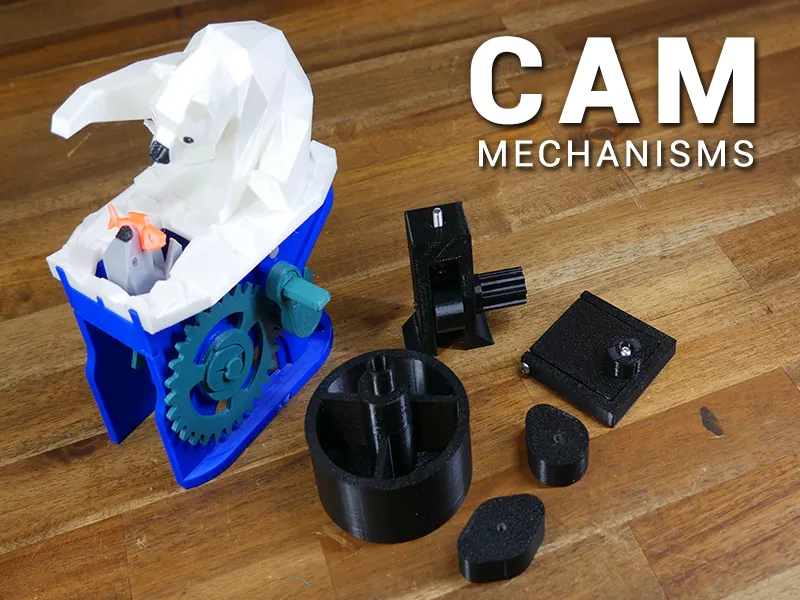
Cam mechanism examples


Description
PDFOverview
I am building on my over centre mechanism video with another instalment on cams. These models are used in the video to showcase various mechanisms that a cam can be integrated with.
Source CAD
If you are not an Onshape user, you can still right click on any part and export it in a format of your choice. This can be done without even having an account. If you do use Onshape, you can make your own copy and modify from there.
Printing
All sets are oriented correctly to print without support. Any material can be used unless othewise noted. I used PLA. Strength is not important. Infill of 15 - 20% is fine.
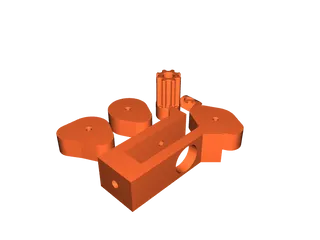
Simple Example
This set comes with three interchangeable cams. An M3 x 30mm bolt holds the handle to the cam. An M4 bolt (must be round head) with a length of at least 20mm is recommended. A small compression spring is optional. When compressed it must have a maximum length of 4mm. Turn the handle and watch the M4 bolt go up and down. Attach something incredible to the end of the M4 bolt for maximum fun.
Latching lid
This set requires two M3 x 10mm bolts to form the hinge, and an M3 x 12mm bolt to attach the handle to the cam. Close the door and turn the handle to rotate the cam into a locking position. Turn the handle again to unlock.
This design can be enhanced by adding a spring or rubber band to turn the handle back to a locked position.
Dial
This set is the basis for an electronic dial. Only an M3 x 16mm bolt is needed to attach the handle to the cam. Be sure to align the mounting bosses for these two parts. I struggled to find the right clearance value for the notches in the housing and the cam. Perhaps printing the cam in TPU would be effective.
Dispenser with reverse cam profile
This set reverses the cam profile so the lobe is a negative cut out. A single M3 x 30mm bolt is required to attach the handle to the cam plate. You may turn the handle by hand or attach a drill to the narrower part. Fill part of the housing with pellets, ball bearings, bolts, etc and turn the handle to allow a small amount to drop out for each rotation.
This type of mechanicism works best when a single rotation can be precisely controlled. This can be with a stepper motor, geared DC motor or servo where one rotation can be reliably timed. You can then resize the opening in the cam plate to allow a known and consistent quantity of material to fall though.
Advanced cam used to animate movement
Polar bear with seal (automata) by Amaochan: https://www.thingiverse.com/thing:4052802
This model is beautiful and highly recommended to print.
It uses a pair of cams, each with an advanced multi-lobe profiles. Arms ride on these cams, which when rotated by the gears and handle, lift and lower the seal and bear arm to create the animation.
Tags
Model origin
The author marked this model as their own original creation.