Self feeding open source filament pelletizer

Description
PDFOverview
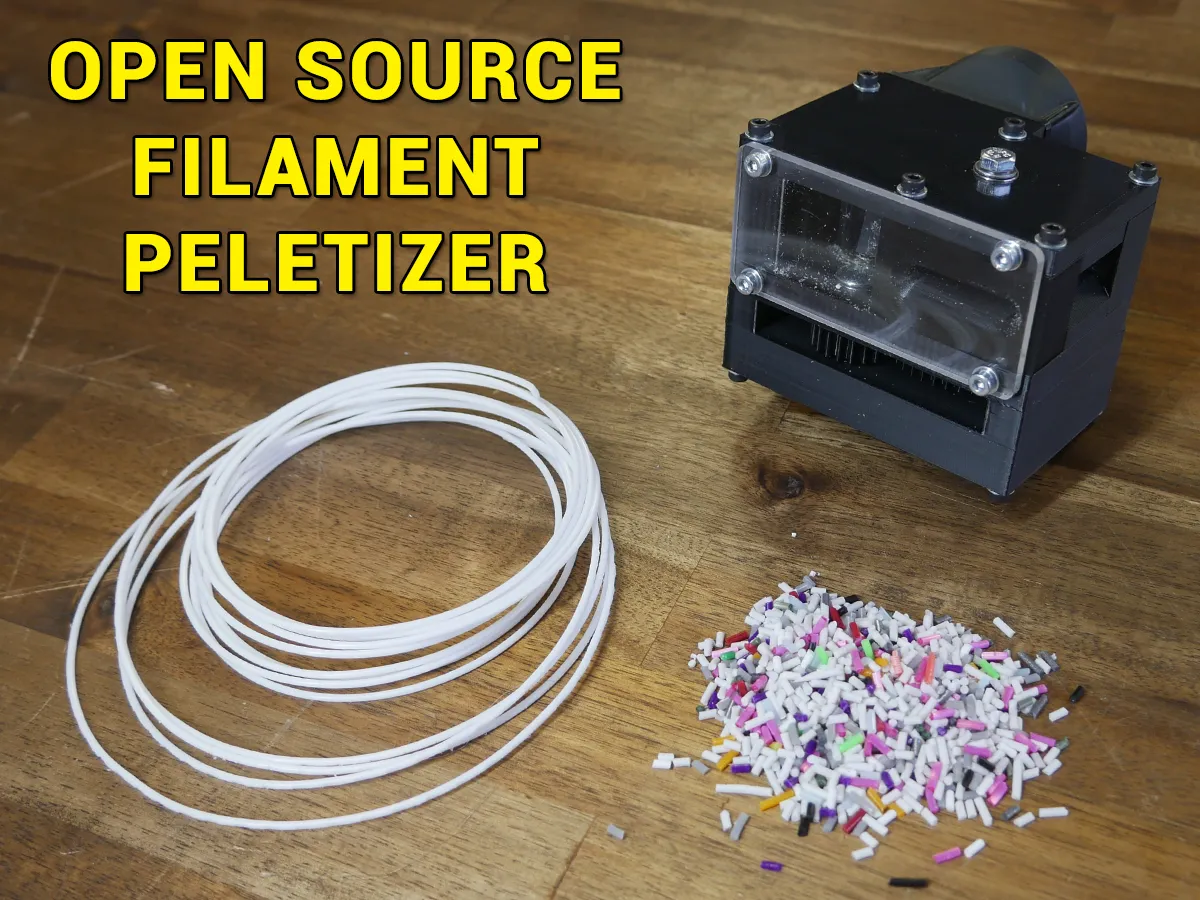
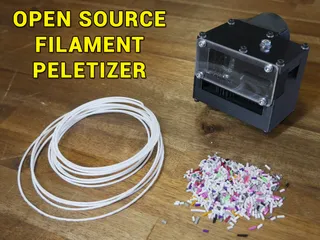
This is a filament pelletizer which converts old or unwanted filament into short pellets. It aims to be safe, tidy and easy to use. My favourite feature is the self feeding mechanism that is geared from the power drill input. To assemble this, I used the excellent heat insert press sold by Naomi Wu: https://cybernightmarket.com/products/heat-set-insert-press
A video overview of the design process can be found here:
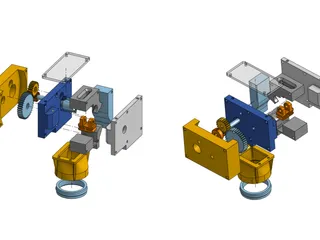
Source CAD
The source CAD for this design is available here, under the tab ‘Filament Pelletizer’: https://cad.onshape.com/documents/d620c733b222a6028cd1baa1/w/b280ca1825707eef1b27f3a6/e/41d5be97158b9c62badaa66f?renderMode=0&uiState=65715167b4b76e4267fbb069
Even without an Onshape account, you can right click on any part and export in a format of your choice. You can also export the entire assembly in one file by right clicking on the ‘Filament Pelletizer’ tab name.
The 48 tooth spur gear still present is from a previous iteration of the design and is no longer required. Please ignore it as well as some features that have been suppressed.
Printing instructions
All parts are already oriented and do not require support material. Since they are designed to have threaded inserts melted in, I recommend printing with thick walls. I used PETG with 5 walls. High infill is advised too, just to ensure structural integrity.
The seal piece is to be made from TPU and is marked as such in the file section.
The window piece can be laser cut using the DXF or 3D printed using the STL. While not essential, having the window being clear or transulcent is prefferable to opaque.
Required Hardware
The following hardware is required for the build:
- 19mm(3/4") router bit with ¼" shank: https://www.bunnings.com.au/ultra-19mm-inverted-trimming-router-bit_p0484174 You could use a slightly different bit and alter the geometry to suit. This router bit comes with a removable collar (not required) and a R4AZ bearing (required). If you are looking for an equivalent, the blade length is 20.5mm but doesn't need to be this long, ¾" (19.05mm) will be fine. Although I haven't personally tested it, others have used this equivalent on Amazon: https://amzn.to/3TQQh1L (affiliate).
- M6 washer x 1. This must fit over over the router bit shank.
- R4AZ bearing x 2: https://amzn.to/3N4adK2 (affiliate). Two are needed and you may get one of them with your router bit.
- Hobbed gear from 3D printer extruder. As long as it has a 5mm internal bore you should be good.
- RM115 bearing x 7: https://amzn.to/3NjZtYm (affiliate). M5 x 20mm bolt x 1 (idler spring)
- M5 x 60mm bolt x 1 (large gear to hobbed gearing)
- M5 x 25mm bolt x 1 (medium gear)
- M5 lock nuts x 4
- M5 washers x 5 (possibly more if you need to use them as spacers)
- M3 x 35mm bolts x 6 (end plate B through to centre plate)
- M3 x 30mm bolts x 4 (end plate A through to centre plate)
- M3 x 8mm bolts x 8 (collection adaptor and window)
- M3 washers x 8
- M3 grub screws x 2 (small gear to router bit shank)
- Juice/milk bottle for pellet collection
- Power drill
Threaded Inserts
This process is covered in more detail inthe assembly video below.
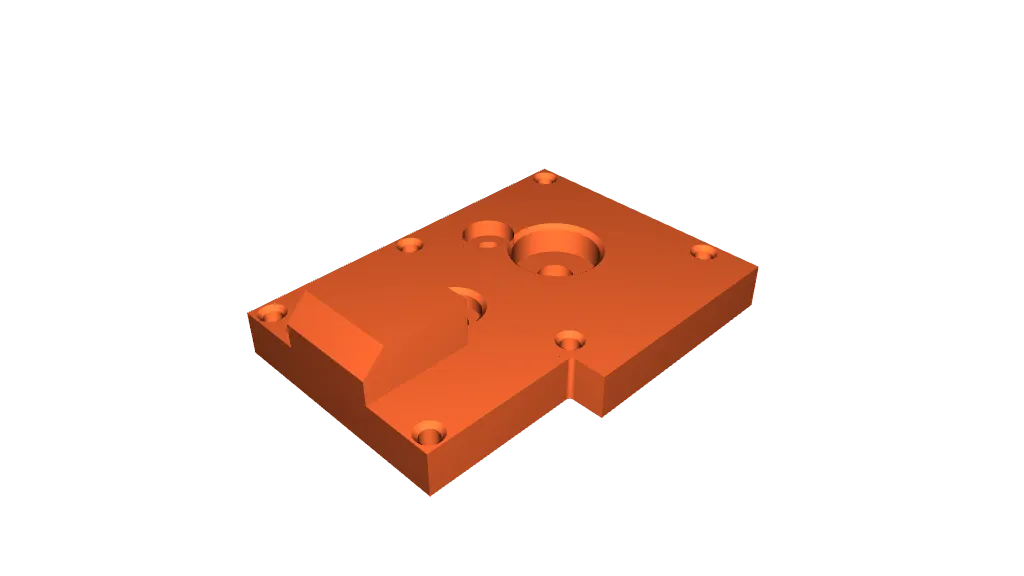
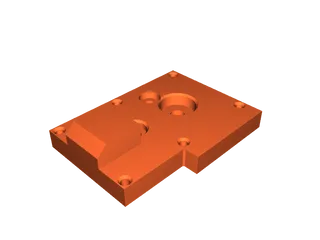
The centre plate is 10mm in thick and requires 6 x M3 x 10mm inserts. It is important to clean any plastic residue on the underside so the thread is accessible from both sides.
The rest of the parts use either M3 x 5mm or M3 x 6mm inserts, either is fine. You will need 10 of this length. The trickiest is the small gear. If you put two bearings on the shank of the router bit, and then the small gear on the end of the shank, the printed part will be held parallel and the insert should go in nicely.
Due to variations in threaded insert width, you may need to expand the bores in the printed parts with a drill if your inserts are wider than the ones I used.
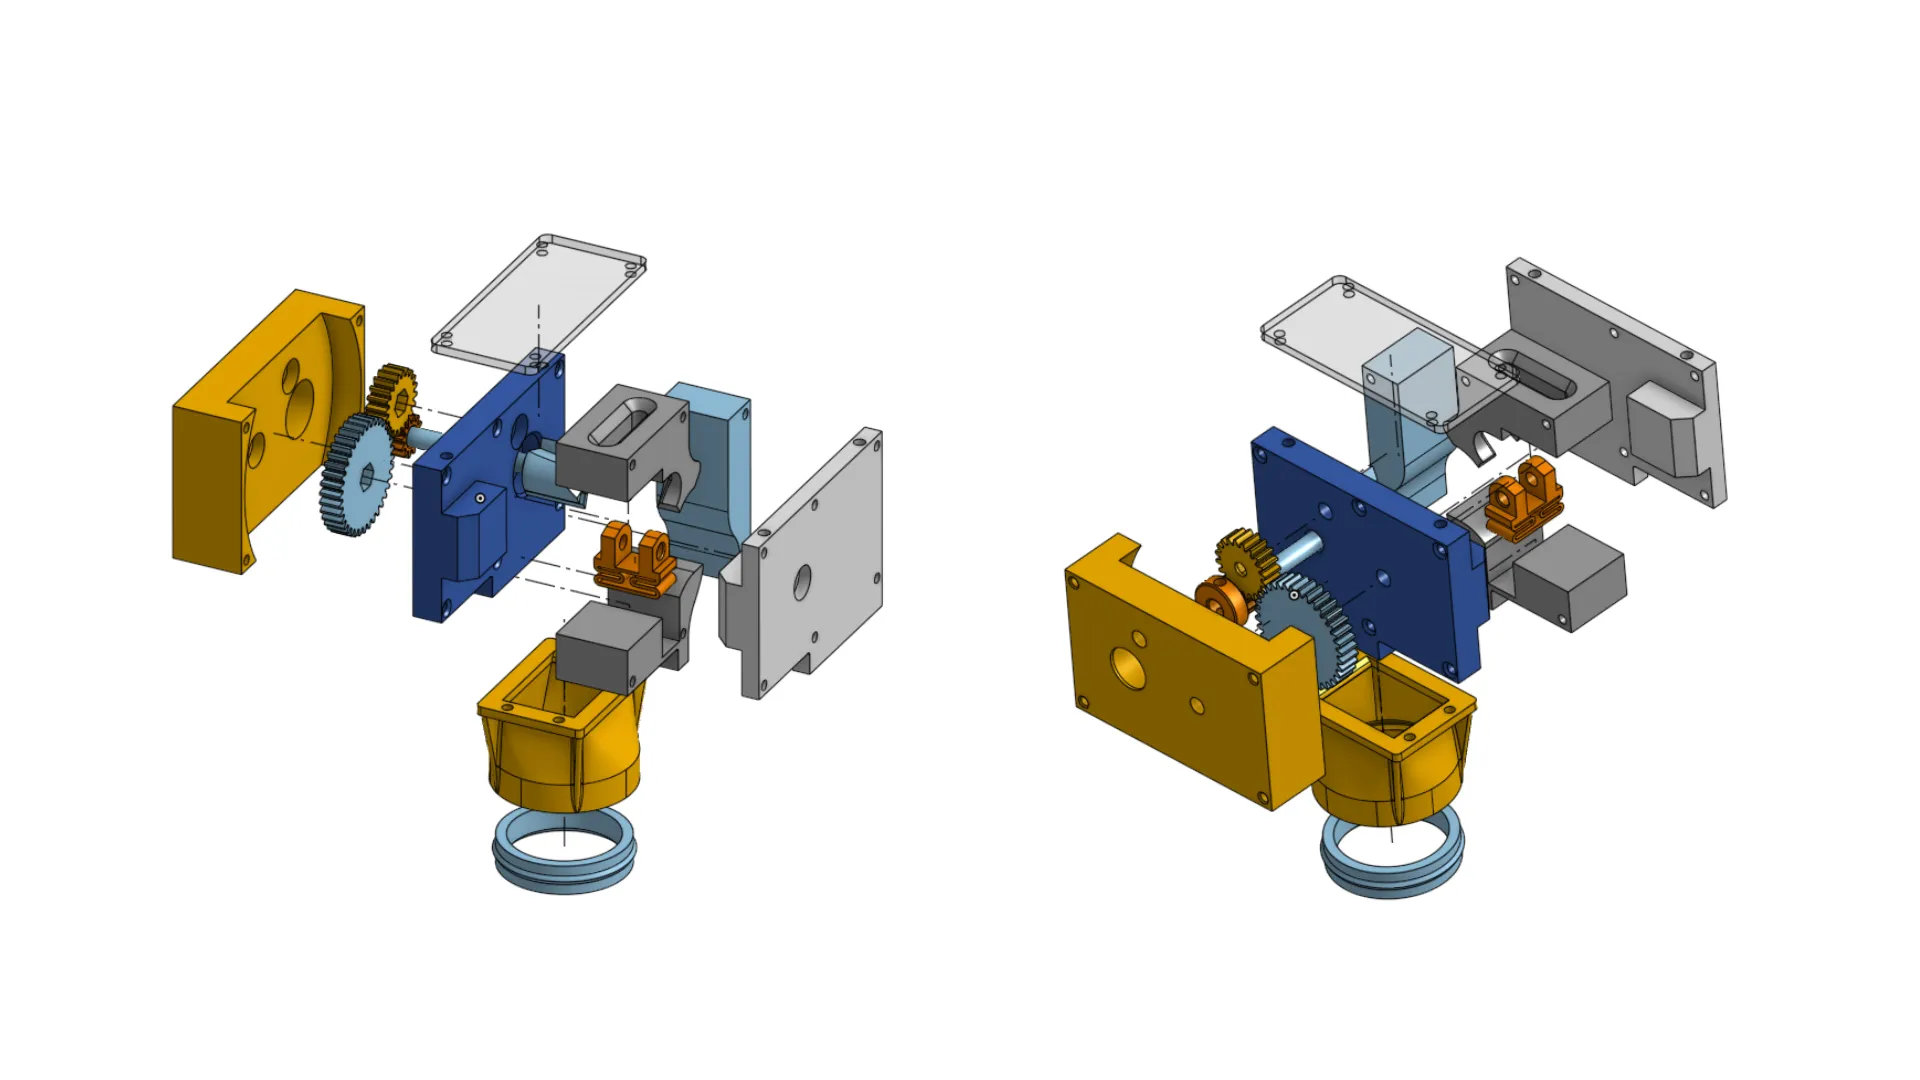
Assembly
Step by step assembly is covered in the following dedicated video:
Operation
For safety, ensure the window is fitted before using this pelletizer.
Spin the mechanism by hand to ensure everything is moving freely and without any collisions.
Insert collection bottle into output.
Attach the drill to the input shaft.
Check drill direction by slowly turning the drill to ensure the router bit is spinning towards the filament feed direction. This should be clockwise.
Load filament by pushing it into the hobbed gear while slowly turning the drill.
Run the drill at full speed to pelletize the filament. Everything should happen automatically. If there is a jam, just reverse the drill direction and careful back the filament out.
Tags
Model origin
The author marked this model as their own original creation.