Limits Fraction Board
Description
PDFSummary Cont.
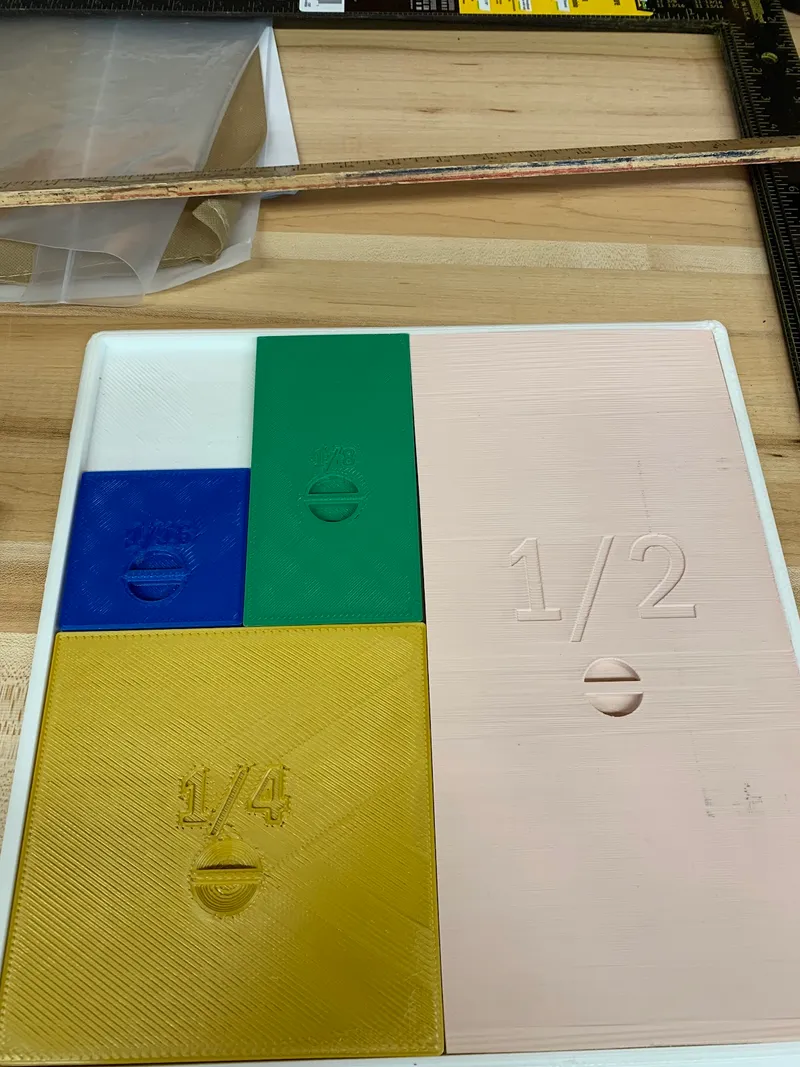
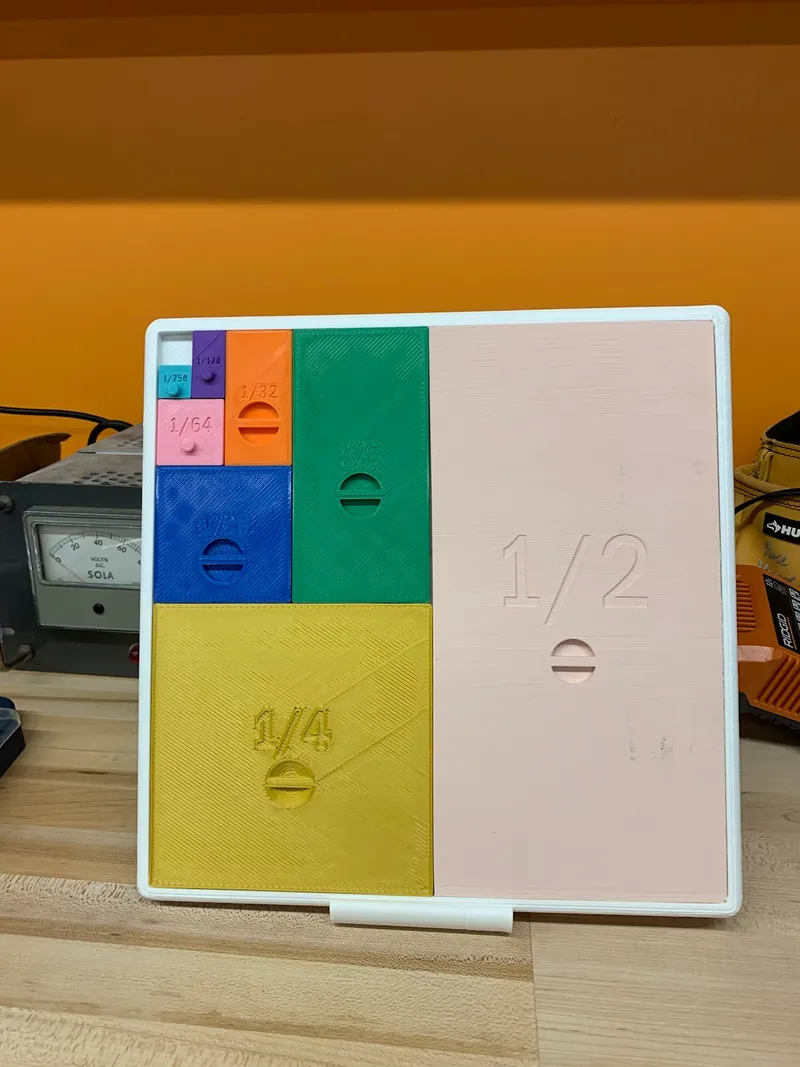
It’s perfect for a teacher to perform a hands on demonstration with a class. The board can be passed around for students to interact with or propped up on the stand in front of the class. With dimensions of about 32cm x 32cm, the board is big enough to see from a distance, yet small enough to be manageable during transportation.
Lesson Plan and Activity:
The client requested a curriculum learning tool to help demonstrate a specific calculus concept. The inspiration for this project came from the calculus concept of limits and infinite series.

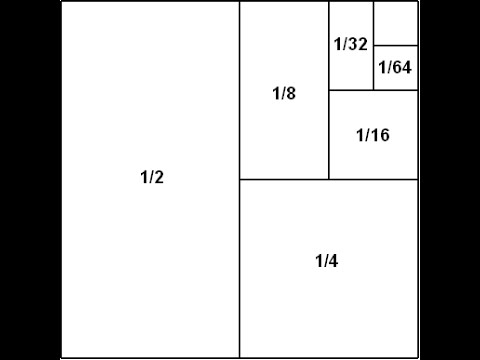
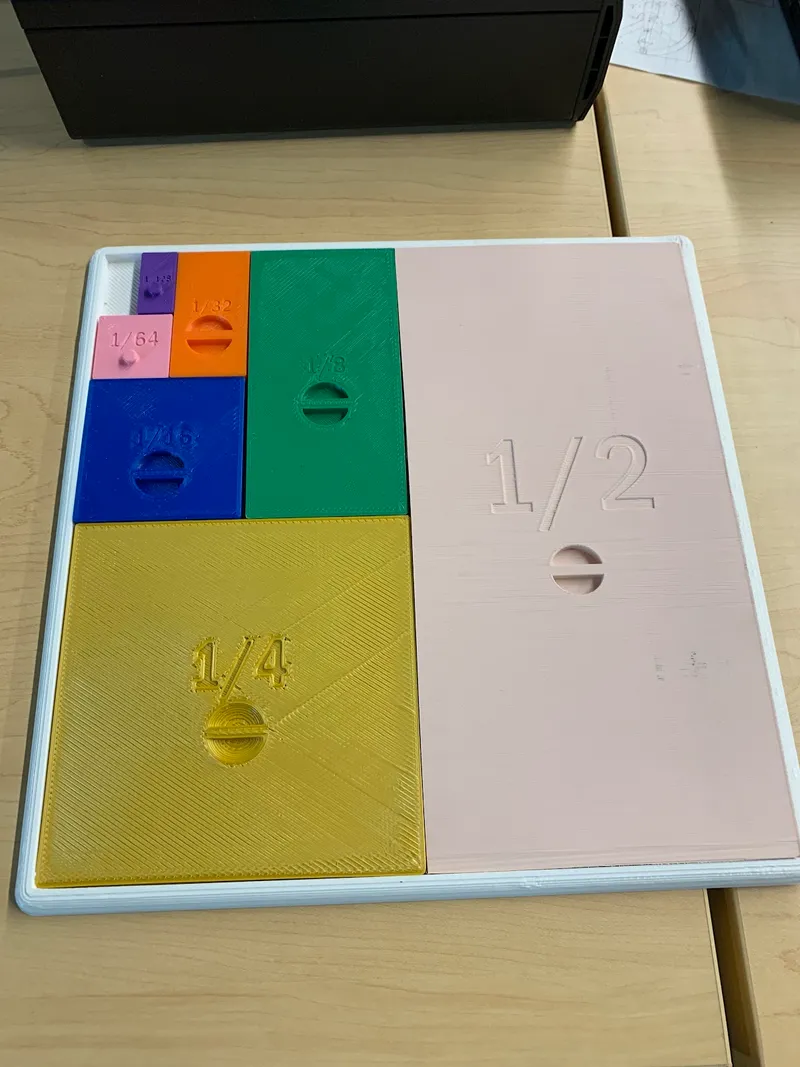
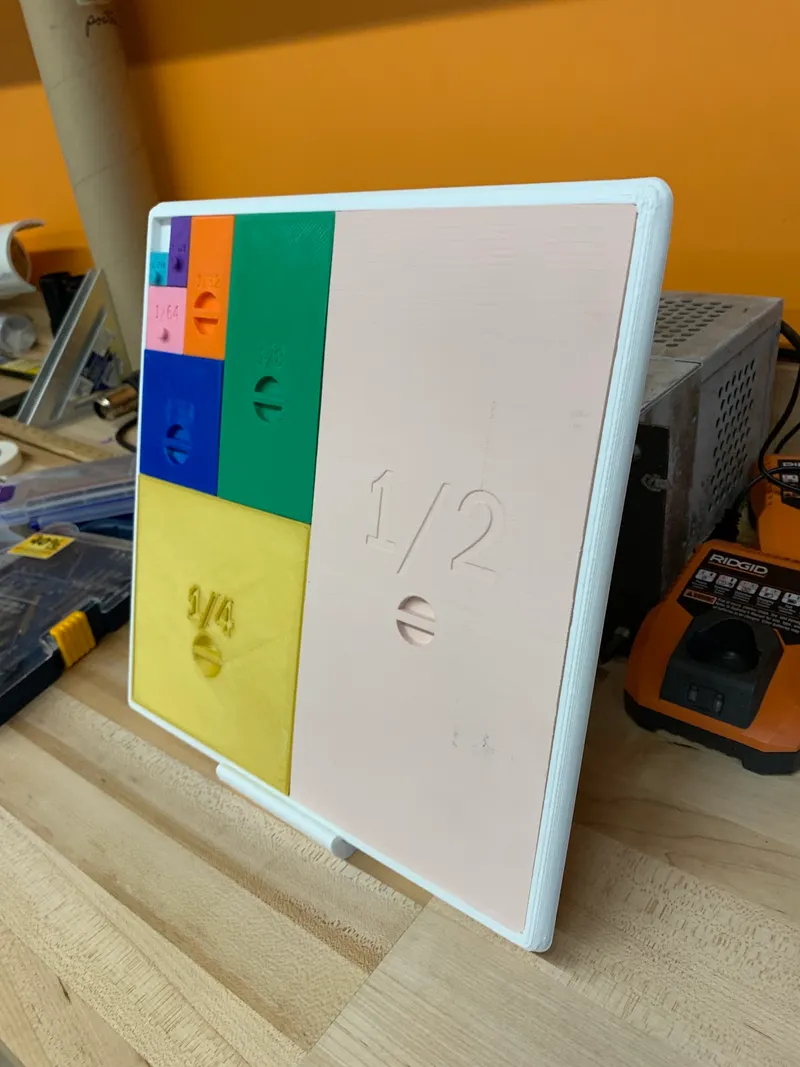
This board represents the whole number one and the pieces that fit in are fractions being added together. Beginning with ½ the pieces gradually get smaller representing the series: ½ +¼ + ⅛ + … in which the value never reaches 1, but rather approaches 1. As the pieces fill the board they get closer and closer to covering the whole space, but never fill it completely.
Assembly Instructions:
- Place the stand on a flat surface on its smallest side so it stands the tallest and faces with the lip outward
- Place the empty board flat against the stand and into the divot in aligned in the middle of the board so it stands almost upright
- Starting with the ½ piece on the right side, begin to fit each piece into the board
- Place the ¼ piece on the bottom half of the remaining space
- Repeat this process by placing the next largest piece on the right side of the remaining space flush against the pieces already placed, followed by placing the next piece on the bottom of the remaining space
- Rectangular pieces go on the right of the open space while square pieces are placed on the bottom of the open space
Design Choices:
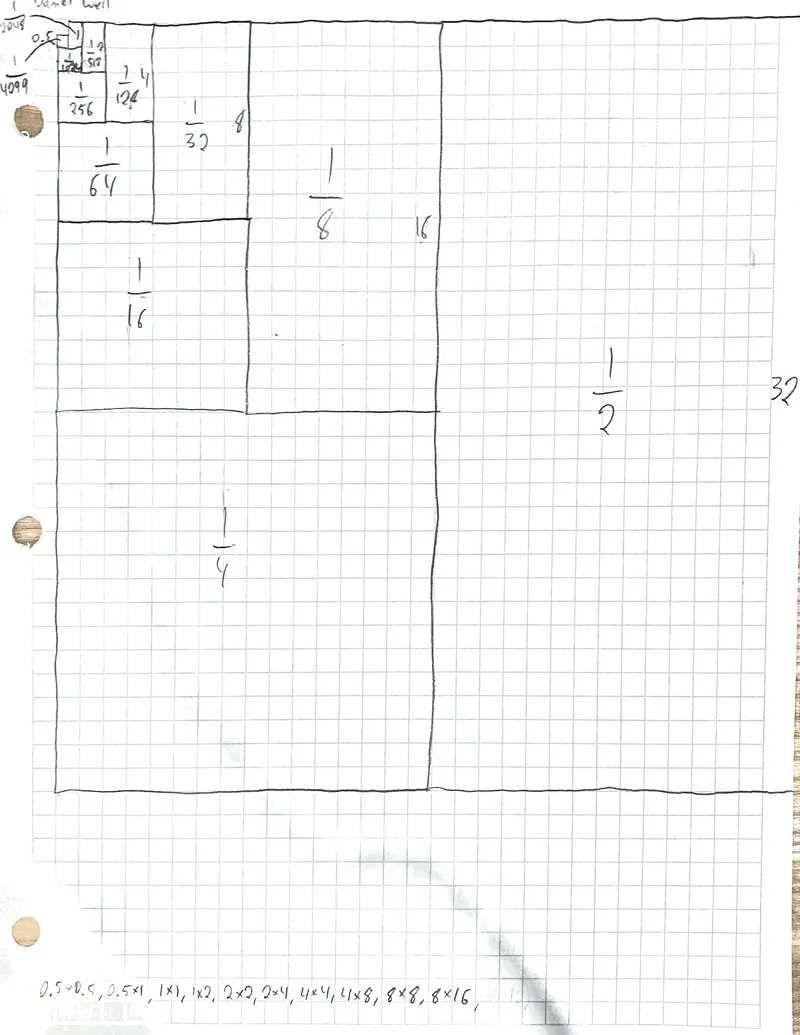
The original sketch consisted of a square board where each piece within was half the size of the previous piece.
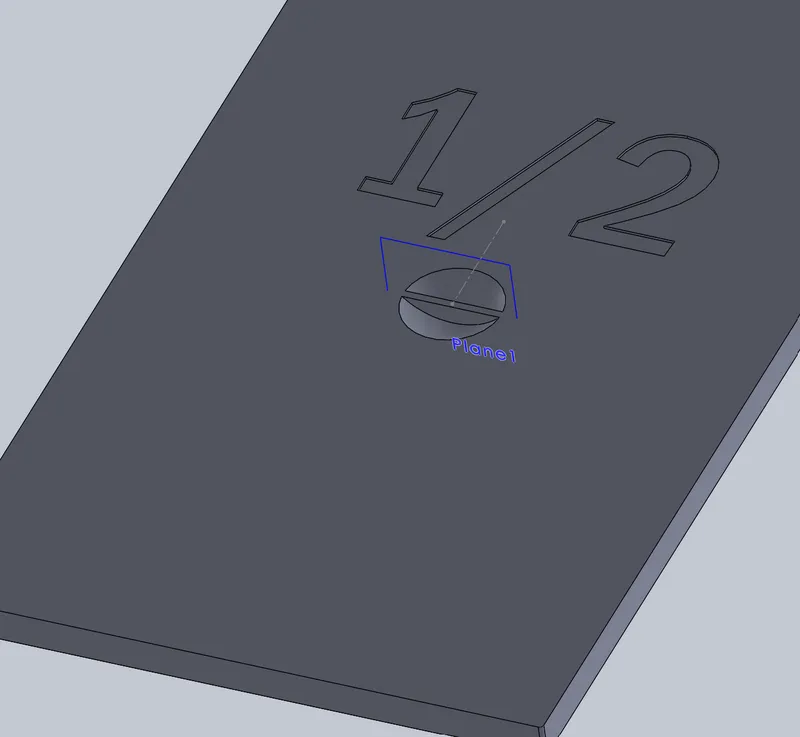
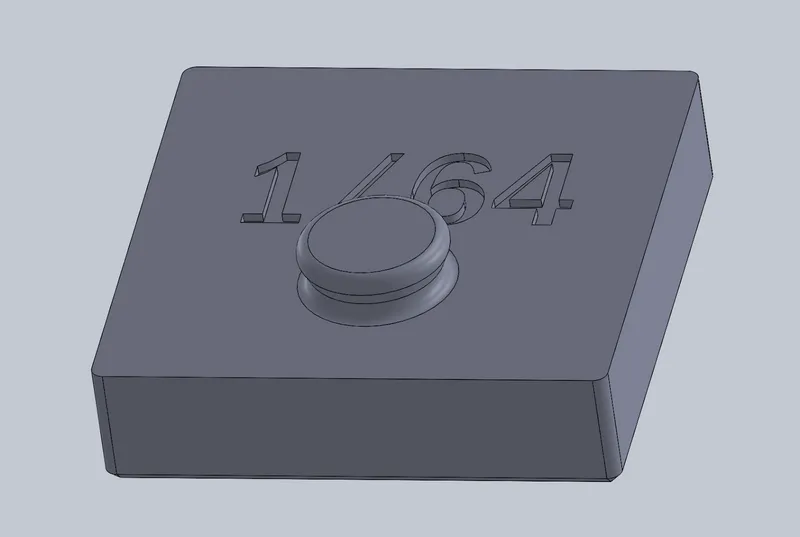
Both the ½ and ¼ used my original design of a knob extruding from the piece to lift it up from the board. To reinforce this piece I decided to fillet the edges so the filament would round up the side of the knob.
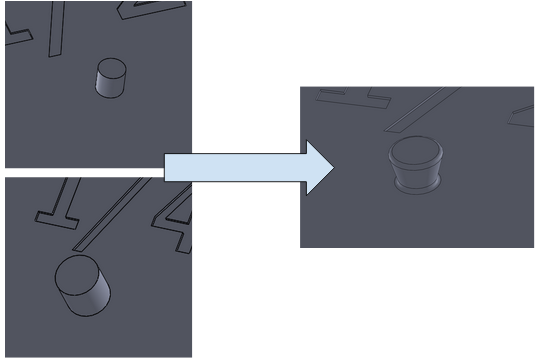
Before printing I came up with a new design which would be more stable. A rounded divot with a wall in the middle to allow each piece to be pinched out from the board.
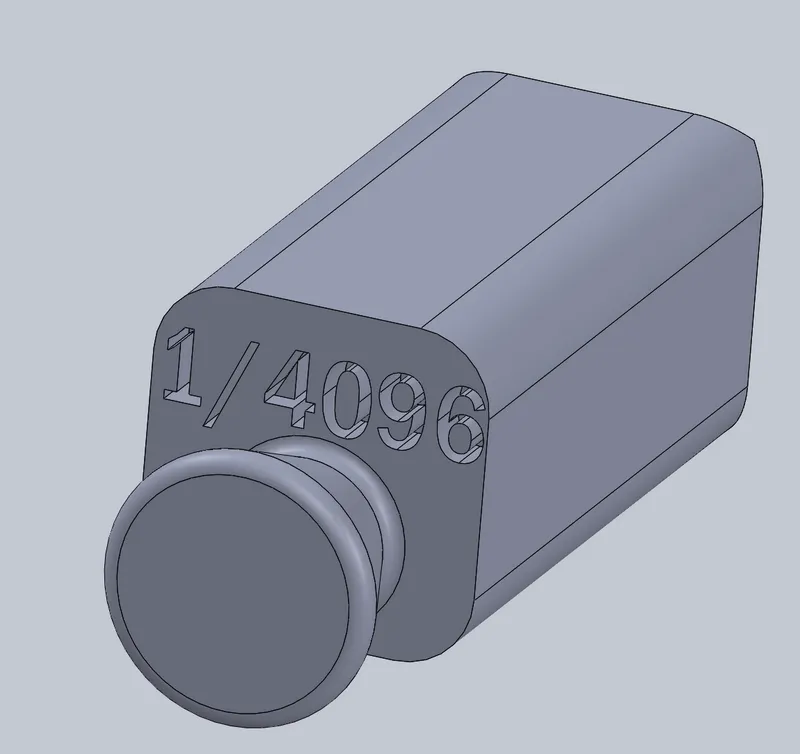
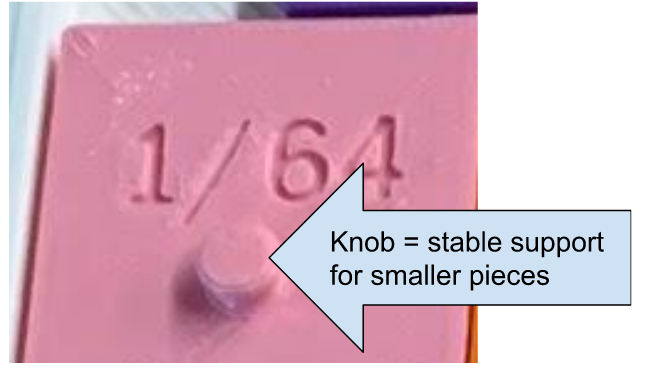
I continued making the rest of the pieces until I ran into the issue of the divot. After the 1/32 piece, the pieces were too small to fit both the hole to pinch it and the number. So, I reverted back to the knob method since these pieces were small/light enough that the knob would be stable.
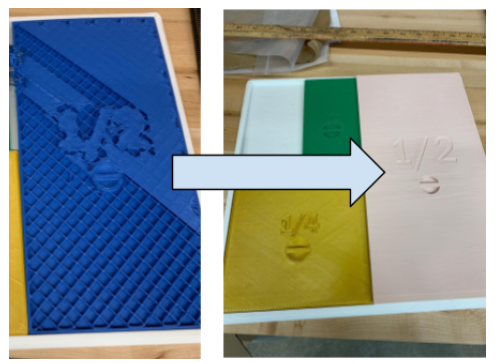
Then I printed the first few pieces to see how they all fit together in real life.
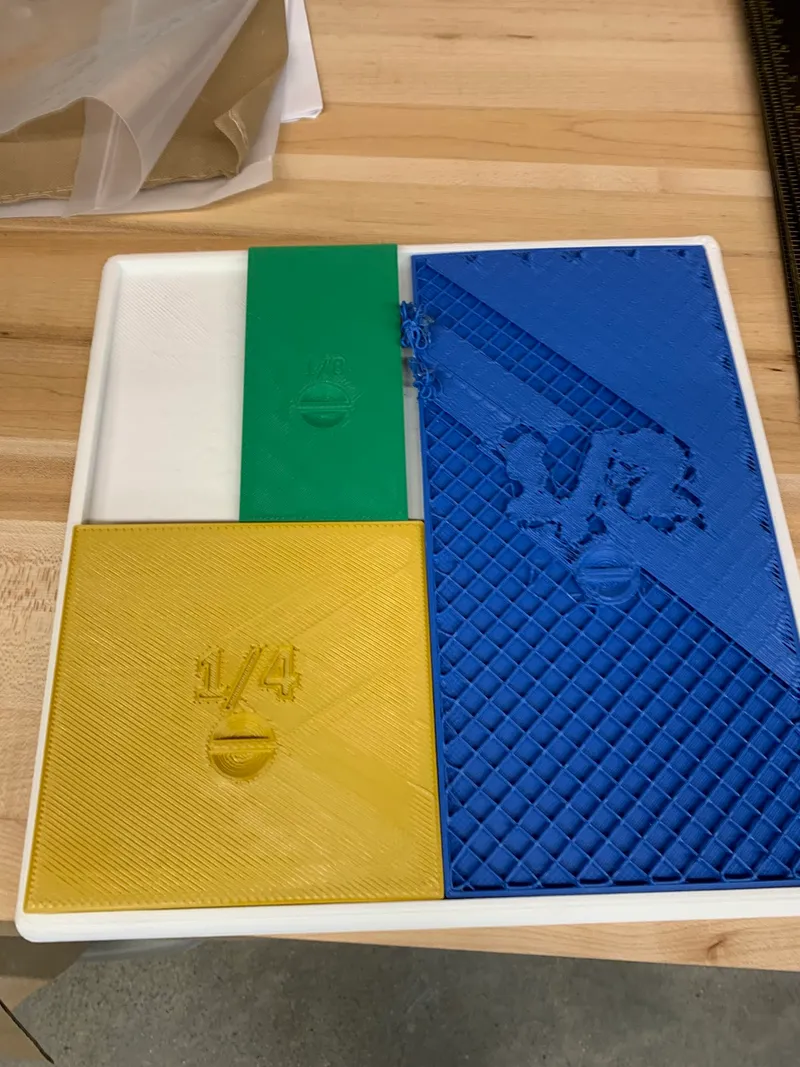
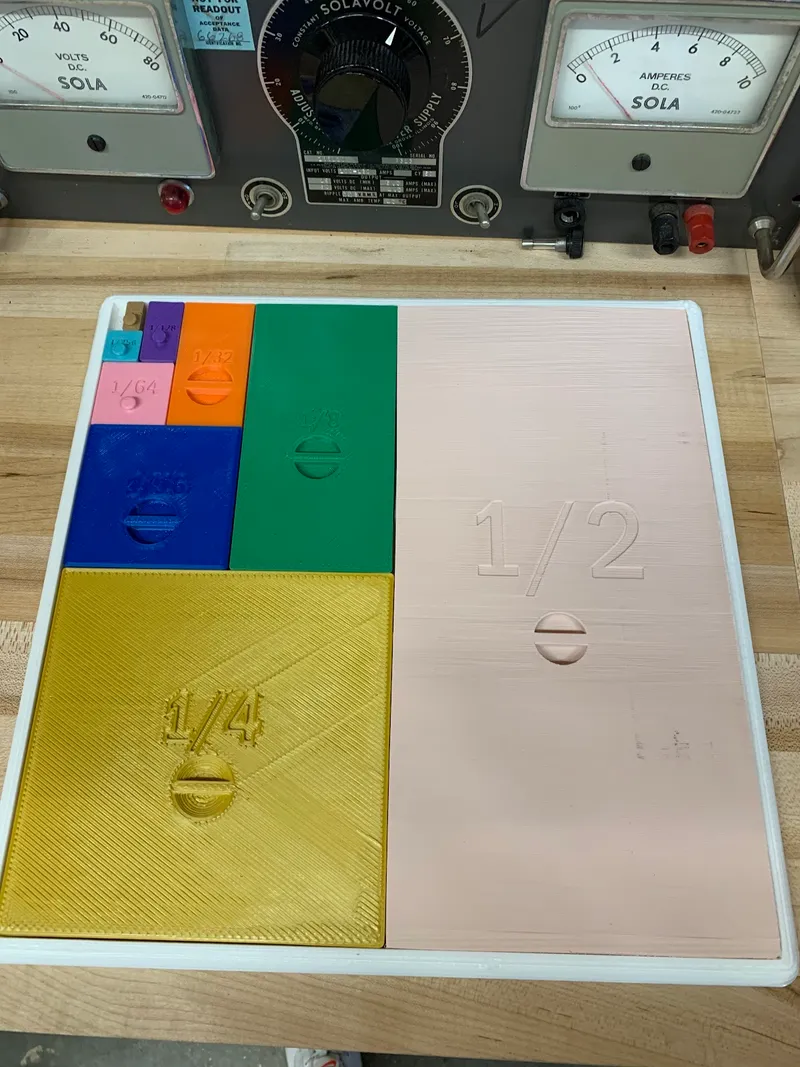
Clearly, I ran into a few issues. The first obviously involved the ½ piece which was messed up by the printer because the calibration was off. Make sure to calibrate the printer before printing something this big because the smallest mistake can result in major problems. I reprinted the ½ piece in a different color.
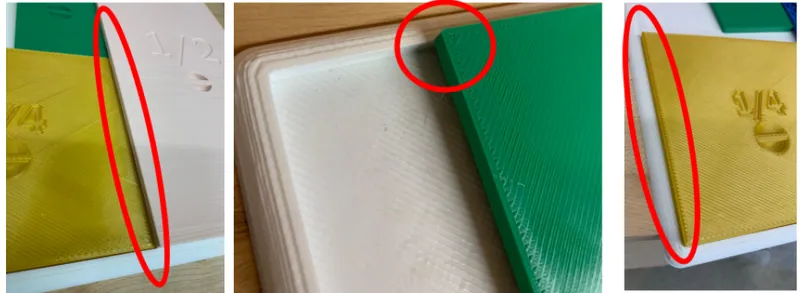
Although I offset each piece to allow for a friction fit, the space was not large enough so the pieces didn’t quite fit into the board as designed. This fault could have been caused by the use of larger nozzle diameters (1.0 PLA nozzles are less accurate than 0.4 PLA nozzles since they extrude more filament at a time) or the fact that some pieces were printed on different printers because they only fit on larger print beds.
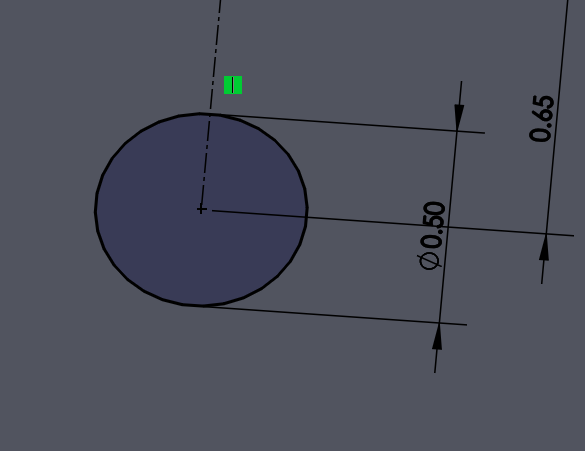
Another issue was that the holes to pinch the pieces were not deep enough to get a good grip on so I changed the shape from a divot to a cylindrical cut.
Since the ½ piece is the largest and affects the fit of every other piece, I sanded it down first to allow extra space for the other pieces. I also sanded the top of the ⅛ piece since it was slightly too long to fit in terms of length. After, the first four pieces fit perfectly.
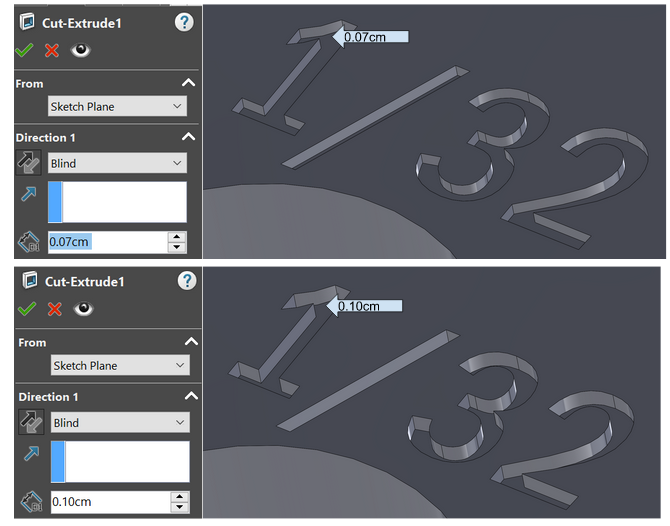
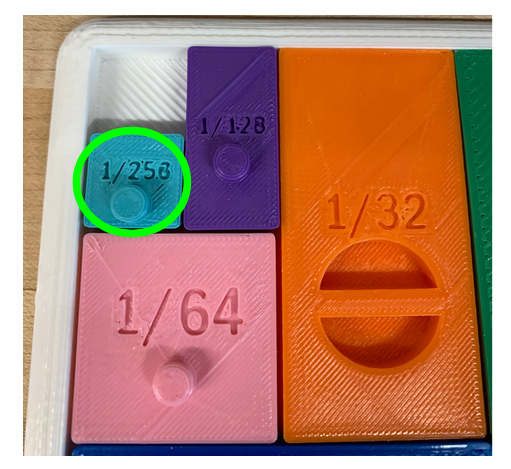
I noticed that the 1/16 number was a bit hard to read so I extended the extruded cut on the rest of the pieces from 0.07cm to 0.1cm.
Next, I printed out the next few pieces: 1/32, 1/64, 1/128 and they all slid right into place.
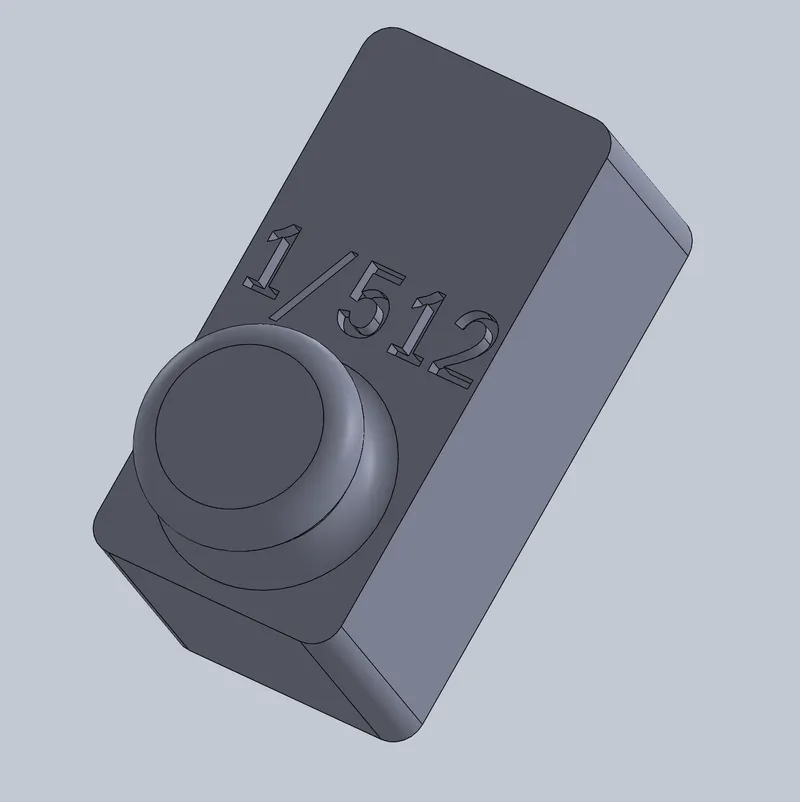
I continued printing out the pieces until I reached 1/512.
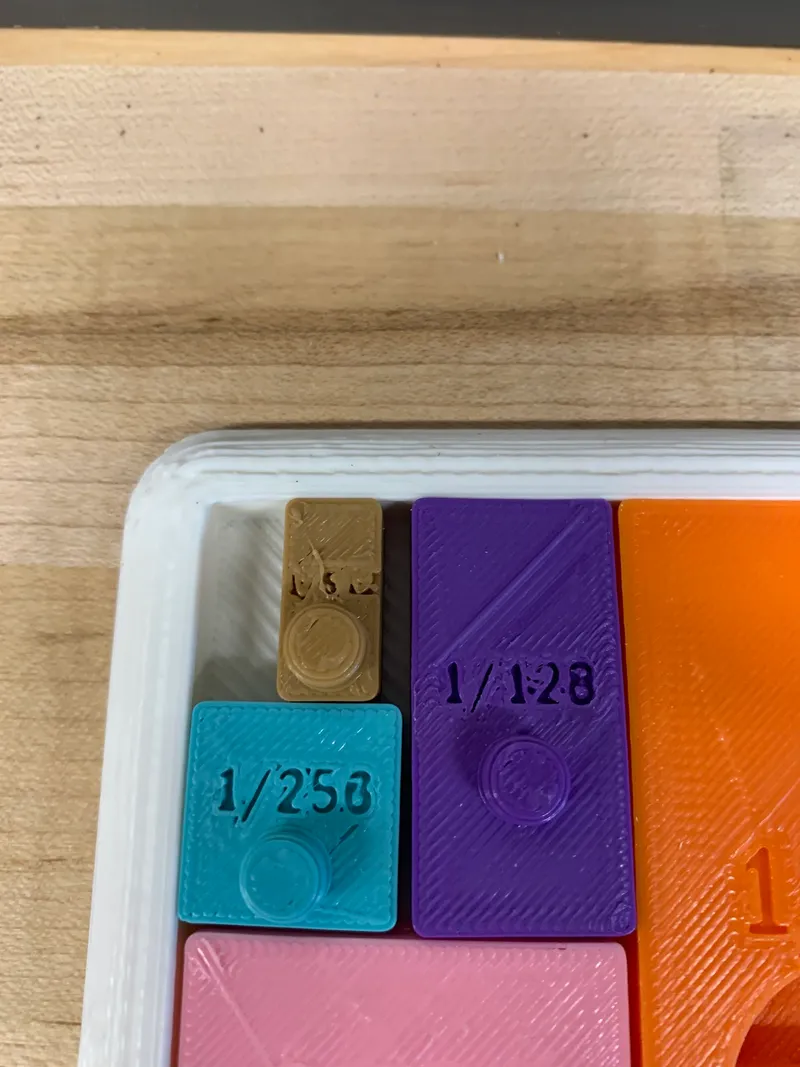
Since the 1/512 piece was too small to read the numbers, any piece after that would be too small, as well. Therefore, I ended the pieces after 1/256.
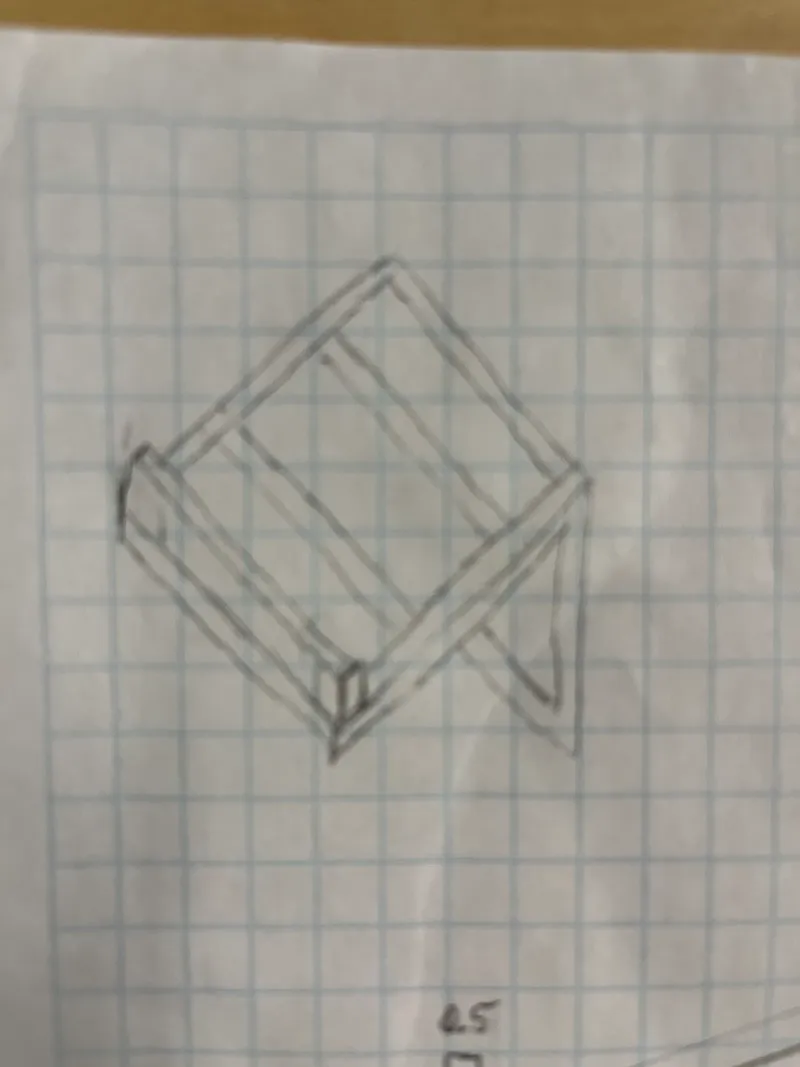
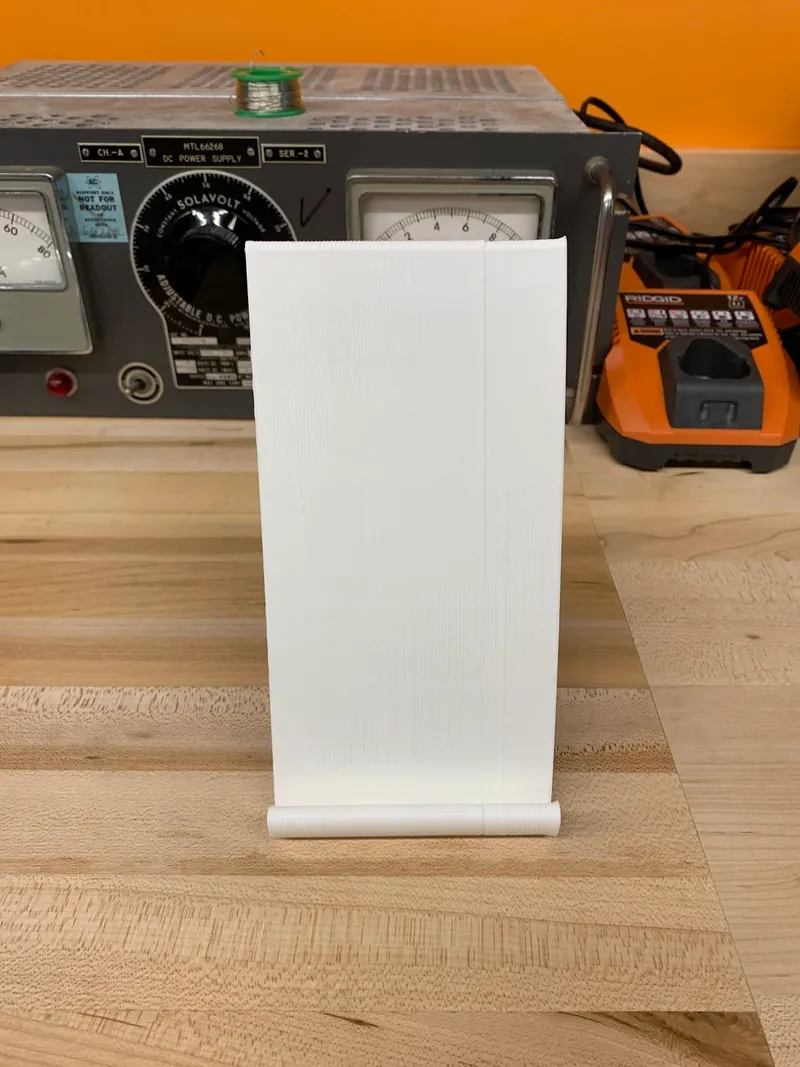
This project is meant to be used to teach in front of a class, so I realized the only thing it was missing was a stand to prop it up on a table/desk. These are the original sketches.
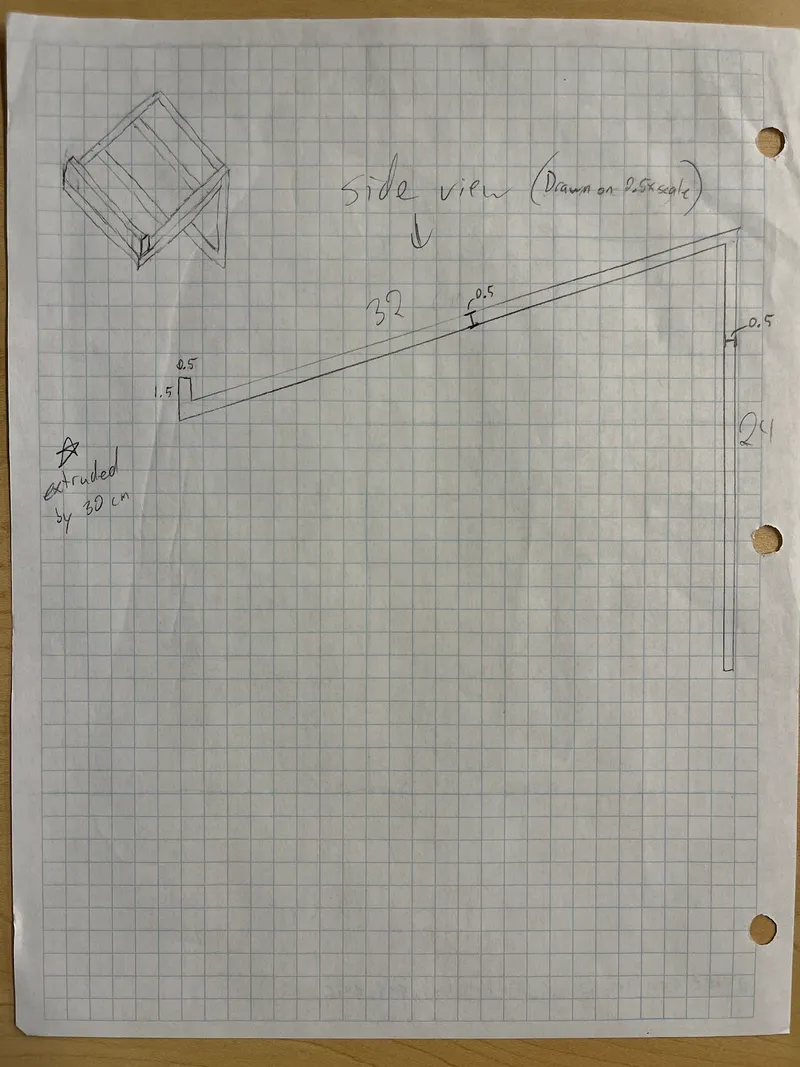
The first version in solidworks came out similar to the sketch, but I realized it wouldn’t be able to print properly due to the excessive amounts of overhang.
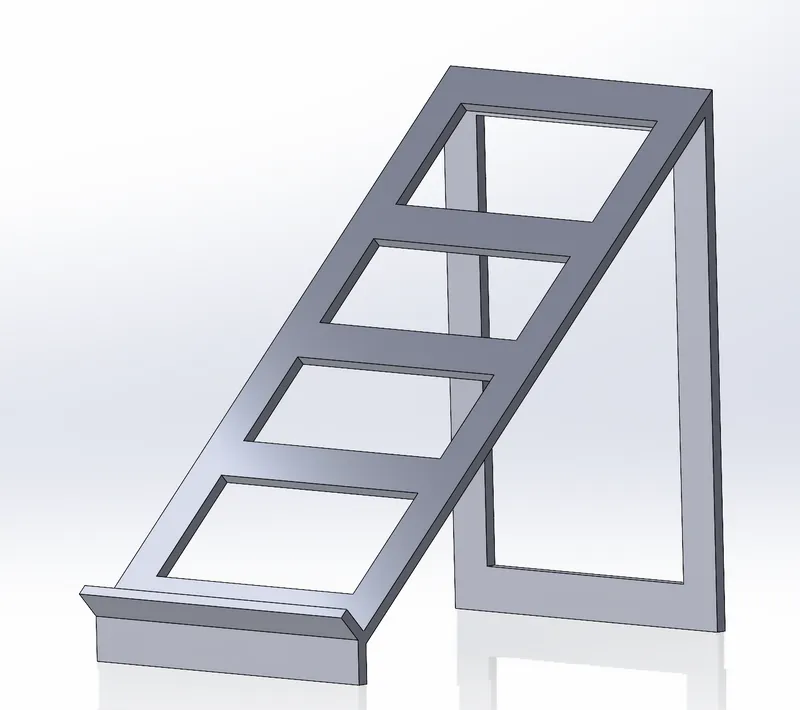
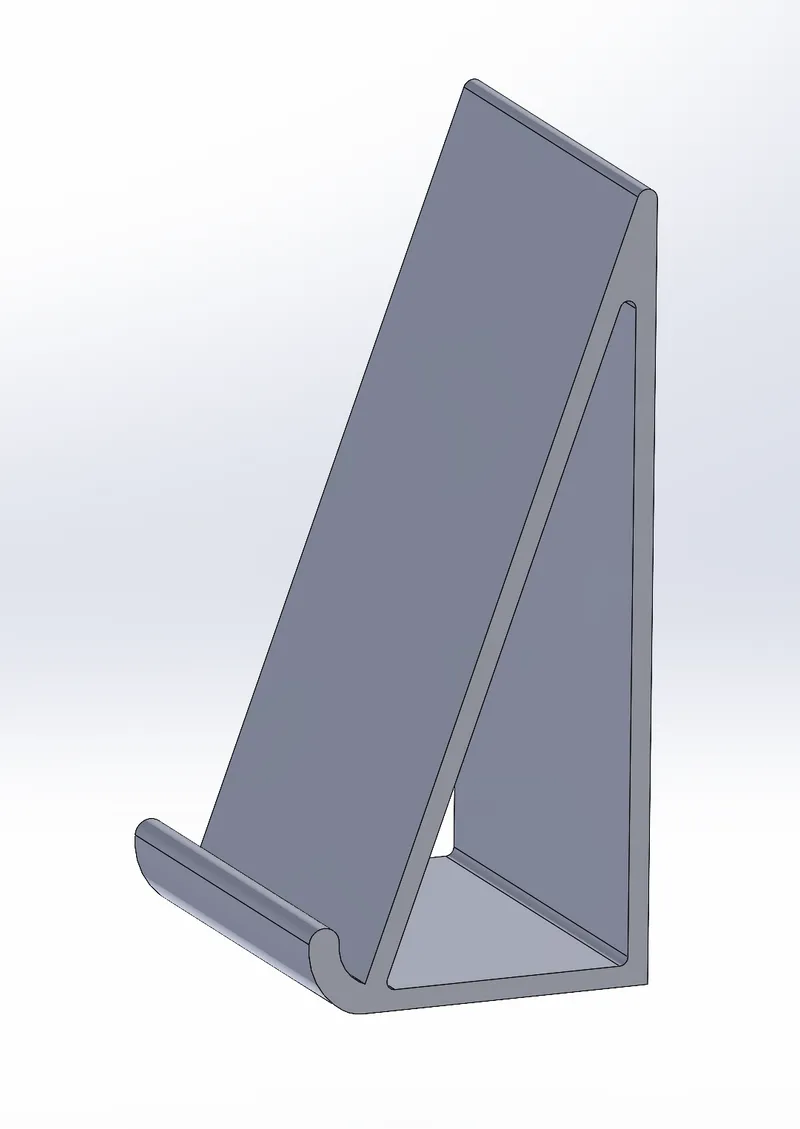
The next version was able to be printed on its side because no other orientation would be able to handle the overhang based on the shape of the board. When on its side, the extruder can print directly upward from the printing bed and not have to make any jumps. Also, it was sturdier than the original.
Then I put the board part against the stand in an assembly in solidworks to make sure they fit.
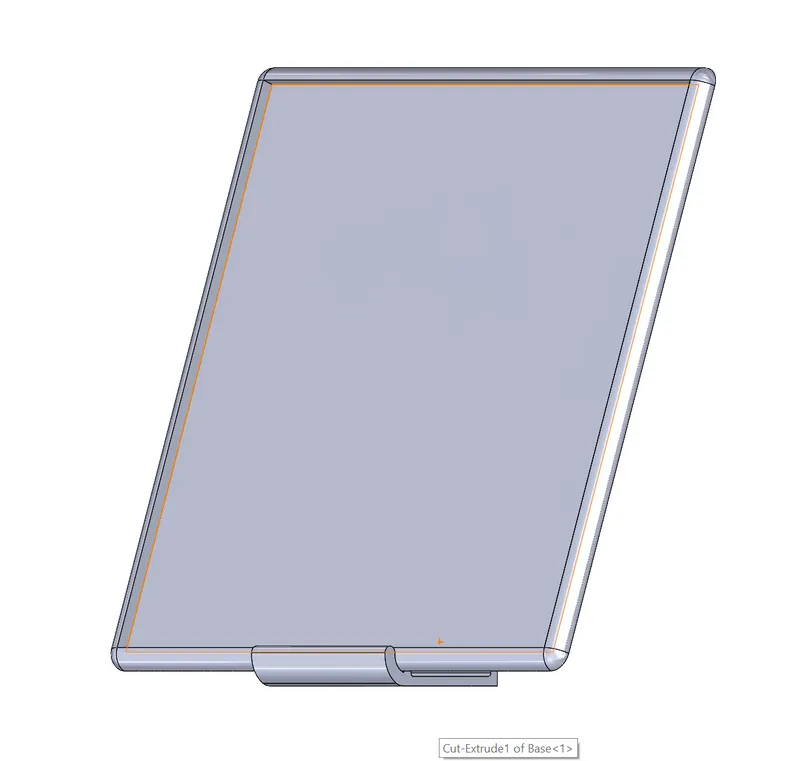
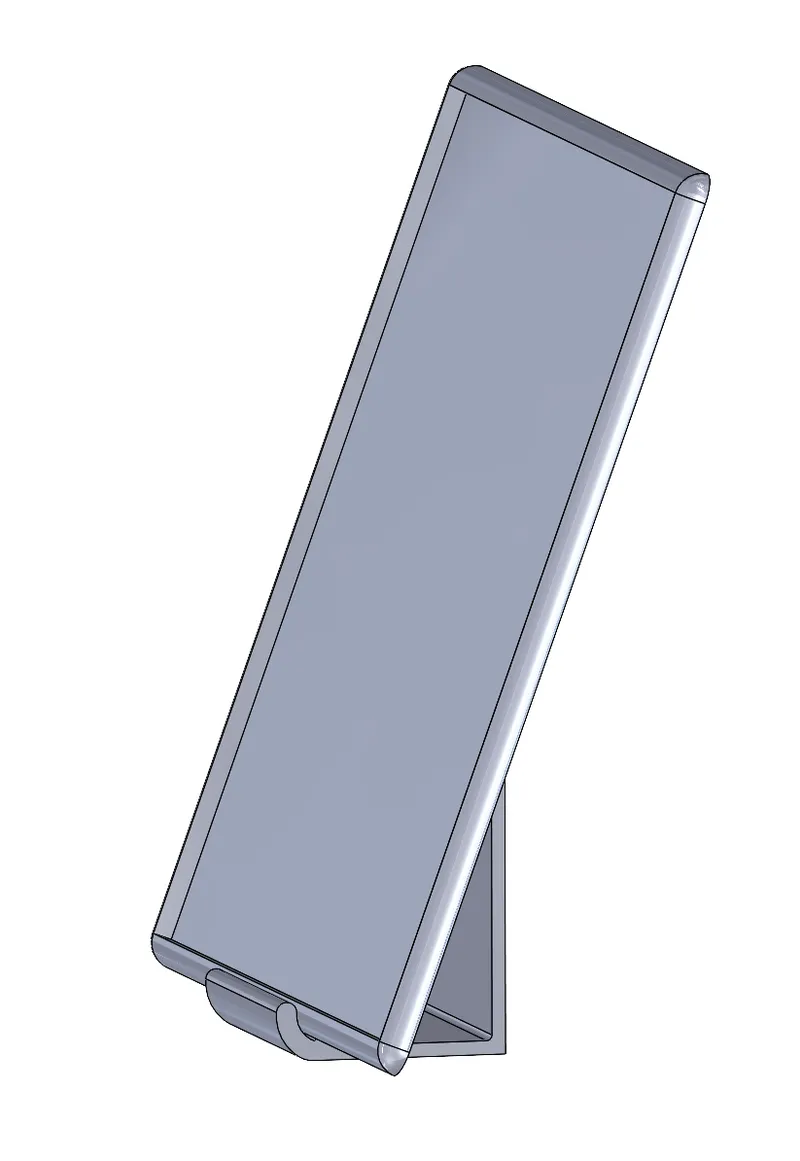
It printed just as designed and supported the board well.

Model origin
The author marked this model as their own original creation.


