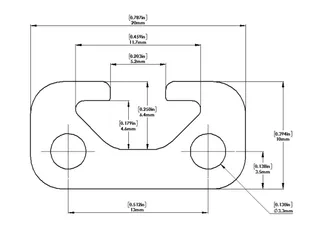
The added sizing in the description made this easy to order and build. Went with the 1u style for the couple of pi's I will be running.
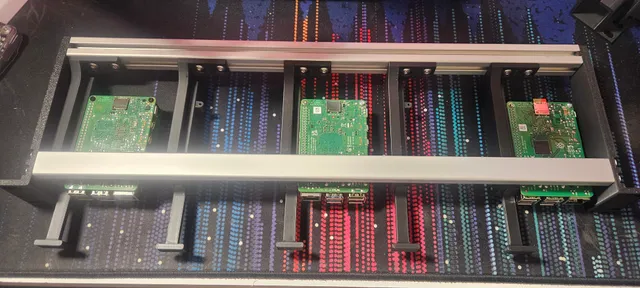
The added sizing in the description made this easy to order and build. Went with the 1u style for the couple of pi's I will be running.

@badplanning_1756717
You are absolutely correct that you should have measured before ordering, especially if you didn't want to cut the extrusion yourself. 450mm is a commonly available precut length. Luckily you can cut it to fit, as intended. Good luck with your project.
@jrhorner_363470 Thank you for changing the details.
I like the design of this rack for the flexibility of spacing or hanging other small devices from it. That said, my particular make was a bit rocky so here is what I did to make it work. 1) the extrusion I had was bored to large to tap M5/M4 so I had to size up, but tapping that large warped the center channel slightly outwards. I ended up tapping the 4 sided extrusion to M6 and using bolts to secure it. For the smaller extrusion I didn’t tap it at all since sizing up to M5 would have been a challenge. I glued long bolts in place to support it and I am depending on the rack mount to hold the front together. 2) I had to modify the attachment points for the pi. I shortened them slightly to fit in the space between the NVME board and the pi. I also had to enlarge the center holes and they were slightly off centres for my pis. 3) I originally planned PETG for the whole thing but test fit prints of the slide and latch performed poorly, even flow calibrated. Printing them in PLA yielded much better results. So I have PETG ears and PLA slides and mounts.
Also make sure your 8mm bolts are nice and flat so that they don’t interfere with the slides. The first few I grabbed from my stash were too a bit too chunky, but luckily I had a bunch of low profiles.
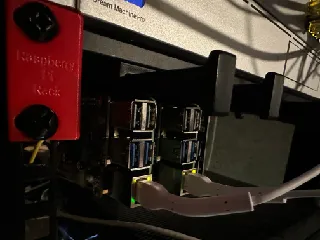
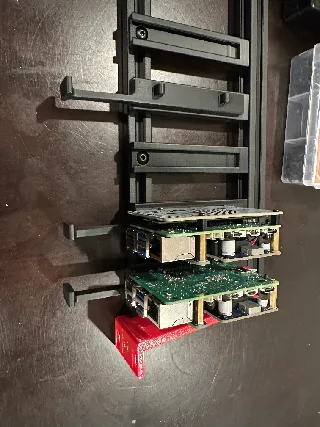
@AnthersV glad you were able to use this to get your Pi 5’s mounted up. I do want to point out that this was designed for the Pi 4 so I’m not at all surprised you had to make some changes. Feel free to add a remix with your modifications for others to use.
If you don’t mind could you share your source for the extrusions you used so I can get some measurements? I might be able to make some modifications or add alternative models to fit.
It would be amazing if you could release step files or source files for your rack. I would like to integrate power delivery rail since I use more than pi's in my setup :-)
@JuneS_140751 not a problem. I’ll upload some
@JuneS_140751 Step files are up.
Hi there. Thank you for the awesome project! I'm trying to print this, but I'm not sure if I can get access to the aluminum extrusions (also the links seem to be pointing to different products).
Would the ones attached work?
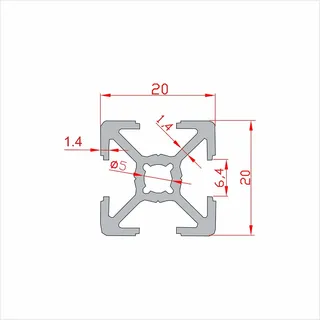
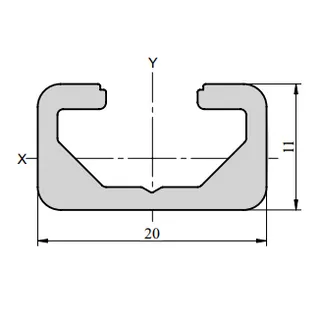
Also, I see you mount the side panels (left - right) on the rail with screws. How does that work? What do the screws attach to?
@SergiosAftsid_822929 Sorry, I’ve not been active on the site lately and haven’t been getting email notifications. It looks like I’ll need to update the links.
The extrusion has holes in the two corners that I tapped threads into. This link should be current for the extrusion:
https://www.framingtech.com/products/metric-profiles/20mm-with-5mm-t-slot/10-x-20-5mm-slot (edited)
