Hex Pattern Keyring - Fully Customisable with Fusion 360, add names and numbers


Description
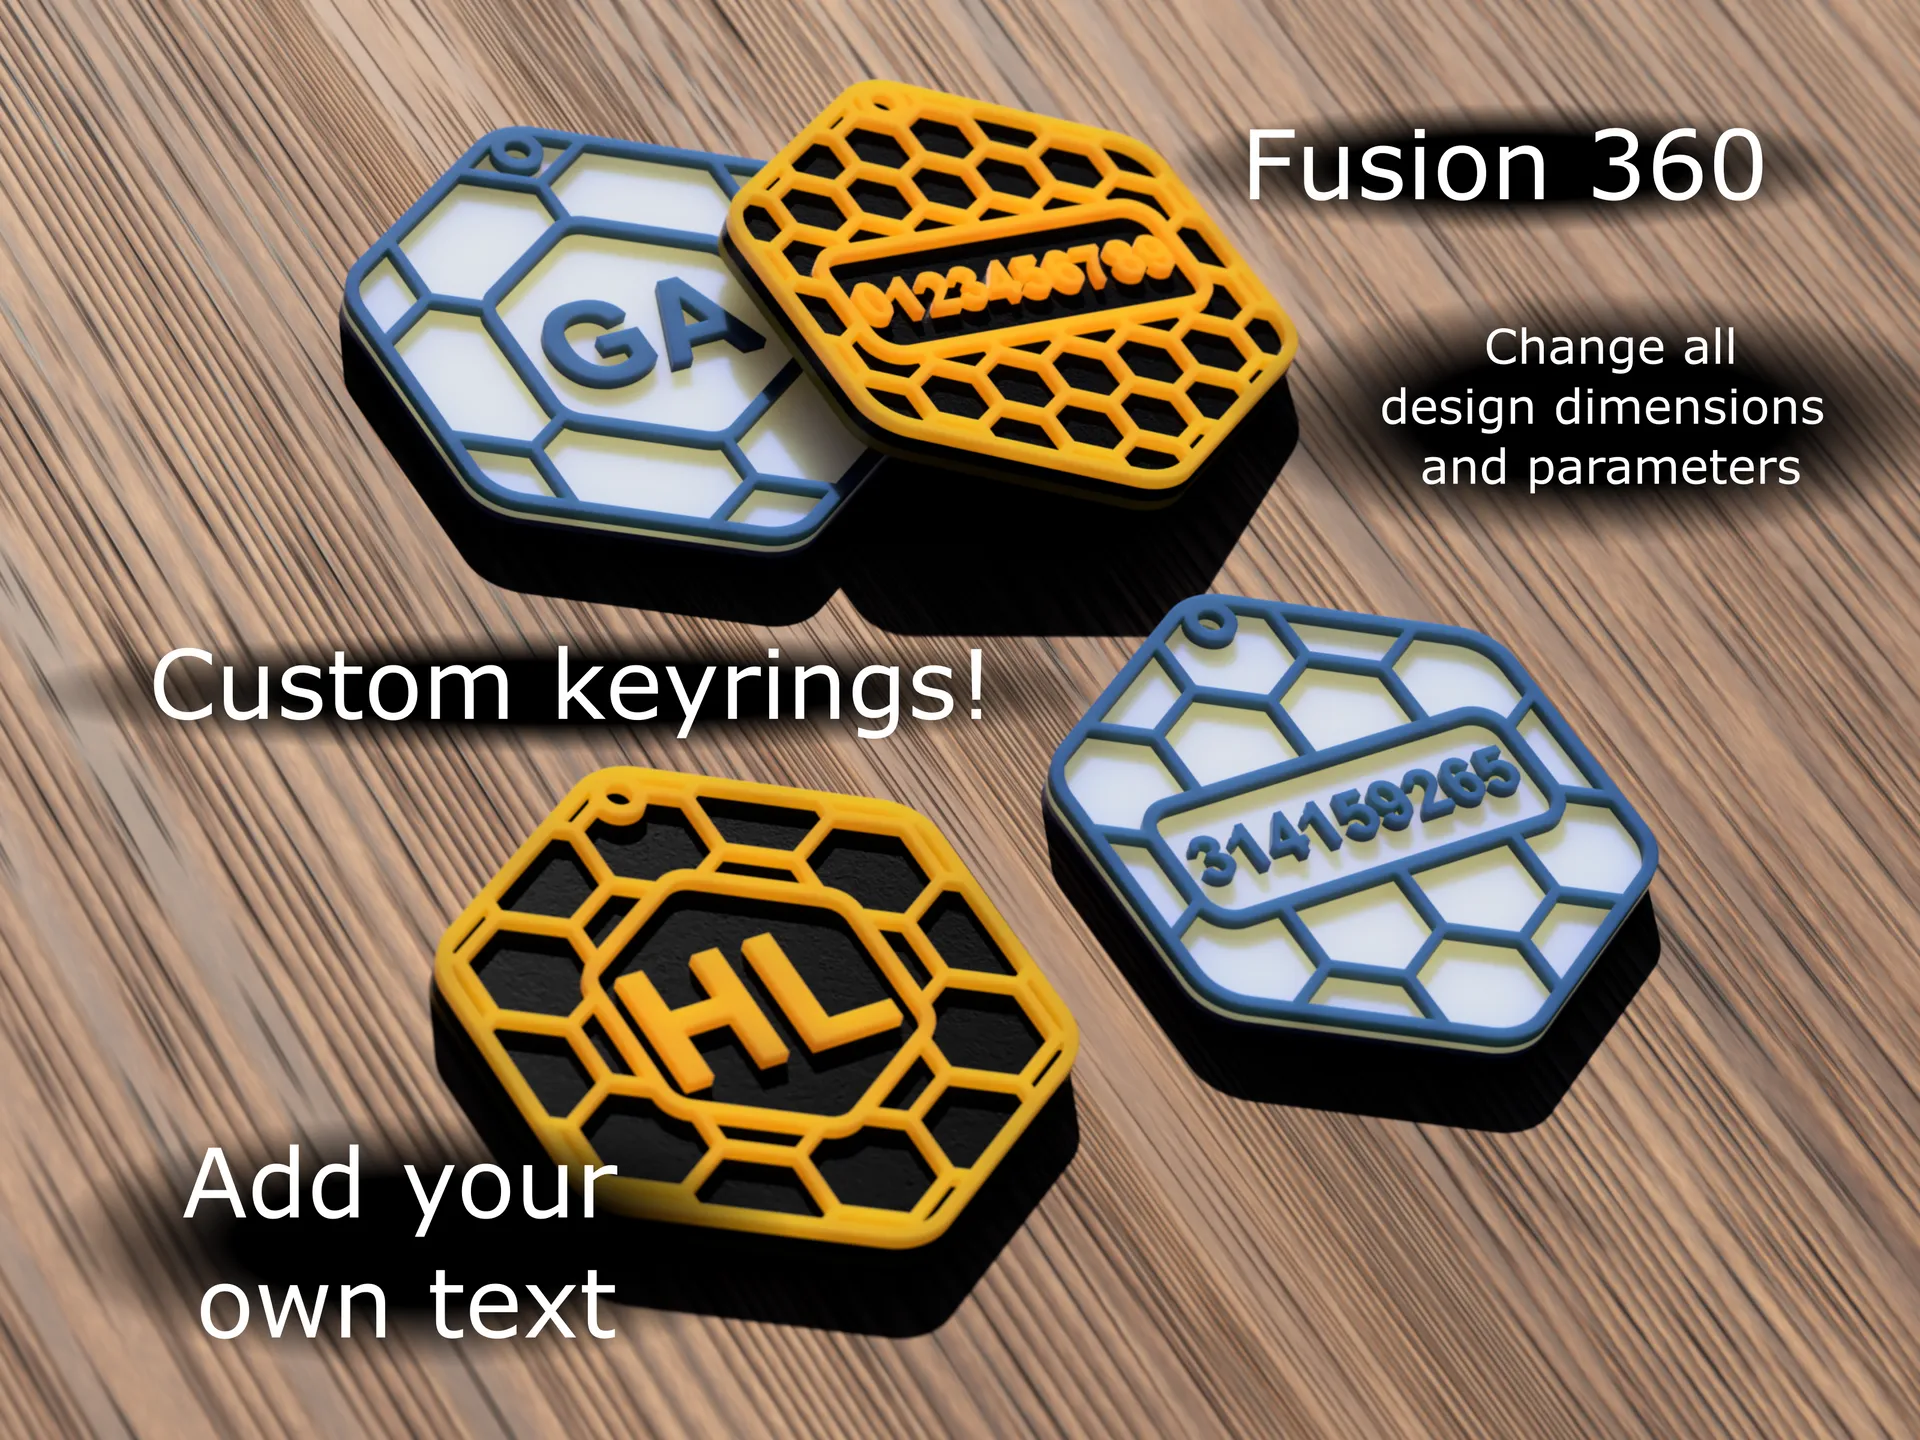
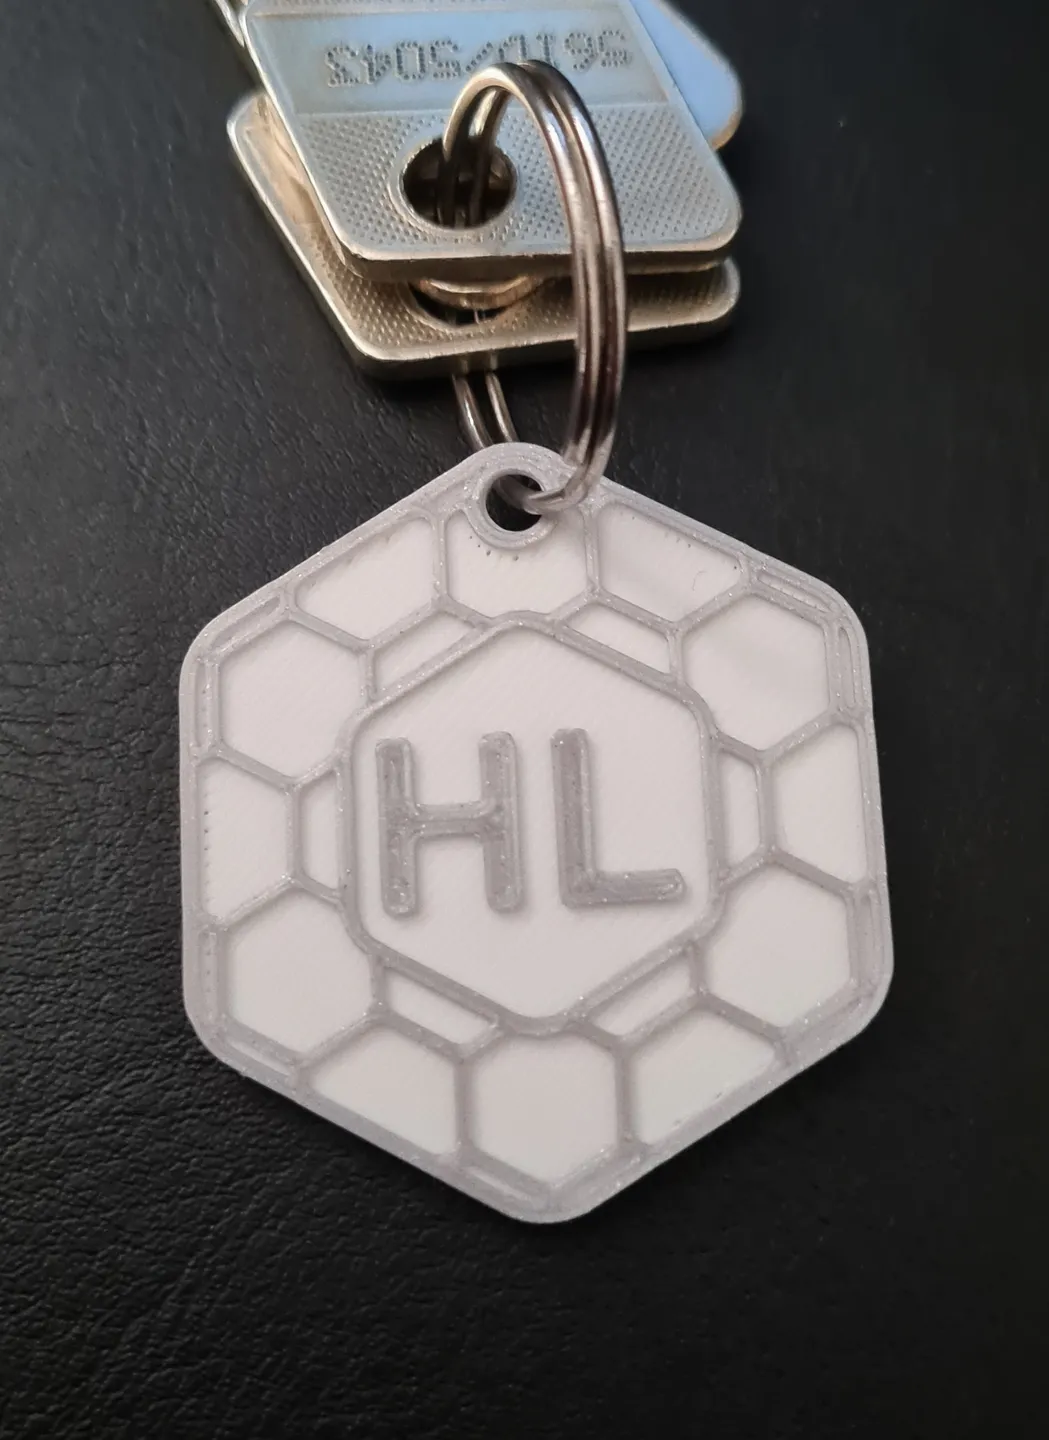
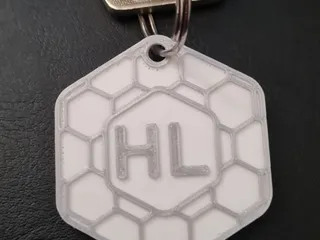
PDFThis is a parametric design for a hexagon patterned keyring. The face has customisable name and phone number text, the hex pattern, main body size/shape, and all dimensions are fully and easily customisable in fusion 360 using the “user parameters” section. The model also prints in 2 colours (optionally) by using a colour change at layer height in PrusaSlicer - no MMU necessary. This helps give contrast to the name/number/pattern on the keyring and you have the design freedom to choose the main body colour and the accent colour. Both sides of the keyring can have a design, if you print the faces separately I have also added a glue jig to accurately glue the two halves together.
If you download the fusion 360 files the user parameters can be changed to modify almost all aspects of the design. Ideal for full customisation of the design and for more beginner users of 3D modelling software.
If you have PrusaSlicer 2.6 (in alpha as of writing this post), you can also add text in the slicer, blank STLs have been provided for this purpose and a video tutorial has been linked below. I would recommend doing the customisation in fusion 360 as this way you will get a model that exactly fits your design ideas/desired dimesions.
Full customisation and slicing details are provided below.
Print settings
Filament: Polyterra PLA white, and grey Prusament
Layer height: 0.2mm
Supports: No
Infill: 15%, grid. keyrings are generally small enough that all the layers are top and bottom layers (i.e. 100% infill), if you print this larger you may have some infill so please adjust as needed.
Perimeters and top/bottom layers: 3, or 4, or even more if you want more strength
Ironing: Yes, use this to get a nice top finish on the detail of the keyring, should help to fill in any holes in the top layer.
Fusion 360 Customisation
Fusion 360 is free for personal use (as of writing this post), a link to download it is here. It is a fairly intuitive CAD program and by following this guide you should be able to modify all key elements of the design. If you would rather not use CAD, I have provided some blank STLs and you can use PrusaSlicer 2.6 (alpha) available here to add text, see the Slicing technique section below for more details.
Versions
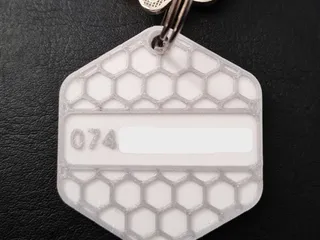
There are several versions of this design. It prints as a front and back face that are then glued together. The options are just a plain hex pattern across the whole face, a hex pattern with a hexagonal recess for your own text input, or a hex pattern with a rectangular hole for your own text input. Feel free to mix and match all of these to create your desired front and back faces.
Changing the user parameters
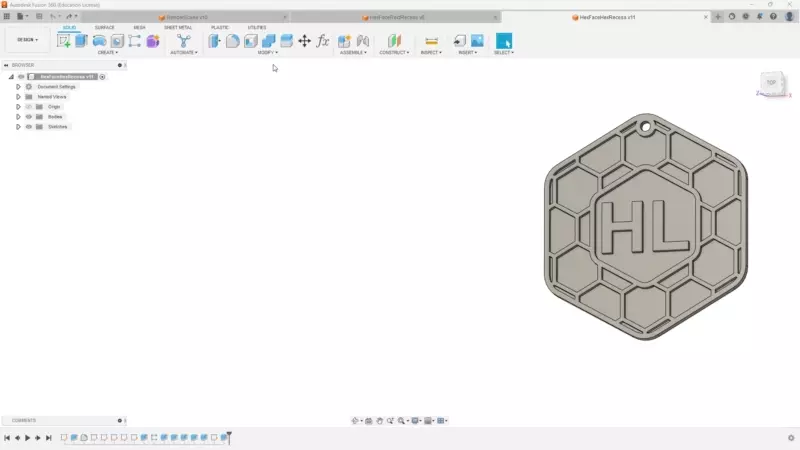
For a full summary of how to use Fusion 360 user parameters to edit all the design features please see my similar dog ID tag model as this details how to use the user parameters to adjust all aspects of the design. Here is a quick demonstration of the process showing how nearly all of the design can be changed using the user parameters.
An example of the design freedom you have here is to consider what would happen if you set the radius of corner round to be nearly the same (exactly the same might break some relations in the model) as the “mainHexRad” parameter:
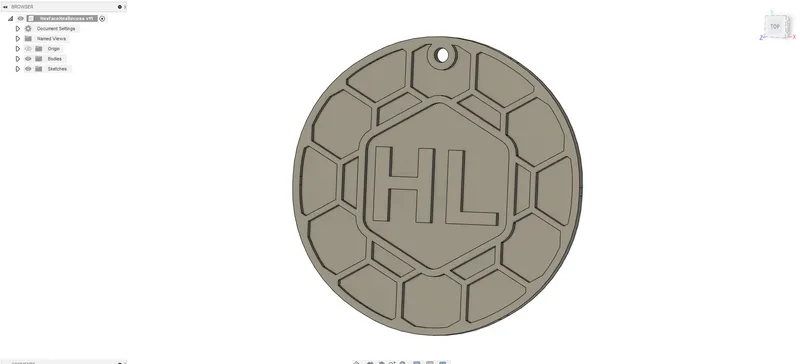
You now get a circular tag!
Parameter list:
Note: Because you can edit all the parameters to whatever numbers you want, it is possible to input impossible numbers (e.g. setting some things to 0 or having a thickness larger than the feature you're applying it to etc…). If you break the model in this way, either try your edit in a different order (as it may be possible if you change a different dimension first), or choose a slightly different number.
a_mainHexRad: Radius of the circle that would fit inside the main hexagon shape of the keyring.
b_faceExtrude: The extrusion distance of the front face (with the pattern on it).
c_baseExtrude: The extrusion distance of the back plate (bare in mind that this will be doubled when glueing the two halves together).
d_mainCornerRad: The radius of the round on the corners of the main keyring body.
e_mainBorder: The border around the edge of the keyring.
f_patternHexRad: The radius of the circle that would fit inside the hexgons that make up the pattern.
g_patternEdgeWidth: The width of the edges of the hex pattern.
h_holeRad: Radius of the keyring hole.
i_holeBorder: Border thickness around the keyring hole.
j_holeInset: Distance of the hole from the edge.
k_recessHexRad: Radius of the circle that would fit in the recess hexagon.
l_recessCornerRad: Radius of the round on the recess corners.
m_recessBorderWidth: Width of the border around the recess.
o_letterHeight: Height of the letters in the recess - this is effectively the font size.
The rest of the parameters are optional (start with “y_”, these are to shift the hex pattern in case you don't want it to be perfectly symmetric in x and y axes) or should not be modified as those parameters are used in other calculations.
Saving the STLs
To save the STLs, press the drop down arrow next to “Bodies” and right click the body that you want to save. The option “Save as mesh” should be about half way down. Then you can save the STL where you like, I would recommend the option for high mesh refinement so the lettering comes out nicely.
Slicing technique
To print in two colours, add the keyrings to the slicer with the design facing up. Then generate the slice preview. Then move the slice bar to the first layer where the face design appears. On the slice bar there is a “+” symbol. If you press that it will add a colour change at that layer.
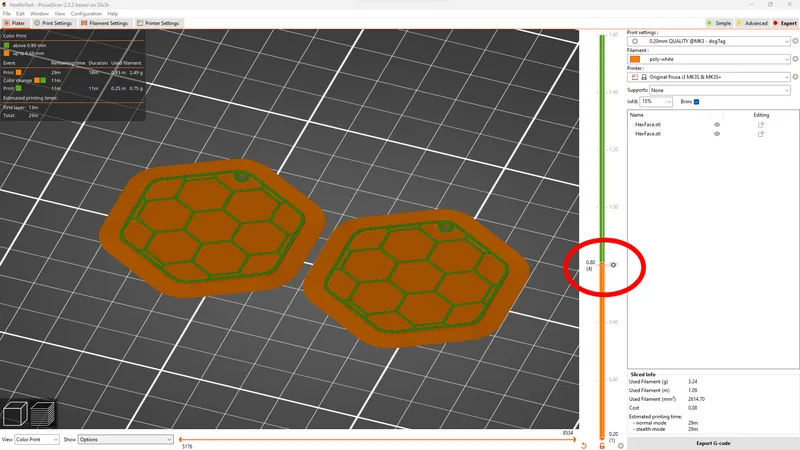
Then when the print gets to this layer the printer will stop and prompt you to change the filament, you can then change it to your desired accent colour to make the face design stand out.
Adding text in the slicer:
To add text within PrusaSlicer you can use PrusaSlicer 2.6 (alpha) available here to add text to the blank STL versions. The steps for doing so are nicely shown by CHEP in his video:
Assembly
For longevity I would recommend coating the keyring in epoxy.
To glue the two halves together regular super glue works well. I have also provided a glueing jig that can be printed (make sure to adjust the user parameters on this part too!). Simply place one half of the keyring face down in the jig and apply glue to it, then press the second half down on top of it with the keyring holes aligned. It is quite a tight fit by design so that you can use it to glue the two halves together and get the alignment perfect.
Tags
Model origin
The author marked this model as their own original creation.