Hex Pattern Dog ID Tag - Fully Customisable in Fusion 360, 2 Colour Print (no MMU), parametric design


Description
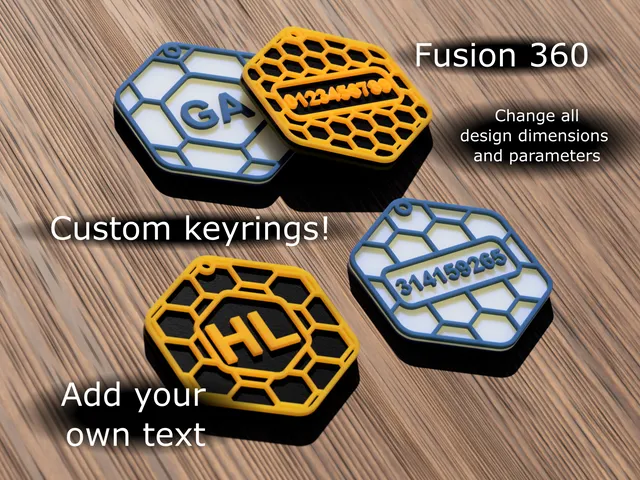
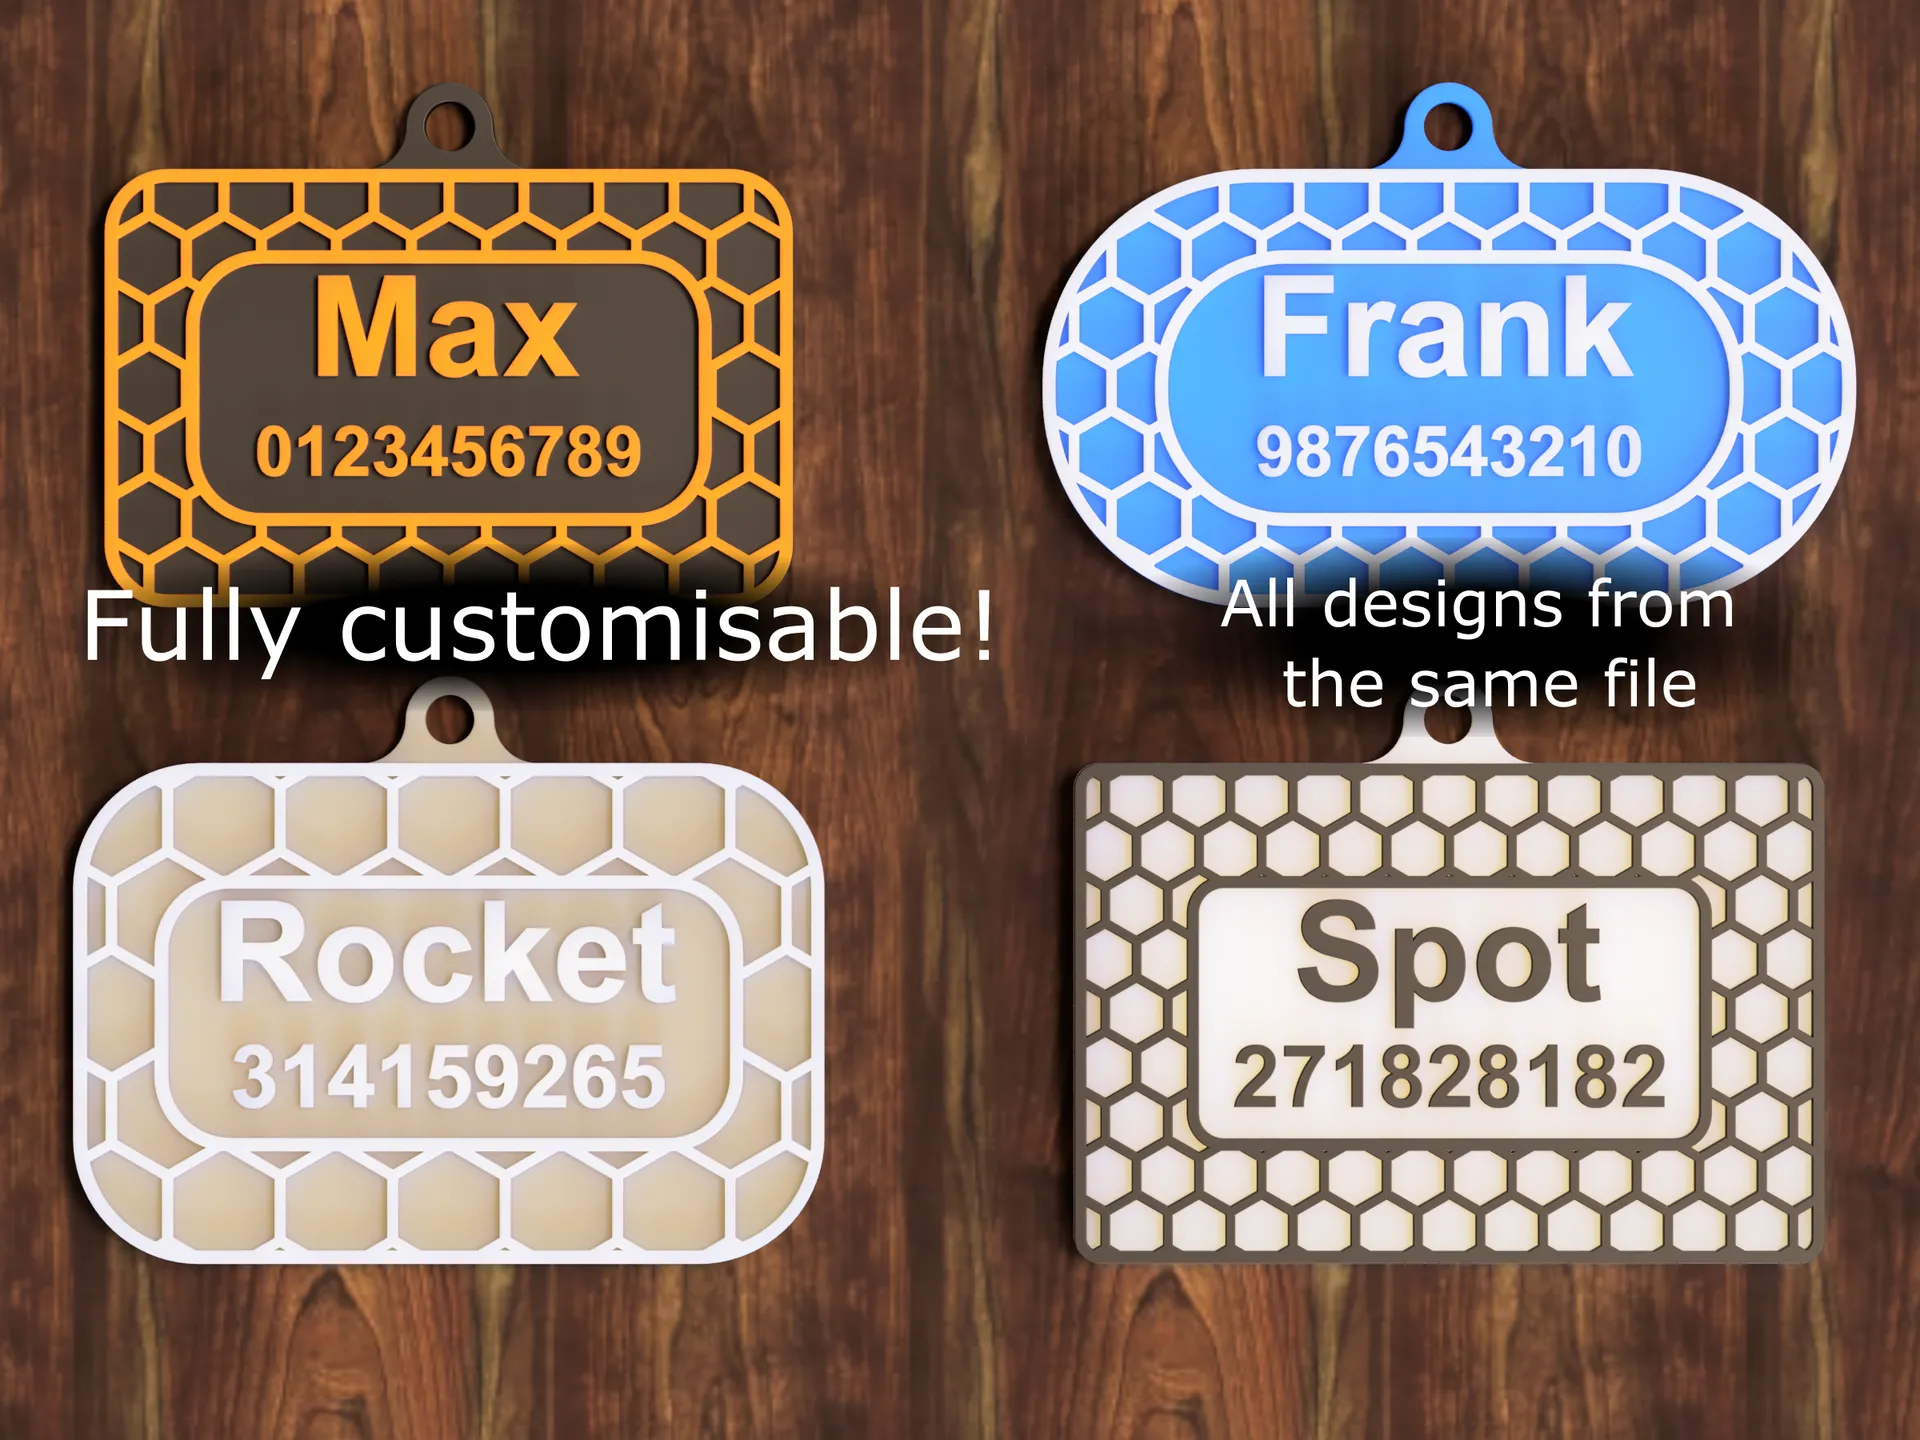
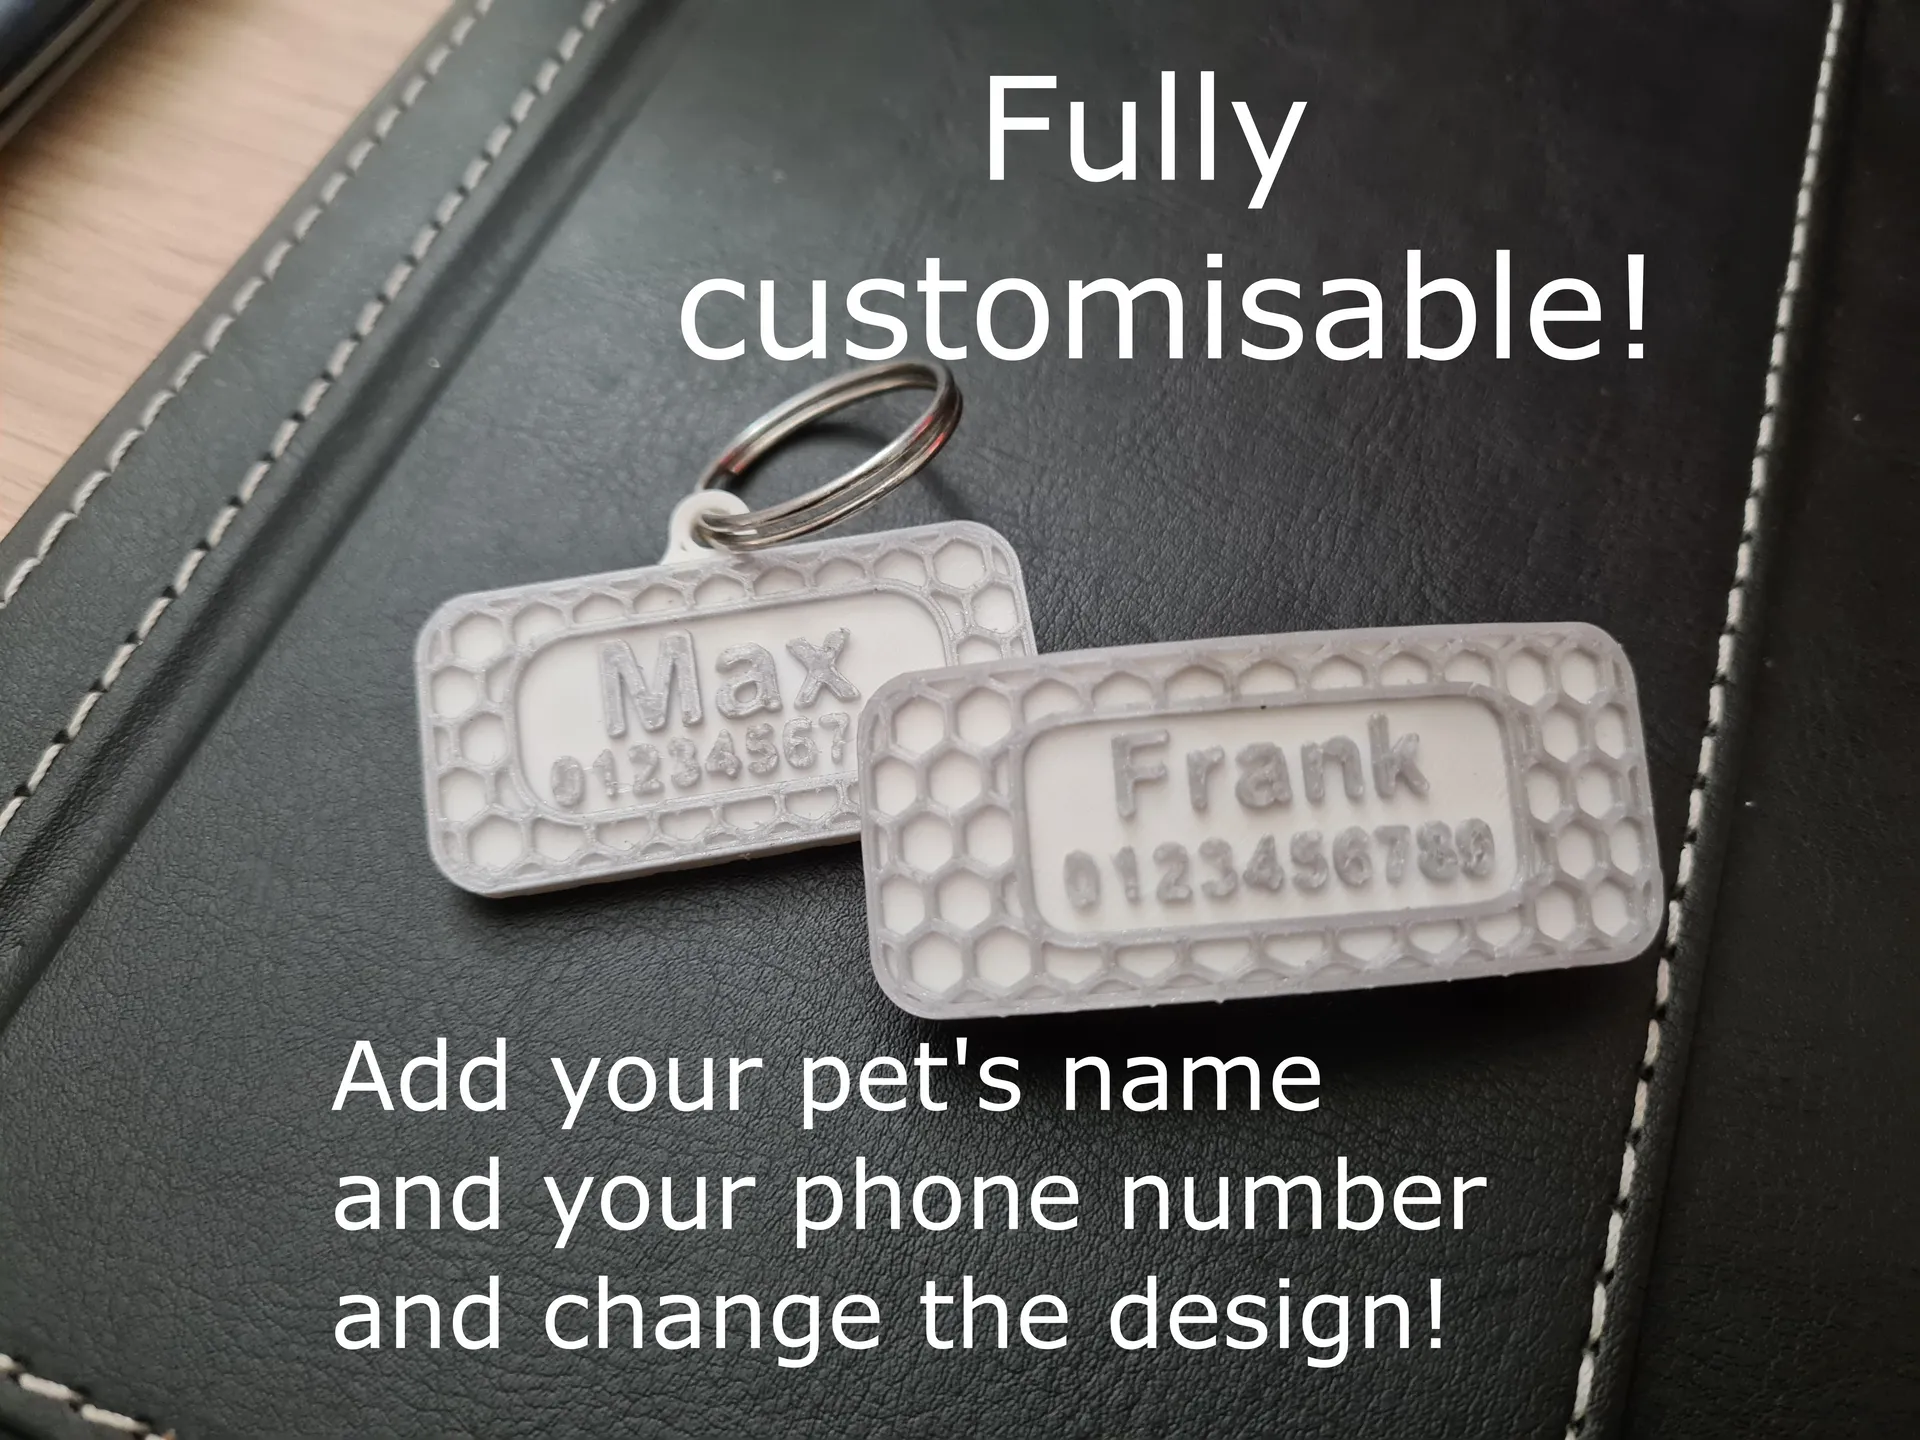
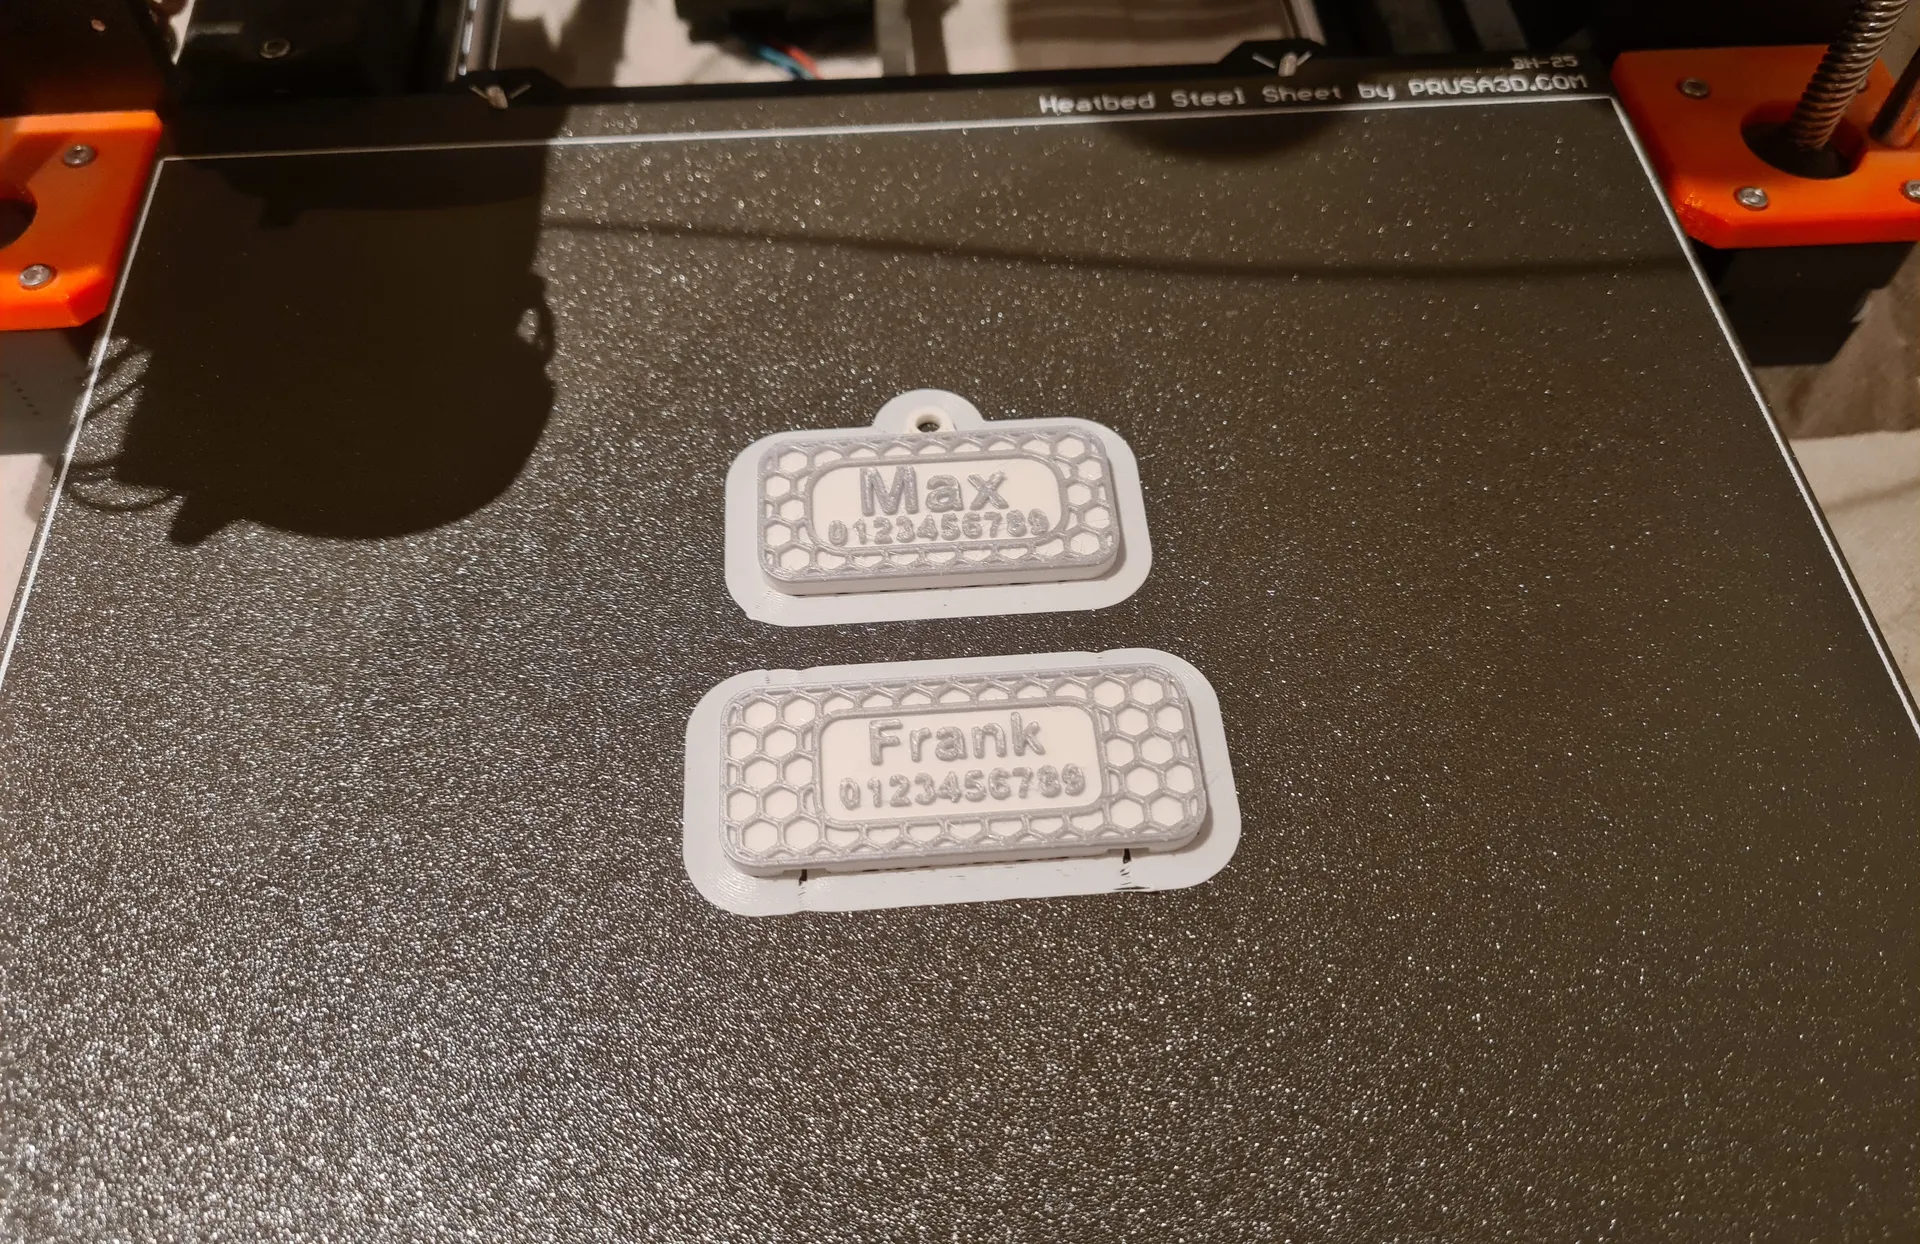
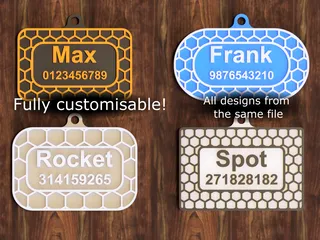
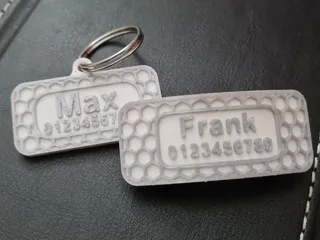
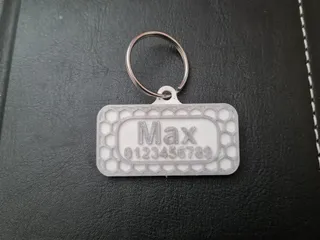
PDFThis is a parametric design for a dog ID tag. The face has customisable name and phone number text, the hex pattern, main body size/shape, and all dimensions are fully and easily customisable in fusion 360 using the “user parameters” section. The model also prints in 2 colours (optionally) by using a colour change at layer height in PrusaSlicer - no MMU necessary. This helps give contrast to the name/number on the tag and you have the design freedom to choose the main body colour and the accent colour.
If you download the fusion 360 files the user parameters can be changed to modify almost all aspects of the design. Ideal for full customisation of the design and for more beginner users of 3D modelling software.
If you have PrusaSlicer 2.6 (in alpha as of writing this post), you can also add text in the slicer, blank STLs have been provided for this purpose and a video tutorial has been linked below. I would recommend doing the customisation in fusion 360 as this way you will get a model that exactly fits your pet's collar.
Full customisation and slicing details are provided below.
Print settings
Filament: Polyterra PLA white, and grey Prusament
Layer height: 0.2mm
Supports: No, models are designed with any overhangs printed using bridging.
Infill: TAGS: 15%, grid, use more or even 100% depending on strength needs. HOOKS: 100% concentric infill for max strength.
Perimeters and top/bottom layers: 3, or 4, or even more if you want more strength
Ironing: Yes, use this to get a nice top finish on the detail of the name tag, should help to fill in any holes in the top layer.
Fusion 360 Customisation
Fusion 360 is free for personal use (as of writing this post), a link to download it is here. It is a fairly intuitive CAD program and by following this guide you should be able to modify all key elements of the design. If you would rather not use CAD, I have provided some blank STLs and you can use PrusaSlicer 2.6 (alpha) available here to add text, see the Slicing technique section below for more details.
Versions
There are two versions of this design. Choose one depending on your desired attachment method.
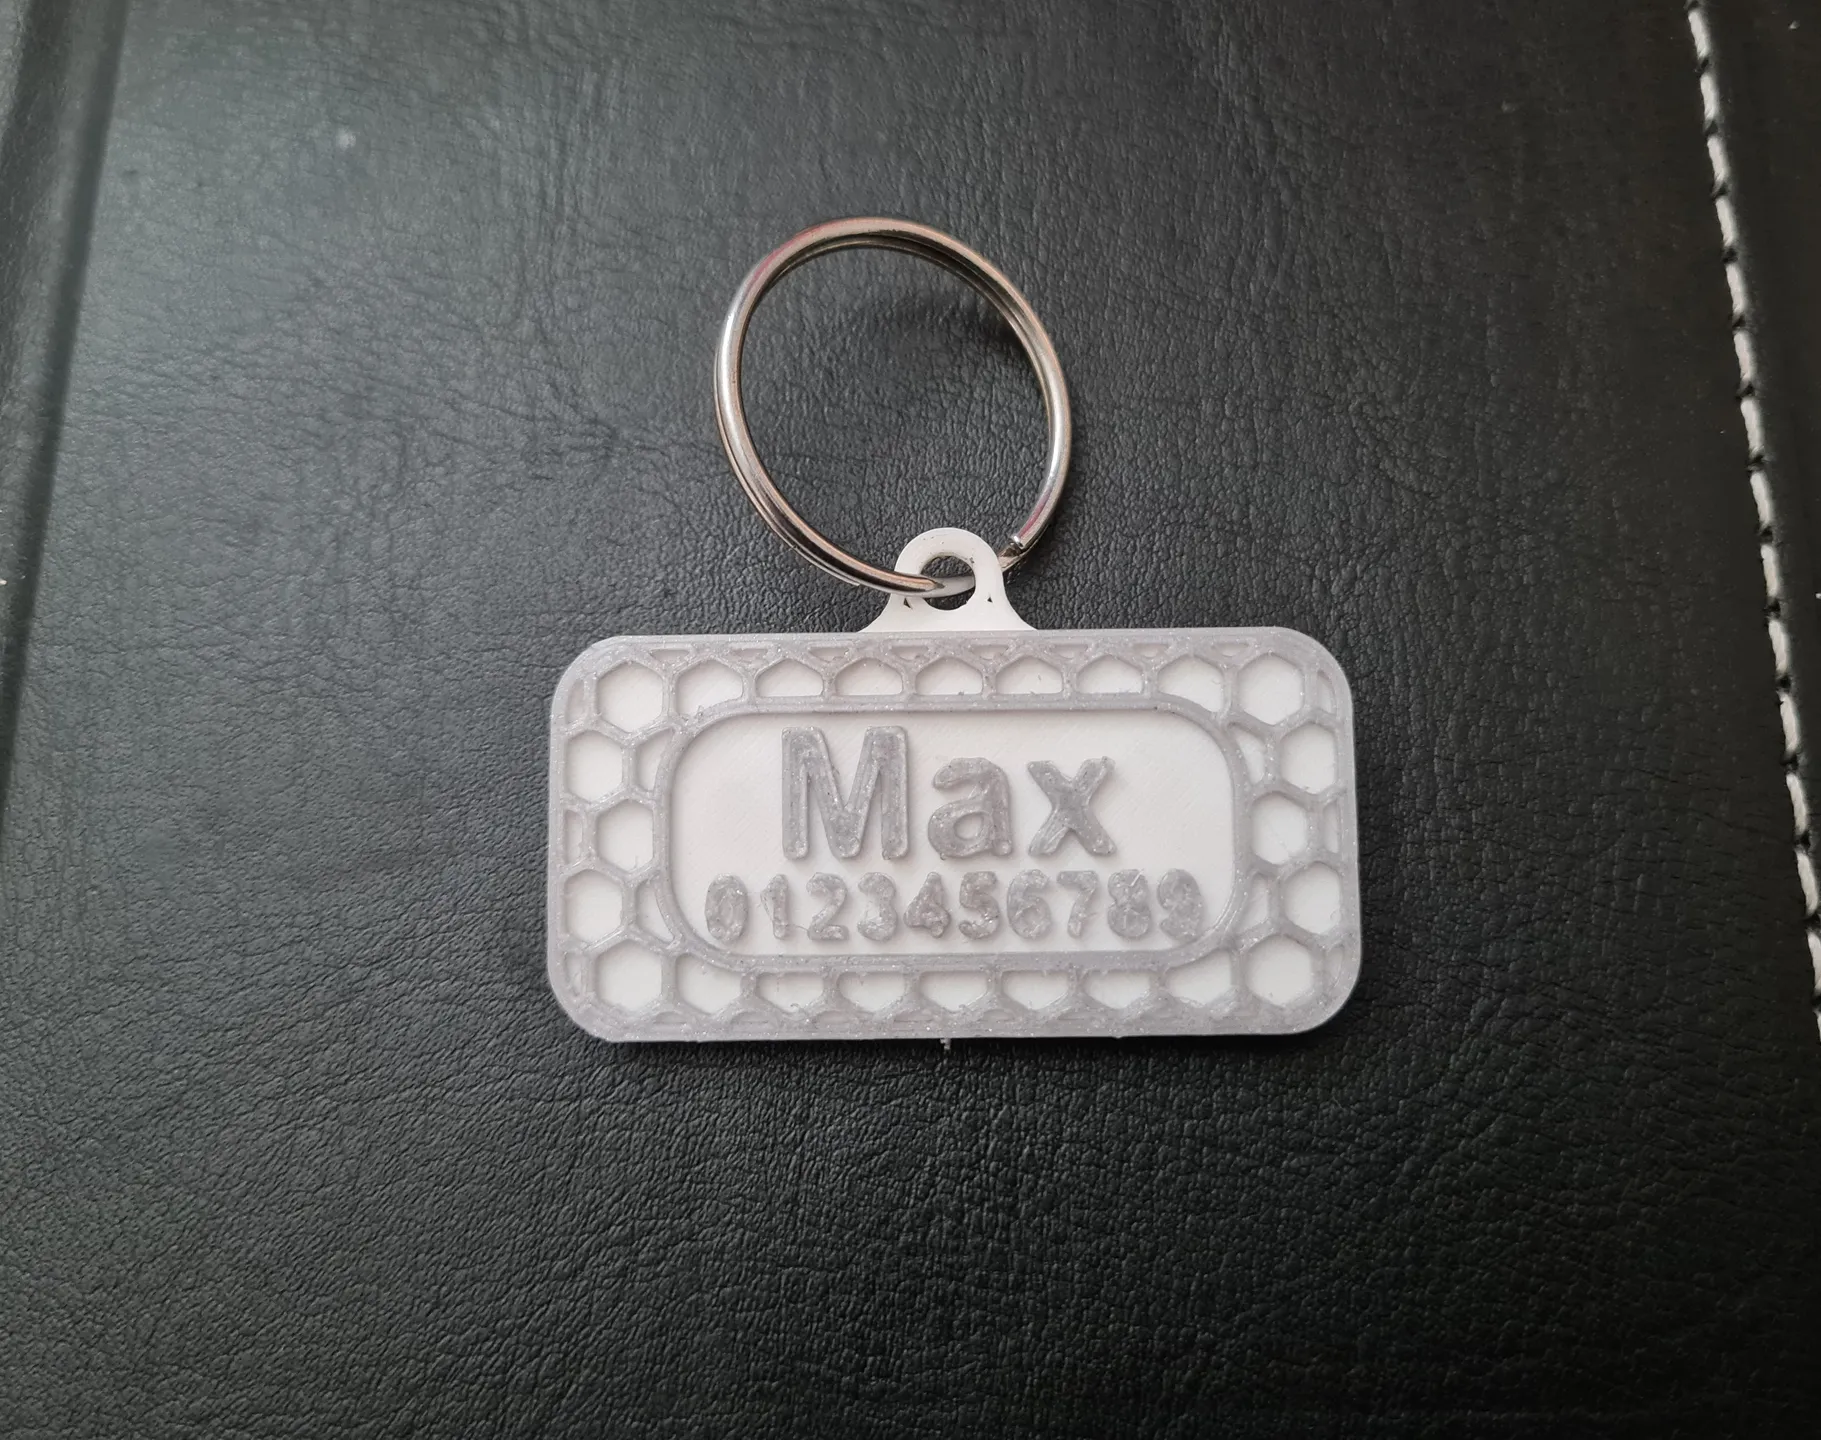
Keyring version
This version has a small hole section poking out of the tag so that you can attach it to the collar using a keyring type attachment.
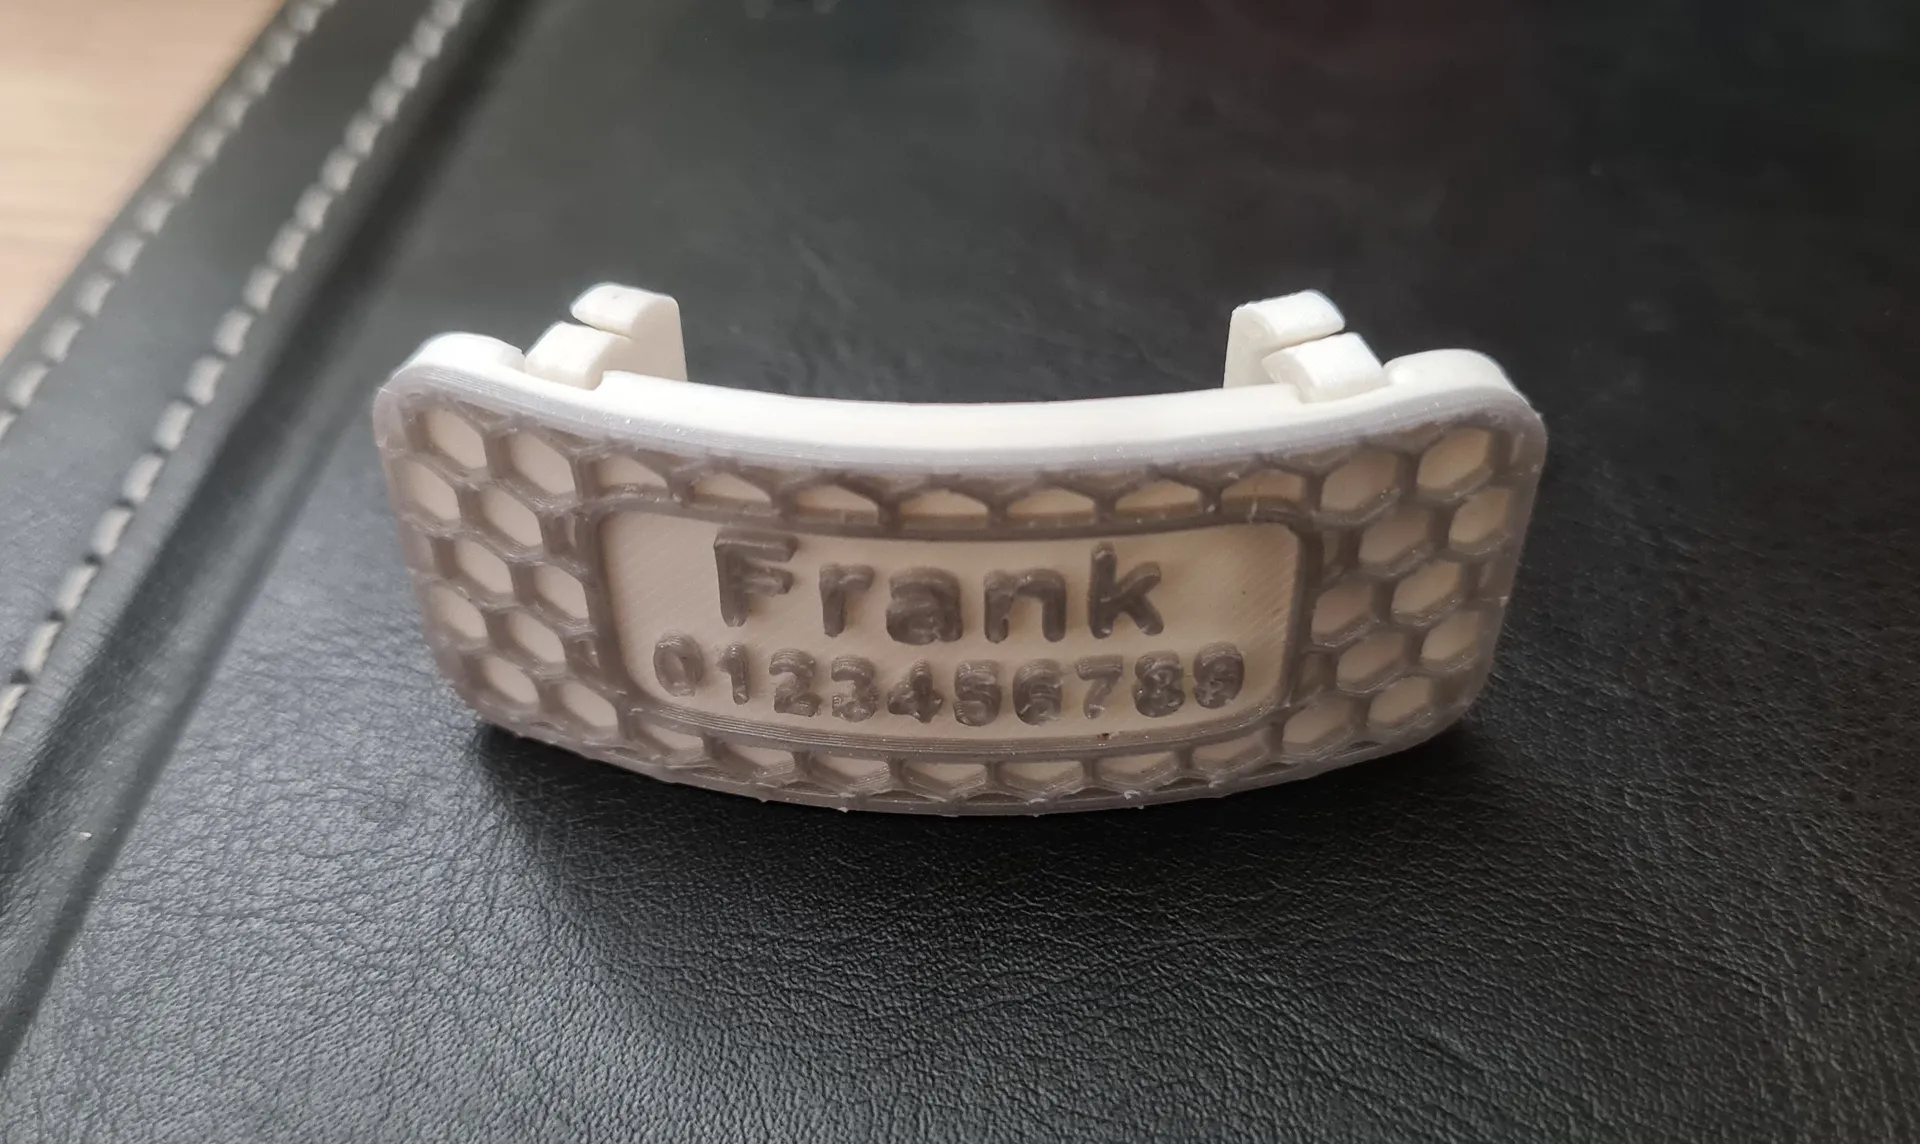
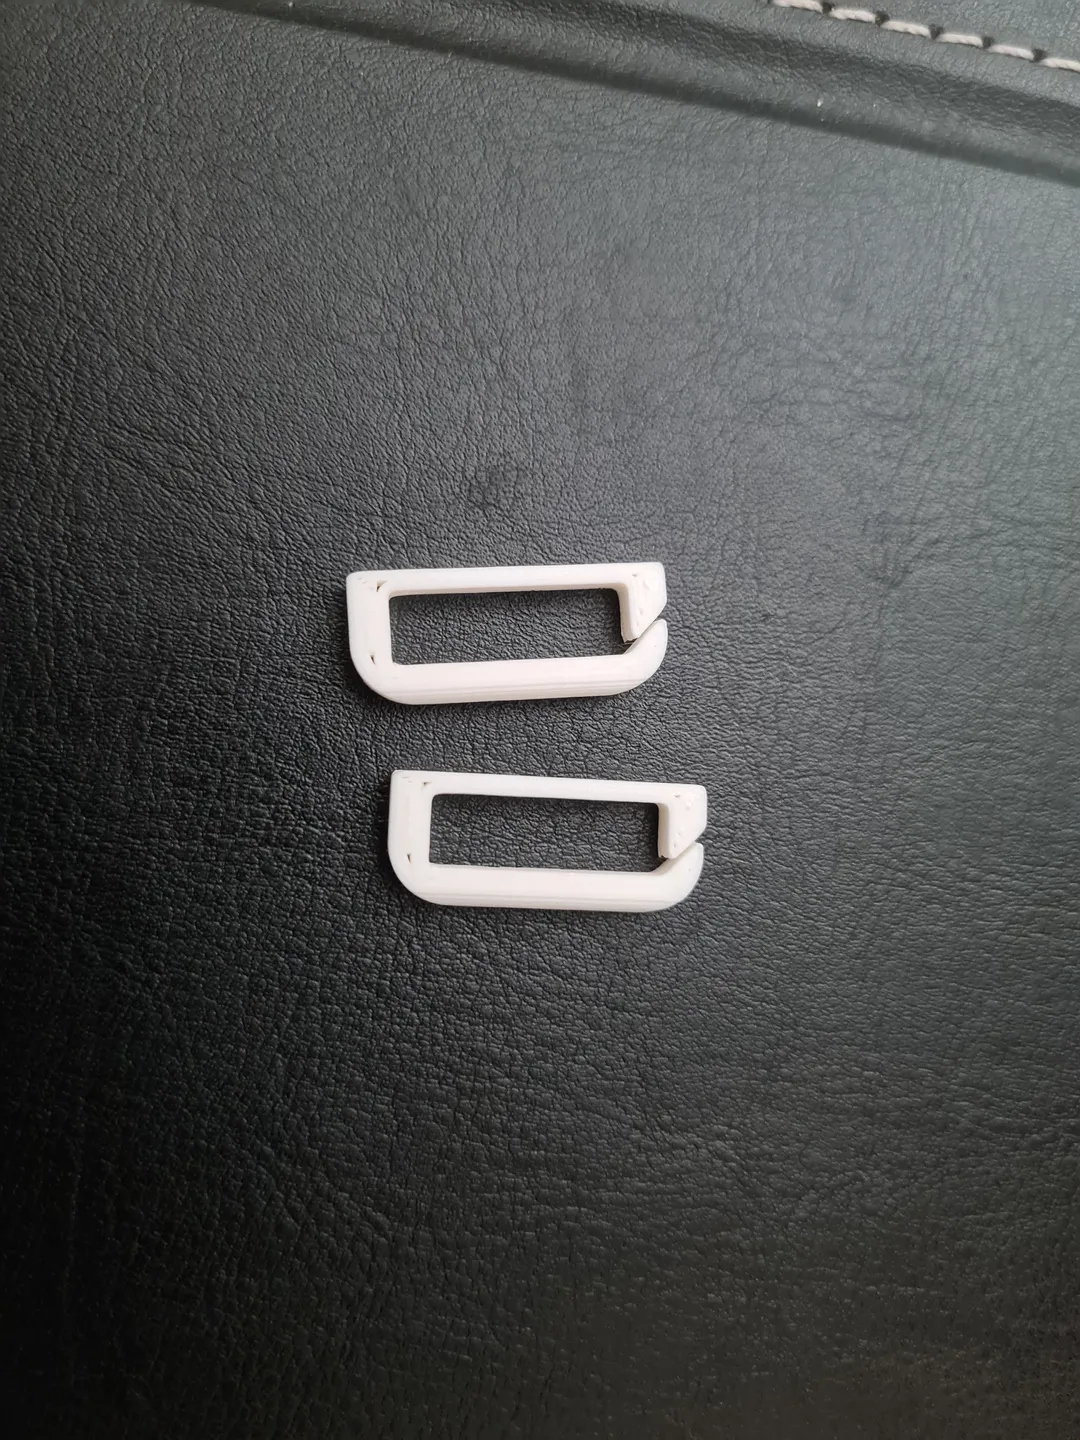
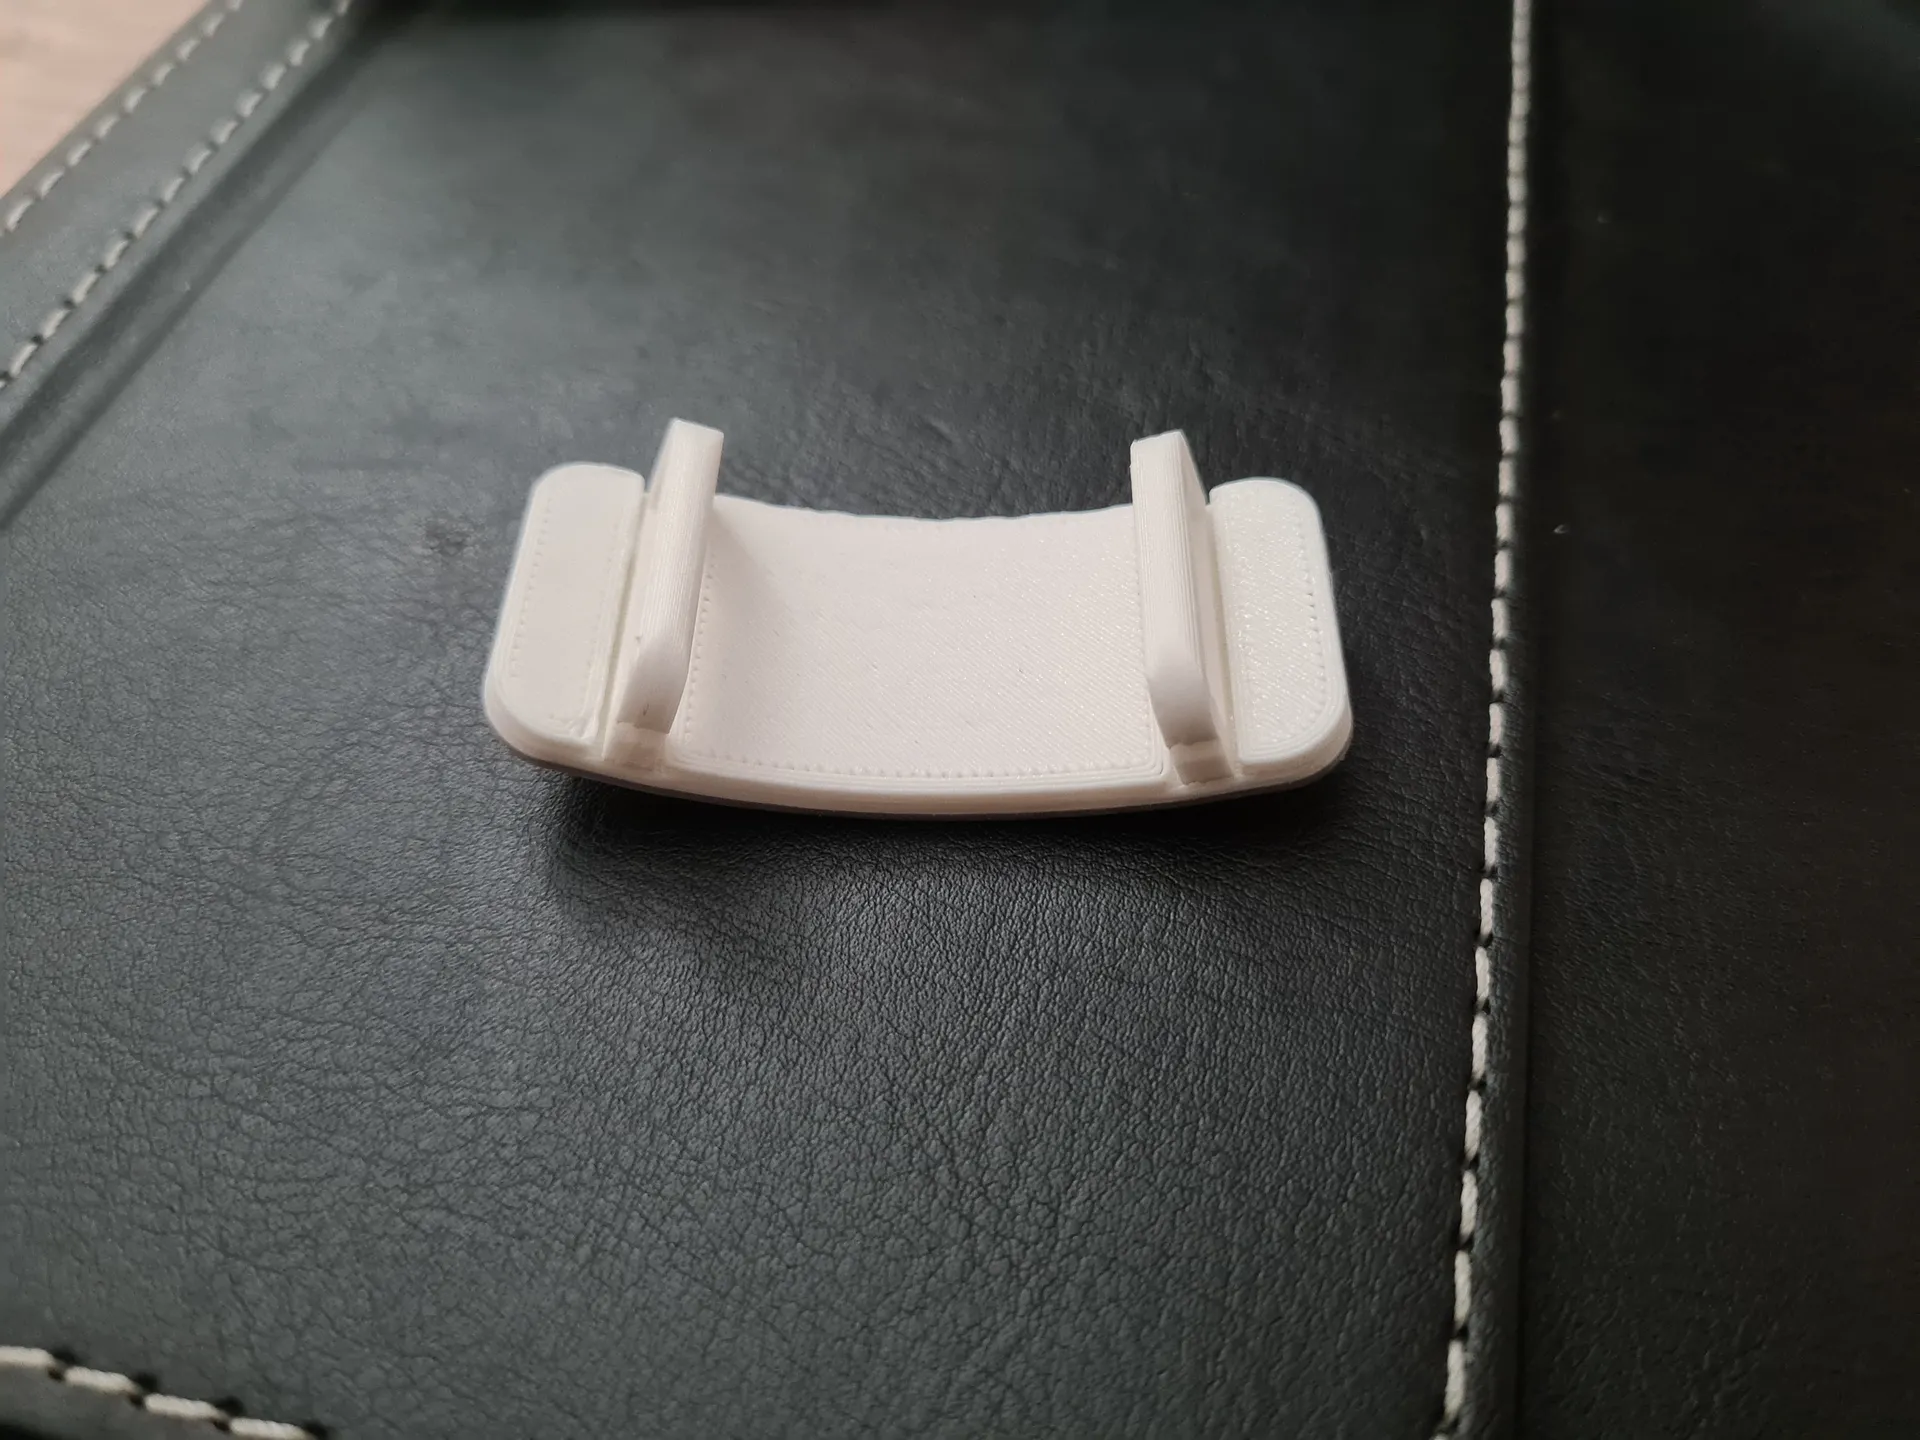
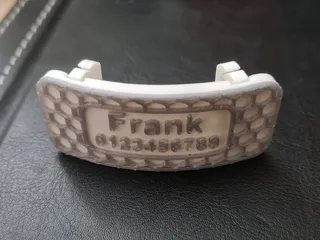
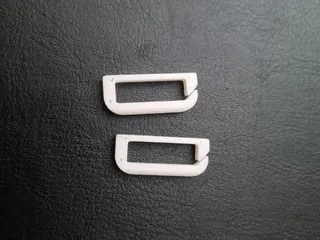
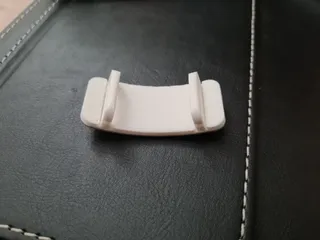
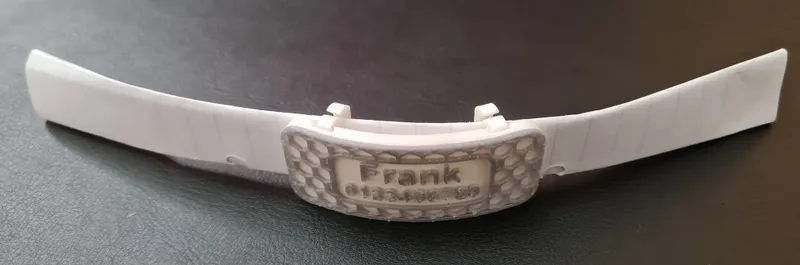
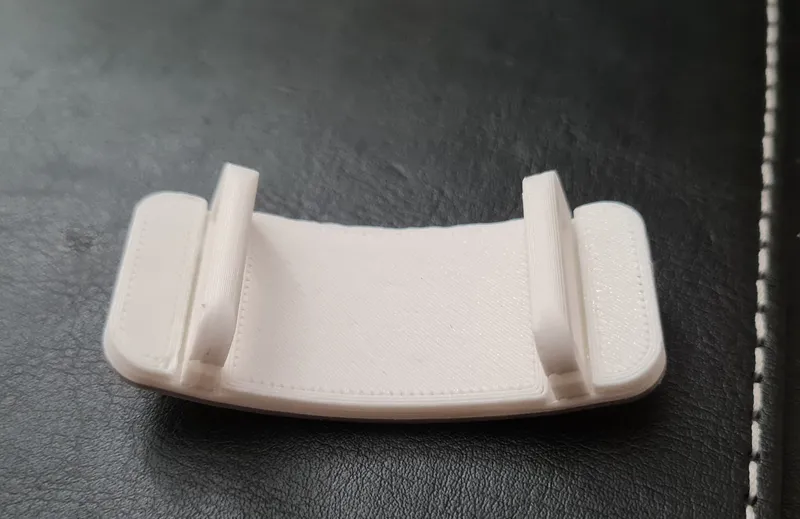
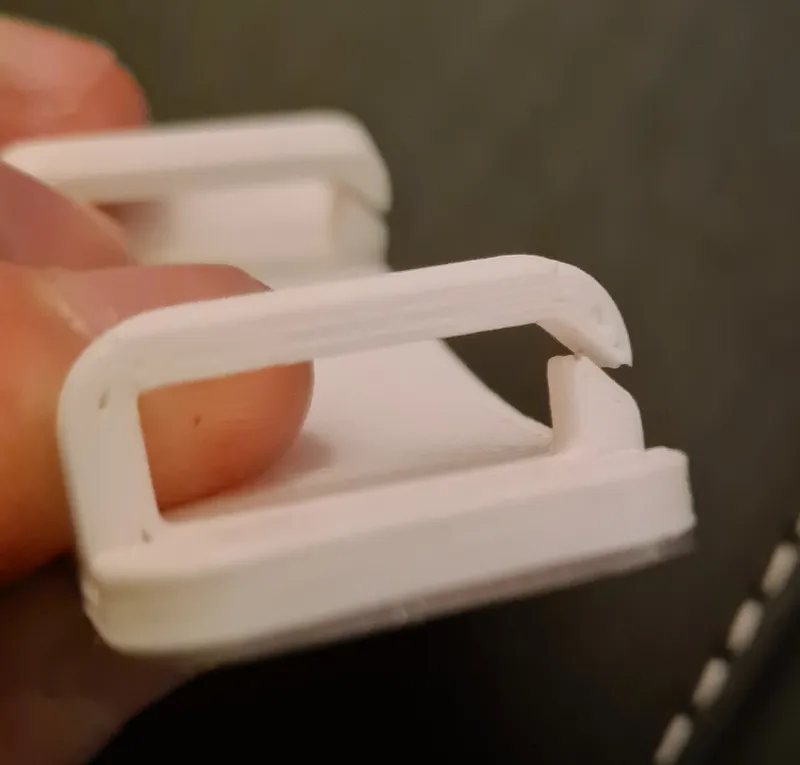
Bar version
This version has 3D printed “hooks” that wrap around the collar to allow the nametag to sit flush against and inline with the collar. Shown here around a piece of paper. My dog is with my parents right now!
Changing the Name and Phone number
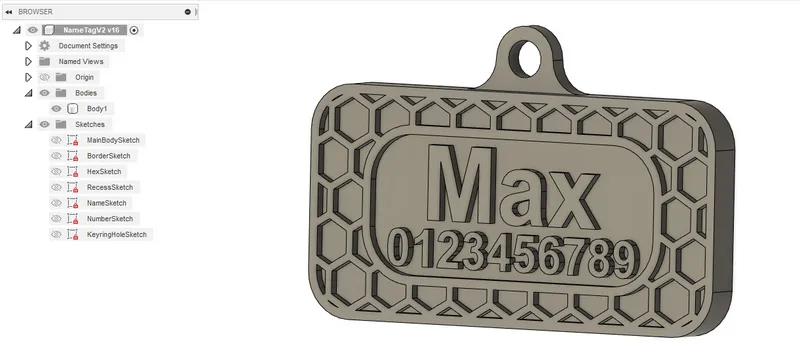
Press the dropdown arrow next to the word sketches, this should show all of the sketches in the model. Right click on “NameSketch” or “NumberSketch” and then click edit sketch. This will open the sketch that contains the name and number. Double click the blue area inside the text and an edit text box will appear.
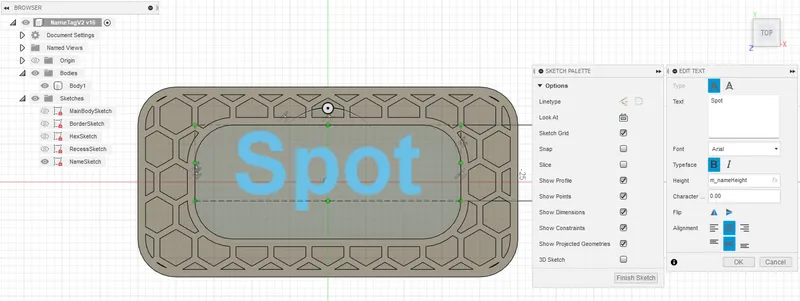
Change the text of the name or number, the font, boldness, etc., but leave the height alone as this is a user parameter (detailed below). Click “OK” and “Finish Sketch” and the name and all features using it will update (if it doesn't then press modify>compute all). The same steps apply for the phone number. If the name and number end up overlapping this can be fixed by changing the user parameters. If you want the name or number to be blank just type a space in as the text.
Parametric design
In fusion 360, make sure “solid” is selected in the toolbar at the top. Then press the “modify” dropdown. “Change parameters” should be near the bottom above “compute all”.
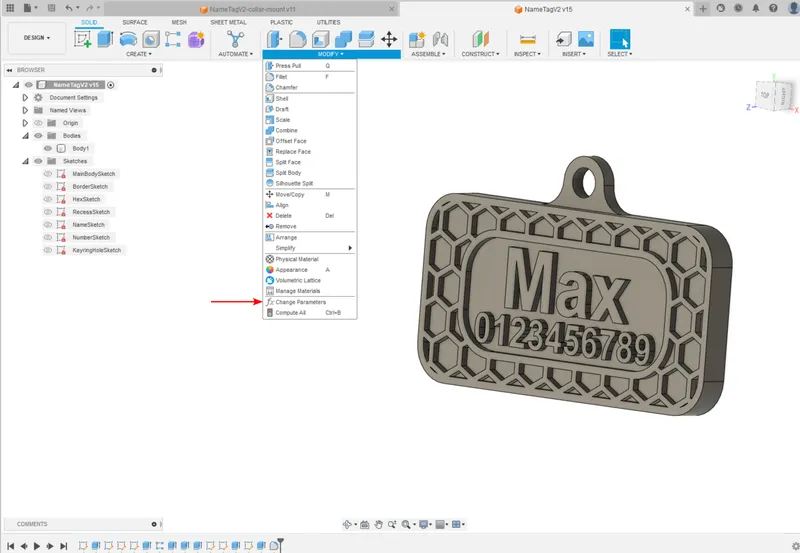
Selecting “change parameters” should bring up a menu that looks like this:
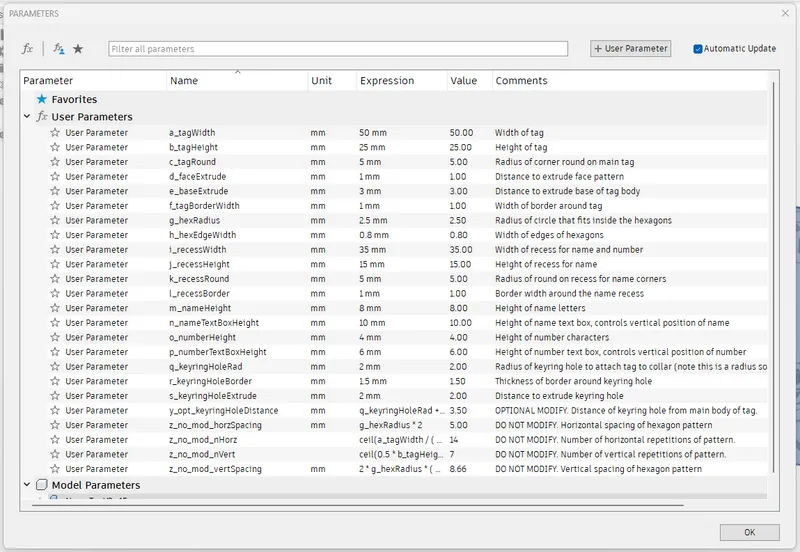
To order the names of the parameters alphabetically press the column title “Name” at the top of the second column. I have named all the parameters with a letter_ at the start of each parameter name as this order is a good order to modify them in. Click on a number in the “Expression” column to change it to whatever you want. Some parameters are marked OPTIONAL MODIFY in the description as I have set some default behaviour for them but you can change this if you wish, and some are marked DO NOT MODIFY as these values are calculated from others that you input. Here is a GIF example of changing the tag height parameter:
Note: changing parameters that affect a lot of features in the model can sometimes take a little while to compute, but if you leave it for a bit then it recomputes it all fine.
The parameters for each version are slightly different. In the user parameters menu each parameter has a description, I have included a more full description here.
Important: Since you have freedom to change all the parameters, it is possible to choose numbers that are impossible to model. e.g. a hexagon edge thickness larger than the size of the hexagons. Fusion 360 may crash if you do this or the model may turn into something weird. As such, the order you change parameters in can be important if changing one before another seems to be impossible, try the other way around. Also, it is hard to set parameters to 0.
Parameter list - Keyring version:
a_tagWidth: Width of tag main body.
b_tagHeight: Height of tag main body.
c_tagRound: Radius of round on tag corners.
d_faceExtrude: Extrusion distance of details on face (hexagons, name, phone number). 1mm is a good value for this.
e_baseExtrude: Extrusion distance of the base plate for the name tag. 3mm is a good value for this.
f_tagBorderWidth: Width of the border around the main body of the tag.
g_hexRadius: Radius of the circle that would fit inside each hexagon. Make this smaller for more hexagons, larger for fewer hexagons. NOTE: if you make this a small number, lots of hexagons will be generated which may take a while to compute depending on your computer. Anything involving computing changes to the hex pattern can take a little while if there are lots of hexagons - just give fusion 360 some time and it's fine.
h_hexEdgeWidth: Width of the hex edges. If you have a 0.4mm nozzle 0.8mm is a good value I found.
i_recessWidth: Width of recess where the name/number goes.
j_recessHeight: Height of recess where the name/number goes.
k_recessRound: Radius of round on the corners of the name/number recess.
l_recessBorder: Border width around the recess.
m_nameHeight: The font size of the name, height refers to the height of the letter. Larger height means larger font size.
n_nameTextBoxHeight: The text for the name exists as a text box in the sketch labelled “NameSketch”. The height of this text box controls the vertical position of the name. A larger height will move the name more central, a smaller height will move the name closer to the top border.
o_numberHeight: The font size of the number, height refers to the height of the numbers. Larger height means larger font size.
p_numberTextBoxHeight: The text for the number exists as a text box in the sketch labelled “NumberSketch”. The height of this text box controls the vertical position of the number. A larger height will move the number more central, a smaller height will move the number closer to the bottom border.
q_keyringHoleRad: The radius of the hole for the keyring.
r_keyringHoleBorder: The border around the keyring hole. The keyring attachment will be stronger with a larger border as more material will surround the hole.
s_keyringHoleExtrude: The height of the keyring hole extrusion. Again a larger height will give more strength. However, don't make this too larger as it will be harder to attach the keyring.
y_opt_keyringHoleDistance: This is optional as by default it is calculated for you. You can change this if you wish to move the hole closer or further away.
Parameter list - Bar version:
The parameters for the collar bar version are largely the same. There are no keyring hole options as that feature is not present. Tag height is also now an optional parameter as there are two new parameters that control it instead.
b_a_collarHeight: This is the collar height that you would measure from your pet's collar. The height of the tag/attachment hooks will then adapt so the attachment hooks can wrap easily around it.
b_b_collarThickness: This is the collar thickness that you would measure from your pet's collar. This will affect the attachment hooks so they can wrap around the collar. The attachment hooks will always have a rounded edge that faces your pet for comfort.
If you are experienced with fusion 360 please feel free to dig in to the files and change even more, but using the user parameters can change almost everything in the design.
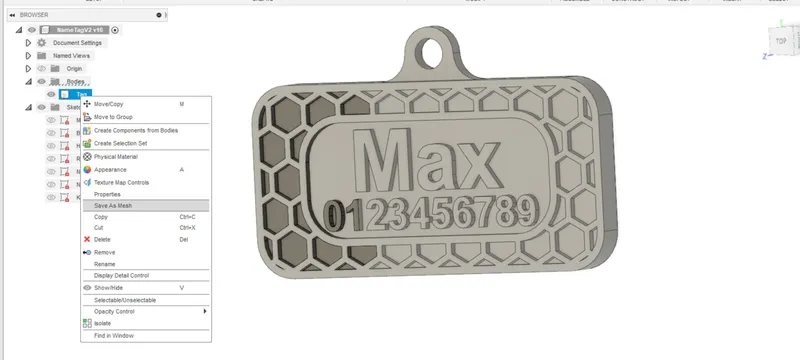
Saving the STLs
To save the STLs of the tags (and the hook), press the drop down arrow next to “Bodies” and right click the body that you want to save. The option “Save as mesh” should be about half way down. Then you can save the STL where you like, I would recommend the option for high mesh refinement so the lettering comes out nicely.
Slicing technique
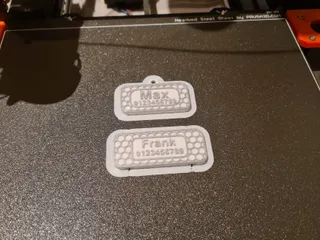
To print in two colours, add the ID tags to the slicer with the design facing up. Then generate the slice preview. Then move the slice bar to the first layer where the face design appears. On the slice bar there is a “+” symbol. If you press that it will add a colour change at that layer.
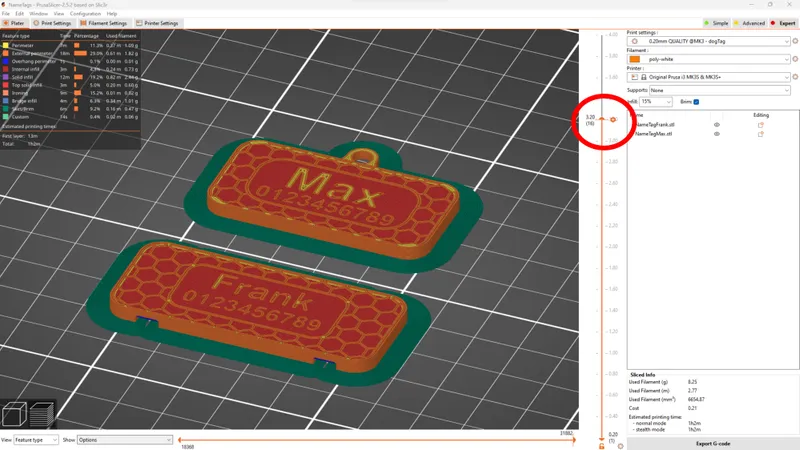
Then when the print gets to this layer the printer will stop and prompt you to change the filament, you can then change it to your desired accent colour to make the face design stand out.
To add text within PrusaSlicer you can use PrusaSlicer 2.6 (alpha) available here to add text to the blank STL versions. The steps for doing so are nicely shown by CHEP in his video:
Assembly
For longevity if your dog is very active/swims/runs/gets dirty I would recommend coating these in epoxy or similar.
The keyring version only needs to be attached to a keyring.
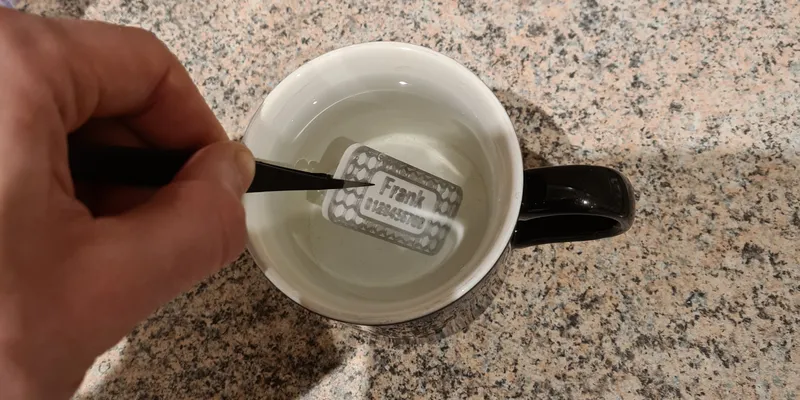
For the bar version there are a few assembly steps which involve bending the tag into shape using hot water, glueing on the hooks, and finally glueing the hooks closed around the collar.
- Boil some water and pour it into a mug. Dunk the tag into the mug using some tweezers or equivalent. Do not do this for too long as the plastic softens quite quicky.
- Place the tag on a rounded surface, roughly the same diameter as your pet's collar. Flatten it to the surface to give it a rounded shape. Be careful as the tag will be hot. Flatten it with a spatula or an over glove etc.
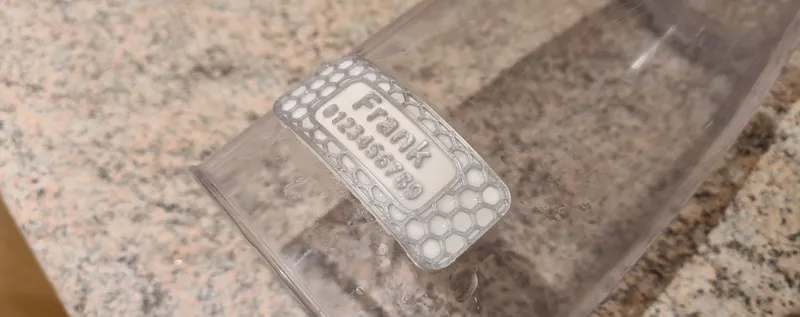
- Once cooled and dried. Glue the hooks in to the channels on the back of the model. The channels are quite a bit wider on purpose to allow for the bending and also for a lot of glue to be used as this bond needs to be very strong.
- Try to really fill the channels and gaps with glue so that the activity of your pet won't overcome the glue.
- The gaps in the hooks allow for the hooks to be bent and placed around the collar, these gaps can then be glued shut (if you want extra security) when you are satisfied with the end result.
Tags
Model origin
The author marked this model as their own original creation.