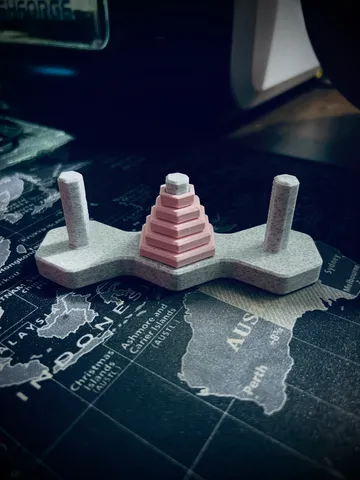
First Layer Calibration Test

Description
PDFFor best results, set your layer height to 0.3mm. This test is meant to help you measure how good your calibration or bed leveling is. It will only print one layer.
What do the test results mean? (see photos)
After printing, let it cool down and you can begin inspecting it. You do not need to remove it at this moment. A good result will have:
- Very little or no bubbles
- No warping
- No faded color
- No broken squares
How can I improve my first layer?
There are a few things you can try. First, you want to make sure that your bed is leveled and calibrated. If the extruder nozzle is too close to certain parts of the bed, it can cause the extrusion motor to skip, which is a very noticable sound near the fillament loading area. It can also cause some parts of the layer to look faded due to the fillament not being able to leave the nozzle. If the nozzle is too far away, the fillament will not stick to the bed or even warp. This can take several tries to get correct.
Second, you should want your first layer to print slowly. 10mm/s is a good speed for the first layer. Try to avoid fast travel speeds as well. The nozzle should not move abruptly as it may tear fillament away from the bed.
You can get better adheasion to the bed by adding more shells as well as printing the shells from outer to inner. This will take up more time in general.
Lastly, clean the bed with rubbing alcohol frequently. You can also clean the nozzle after it cools down using the same thing.
How do I calibrate correctly?
There are 2 general methods to use. One is simple, the other is advanced. The simple method is using a piece of thin paper and dragging it back and fourth while adjusting the calibration at that spot. The paper should just barely graze against the extruder without leaving any marks on the paper.
The more advanced way will guarantee perfect calibration. You will need a feeler gauge with a thickness that is known, usually 0.1mm - 0.3mm is good enough. Using your computer, open the interfance that allows you to communicate with your printer. In my case, I use FlashPrint. Set your z-jog to the thickness of the feeler gauge. Now, calibrate as usual by using the feeler gauge instead of paper.
What if I still have trouble?
It's recommended that that you calibrate every time that the nozzle or bed is removed and put back. If all else fails, this could be a sign of a mechanical failure or worn down parts.
Tags
Model origin
The author marked this model as their own original creation.