Vase-Mode Drawer Tower (Parametric, Fast)

Description
PDFReusing filament spools as the framework for a storage tower for small parts is not a new idea, but other versions I've tried seemed to take too long to print, used too much plastic, or were hard to adapt to the inconsistent spool dimensions used by different manufacturers. But when I saw the vase mode trick used to make fast-printing storage drawers, I wondered if that same technique could be used to make spool drawers more practical.
Well it turns out, yes. Yes it can.
I've included the inner divider cup idea as well so trays can be easily subdivided, and there's a simple glue-on label frame so you can keep track of what's in each drawer but then easily change/swap labels when those contents change. (I wasn't able to think of a way to bake the labels frames into the vase mode design, so I just went with an easy Plan B.)
Procedures
There are so many different manufacturers out there, with so many different spool configurations, that it would be insane for me to try to provide STL files to fit every possible spool. I've included files for the AMZ3D spools for now, and I'll add others as I extend my tower - but that's the beauty of OpenSCAD - you can just measure the spools you have, plug the numbers in, and print the trays that are right for you.
Trays
To generate a tray, examine the spool you're going to use. They all have the same outer diameter, but just about every other parameter varies from brand to brand. Consult the included diagram for the list of spool measurements you'll need to make, and for a clear depiction of what they mean.
You don't need to use the same brand of spools for every layer of your tower, but you will need to collect separate measurements for each brand you plan to use.
One particular thing to note is the spacing of holes around the rims, which dictate the number of trays a spool can hold. (I prefer to use these for attaching the hinge pins, rather than drilling/melting my own, because I always seem to botch it, but you can totally make your own holes if you like.)
The one drawback to using existing holes though, is that it limits the number and position of trays you can use on that layer.
For example, the AMZ3D spools I used for my tower have four pairs of holes, allowing me to place 4 trays per spool easily, but my Duramic spools have 3 pairs.
For vase mode in PrusaSlicer, the most important settings are the two below: The first makes sure you actually print with vase mode, the second increases the extruded wall thickness to provide a stronger tray. (If you don't increase the perimeter width to 0.8, your trays will be very flimsy.)
- enable Layers and Perimeters/Vertical Shells/Spiral Vase
- set Advanced/Extrusion Width/External Perimeters to 0.8 (assuming a 0.4mm nozzle)
Divider Cups
Cups are printed just like trays and use the same vase mode settings.
Interlocks
To generate an interlock (used for connecting two spools together) you need to know the diameters of the two interior holes. Depending on how tight your tolerances are, and how tall you make the interlocks, you can achieve a stable tower with just friction, but I prefer to use shorter interlocks (which print faster) and then glue them into place. I did try printing these in vase mode as well, and they do print faster, but they were too flexible to provide much friction.
Because these are fairly thin, I print mine with a 1mm brim to make sure they stay attached to the build plate.
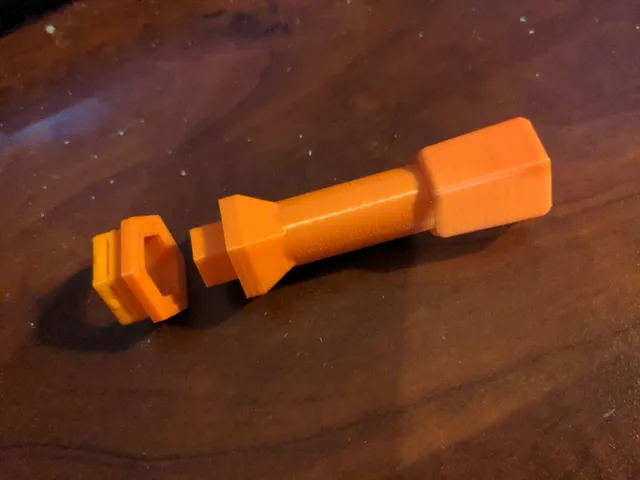
Pins
You can print them with longer shafts if you're worried about how well they'll stay in the tray's hinge slot, but I find that 4 or 5 mm is plenty.
Like the interlock, these are pretty thin, so a 1 mm brim is helpful here too. (Which is why I usually print 1 interlock and 8 pins at the same time.)
Labels
Label frames are printed separately and then glued into position. Rather than rely on the crappy adhesive most label tapes come with, I just slide mine into the frames, which makes it trivial to replace them later when I eventually repurpose the tray to hold something different. (You can also use plain paper labels, if you prefer.)
To print the frames, stand them on end and use a fairly significant brim (like 3mm) to hold them in place until the print is finished. No supports required.
Other Settings
I print everything in PLA - the trays with 0.2 mm layers and 0.3 mm for the rest. But if you don't bother with the thumb indents, the trays can be done at 0.3 as well.
Tags
Model origin
The author marked this model as their own original creation.