Nice quick print with the answers I needed. Thanks!
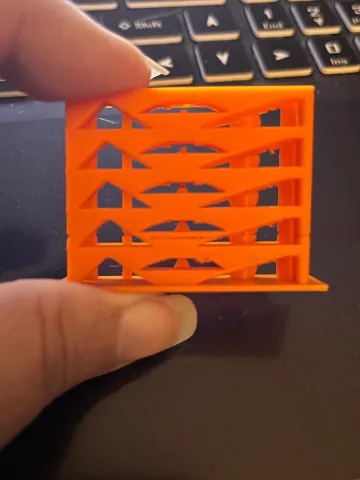
@Serenitee Thanks for sharing your picture and for your kind words. What I have learned from this tiny heat tower is that the printing temperature is much less critical than many may think. Yes, there is an impact of the nozzle temperature on the print result, but there is clearly no need to worry about plus or minus 5 degrees tolerance of the temperature sensor.
I could not even say from your picture if you did print it with different temperatures, the 5 layers looks fairly similar, only the top two show a bit more hanging on the slowly rising overhang on the right side.
Happy printing!
@HD_Creator The triangles are crisper starting mid and up. On the other side, the lowest 2 levels have extrusion issues, and the cone looks best on 2nd to top. I am still learning to read such tests - but having such a quick print one is fantastic!
What I have found is that I also haven an extrusion issue (replaced nozzle & extruder arm directly prior to this tower) that I'm still working to getting to the bottom of then will run again to see differences. In the meantime, 225 is the best looking over all and has been giving great results.
@daimhinm Ah cool, I have never seen it used for ABS so far. Thanks a lot for sharing your pictures!
Happy printing!
Perfect test object. Small, not wasteful and great for finding the right temperature.
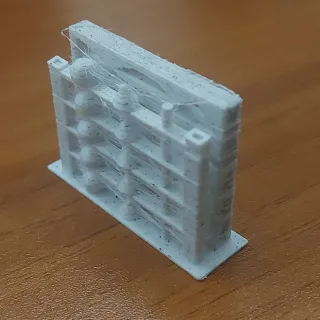
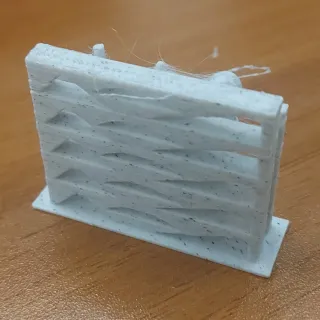
@rfmarves I am glad you like it. Although I must admit that I found the temperature less important than I thought, especially when it comes to stringing. For PETG it is ultimately important to keep the material super dry, then it will not string significantly. That is much more important than the temperature in my findings. I now print PETG with the supplier provided temperature, out of heated boxes, always. For PLA I have decided that I want well fused layers and parts that look like one piece, not like a somewhat glued together rope. Therefore I print a bit hotter (like 220 to 225 deg C) at the cost of not so perfect bridging and overhangs. With good part cooling and high nozzle temperature, I get very nice looking parts with still good overhang properties.
Nice and fast
Thanks for the print! I'm using this to test my filaments now since the print can fit in the filament box with the filament spool inside.
Here is my print with Made For Prusa Transparent PLA Basic Filament. (edited)
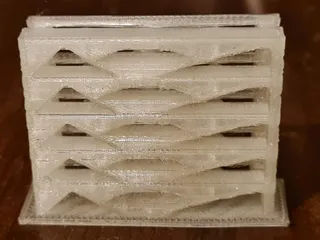
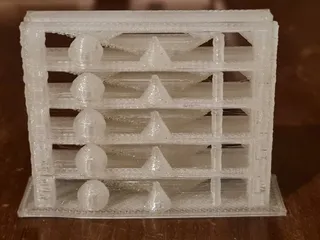
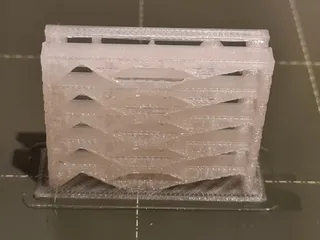
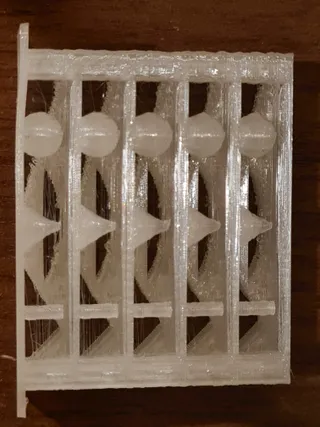
@ElGato Thanks a lot for sharing your picture, it looks really clean on all levels. May I ask if that was on the original gcode? For PLA I would expect that 240°C are quite a lot, so I had expected worse results at the lower levels.
Happy printing!
I had to generate my own gcode because I have a Mini+ and the upper limit temperature of this filament is quite a bit lower than 240°C. You're probably right that it would have resulted in a lot more stringing at 240°C, though.
Fast print, great details. I have definitely discovered that my filament is wet and stringy! Description on the gcode filename says it goes down to 230, but it does go all the way down to 200!
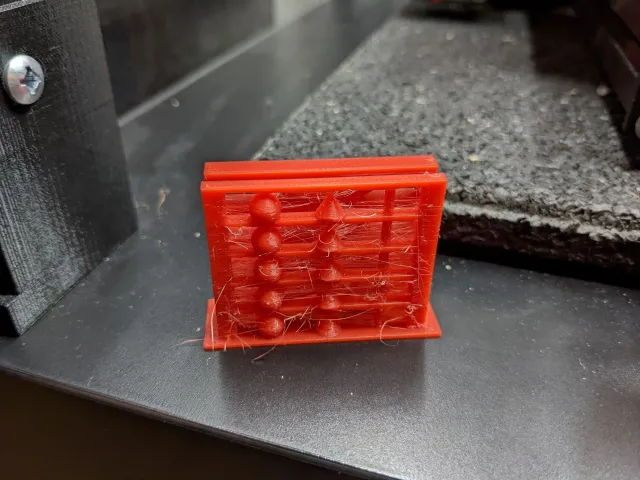
@flowmage Thanks for the good rating and for sharing your picture. You are right, your PETG could use a bit of drying. I have kind of a love-hate relationship with PETG. I believe it is a great material for technical parts and the flexibility allows to print springs within parts, that is simply great. But in order to get prints which are as clean as PLA prints, the material needs to be really dry. I have two active dry-boxes now and I never print PETG without them. That may be a bit neurotic, but fact of the matter is that it gives you perfectly clean parts.
Thanks also for pointing out my flaw on the file name. You are right, the uploaded gcode ranges all the way down to 200°C. I had pointed that out in the detail tab, but unfortunately I messed up the file name.
Happy printing!
Love it! Got a quick estimation to further improve my settings and also a handy tool for testing new filaments. Great job 👌🏼 (edited)
Thanks for letting me know that you like this design, I appreciate the feedback. In fact I also use it to test new filament and whenever I become unsure that the temperature recommendation of the supplier is not good for me (frankly, in most of the cases it turns out that the supplier knows what he is talking about ;-)
I used the GCODE version, I found the fan too high on the 2nd layer resulting in M112 - thermal runaway.
First I was a bit confused by your troubles, as I had well tested that Gcode. Now that I think about it, I think you (or any kind of software or firmware you run) were just confused by what is happening on the 2nd layer. That is NOT a thermal runaway, it is just the start of the heat tower, which should always be printed from the hottest to the coolest temperature.
The way I set the temperatures is like this: First layer is set in Prusaslicer to a sensible temperature (typically around the suppliers recommendation for that material). That avoids troubles on the first layer.
The second layer is set in Prusaslicer to the highest temperature for the heat tower. That means that at the start of the 2nd layer, the temperature starts to rise to the highest temperature. And don't worry, it will NOT rise endlessly, only until it has reached the highest temperature (that can be seen in the file name that I uploaded). Then, after each "floor" of the tower, the temperature will fall (in my case by 10°C) until it has reached the upper floor, which is printed at the lowest temperature.
If you run this Gcode on a Prusa i3 Mk3S like me (running the latest firmware) then I do not see why a thermal runaway should be detected, because it never happened to me. Are you using any special methods to protect your printer, like in Octoprint or by running a customer firmware?
Not to discourage you from finding why it does not work for your, but frankly I never ever run Gcodes from someone else (as I would not run executable files on my PC from someone that I don't know or trust). I am not a friend of sharing Gcodes in general, but Prusa seems to like the idea and encourages Gcode sharing on this page. I always download .stl or .3mf files and slice them myself. In the case of the heat tower, I understand of course that it is convenient to use the Gcode right away.
I hope that helps. Please keep all us updated once you have come to understand why this did not work for you.
Happy printing! (edited)