Temperature tower + Benchmark (tiny but tough)
Description
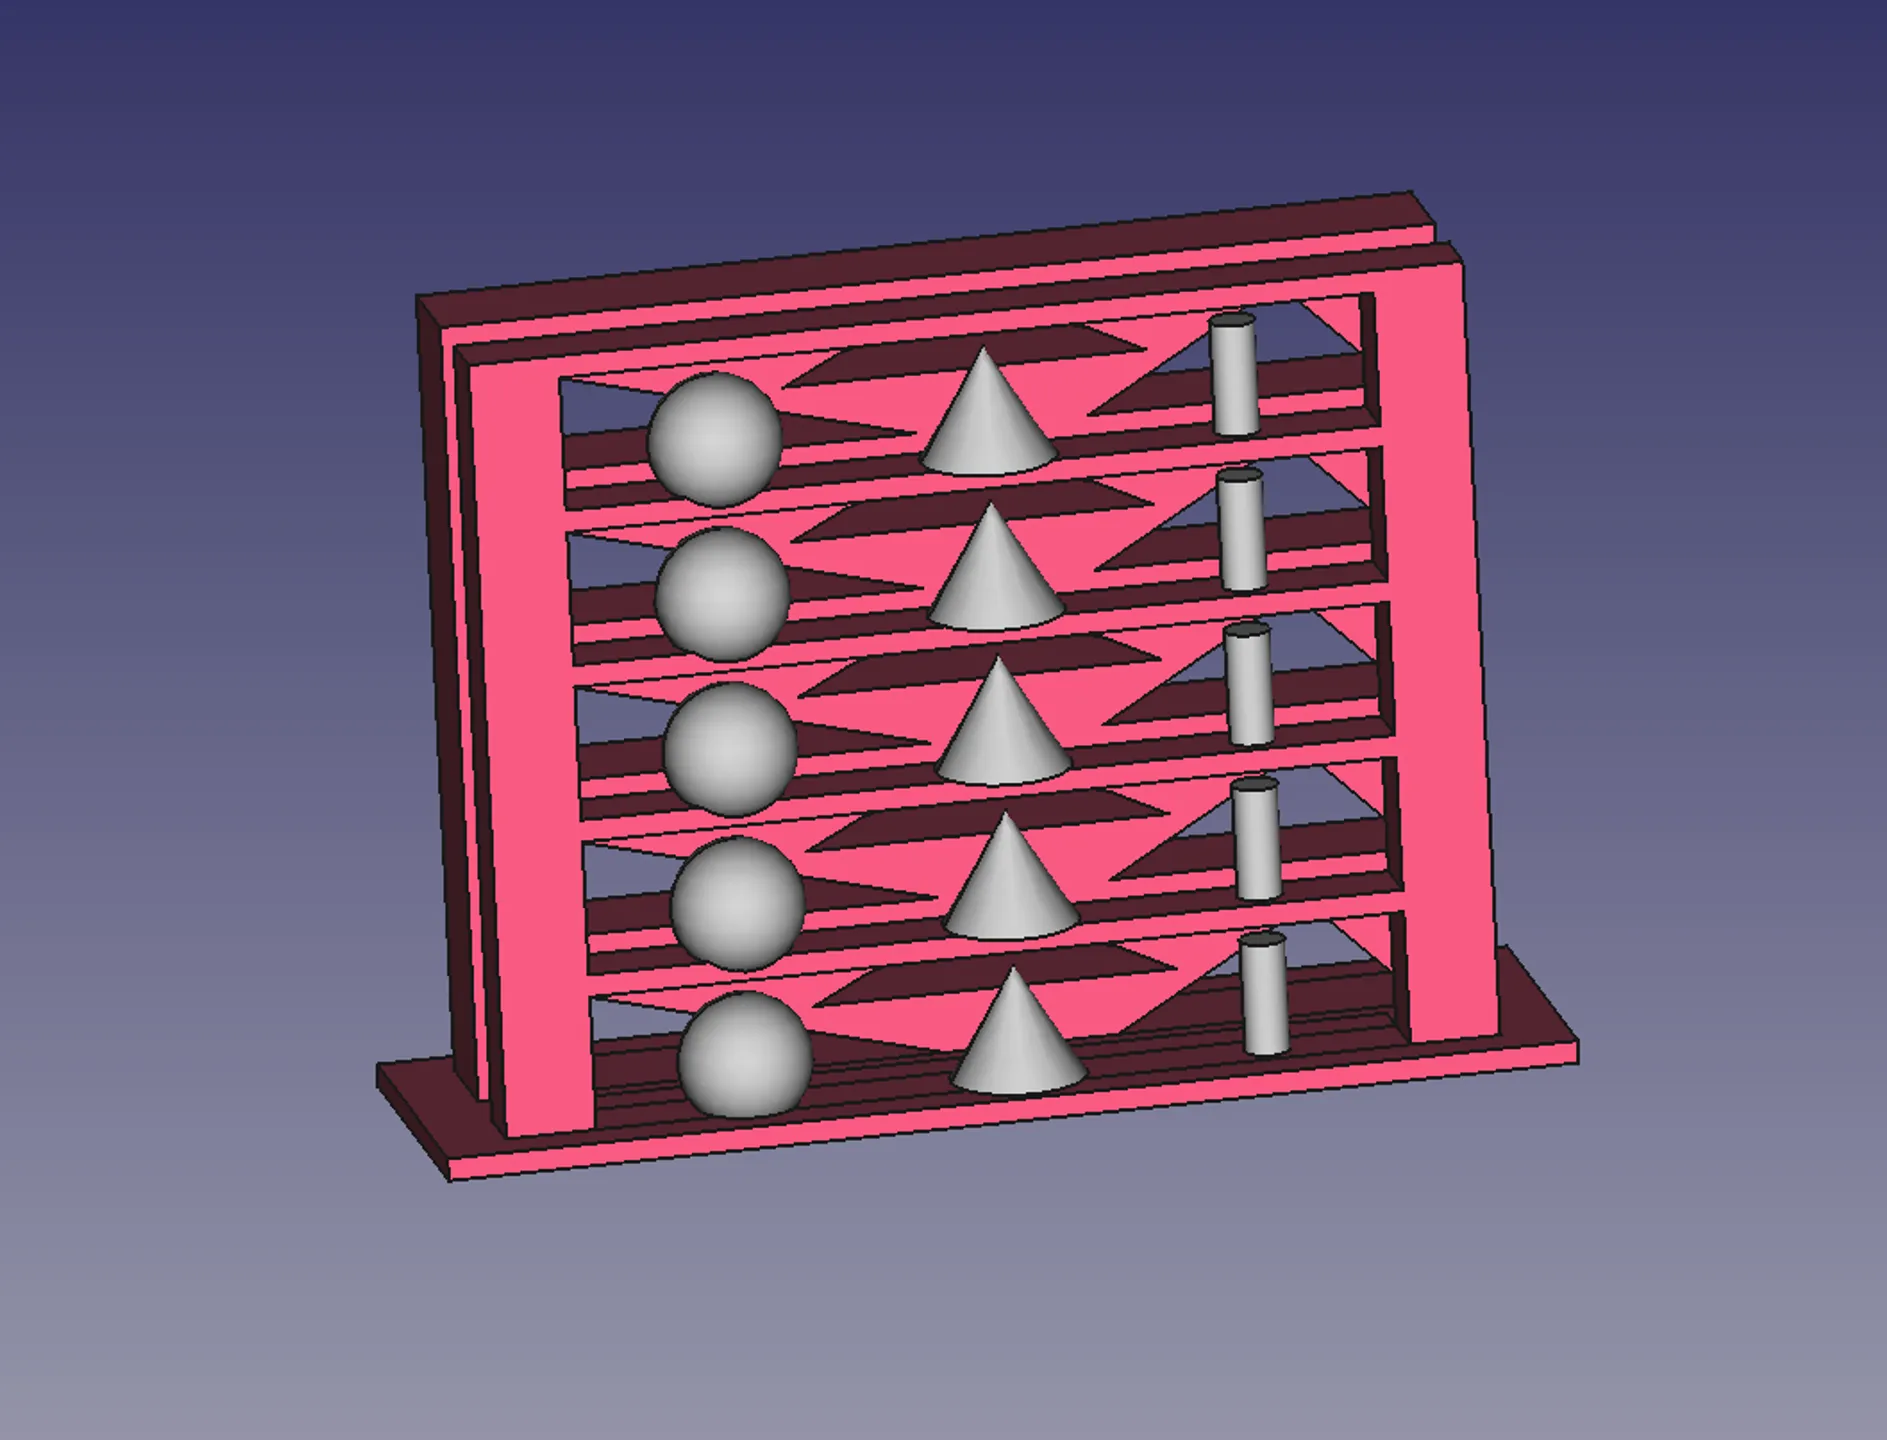
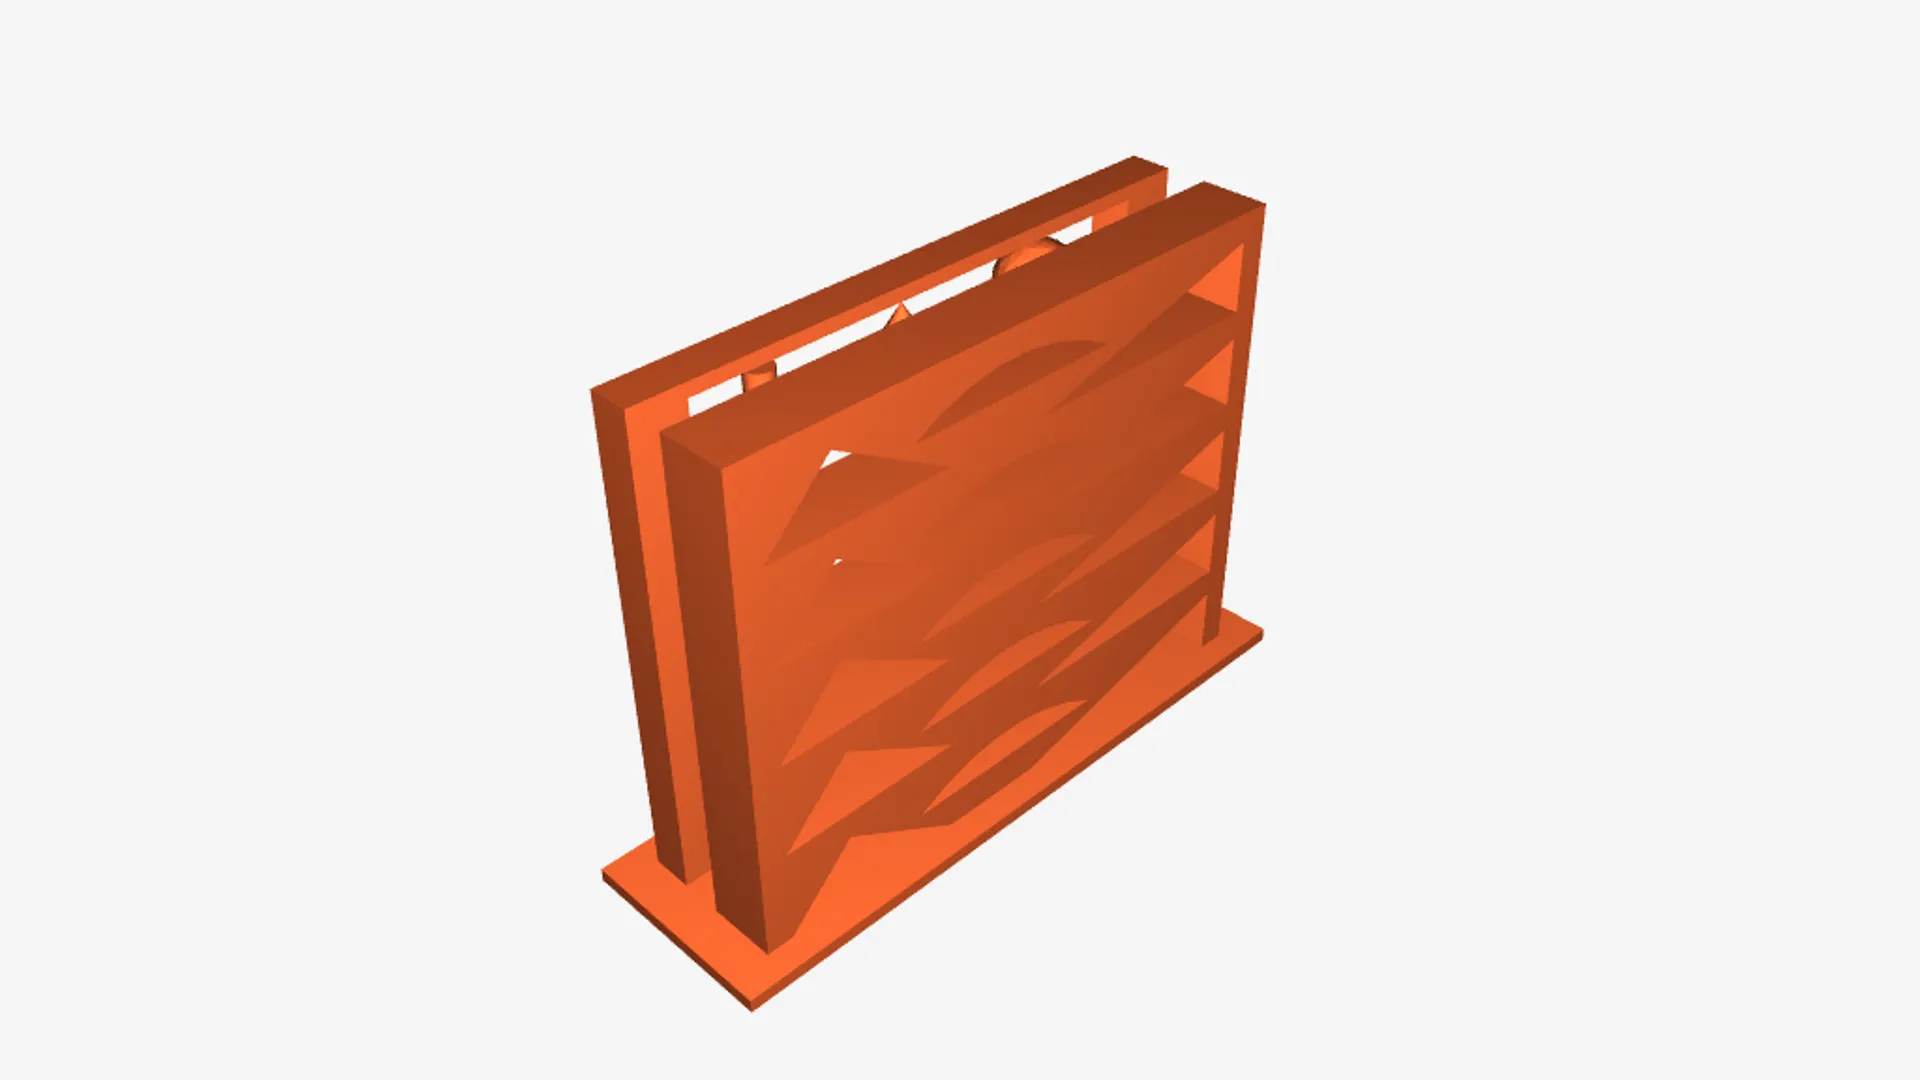
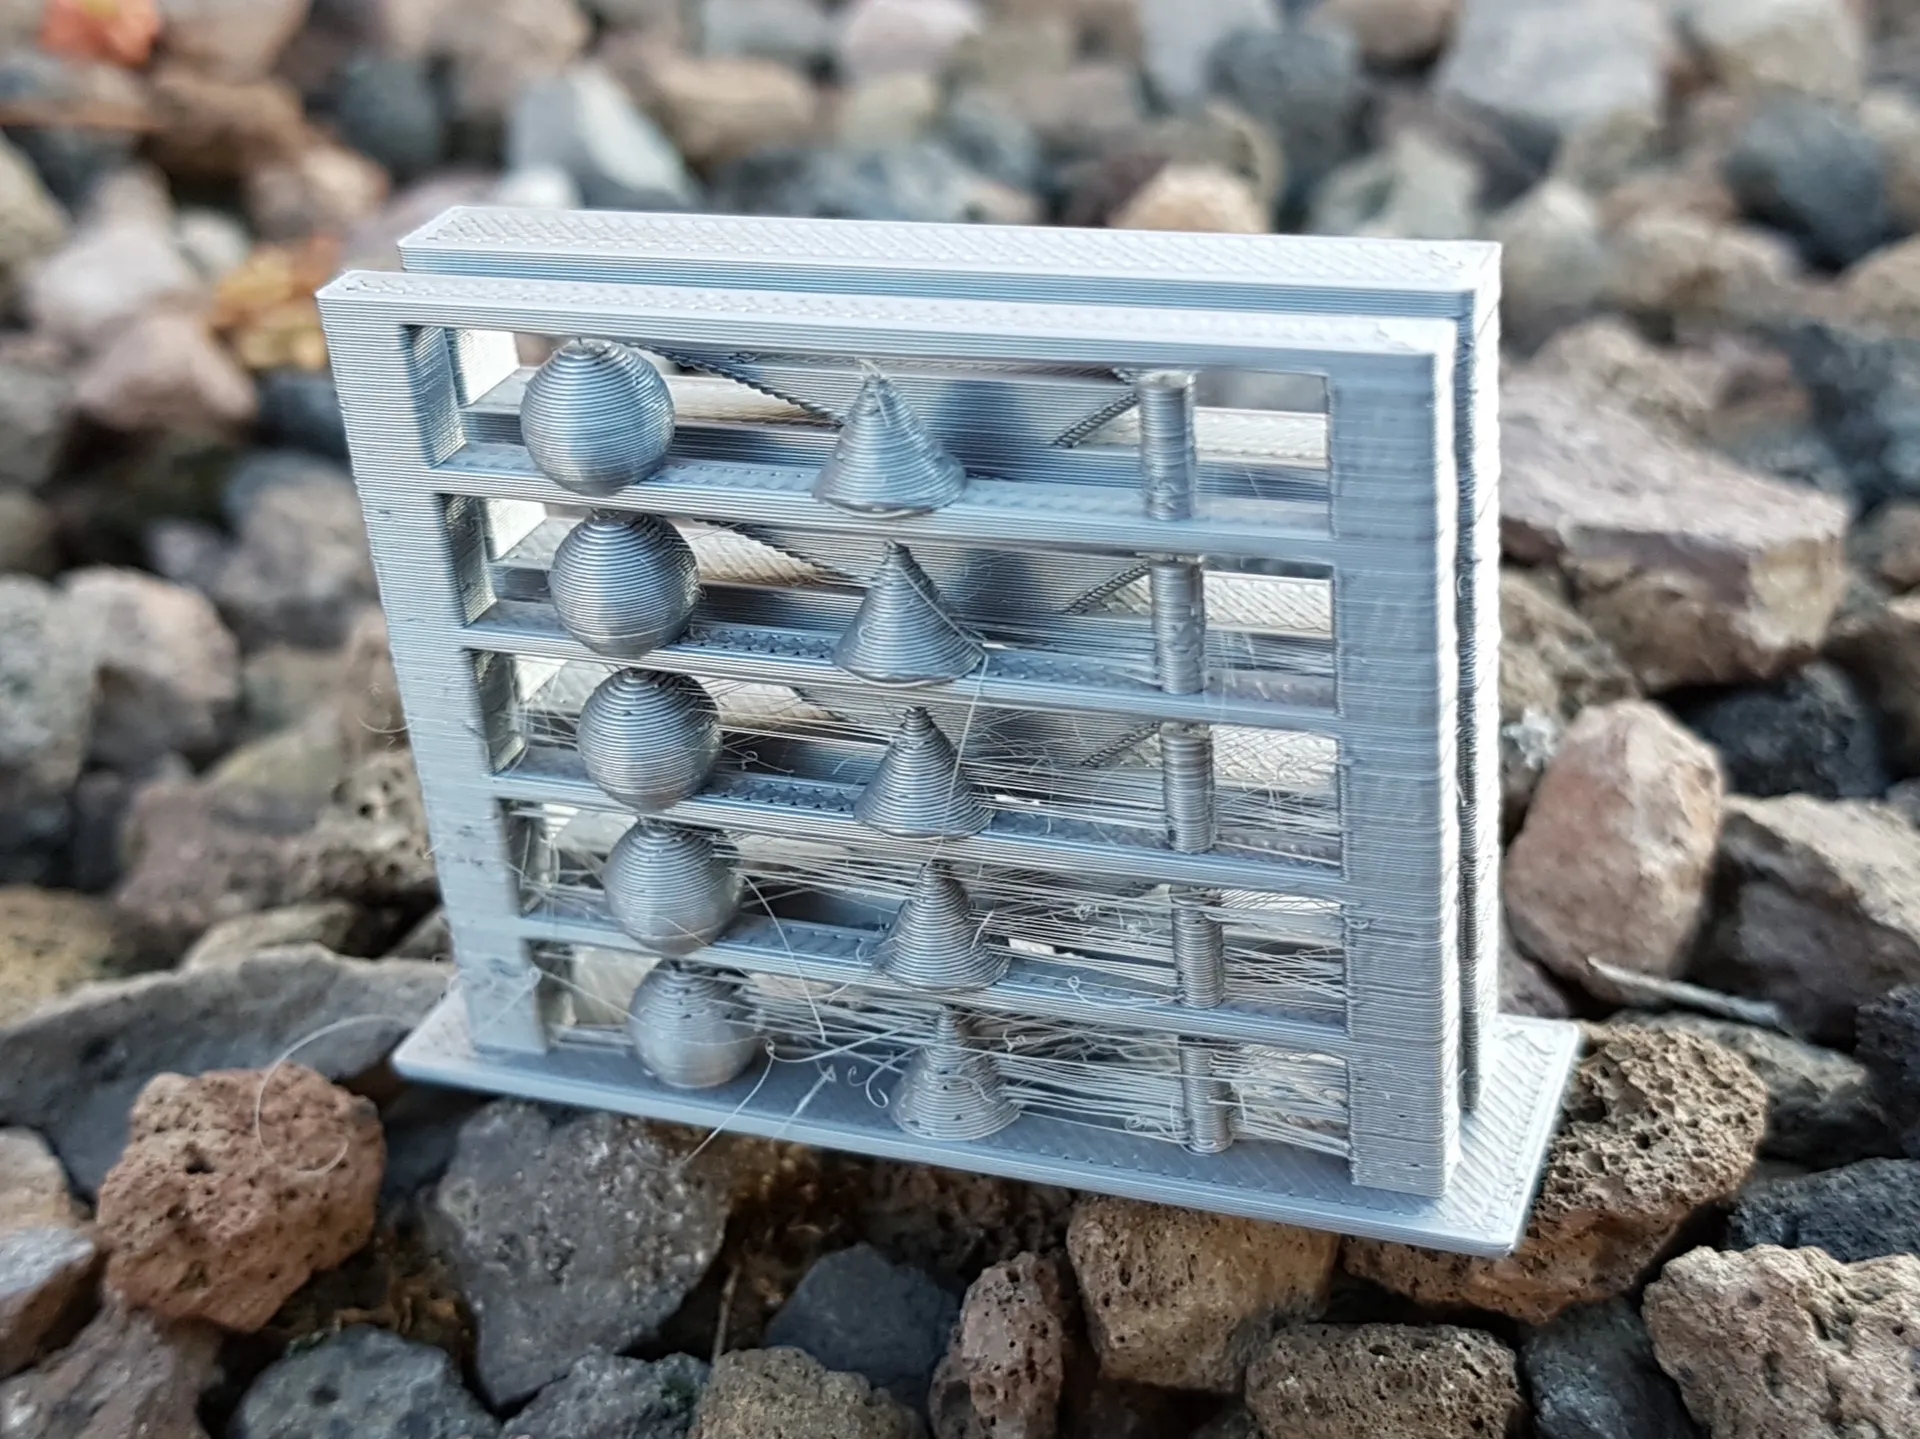
PDFWith this design I have combined my tiny benchmark (link below) with a little temperature tower, which is just big enough to give me all the test results that I need to chose the printing temperature for a particular material.
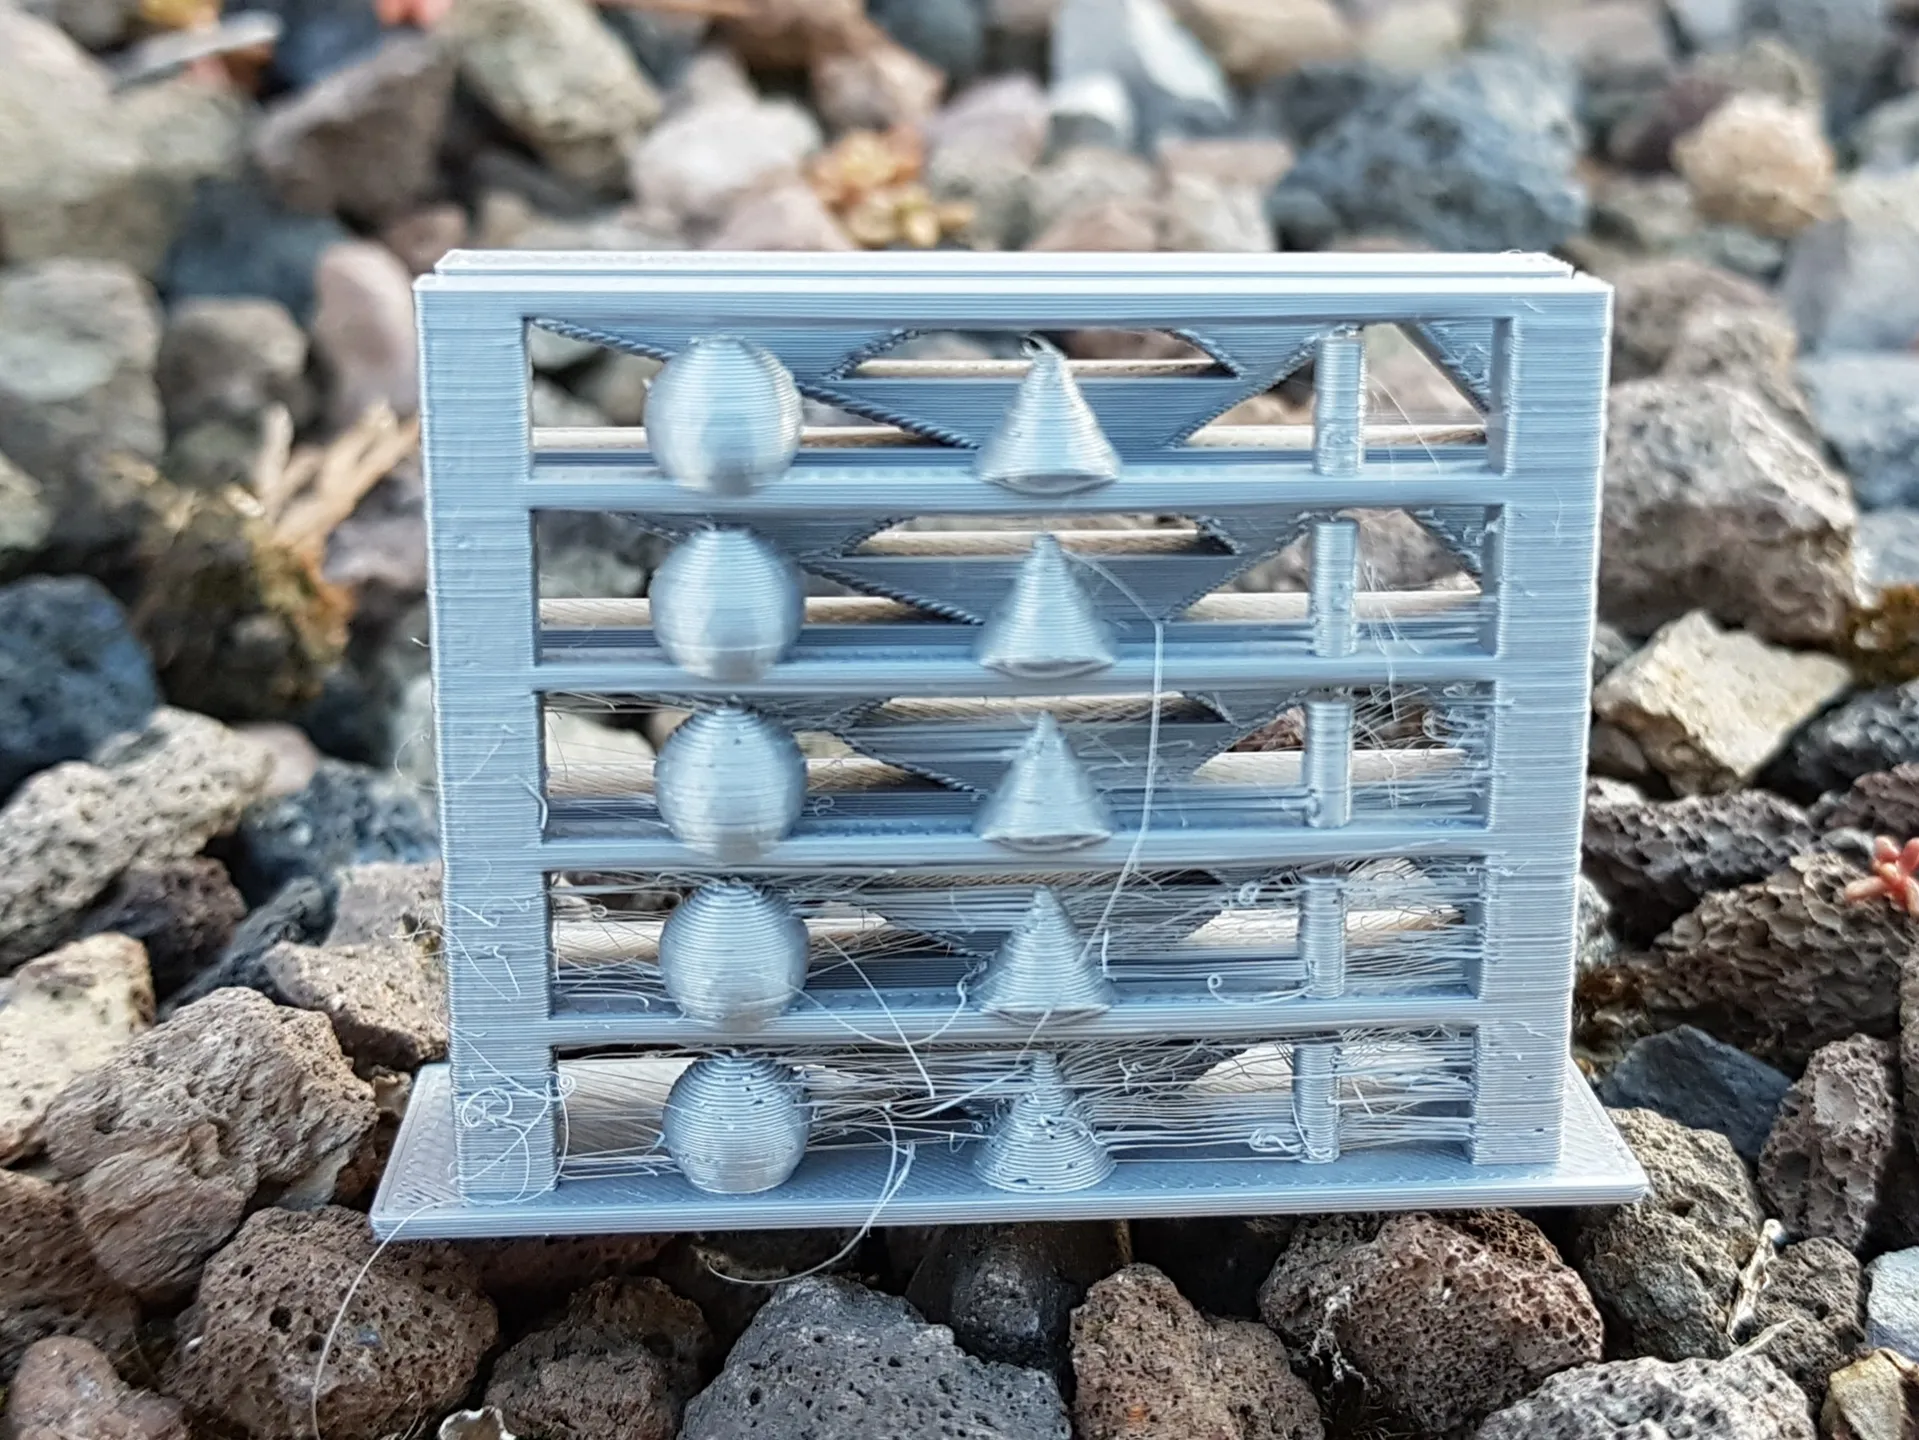
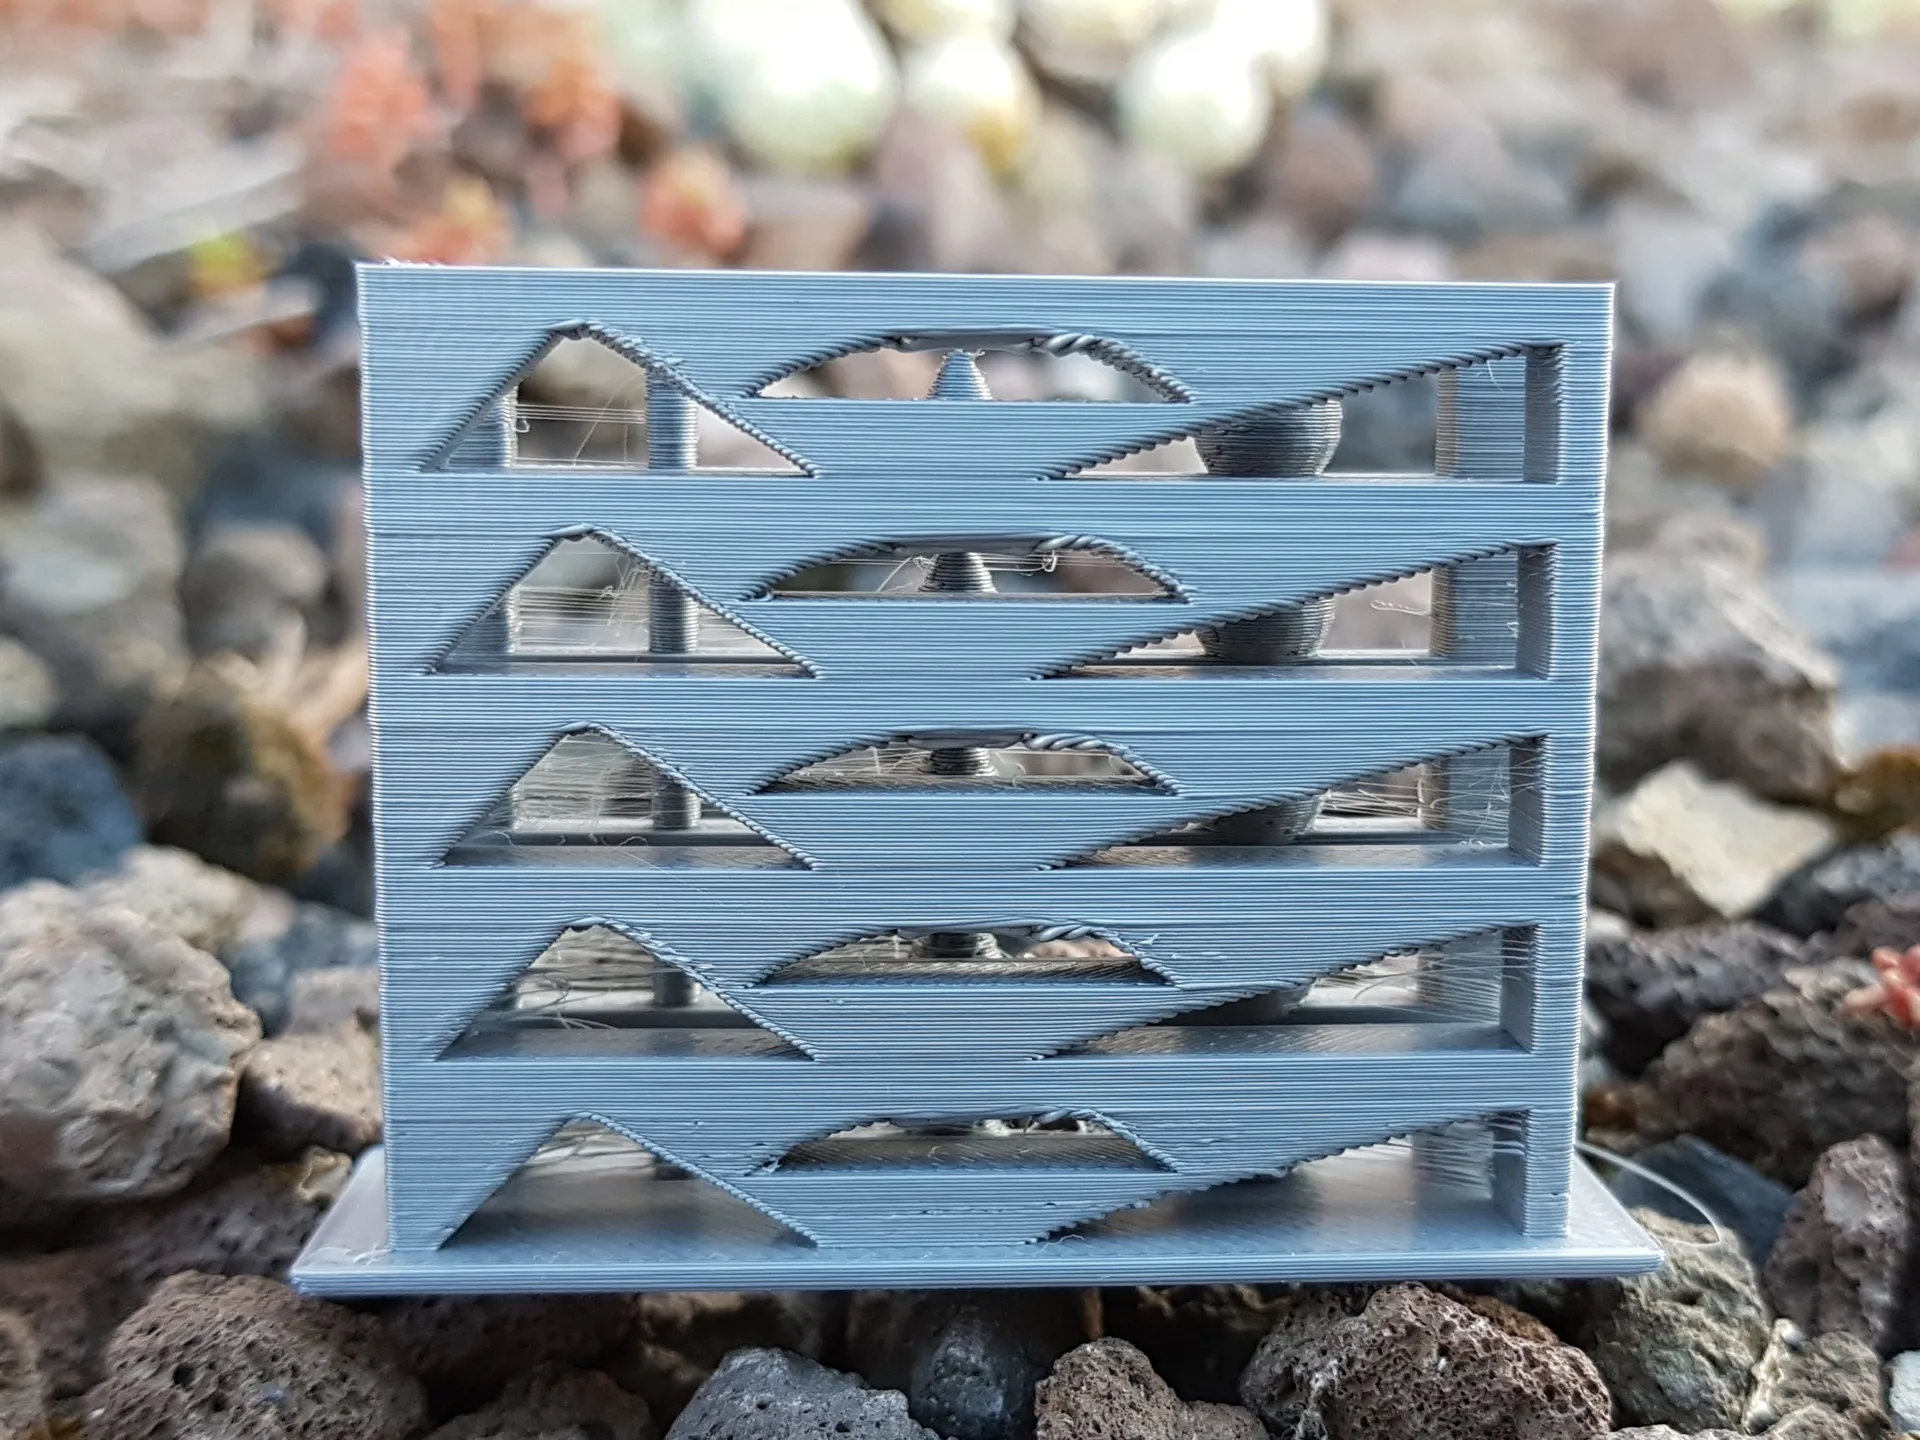
Features for each temperature are:
- Straight overhang test
- Angled overhangs of 45°, 60°, 75° and round
- Tiny geometries of sphere, cone and cylinder
- Stringing tests that are protected by surrounding material (important if you want to archive your results over time)
For me this size of a temperature tower is the ideal compromise between fast printing and valuable results. It prints in less than two hours at 0.15mm layer height on a Mk3S and consumes less than 9g of material.
I have opted to go with only 5 different temperatures, as I believe this to be the sweet spot between print time and clear results. A temperature step of 10°C is good enough in my take, as the results are not that different even at that step size. If you should really come to the conclusion that the perfect temperature would be between two of the 10°C steps, simply go for the 5°C step in between.
Link to the tiny benchmark:
https://www.prusaprinters.org/prints/33449-tiny-benchmark-fast-printing-tough-on-the-details
Print instructions
The attached gcode was printed on a i3 Mk3S, and is made for temperatures from 240°C down to 200°C in steps of 10°C (sorry if the file name causes confusion, the lowest temperature is in fact 200°C, not 220°C). But as there is no temperature imprinted on the part, you can simply use the .stl file and chose the temperature steps as you like.
For those of you that have never done a heat tower, here is a video which I found helpful. The instructions in the video have been followed to create this gcode.
License:
The license does not allow derivatives, as one of my designs in the past was “taken” from me in the past to collect donations on Thingiverse via a “Remix”, that did not add any significant value. That made me really sad. If you want to seriously remix this design, please contact me and I will gladly approve that.
Tags
Model origin
The author marked this model as their own original creation.
