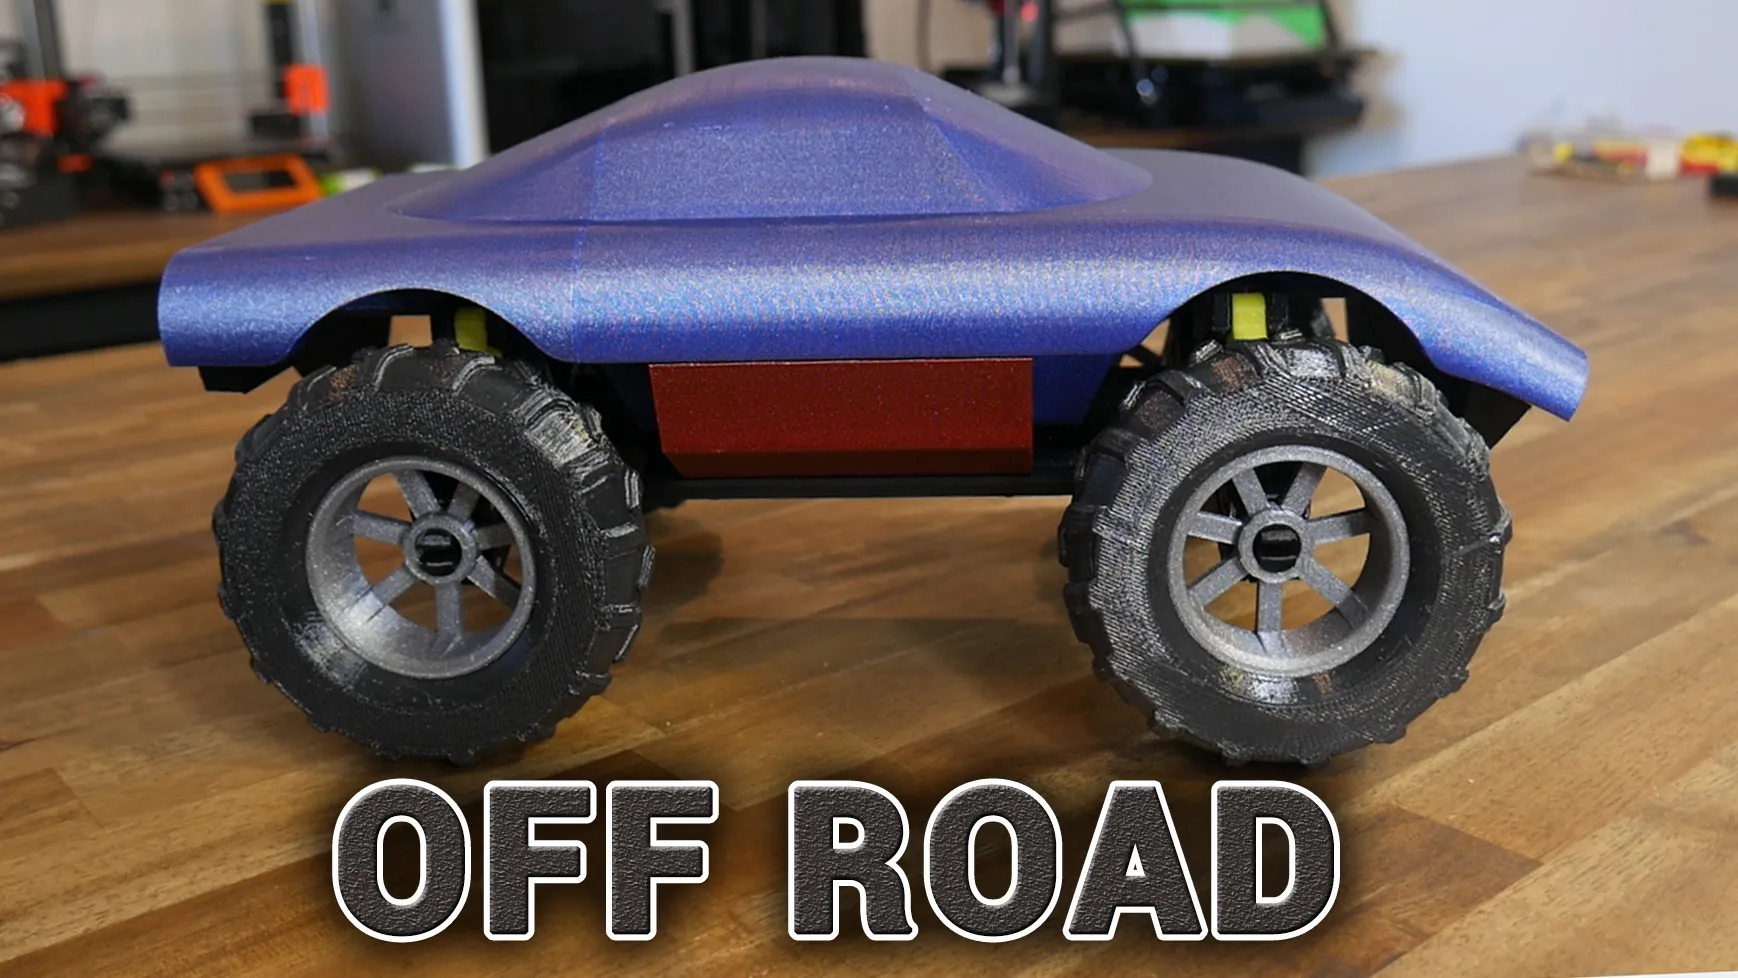
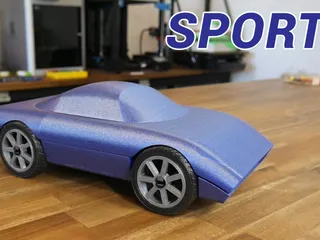
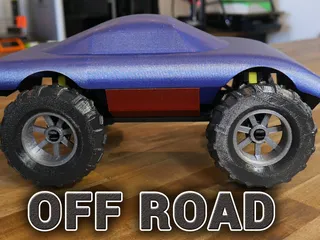
Toy car - Modular and articulated


Description
PDFOverview
This model is an entry for the Toy Cars design competition: https://www.printables.com/contest/335-toy-cars
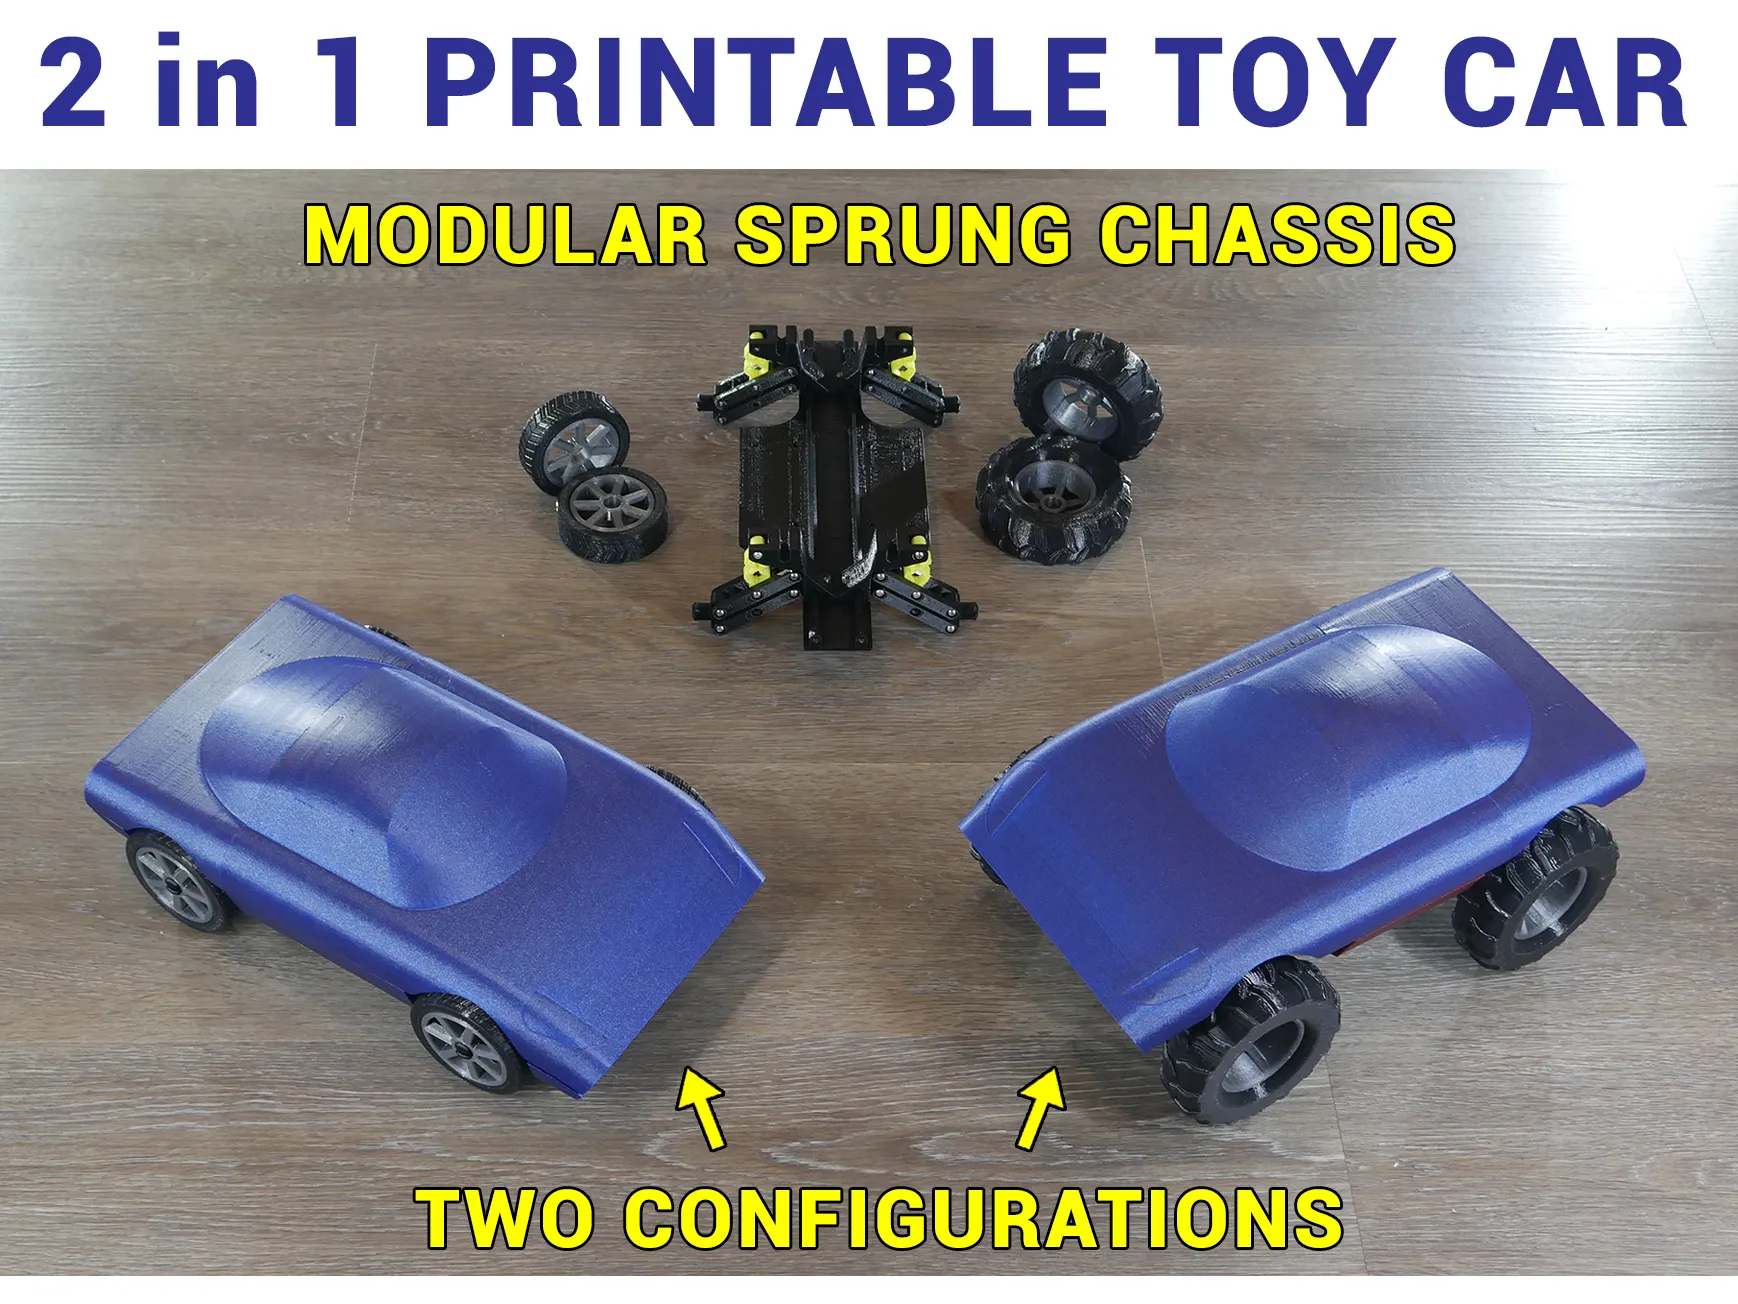
My design aims to be modular, with the majority of parts shared between two possible configurations: sports car and off road buggy.
Other goals are easy printing (no support, fits on Ender 3), straightforward and guided assembly, and satifying rolling action with moving suspension.
This project is covered in detail, including a step by step assembly instructions, in this video (available Saturday):
A final goal for this project is to encourage others to design their own parts for 3D printing. I have a tutorial playlist for this purpose using a free Onshape account:
Source CAD
Please remix and improve this model. If you have an Onshape account, you can simply create copy of my document. Even if you don't have an account, follow the link and right click on the parts list to export any part in a format of your choice. You can also right click on either assembly tab and export the whole assembly in an editable format such as STEP.
Printing
All parts are pre-oriented and ready to print without support. The current orientation of the ‘suspension mount’ part is setup for reliable printing. It can be inverted for easier overhangs at the expense of increased risk of the part disloging while printing.
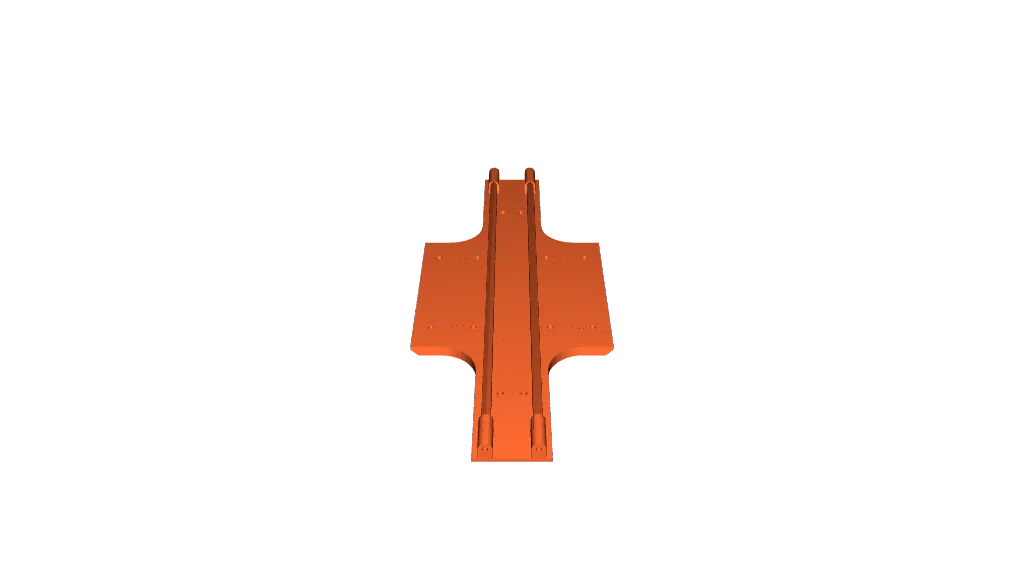
All parts can fit on a medium sized printed such as an Ender 3 (235 x 235 mm bed). The part with the largest footprint is the base plate which is rotated 45 degrees to accommodate this bed size.
Part quantities are given for each file in the file description, as well as in the assembly steps.
All chassis and rim parts are shared between the two configurations. The front and rear roof pieces are also shared for each version.
Tyres and body pieces are different for the sports and off road configurations. These are named as such and organised in folders.
Tyres and springs should be printed in TPU for flexibility. Typical 95A shore hardness is suitable.
All other parts should be printed with a rigid filament. I used PLA. All chassis, suspension and rim parts should be printed with dense infill for strength. Body parts can be printed in pretty filament at lower infill percentage.
Post Processing
Some of the front/rear body parts have false floors covering the mounting holes to avoid needing support material. Drill these out with a 3 mm drill bit. This is shown in the video.
Hardware
This car has been designed to use only M3 x 16mm bolts. Button cap will appear more slimline but socket cap will also fit. Quantities are listed for each section. Total quantity is 46. You may use longer bolts for most sections beyond the suspension sub-assemblies. Slightly longer bolts would also work for the suspension too, but will look untidy.
M3 x 16mm screws: https://amzn.to/3HsTNHw
Assembly Overview
The video linked above shows the assembly steps step by step. You may also find the two assembly tabs in the source CAD helpful in seeing items in their final positions.
The M3 bolts will cut threads into the joining plastic piece the first time they are inserted. Be careful not to over torque and damage the plastic.
Assembly 1 - Axles
Parts required:
- Suspension mount x 2
- Suspension arm x 8
- Hub x 4
- Spring x 4
- M3 x 16 mm bolts x 24
Fully hand tighten the bolts, and then back off a turn or two to ensure each suspension component can move freely. If the suspension bolts are too tight, the suspension won't articulate freely.
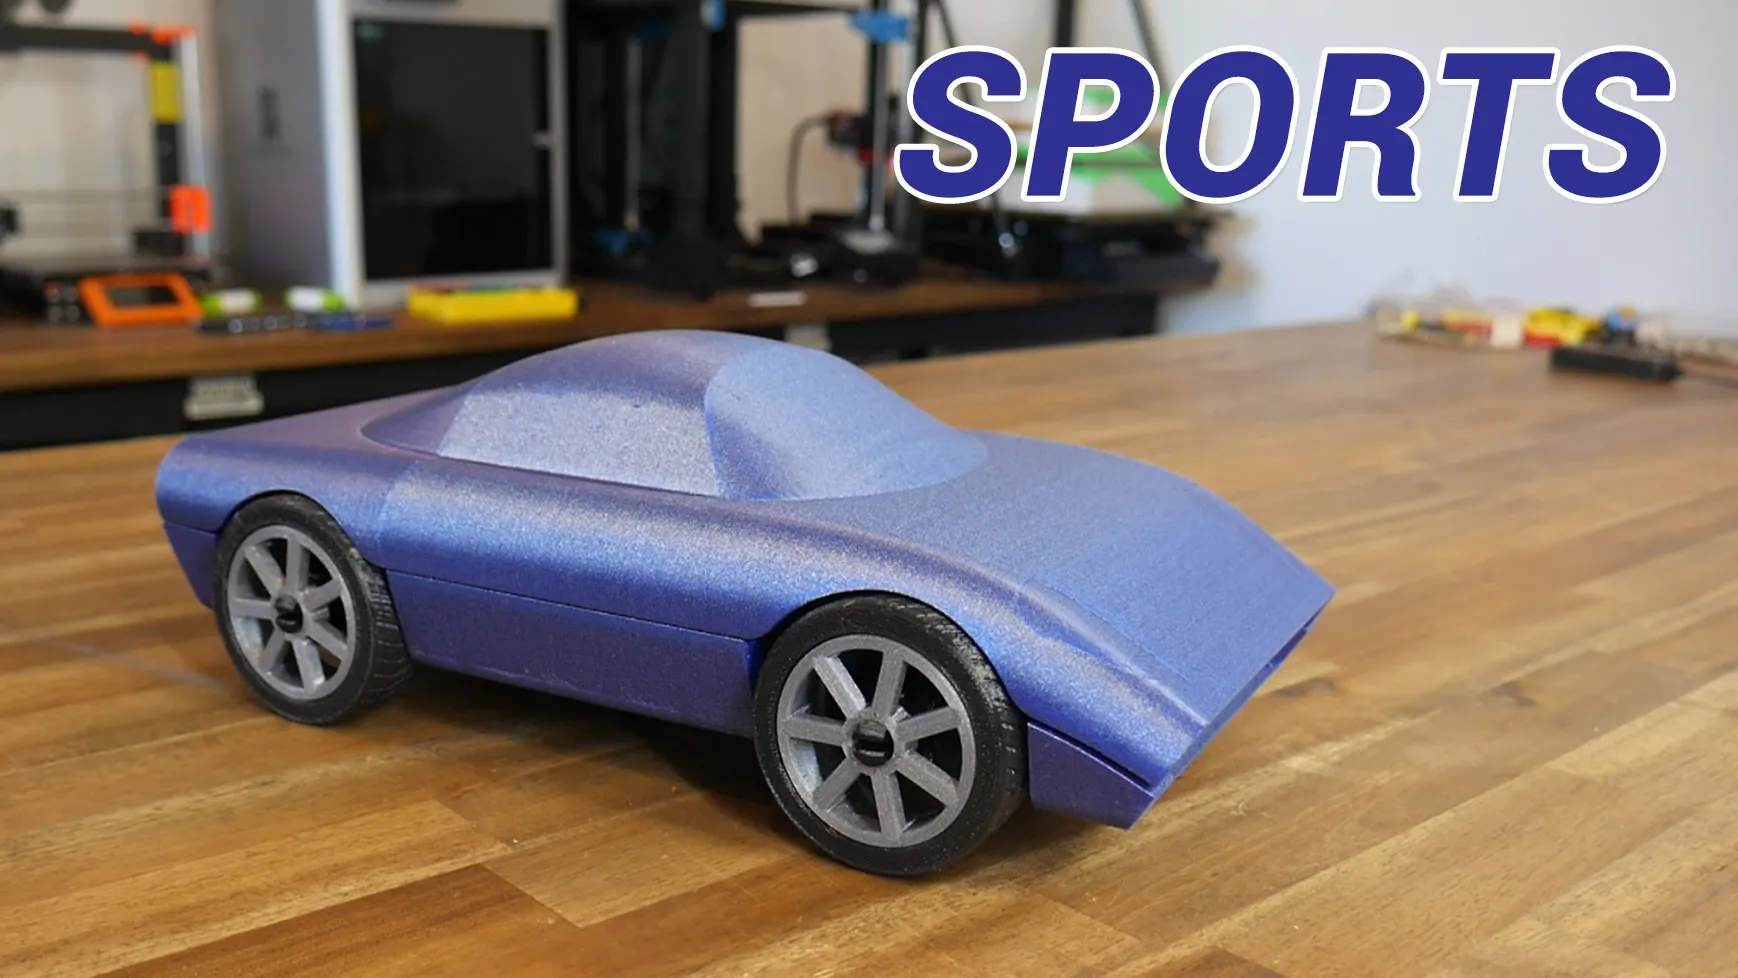
For the sports car configuration, connect the spring to to lower suspension arm, and connect it to the upper arm for the off road variant.
Assembly 2 - Chassis
Parts required:
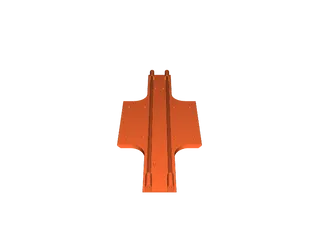
- Base plate x 1
- M3 x 16 mm bolts x 4
It is recommended to have the bolt heads facing outward for easier access in future.
Assembly 3 - Rims and tyres
Parts required:
- Wheel rim x 4
- Either sports tyres x 4 OR off road tyres x 4
Both tyre designs squeeze onto the rim, seating on an inner and outer bead. They should be able to be removed and installed again but this may be difficult. Pay attenion to the direction of the tread to create matching pairs.
To remove a rim from the hub, squeeze the axle lugs together as you pull the rim off.
For the sports car version, the flat side of the rim faces outwards, where as for the off road version, the flat side faces inwards towards the chassis.
Assembly 4 - Lower body parts
Parts required:
For each of the following, select either sports or off road versions.
- Sports/off road front x 1
- Sports/off road side x 2
- Sports/off road rear x 1
- M3 x 16 mm bolts x 8
Each piece is bolted to the top of the base plate with a pair of bolts. After this stage is complete, there should still be four holes in the centre of the base plate unused.
Assembly 5 - Upper body
Parts required:
- Roof front x 1
- Roof rear x 1
- M3 x 16 mm bolts x 10
The same upper body/roof piece is used for either configuration. Join the front and rear roof sections first using 6 bolts. Then lower the roof down onto the chassis from above and secure with the remaining fours bolts underneath.
For the of road variant, the body will sit 4mm higher than the sports variant, to create more clearance for the large tyres. The off road sides pieces will automatically provide the lift because the roof sits on top of them.
Usage
I tried to design this to be fairly robust and it should withstand normal play and usage. The ribs on the base plate and roof pieces inersect with the suspension mounts to reinforce the design. If a part is broken, it should be quite easy to replace and restore working condition. Enjoy!
Tags
Model origin
The author marked this model as their own original creation.