All holes and nuts have the same size but your assembly is talking about M4 and M5, could it be that you mixed something up?
Adjustable chisel width upgrade for wood chisel sharpening guide
Makes
Comments
Thanks so much for providing the Fusion 360 file! I modified it to be wider for my plane iron and use the hardware I had on hand. Also make cutouts of the adjustable clamping faces to clear the end of the top clamp (edited)
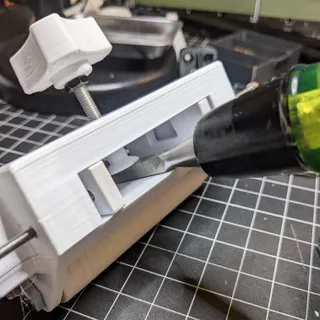
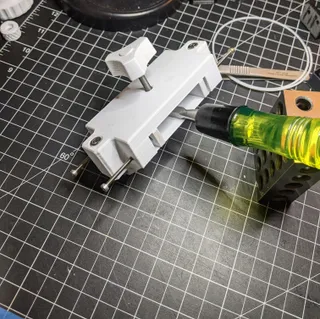
Whaooo a XL version. Thansk for your pictures and rating
can you post the remix?!
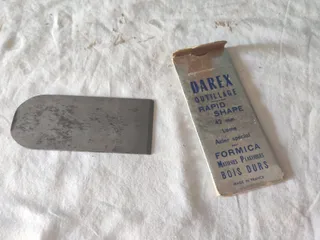
How would you use this with a planer blade? Planer blades have a slot in the middle that's bigger than the top clamp. Plus you'd have to take out the side clamps entirely to make it fit. So as far as I can see, there's no way to clamp a planer blade.
Also, how would you use this with a chisel that's narrower than the clamping stop (14mm)? The side clamps would bump into the top clamp before reaching the chisel.
Hi. Good points. My planer blades don't have slot and guide has just the right width for it (see pictures). And yes you need to remove side spacers to fix the planer blade which is easy to do as there are just 2 screws to removed
In case of blade with slot you can maybe add a plate (3D printed) between the blade and the top clamp
For chisels with small width (e.g. 14mm) you just need to print larger spacers. That's what I did for the 1st version of the guide (See picture)
And for very small chisels maybe just remove the top clamp and block the chisel with just the screw
Hope it'll help (edited)
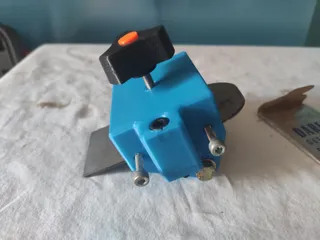
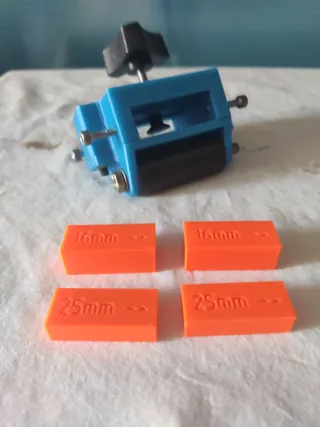
It's for a friend but it looks very nice! Seems to function as it should and everything is solid! I'll add comment once I get his feedback. I printed half in petg, like the parts that hold the chisel as petg offers more grip than pla once sanded glass smooth. I also printed the wheel in petg but I forgot to change the seam to random and this mistake makes a bulge in the wheel meaning you have to sand it down quite much. I reprinted one in pla and used random seam and it's perfect!
I used 5 walls, 6 top 5 bottom layers and used cubic infill for the body and 3d honey comb for the screw handle. I didn't find a bolt long enough for the wheel so my friend will solve that himself.
This is probably the best model for chisel guides and it's very rigid and solid and has a nice weight to it. It was very easy to assemble and the parts printed in pla was fast and easy. For the petg parts, it took 7h for the 4 parts and I used slow speeds.
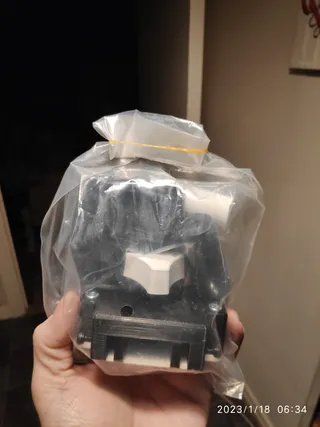
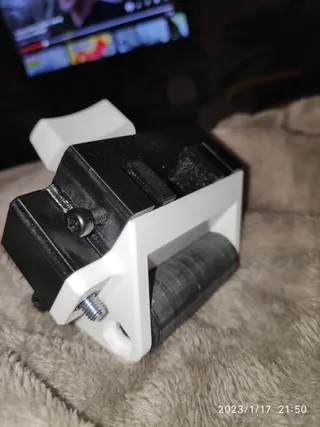
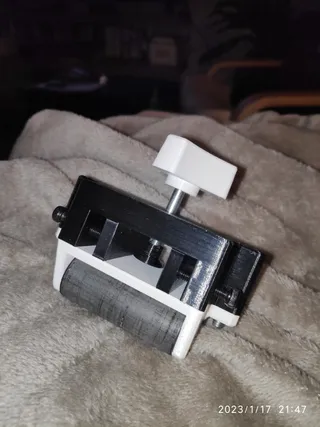
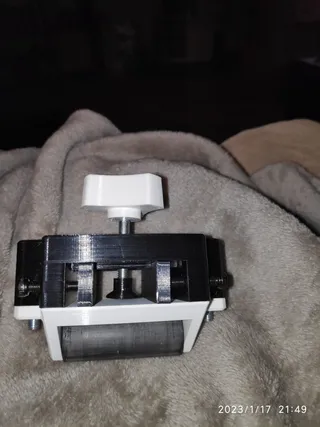
@Visthum Well done and thanks for your valuable feedback. You can replace the missing bolt by a threaded rod and a second lock nut. Curious to see feedback from your friend. Cheers


