Bambu Lab P1P - "Vision" Enclosure


Description
PDFBuy the Full Vision kit
I've teamed up with VOXELPLA to make a kit that includes acrylic panels, printed parts, screws, and tool. The magnets and threaded inserts are pre-installed, so you won't need anything outside of the kit. Shipping is free in the USA and ships out the same day.
Vision has a strict non-commercial license, it can only be sold with licensing through Hume Beam Engineering Solutions.
Update March 28, 2023
Added two alternative designs for 4.5 mm and 6.0 mm lids, respectively. Print the parts from these folders in the zip if you use a thicker lid:
- alternative-printed-parts-for-4.5mm-lids
- alternative-printed-parts-for-6.0mm-lids
If you use 3.0 mm panels everywhere or with the X1 glass lid, just print the files in the main folder.
Support
All my designs and mods on Printables are free to use and remix. They have a non-commercial license. If you enjoy this or any of my other designs you can send me a small donation using the link below. Thanks :)
https://www.paypal.me/humebeamengineering
Reviews on Youtube
ModBot (skip to minute 5.00)
About
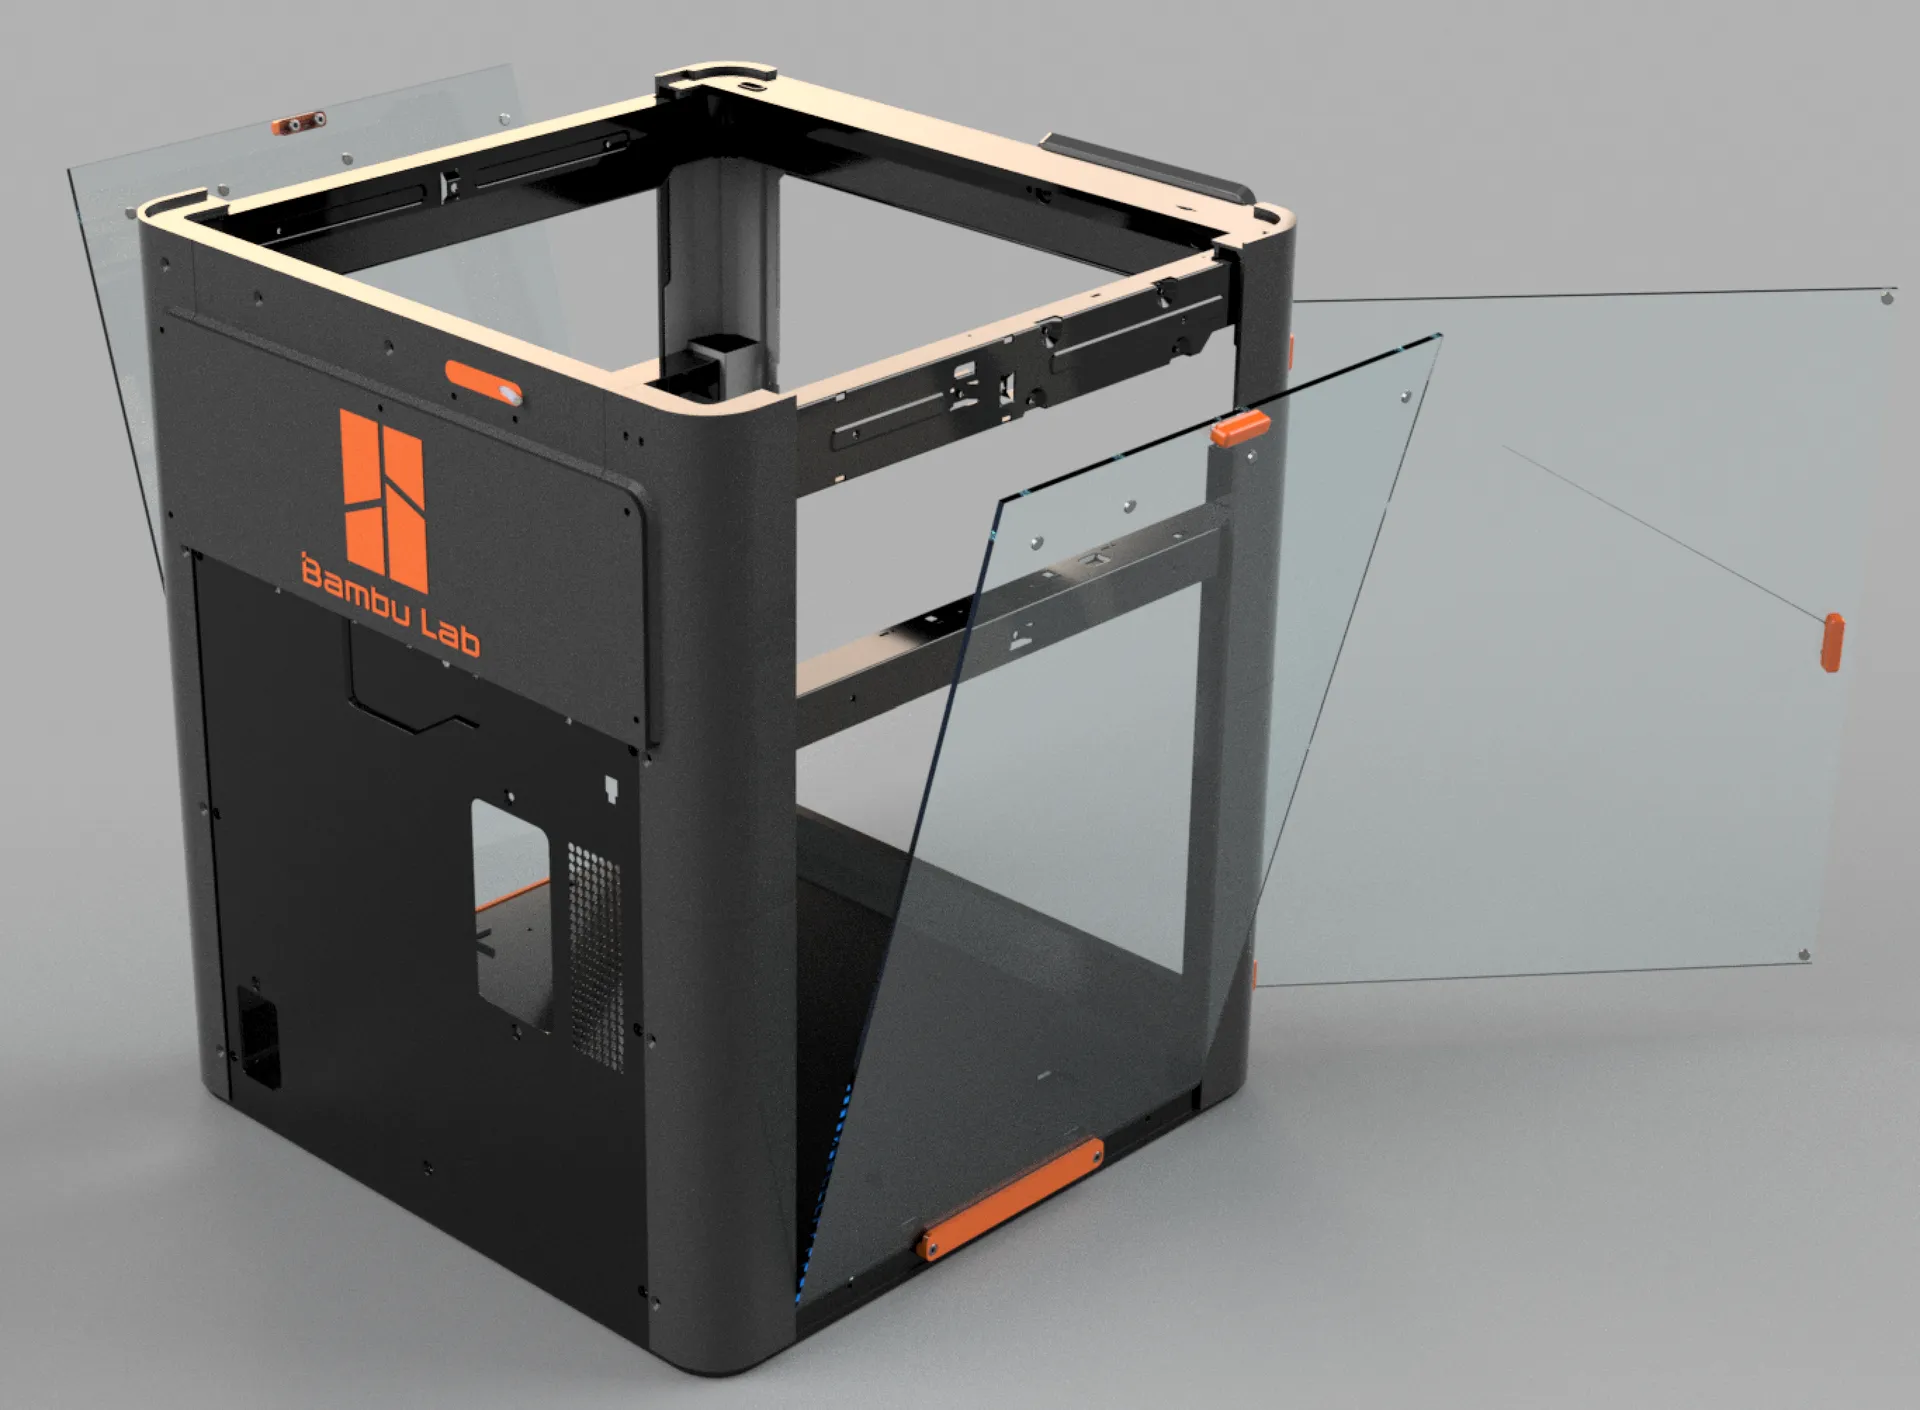
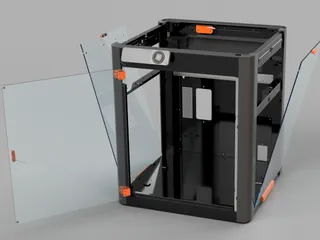
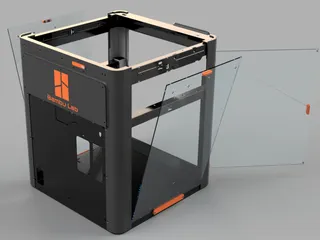
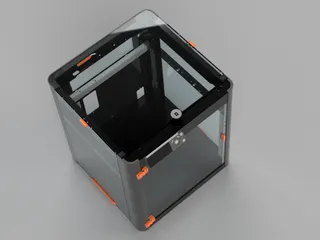
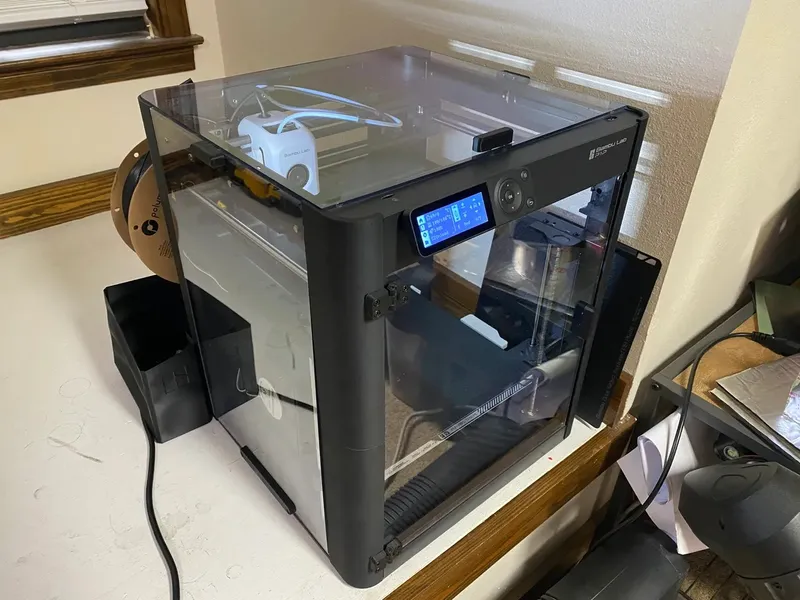
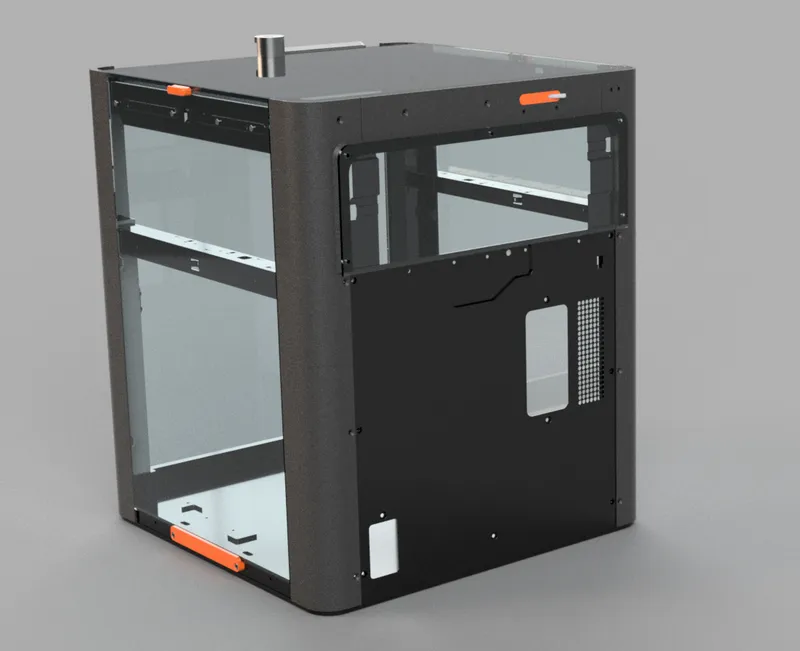
Vision is a high visibility enclosure for the Bambu Lab P1P that prints completely without supports, featuring magnetic sides (3 mm PC or Acrylic panels, optionally 4 mm with optional 4.5 or 6 mm lid) that quickly can be removed when printing PLA for example. It also allows for ease of maintenance.
The printed parts are installed with standard / full length M3 heated inserts (M3x5,7 mm), cap head hex screws and some flat head screws are required for the handles. Check out the Bill of Materials further down.
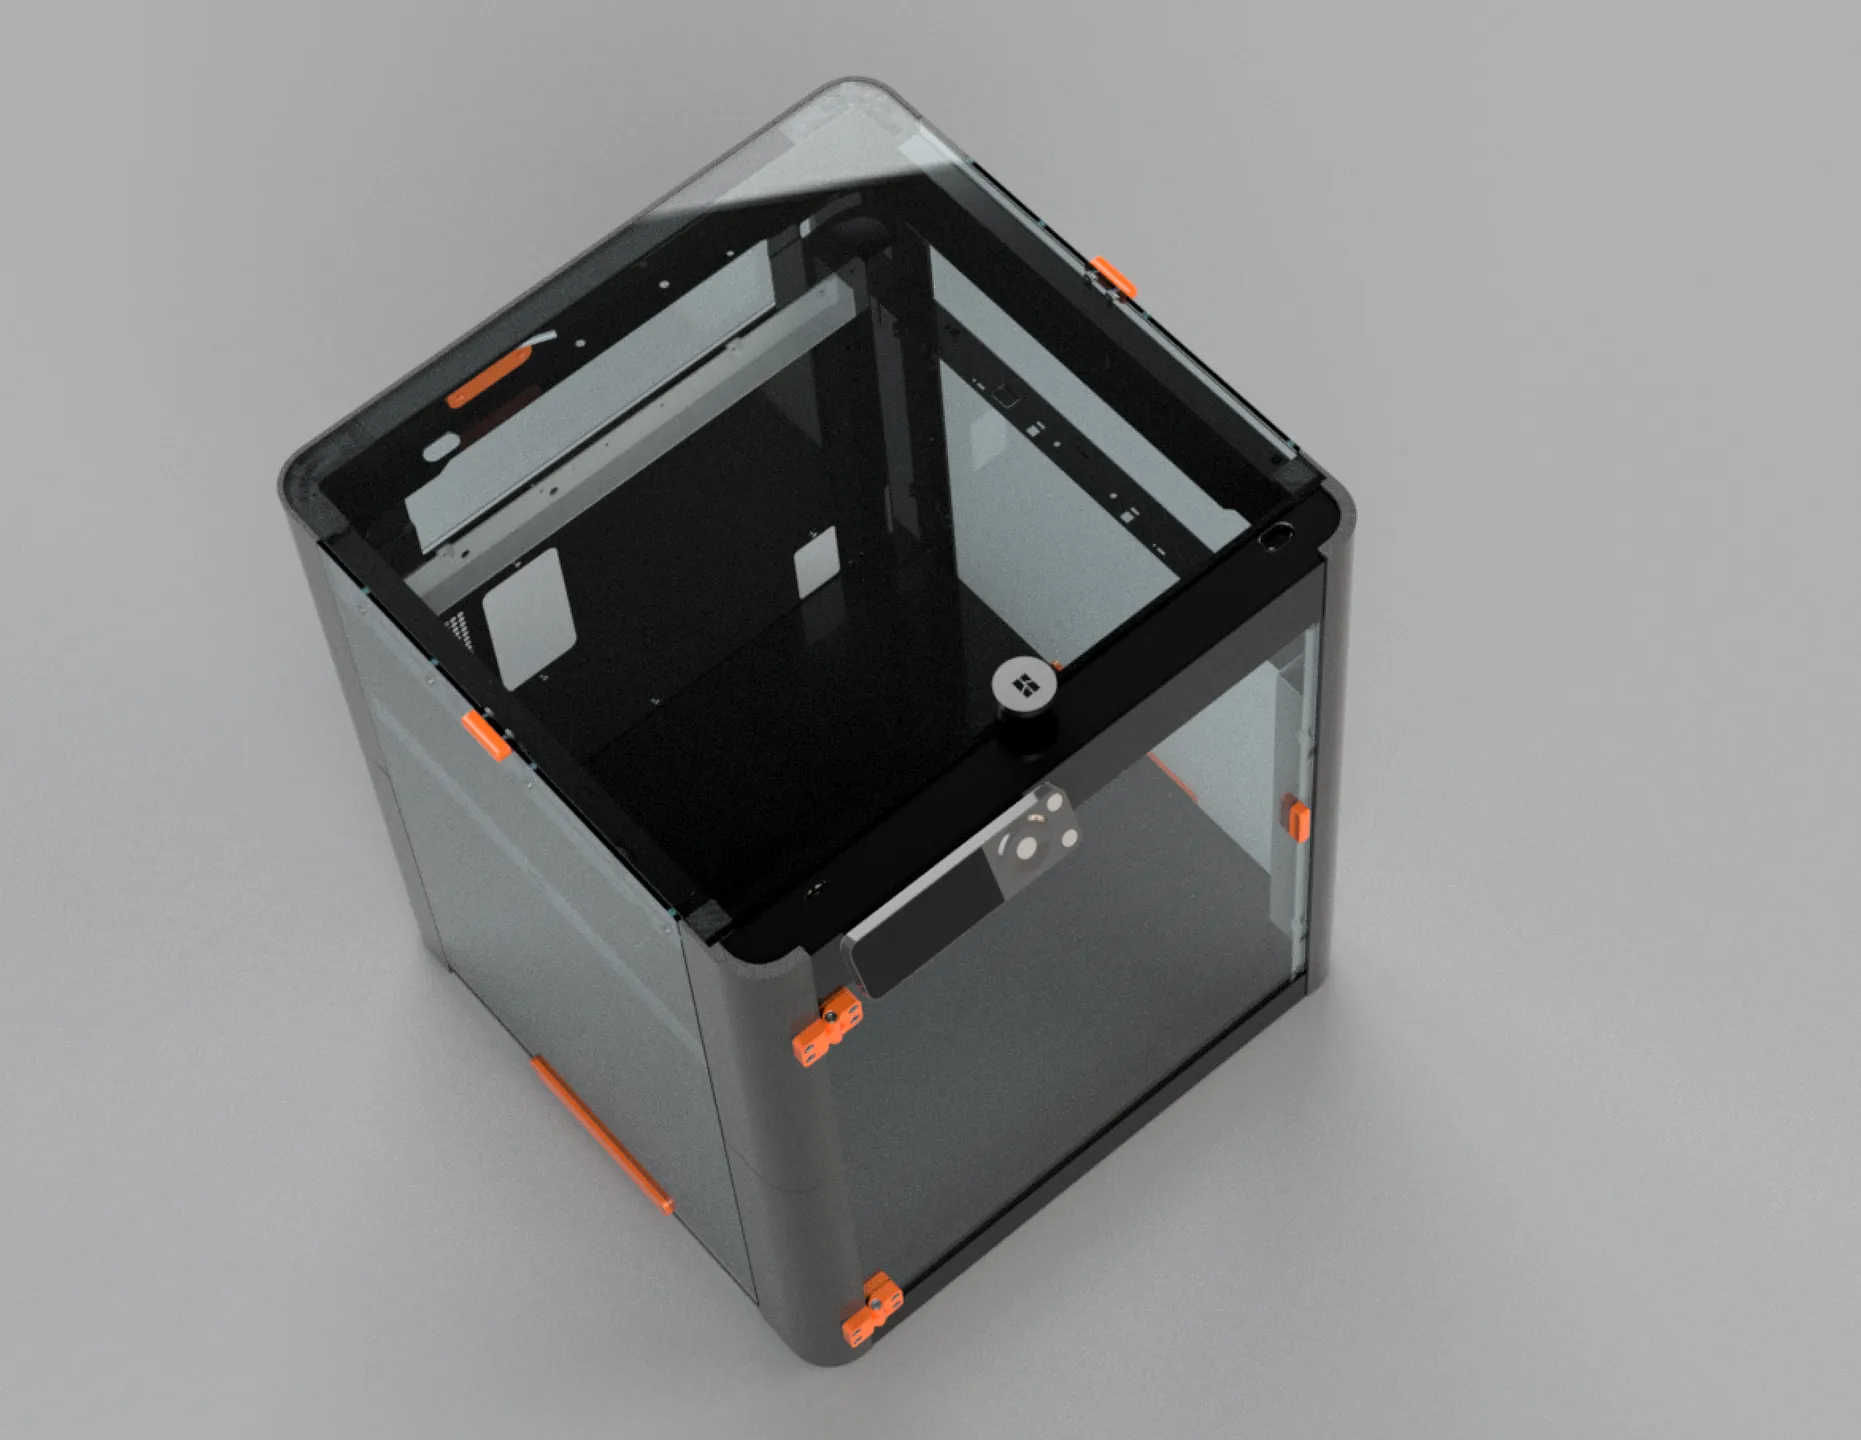
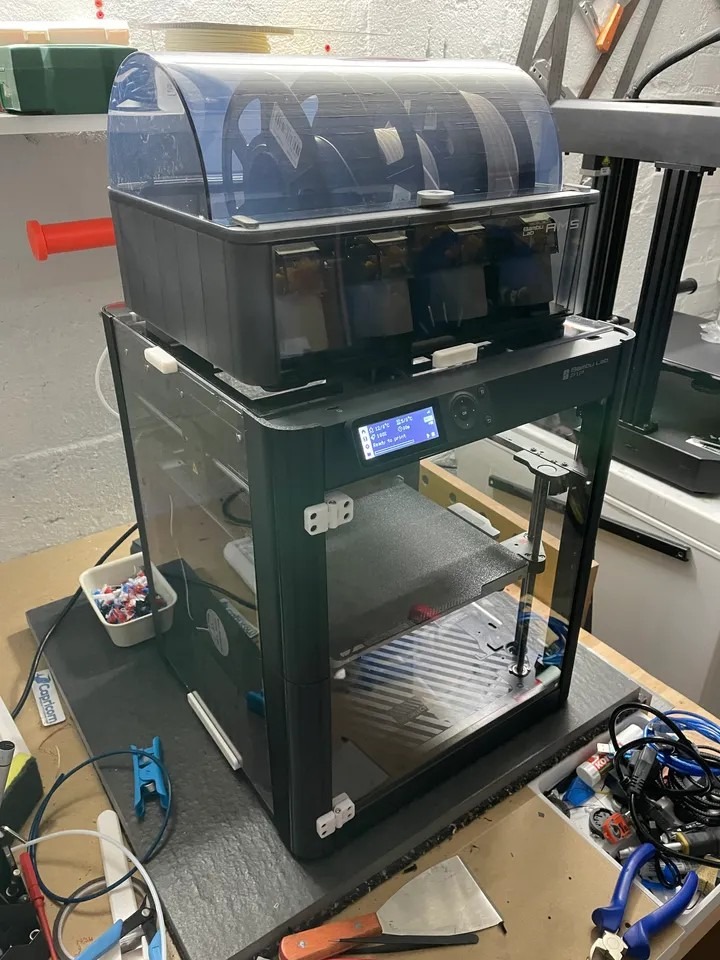
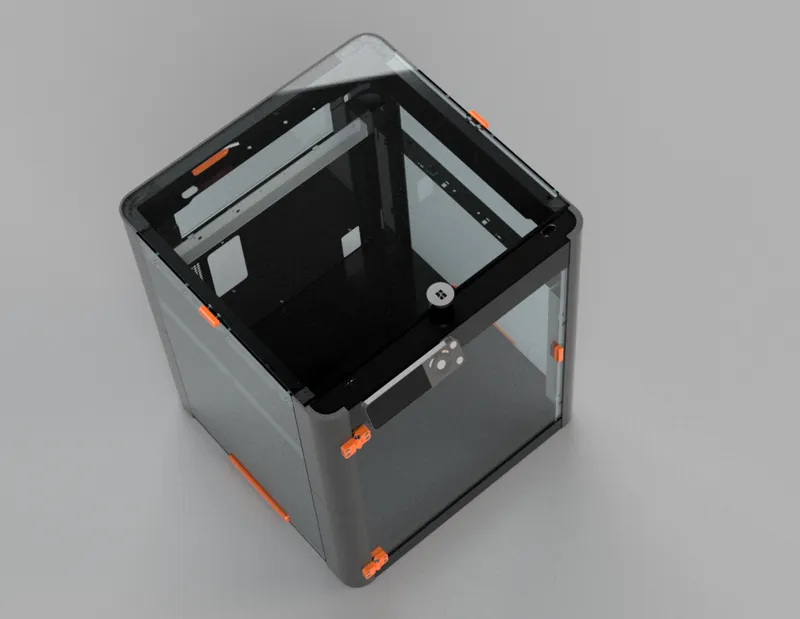
The enclosure is compatible with the original Bambu Lab X1C glass top cover, although a drawing (DXF) for cutting one in PC is available as well. If you plan on resting the AMS on top, I recommend using the X1C glass cover.
NOTE: Some people seem confused about this but the top glass rests on top of the corner pieces as well as the rear and middle support pieces and on the front P1P panel. The reason for this is to enable the use of the original X1C hardened glass cover which is normally too large/deep for the P1P and would otherwise not fit. It's not a bug, it's intentional. :)
It's also important to use flat head screws for the handles and the rear of the hinges, more on this in the guide at the bottom.
Buy the panels
If you're looking for the panels, you can buy them from NetLaser, LaserFoundry or Bluerolls (authorized resellers *). These are pre cut and fit the design perfectly:
* A portion of each sale is donated to help development of this and my other designs.
Buy the printed parts
The printed parts are now available from MatterHackers (authorized reseller *) at a very affordable price, free US shipping included:
* A portion of each sale is donated to help development of this and my other designs
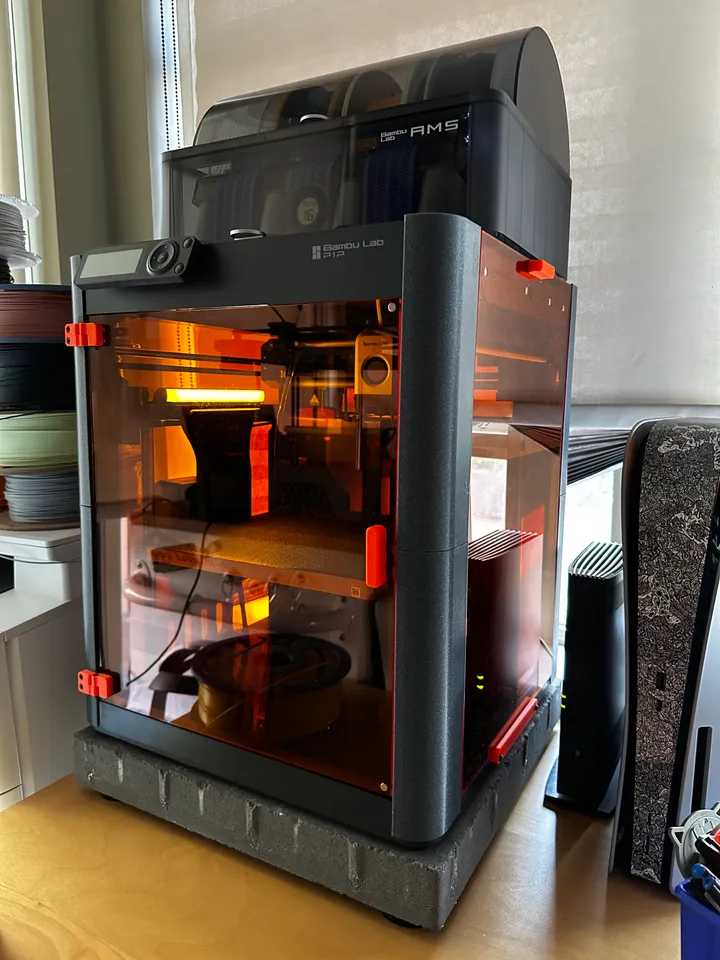
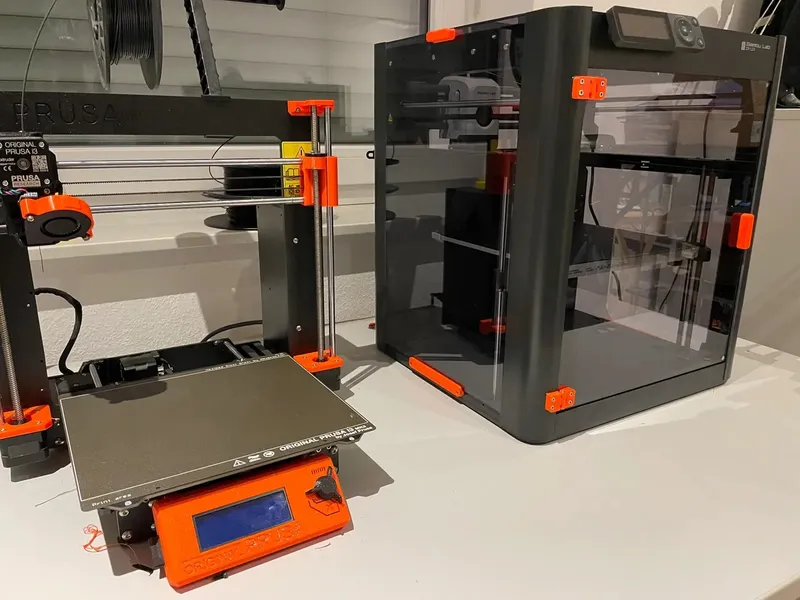
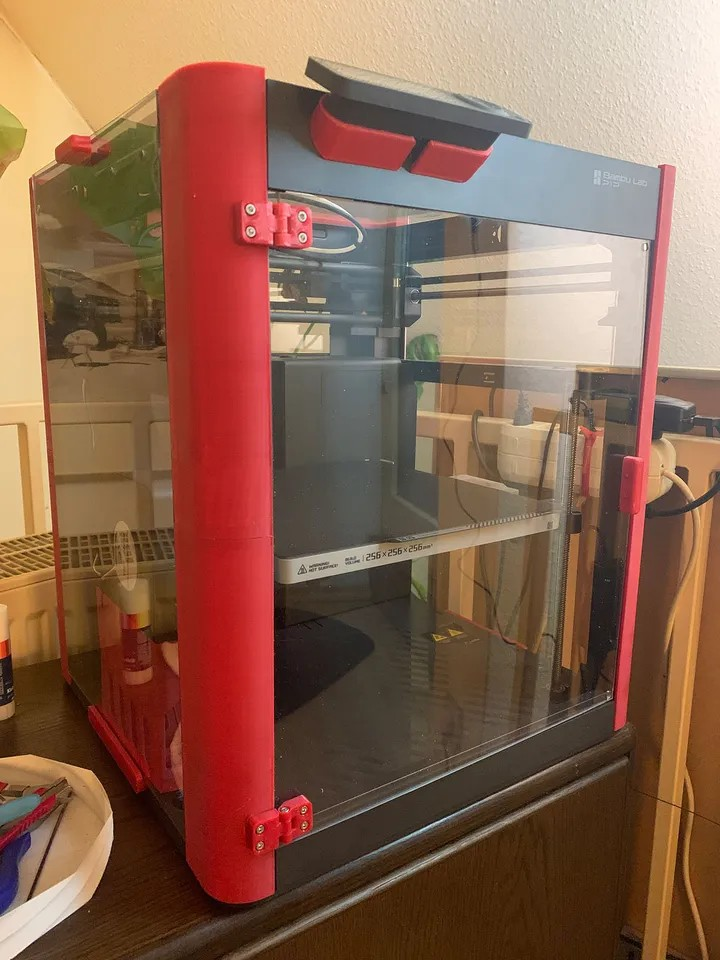
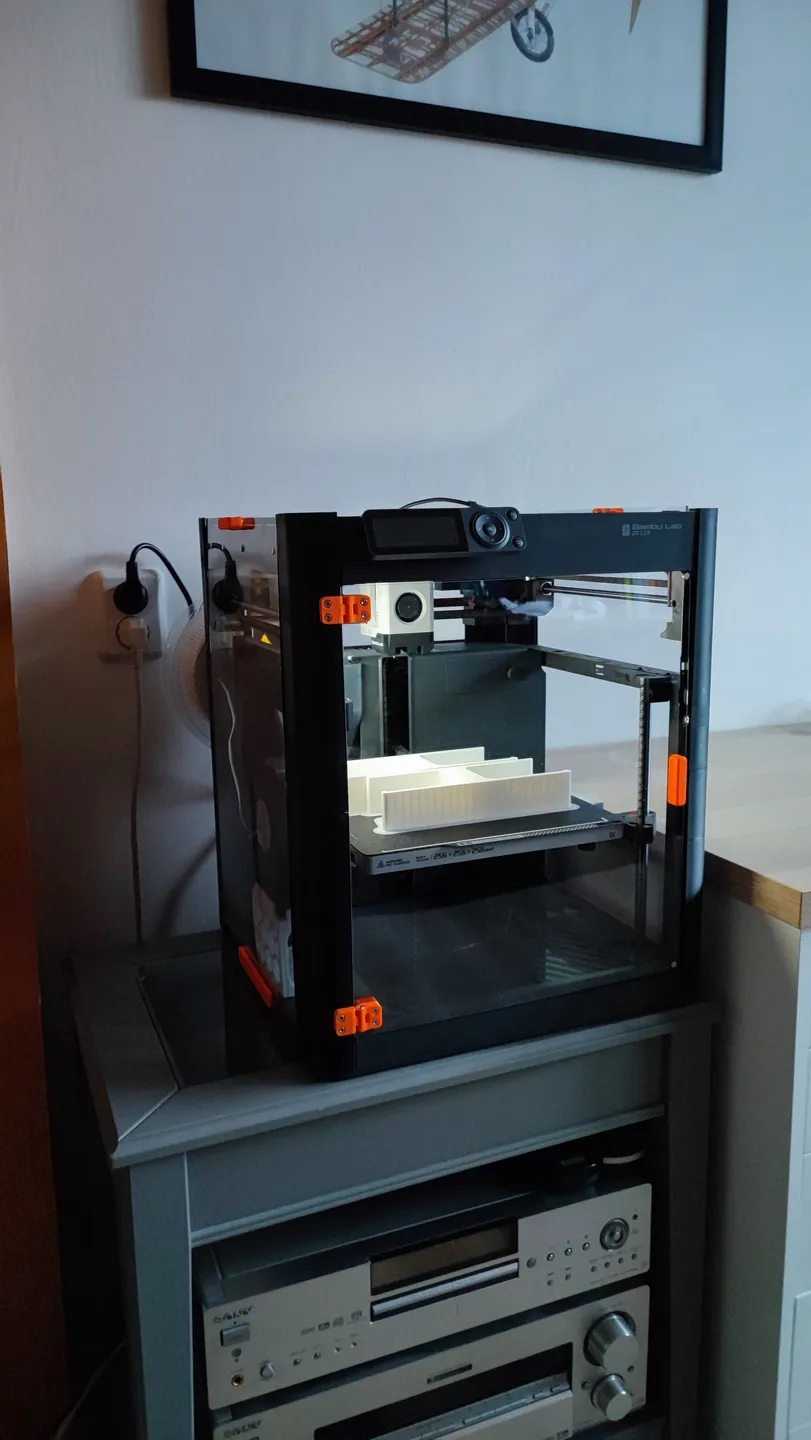
Selected Makes
Here are a few Makes posted so far. Thanks for sharing!
Make by phobus
Make by Chasers
Make by Ayntraxt
Make by joshmurrah
Make by Exciting7855

Make by GekkeGengis
Make by Chinaquads:
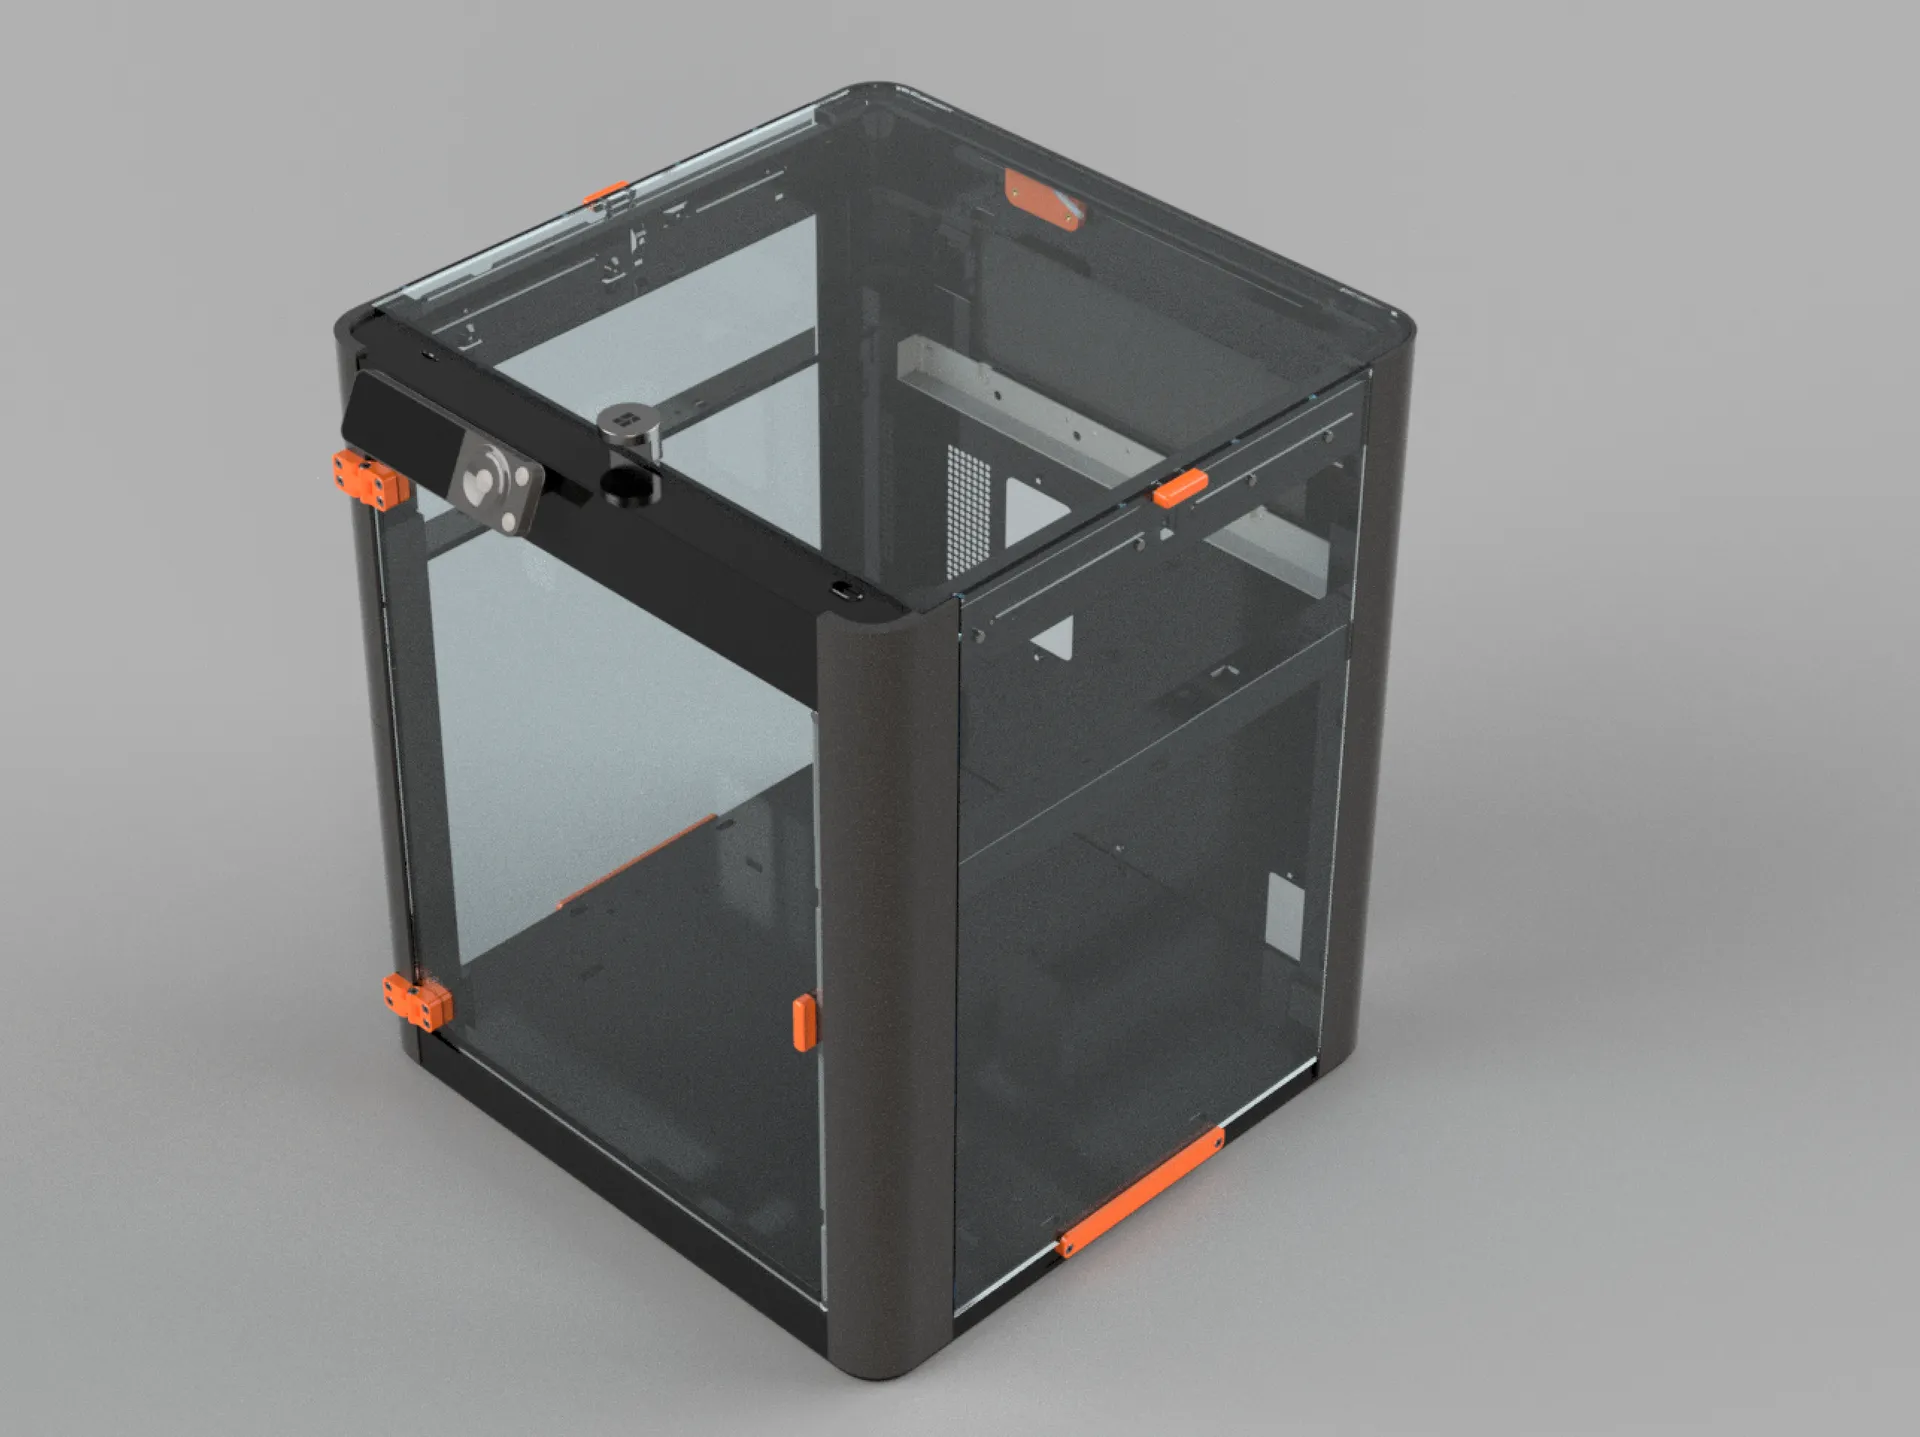
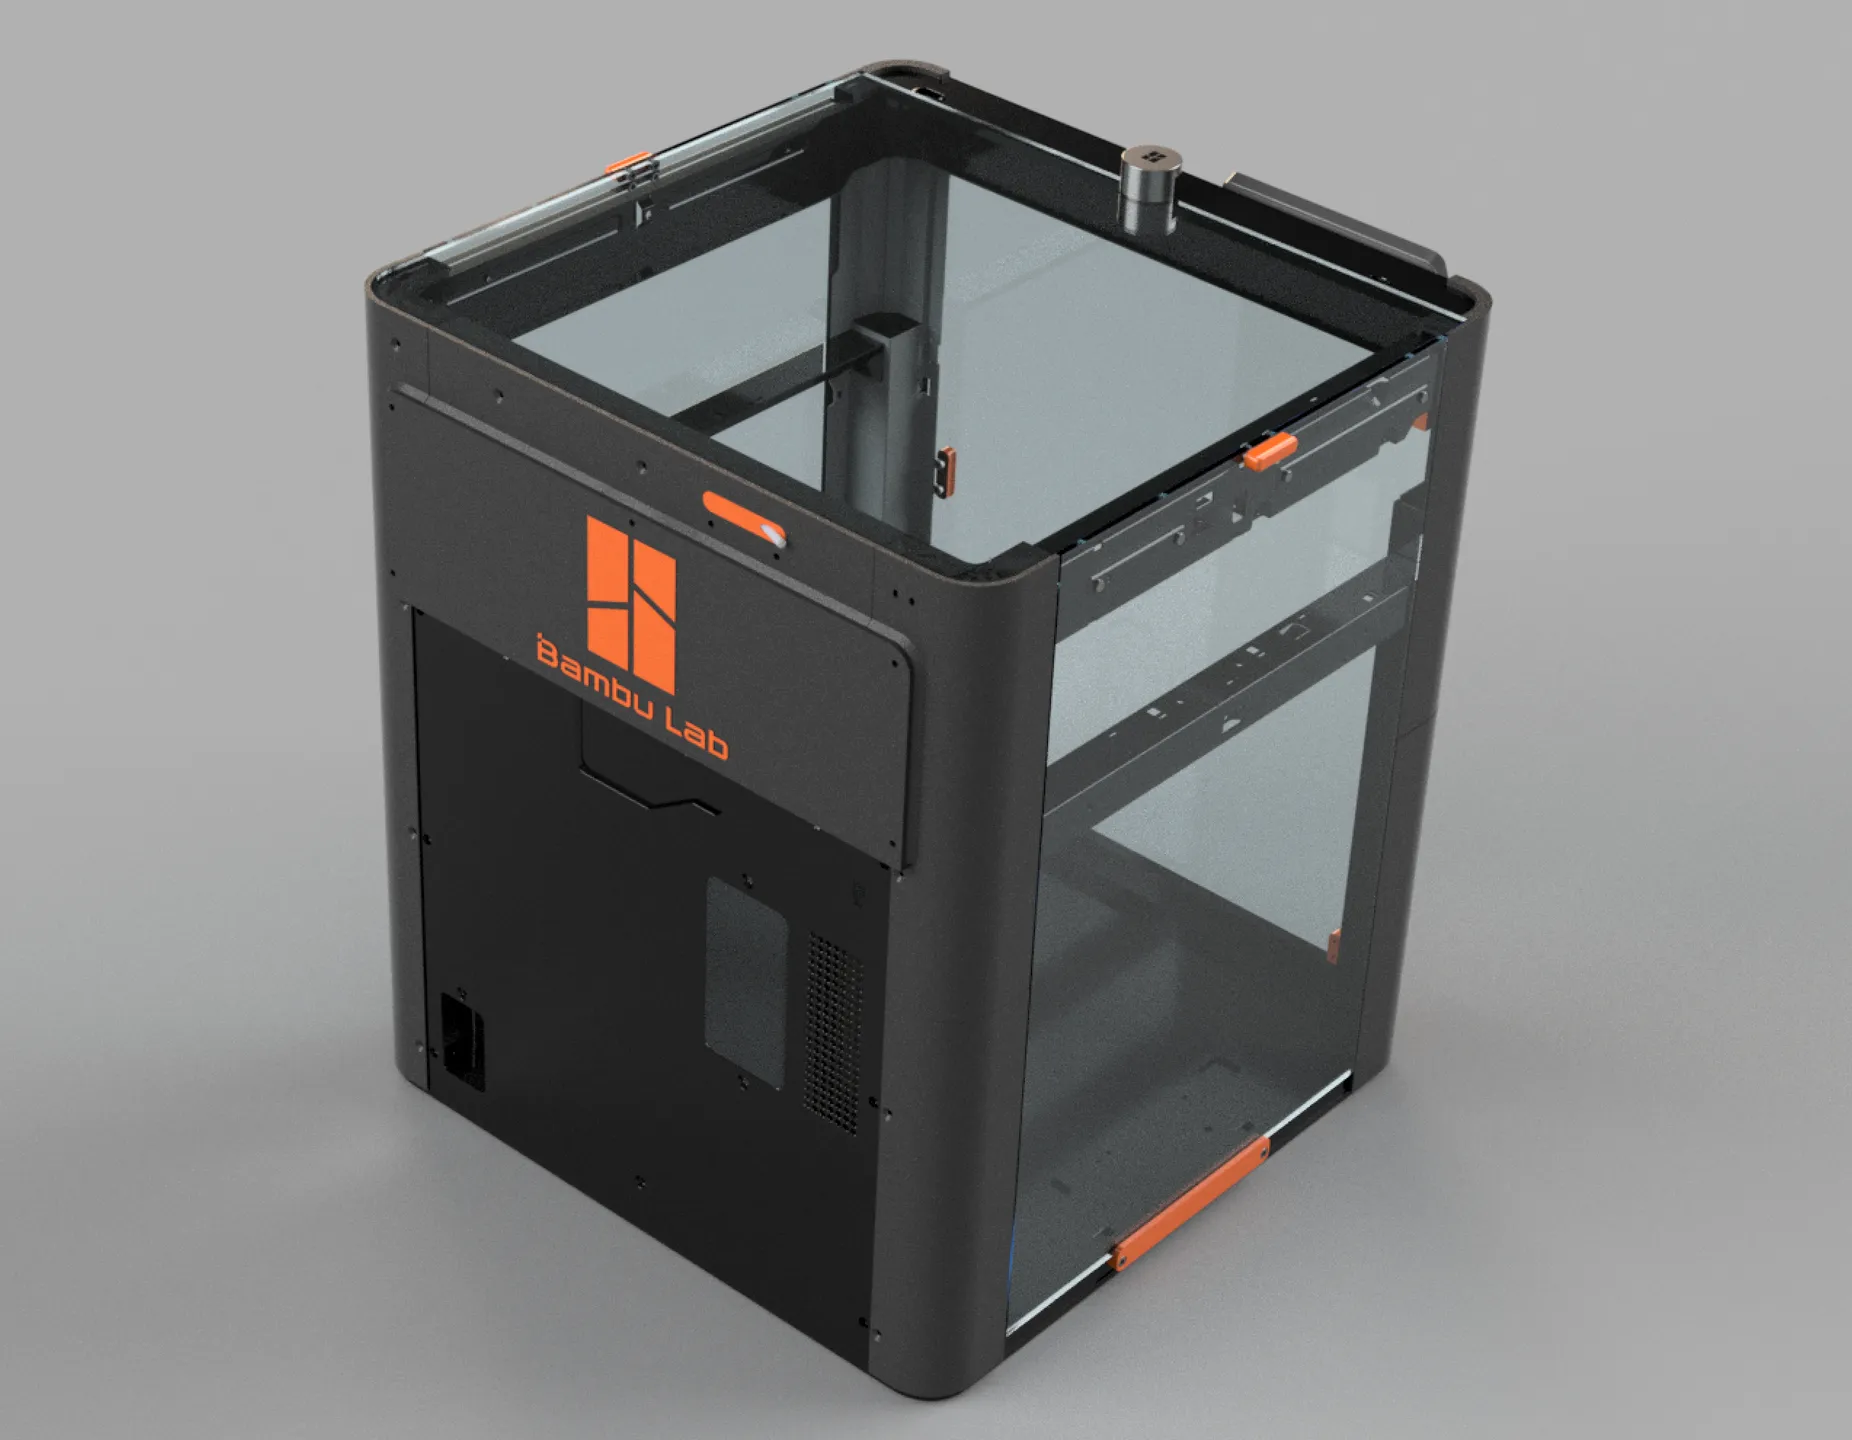
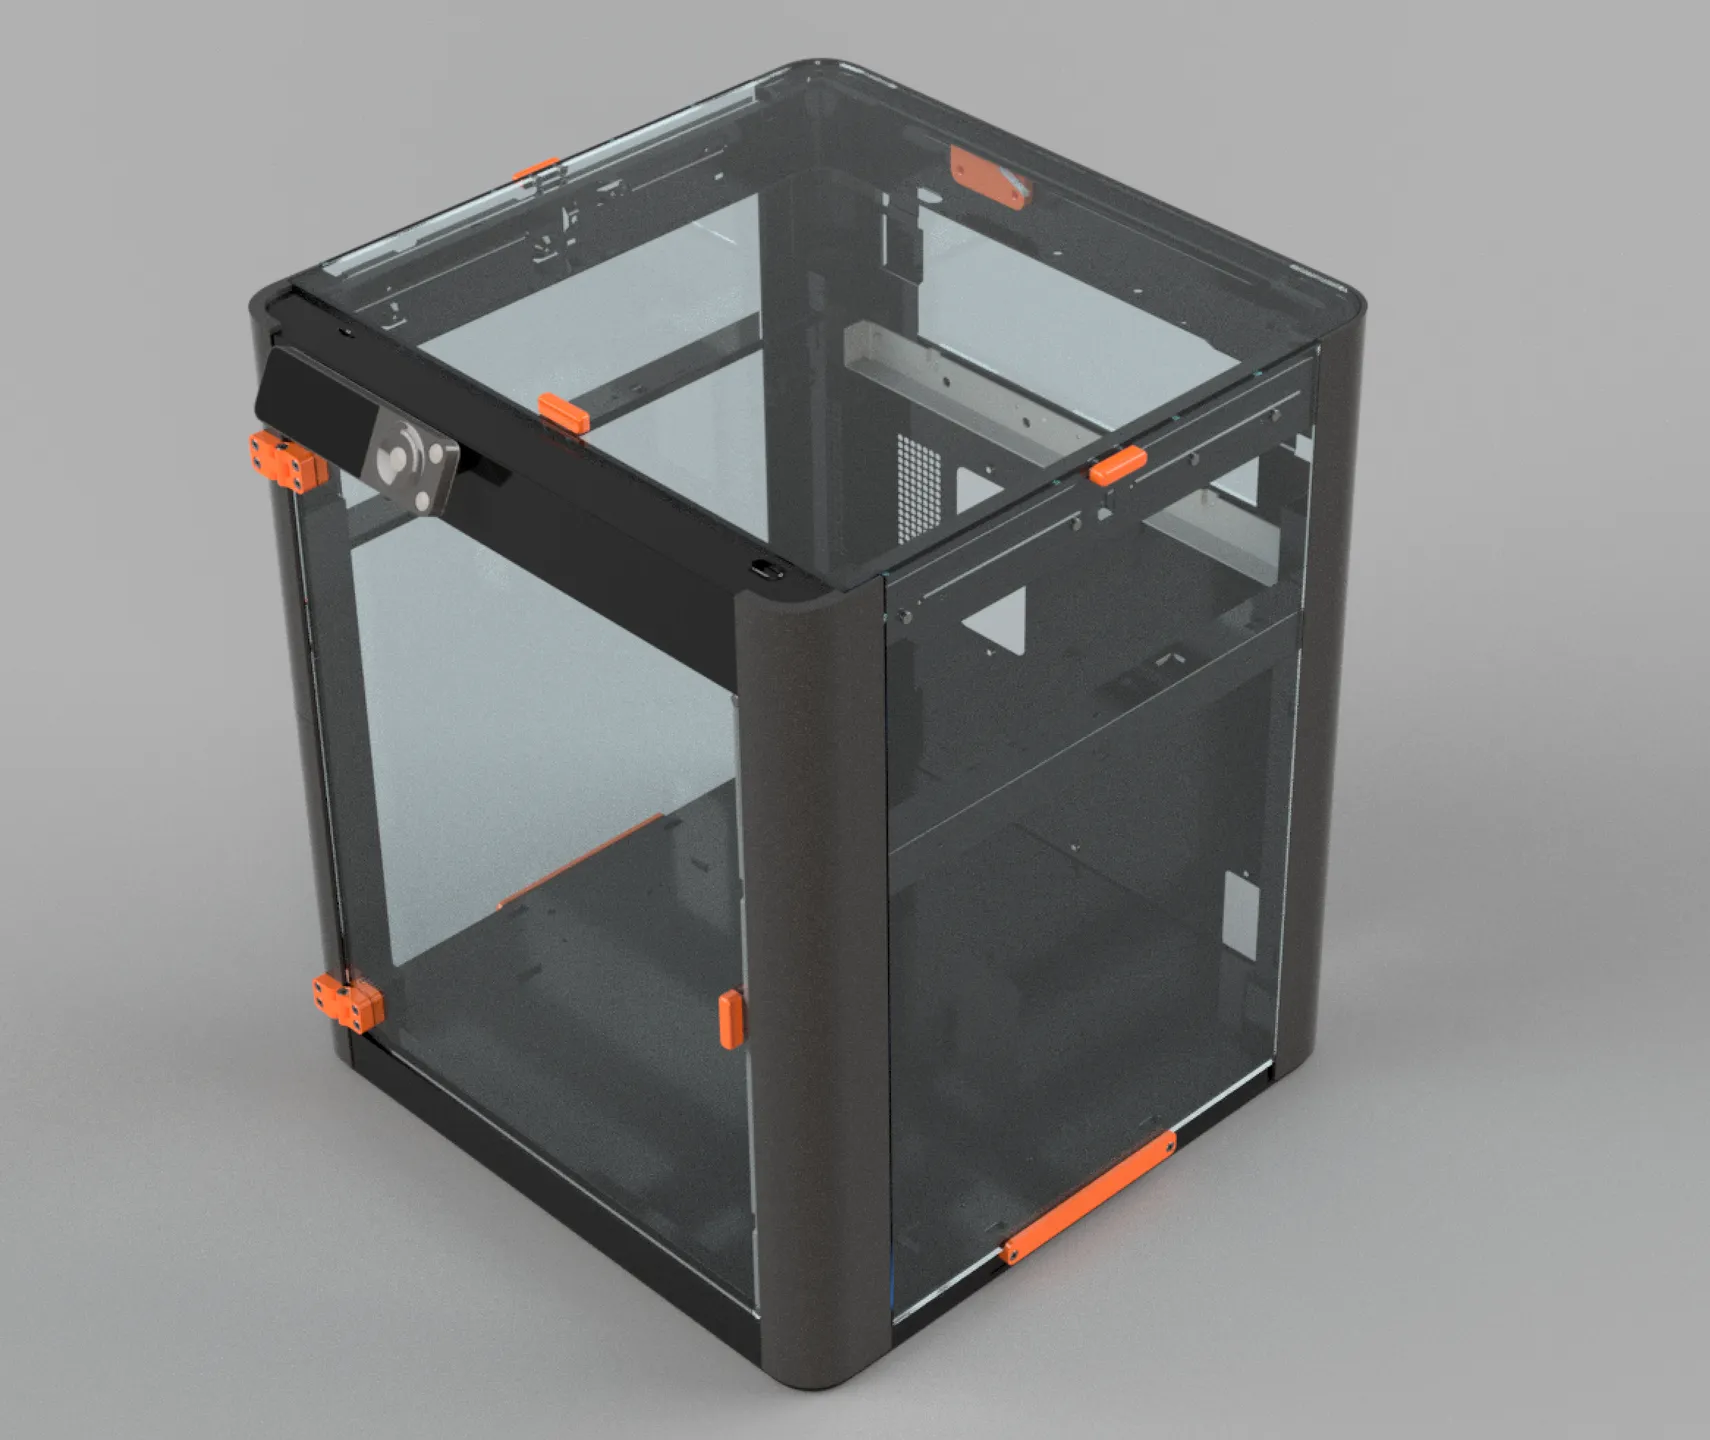
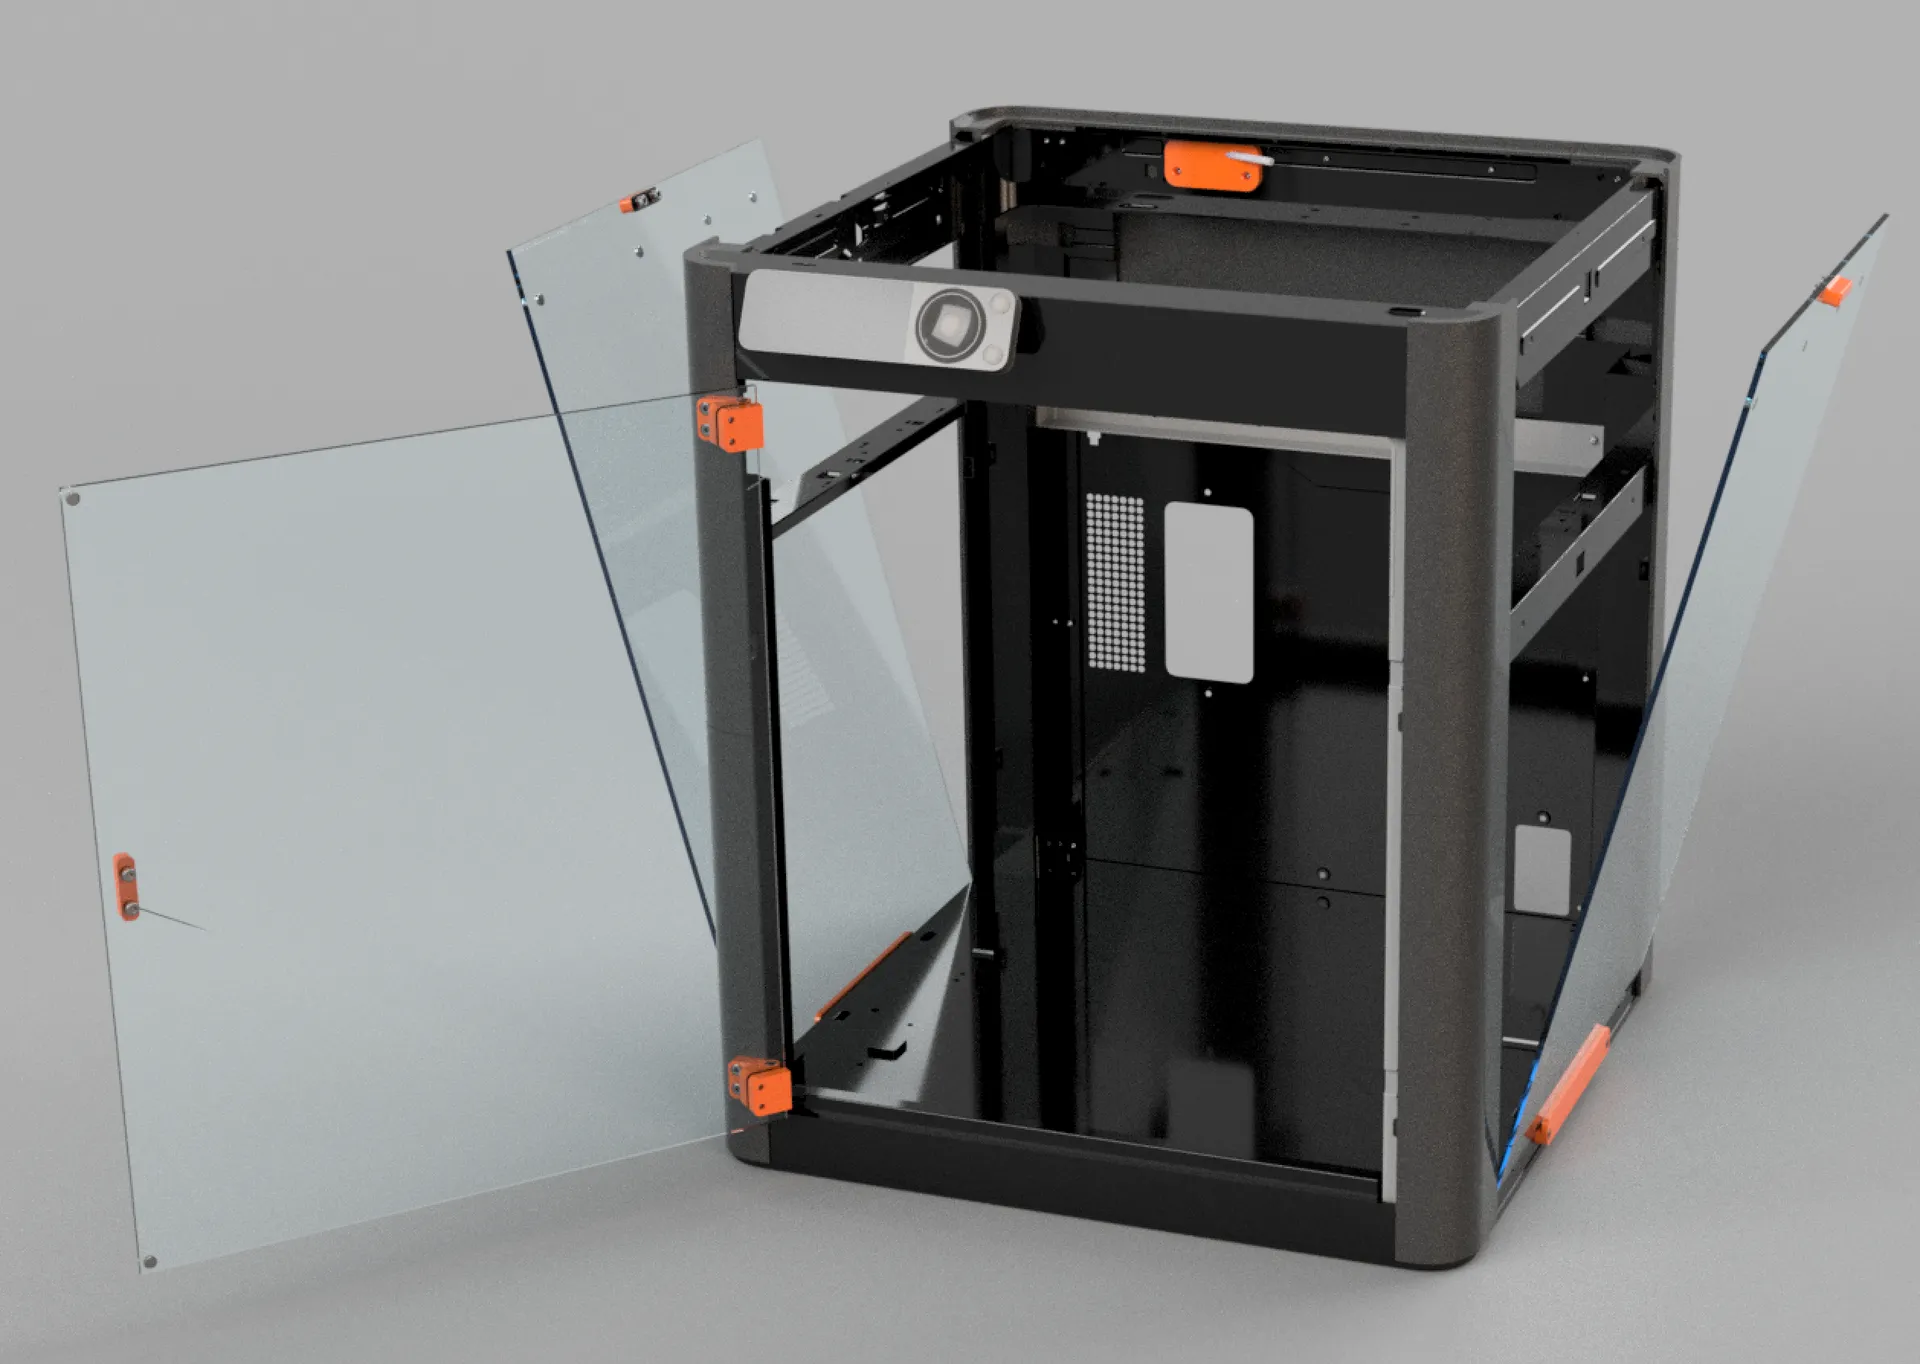
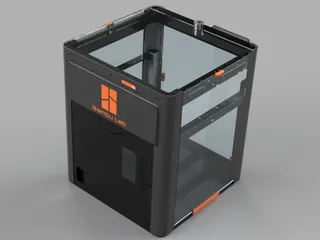
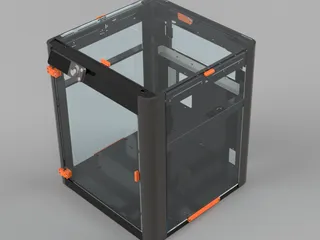
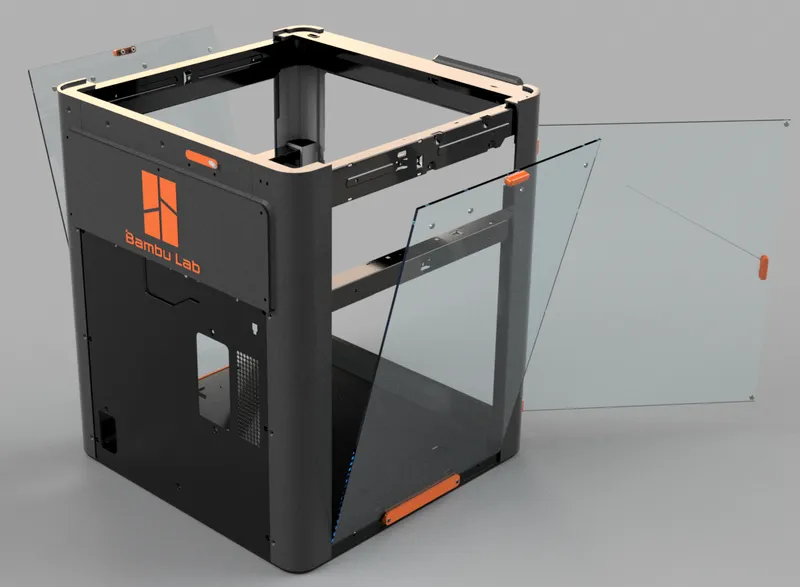
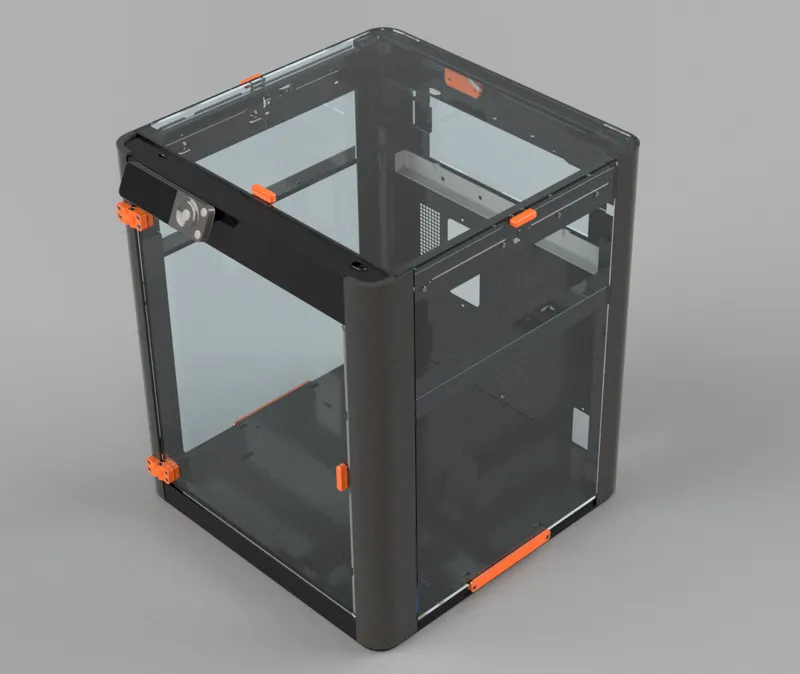
Renders

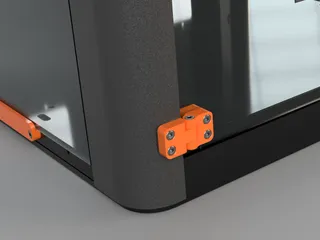
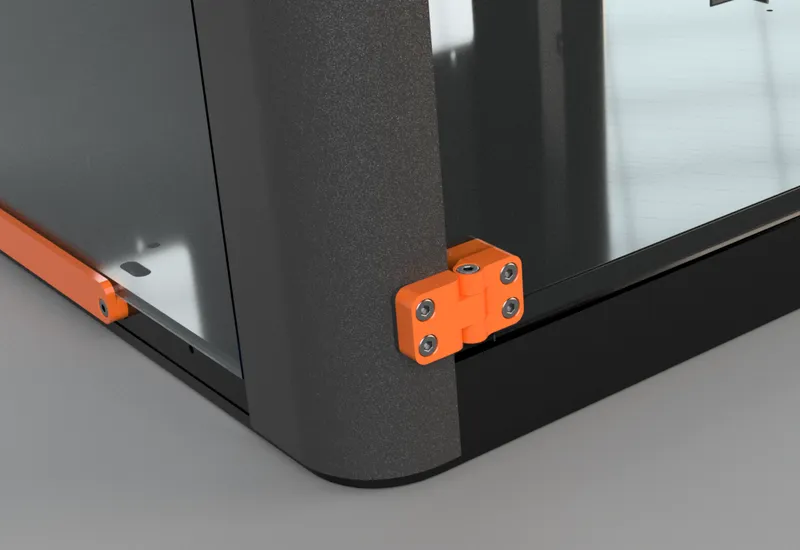
The hinges are easy to install, cap head M3 screws and heated inserts.
Sides are attached by magnets, easily attached and removed in seconds.
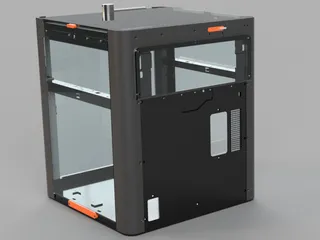
The rear cover can either be printed or a PC panel can be used (DXF drawing will be supplied)

You can either use the Bambu Lab X1 glass top cover or a PC panel.
Print Settings
I recommend using a minimum of 3 walls, top and bottom and infill of 20% or higher. Also, a wide enough brim is highly recommended to ensure bed adhesion, most parts are thin and tall. The tall files are best printed one at a time. For best bed adhesion I recommend Vision Miner Nano Polymer.
Notice: If you get a warning that the 3MF files are not coming from Bambu Lab just ignore this, they were exported from my design software.
Pictures / Video
There is no video yet but the enclosure is similar although more refined than one I have designed for my QIDI X-Max, here's a short video:

Update February 11
- Excellent feedback from joshmurrah who pointed out that if you place the AMS on top, the weight of the AMS unit will bend down the top PC panel. New file to print: top-glass-support-print-2pcs-1.5.3mf, just use some double sided tape to attach it to the case. Thanks josh!
Update January 27
First public beta released, to avoid confusion from the private testing phase, the first public version naming is v1.5.
Please consider it as beta/untested and be aware there can be minor bugs and also fixes implemented within the next few days, although I think most of the the issues should be sorted.
Thanks to all the testers who have reported back to me the past few days, it's been extremely helpful, special shout out to, in no particular order suit, joshmurrah, Chris Epp, Florian Skowronek, tallaustin and Thomfeijts. I'm sure I missed someone (sorry).
If you find any issues please leave me a message and I'll post a fix as soon as possible.
BOM - Bill of Materials
I buy most of my 3D printer parts from quality stores on AliExpress. Shipping takes a while from China but quality is excellent and the prices are good. I might add more stores to the BOM later but it's a lot of work keeping it updated and current so I will try to keep it short.
Most of the parts here you can find on Amazon and eBay too.
If the links do not work disable your adblocker or use a VPN.
Filament
All the printed parts are less than 700 grams and everything prints without supports. I suggest you use PETG, ABS or ASA if possible. I'm printing my enclosure in Prusament Galaxy Black ASA and Prusament Orange ASA using another printer.
Bolts and Screws
You need both hex bolts / socket head and flat head M3 screws. For the handles the flat heads must be used for the lid to sit nicely on top.
Left side:
- 2 x 12 mm M3 hex bolts / socket head - for the supports under the glass.
- 5 x 6 mm M3 hex bolts / socket head - for the front left corner.
- 1 x 6 mm M3 hex bolts / socket head - for the rear left corner.
- 2 x 8 mm M3 flat head - for the handle.
Right side:
- 2 x 12 mm M3 hex bolts / socket head - for the supports under the glass.
- 5 x 6 mm M3 hex bolts / socket head - for the front right corner.
- 1 x 6 mm M3 hex bolts / socket head - for the rear right corner.
- 2 x 8 mm M3 flat head - for the handle.
Rear:
- 8 x 6 mm M3 hex bolts / socket head - for the rear top panel and PTFE guide.
Front:
- 4 x 8 mm M3 hex bolts / socket head - for the hinges that attach to the corner panels.
- 2 x 16 mm M3 hex bolts / socket head - for the actual hinges.
- 4 x 6 mm M3 flat head - for screwing the front glass to the hinges.
- 2 x 8 mm M3 flat head - for the handle.
Top:
- 2 x 8 mm M3 flat head - for the handle.
To summarize, you need these screws:
- 4 x 12 mm M3 hex bolts / socket head
- 20 x 6 mm M3 hex bolts / socket head
- 4 x 8 mm M3 hex bolts / socket head
- 2 x 16 mm M3 hex bolts / socket head
- 12 x 8 mm M3 flat head
For the socket heads, it's best to grab the kit below:
1100 pcs M3 Hex Socket Head Cap Kit
The flat head screws for the handles and hinges can be bought from this store:
Heated Inserts
You will need quite a few M3 heated inserts, standard size (M3x5,7 mm). These usually come in a pack of 50 or 100 pcs.
I use these personally:
Threaded inserts - M3 standard 100 pcs
A soldering iron is needed to insert the heated inserts into the printed part.
Magnets
10 pcs of 6 x 3 mm Neodymium Magnets are required. I bought mine locally but here are some on AliExpress that should work well:
Polycarbonate Panels
I recommend using 3 mm PC (polycarbonate) panels rather than acrylic as the material is stronger, more scratch resistant but more importantly both heat resistant and flame retardant.
If using acrylic panels, be careful when inserting the magnets as these panels are more likely to crack.
If you're able to cut the panels yourself you can save some money, otherwise there are some online services where you can upload the drawings and get a quote. Here's a few:
The DXF files are also included in the zip file above. Optionally you can use 4 mm panels, you just need to print a different hinge and support (included in the zip).
Optional
I highly recommend these Nano Coated Helical Extruder Gears from FYSETC, I use them for all my Bambu printers, they're inexpensive and offer a number of improvements of the stock gears:
Although not required these double sided textured PEI sheets are great. The Hex Tools are superb for any 3D printer, I've had mine for years.
- ENERGETIC Double Side Textured/Smooth
- Double Sided Textured PEI Build Plate
- Hex Tools (1.5 mm - 3.0 mm)
Assembly Instructions
After you have printed all the parts, insert heated inserts to these parts in the areas specified. Use a soldering iron to carefully press in the heated inserts.
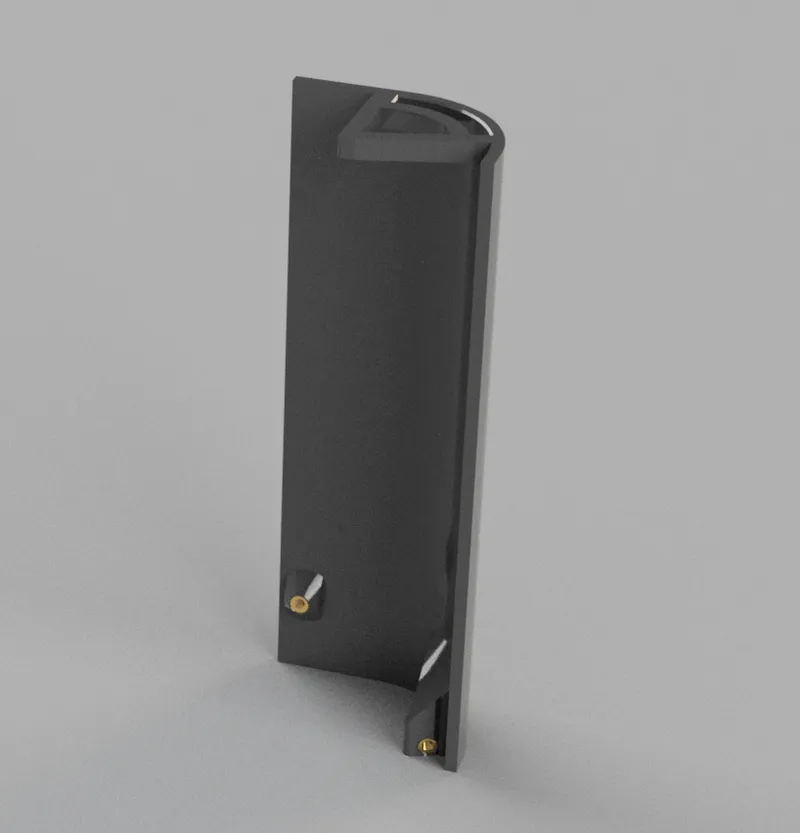
Front Left Bottom
Front Left Top
Front Right Bottom
Front Right Top
Rear Left Top
Rear Right Top
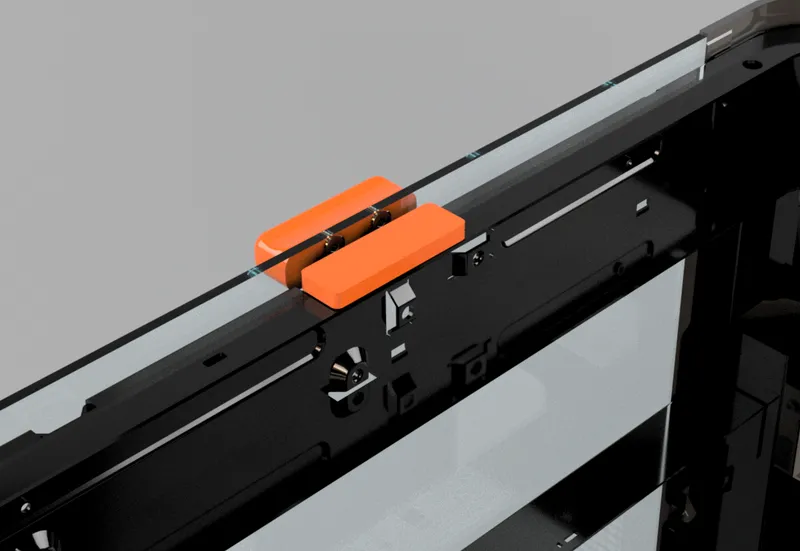
Rear Top

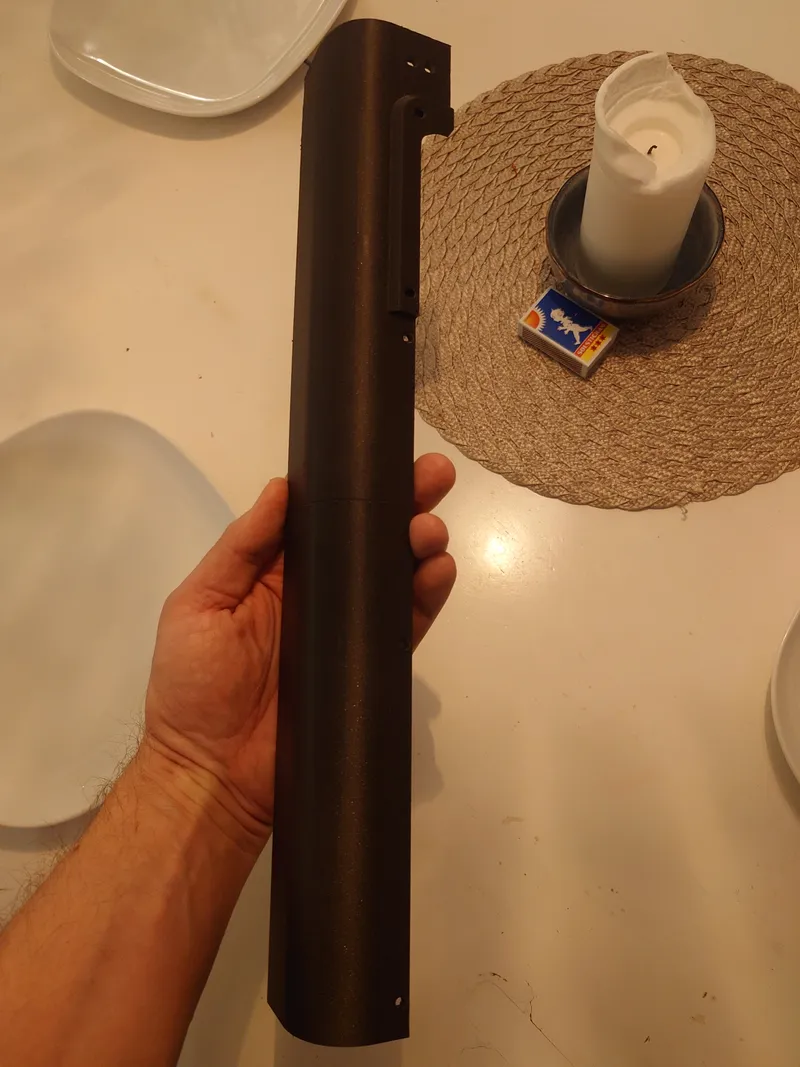
PTFE Guide
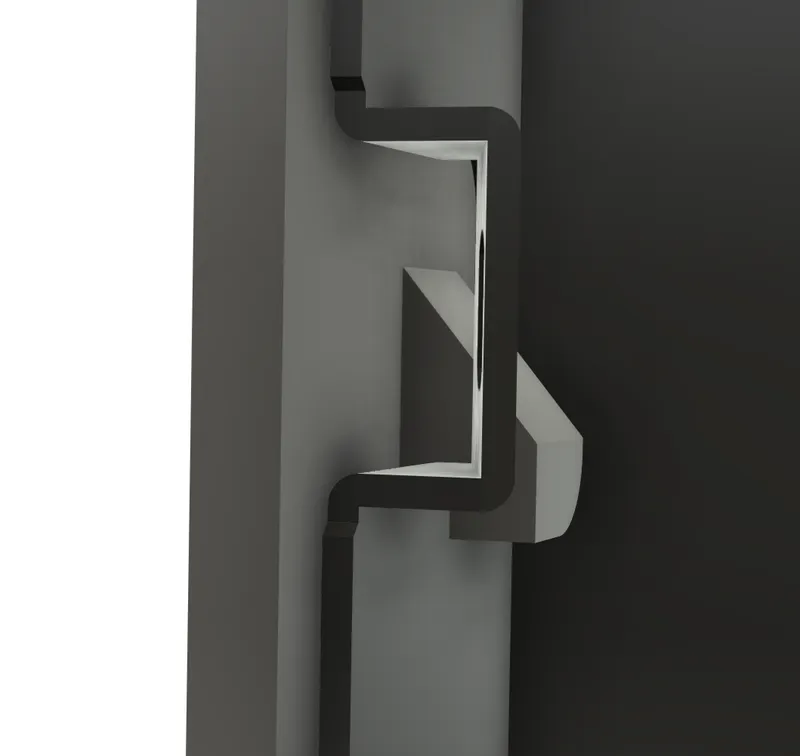
Next, click the corner pieces together. In this picture I had not yet installed the heated inserts but ignore that for now.
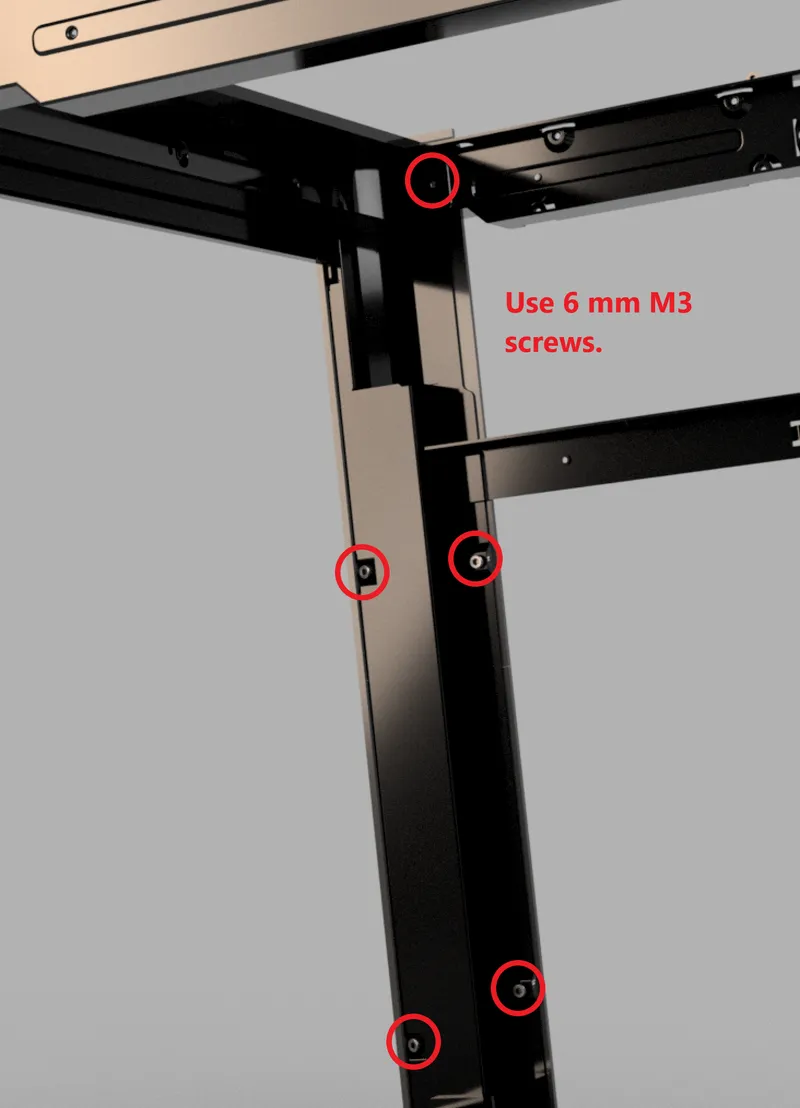
Once all four corner pieces are assembled, attach them to each corner of the printer using 6 mm M3 screws.
Notice! The top mouting hole for each corner is already threaded and does not use a heated insert, simply screw in a 6 mm M3 screw there (use flat heat or cap head), do not overtighten, it's mostly to keep the panel in place.
Only front left corner is shown here but it's the same principle on the other side.
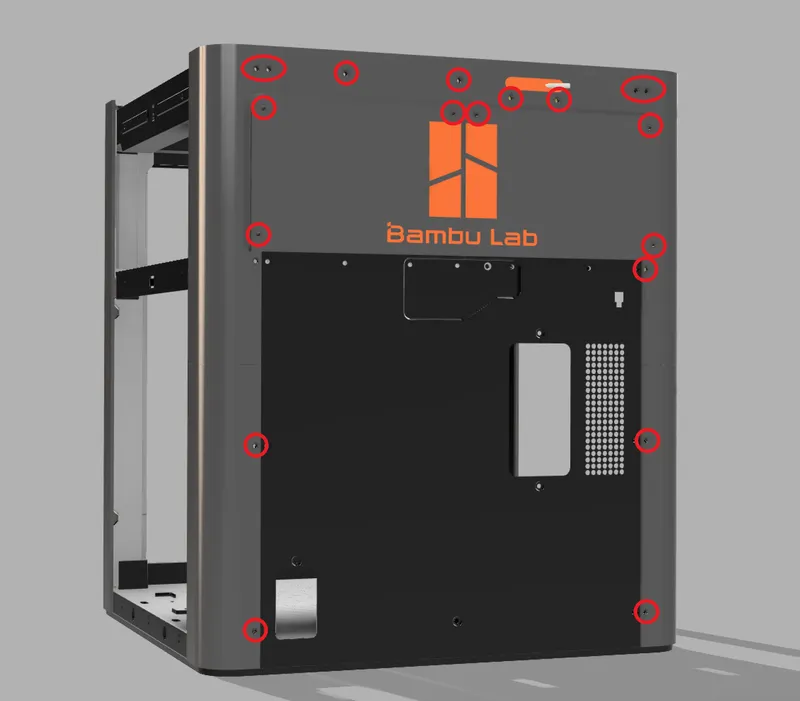
For the rear panels, they slide in and click down, no screws here (there is a panel in the way). The top is secured with an M3 screw just like for the front. The rear panels are also screwed to the rear of the printer, you'll get to that step soon.

Rear assembly
Here you repurpose some installed screws and use some new ones:
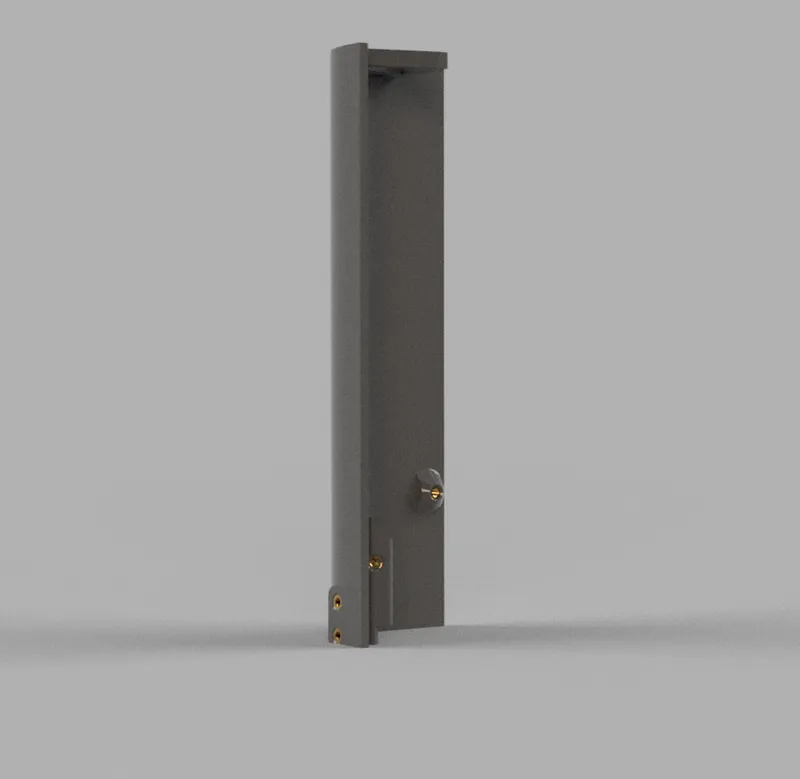
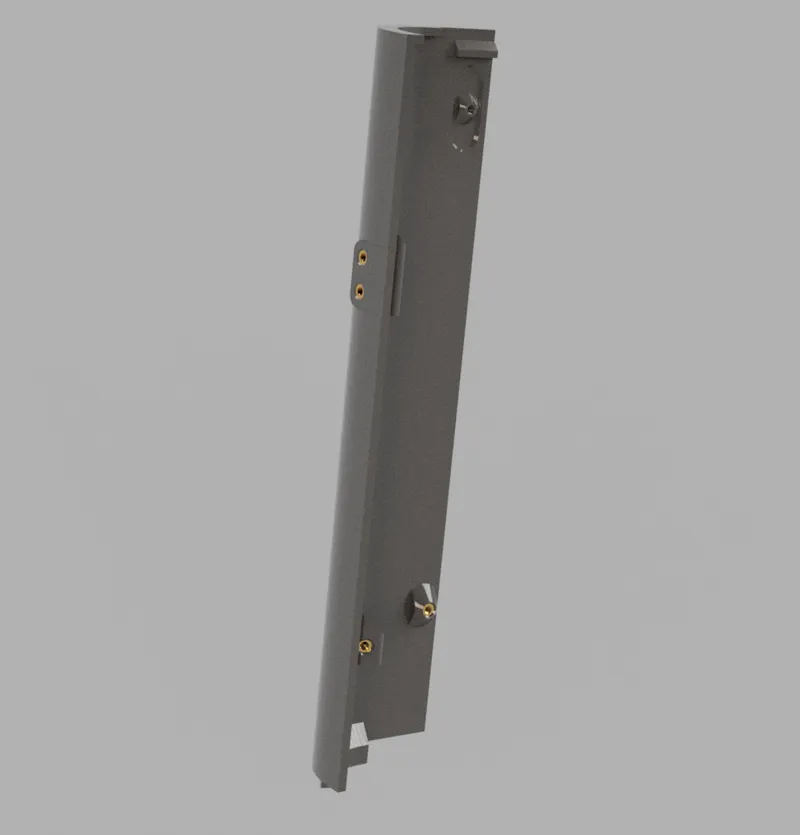
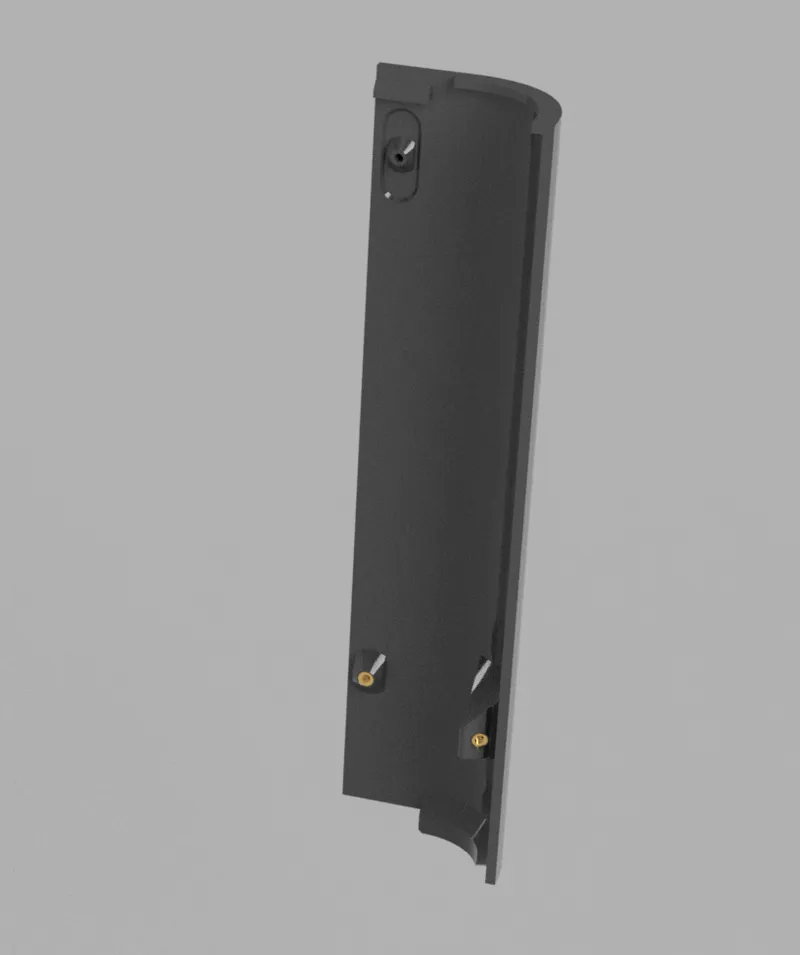
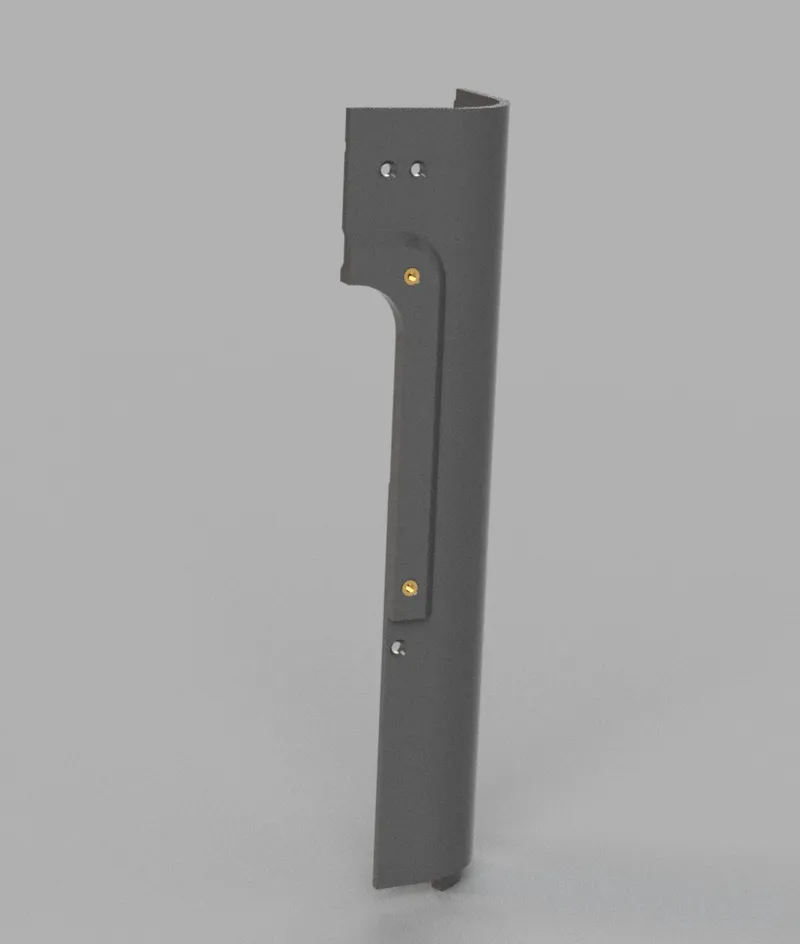
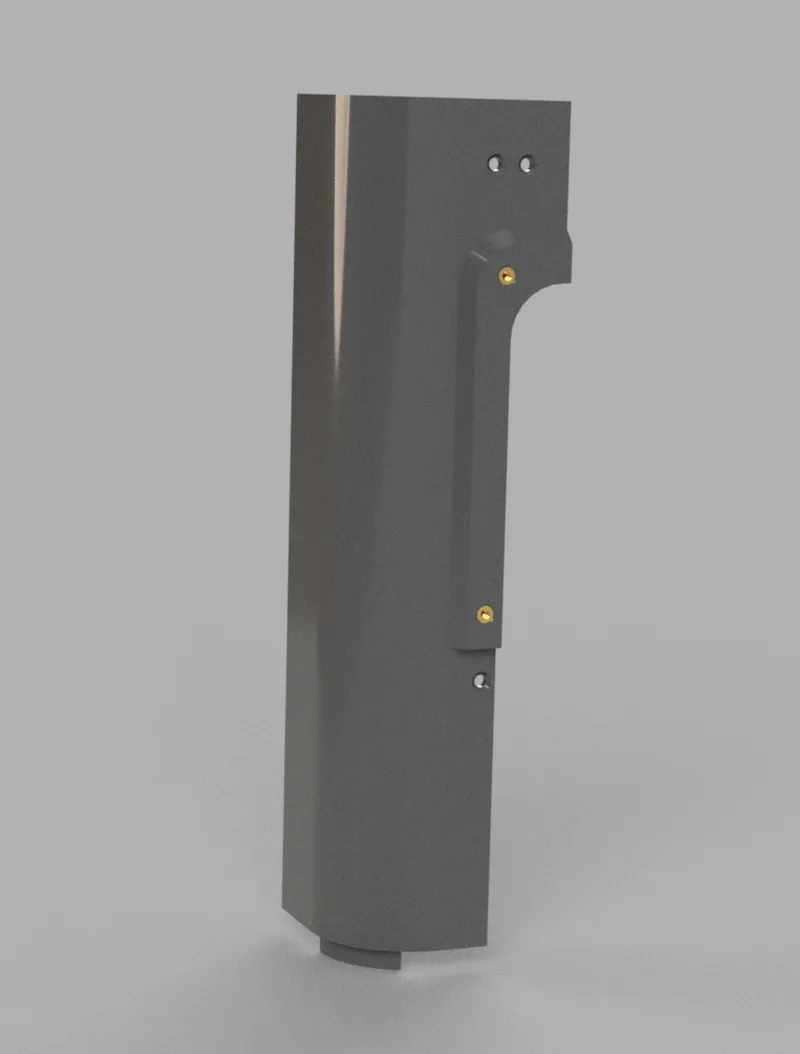
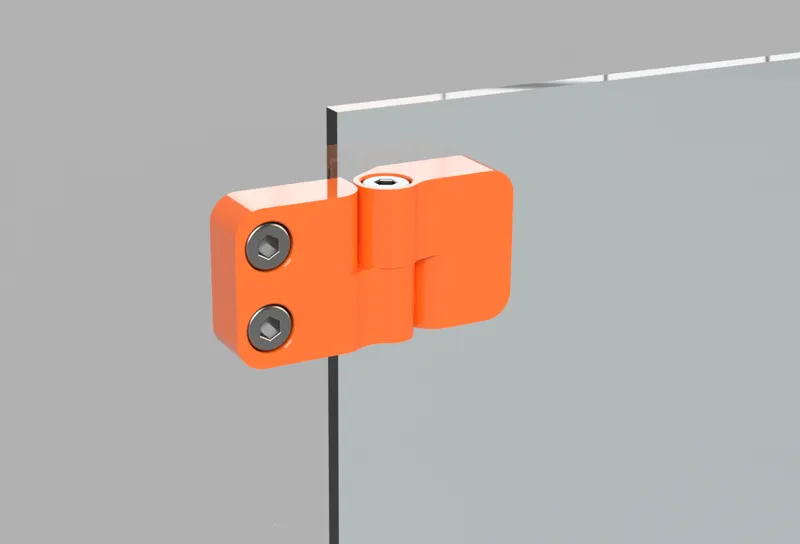
Hinges
The hinges are screwed to the front left panel with 8 mm cap head M3 screws:
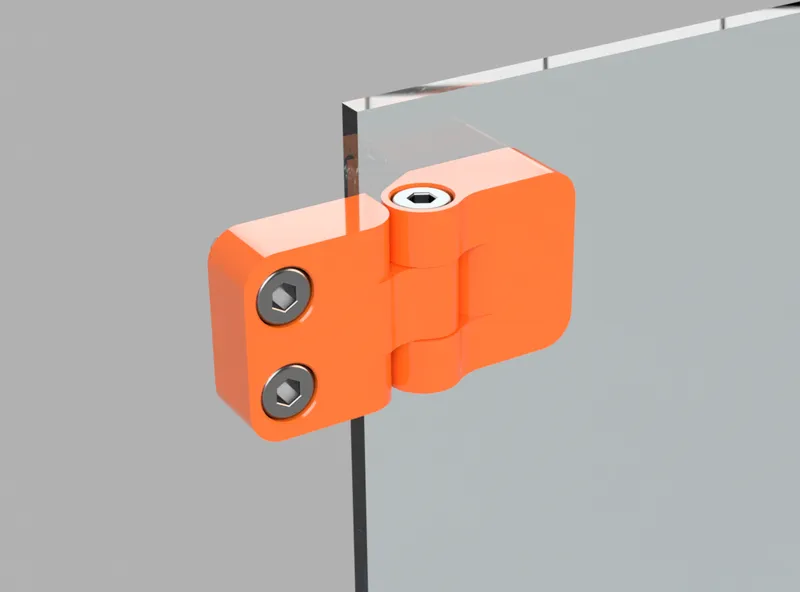
The rear of the right hinge has two heated M3 inserts installed:
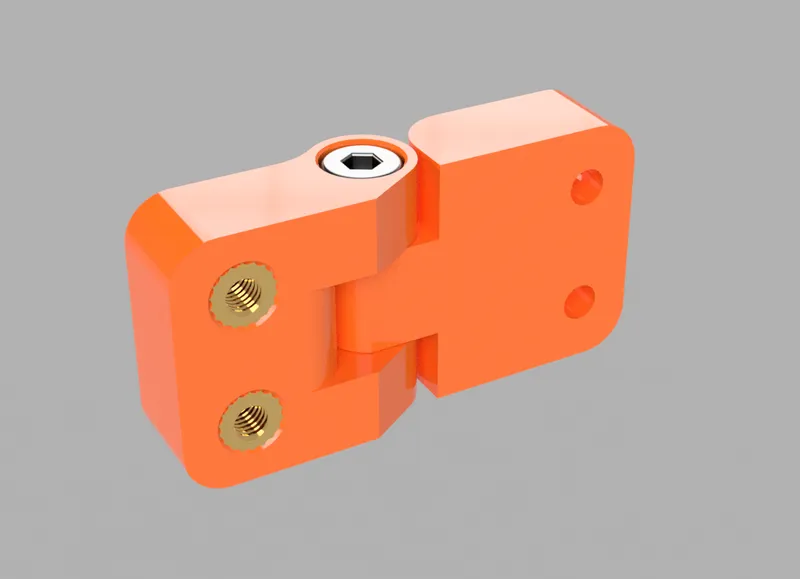
The actual hinge part is made of an M3 cap head screw as well, 16 mm long. You could use a smooth pin if you like but I find these work well.
6 mm flat head M3 screws hold the front PC/acrylic panel.
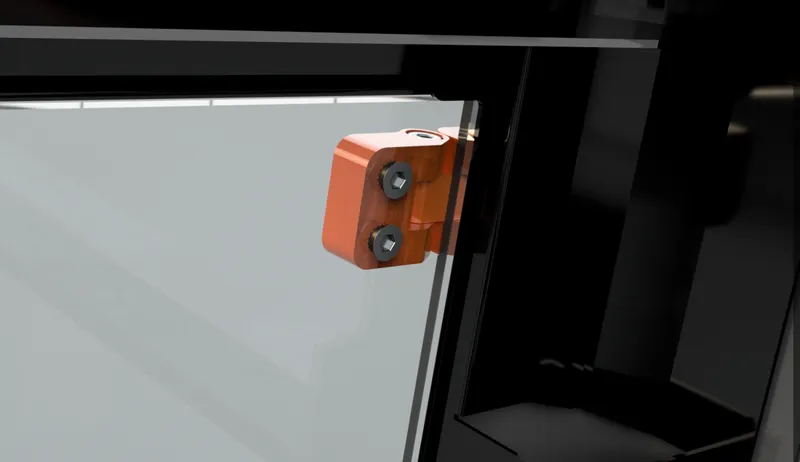
Optionally, you can go for the half hinges so you can lift off the front door easily:
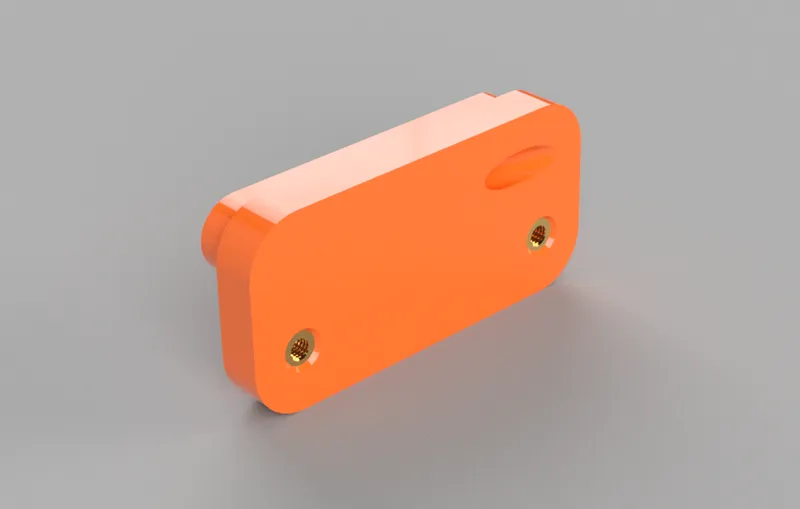
Support under the glass
The support bar attaches to the support bar clips below the printer, one heated inserts in each clip, then a M3 screw of appropriate length. The bar supports the glass so it sticks in place just using magnets.
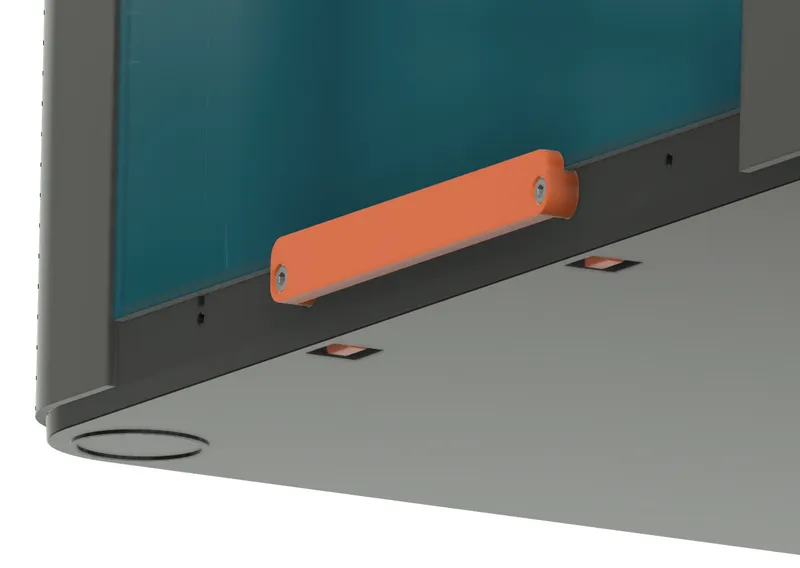
Left, right and front glass uses one handle each. Each handle has 2 heated inserts. Here it's best to use flat heat M3 screws (6 mm), at least for the sides so the top glass doesn't rub against it.

Next, click in the top printed parts where the glass rests on. If you're having troubles fitting this you can shave off a little on the clips.
Finally, insert the 6 x 3 mm magnets in the PC panels and install in the printer. If they do not fit use a 6.0 mm drill to enlarge the holes slightly so they end up being exactly 6.0 mm.
The magnets are friction fit so make sure to not drill the holes larger than 6.0 mm if you drill them yourself. If you accidently drill them a little too large you can super glue them in place.

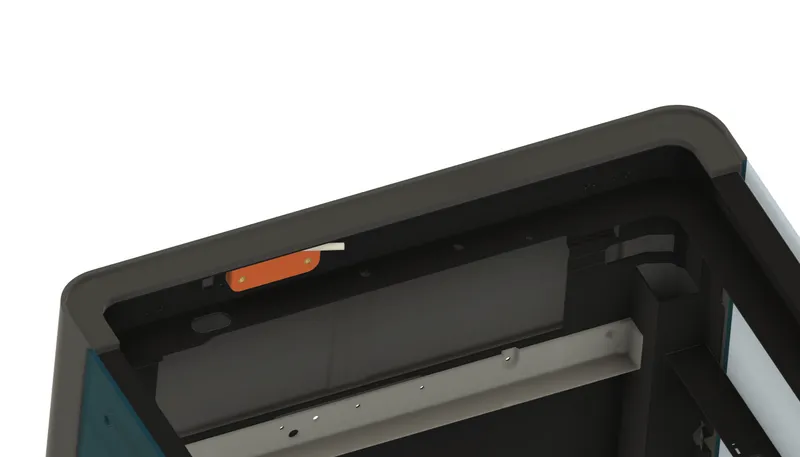
If you place the AMS on top if you have one, the weight of the AMS unit will bend down the top PC panel so use some double sided tape to attach the printed part in the case, one on each side aligned with the handle.

All done!
There are some mods made by other people that are useful if you use a top glass to prevent the PTFE tube from rubbing against it, one idea is a drag chain like on the X1:
https://www.printables.com/model/364801-bambu-lab-p1p-cable-chain-assembly
It should be compatible with this enclosure, you might have to drill a few extra holes (unsure) though and use longer bolts. I've not tested personally. There are some other great mods for the P1P.
Update: Bambu Lab now sell a drag chain compatible with both X1 and P1P, I recommend using that.
Tags
Model origin
The author marked this model as their own original creation.


