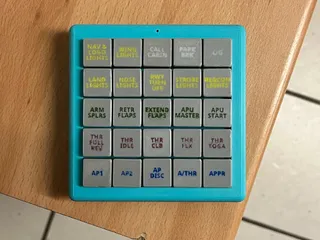
25 Button MACRO Keypad

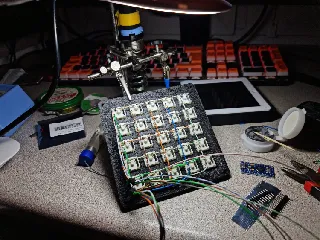
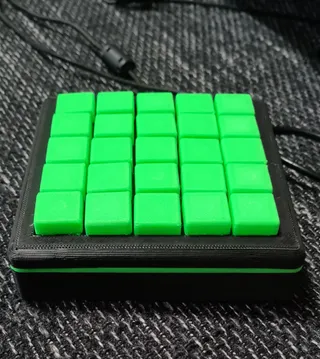
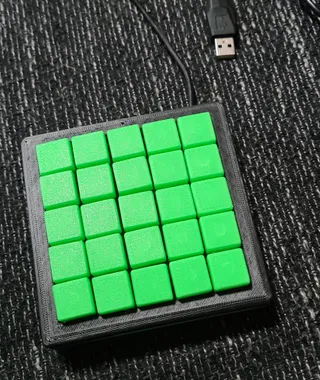
25 Button MACRO Keypad - controller with an Arduino Pro Micro. Uses keyboard switches, a reset button, and an LED.
41
105
3
2015
updated April 10, 2024

Makes

Comments

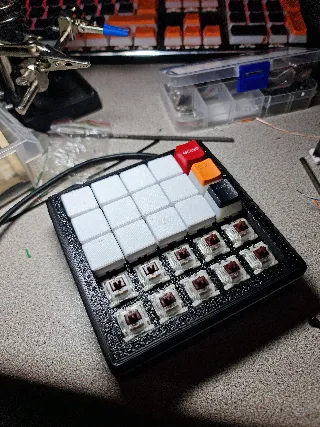
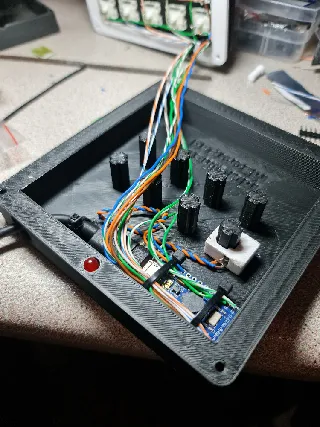
Very good model. At 0.3 layer thickness, the quality leaves much to be desired, but it’s enough for me. The included keycaps are okay; in the photos, I used standard high-profile keycaps for testing. Good idea with the mounting of the board and cable. I had issues printing with TPU, so I left the opening as it is and removed the reset button because I accidentally pressed it a few times when moving the keypad. There's plenty space for cable routing. I used Cat.5A twisted pair and Gateron Silent Brown switches, with no issues of touching the board."
Love it!
Made for a friend to use in OBS

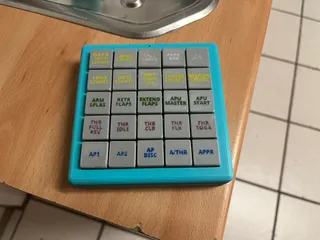
This was a lot of work to assemble (10 hours just for the soldering and assembling), but it was definitely worth it! I printed other keypads before and had problems with the keys not having enough clearance and scraping against each other or the grid where the switches are fitted warping due to the heat from soldering or not being stabilized enough. Fortunately, this keypad seems to solve both of these problems. The keycaps have enough clearance to not touch and the grid is supported by enough beams to not bend inwards when pressing buttons.

I printed the casing in Polymaker Teal ABS and the buttons in Eryone Gray PLA (with other colors used for the letters). To print the keycaps, I used a 0.15 mm nozzle and SuperSlicer's simulated MMU mode where the slicer just stops for a manual color change every time it needs another filament. This process took 2 hours for the first 3 layers with 16 filament changes total and after that it printed the rest of the keycaps in a few hours.

To put the text on the keycaps, I had to redesign them from scratch in OnShape. You can find the document here: https://cad.onshape.com/documents/d9a99746a9e725e23bacfc3e/w/2a42e24f20552ed4a4a3f9d5/e/e7c9cce6d5f3f11034dc0c13?renderMode=0&uiState=64a1eb30da972056b5acdb74
Just choose the appropriate tab (1 to 4 lines of text), edit the sketch named "Text" and then right click any of the text lines and choose "Edit Text" to change it. Afterwards, select all parts in the parts list and export them as .3mf to import them as an object with multiple parts in SuperSlicer.

On a side note: I had to scale the ResetButton2 STL a bit, because the inner part was not long enough to keep the other one in place.

View 2 more comments

@McTech3D I just measured it. I lenghtened the shorter reset button by 1.5 mm to 8 mm total length and it still fits loosely, but not loose enough to fall out. The reset button assembly sits perfectly flush with the outer wall when pressed in.

@iComputerfreak Appreciate it; went ahead and updated ResetButton2 length.

The reset was originally an afterthought on prototype model. I drilled out a hole in the case and modeled reset holder. Then went back and modified the model - just hadn't tested it yet.

All comments loaded