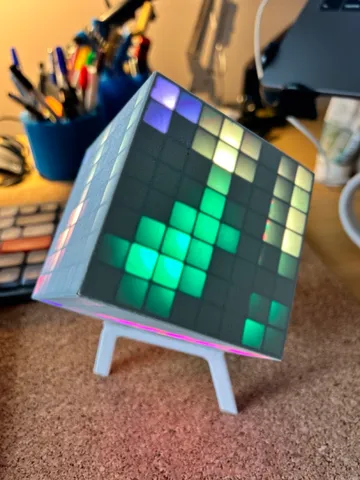
@Whity This looks awesome! Thanks for sharing! Which WLED presets or effects did you use and showcase in your video and in the pictures shown above? they look really cool!
CubLED - LED Cube - 8x8 Matrix (384 LEDs)
Makes
Comments
love it ! combine while and add black 3 layers after white difusor layers finished
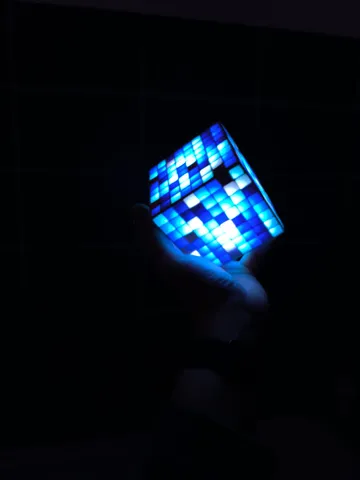
Hi all!
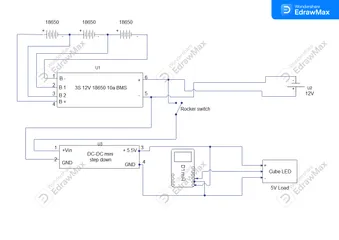
I updated the electrical schematic.
I have build the electrical system in such a way that you can charge and use the cube at the same time.
A 12v barrel connector is used to continuously supply power to the cube and charge the Li-ion batteries at the same time.
When you decide to pull the power supply and use the battery you can do so without power interruption.
This way I can place the cube on my desk and connect it to my Home assistant in my office.
When I enter the office all light go on via a microwave sensor including the cube.
Pull the power supply and move it where I want to.
Materials used:
2 pole rocker switch
3x Samsung Li-ion in 3S arrangement
12v power supply (Barrel connector)
BMS
D1 mini Esp8266 ESP-12 ESP
12v Female barrel connector to BMS and stepdown
FYI: I am still figuring out a way to make a hole for the 12v barrel connector that needs to stick out of the cube in order to connect it to the power supply.
Will probably use a small drill for the hole, don't have a long enough drill at hand atm.
The electrical scheme D1 mini does not have naming on the connectors but if you connect it as shown in the scheme you are good to go (free version of Wondershare lol)
Set the WLED LED settings at 1500mA (edited)
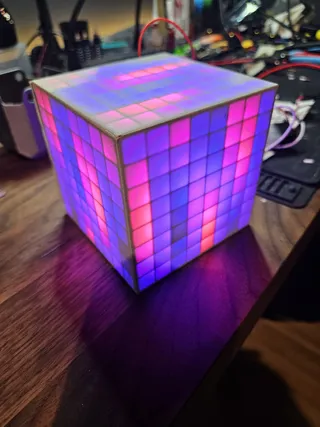
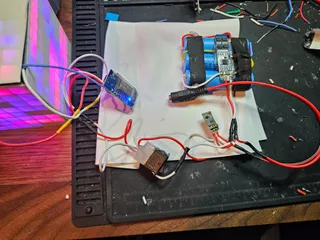
I love this cube, I tried to make it look a little more "off the shelf" for my wife to keep at work.
I like the light pipe design, brilliant.
https://www.youtube.com/watch?v=0KvxXvM4wk8 (edited)
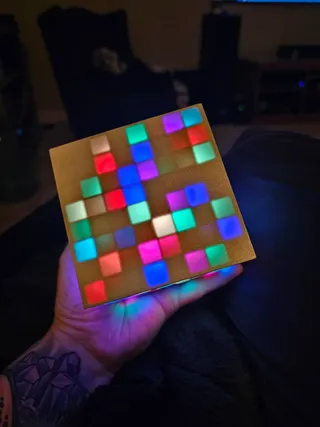
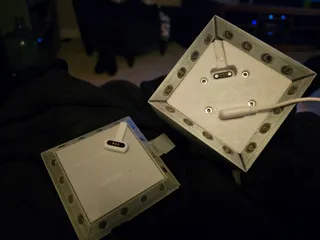
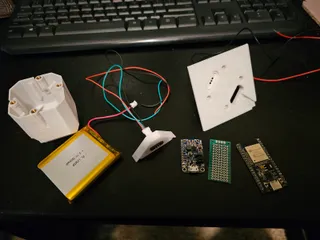
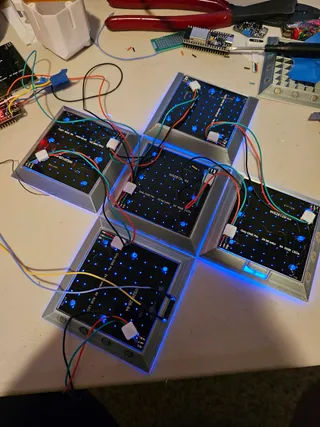
Made this one and love it. Regarding the heat...I powered it from an external 5v source and dimmed it down quite a bit in WLED (just because I don't need it that bright) and there's no issue at all with heat. I have it on a timer running for 6 hours a day. The pattern I use has all the LEDs fading from color to color, so they're all effectively on all the time and there's no reason for me to think it would be a problem to run it 24 hours a day.
Also, and this may or may not have helped with the heat dissipation, since I didn't have a battery and the insert seemed like it was going to be difficult to get in without disturbing anything, I didn't use it. I instead printed a 6 way cross (does that make sense) and wedged it in so it pushed all the LED panels against the sides. Then the rat's nest of wires could just be stuffed in there without trying to route them around the insert while also not breaking any of the solder joints.
I did also have to print everything at 102.4%, which worked perfectly.
What is generating the bulk of the heat? The led panels, or "the rest"?
I'm considering if it can run for longer with a external 5V PSU, I'd love to make one and be able to use it as a lamp for hours on end.
@Feday the LED panels are producing the heat. I run it parallel 12V and batteries.
Had a lot of fun making this. Quite challenging to print on my Prusa Mini as it seems the PETG I was using was very stringy so took a bit of hot air treatment to clean up. Assembly was a big hard too as the wire I used was a bit thick. I used 18awg solid core partly because that is all I has and partly because it is easy to solder. I would recommend 22awg stranded instead as this will carry the current and make final assembly easier. Despite using three 18650s, a 10A UBEC and charge controller I find I only need to have WLED set to 1500ma for more than enough brightness to power the cube.. A very enjoyable project to make, maybe I will do a 16*16 in the future.
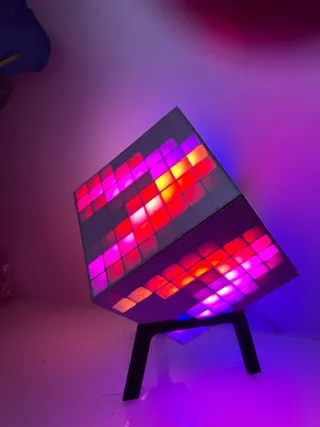
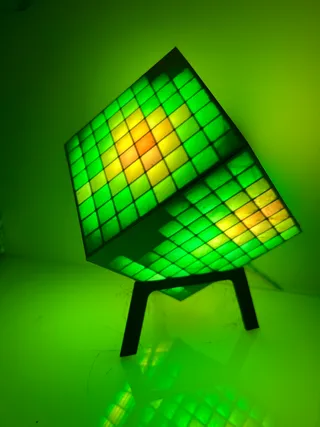
@DistinctlyAve_191065 Just to add, in most cases it is probably worth adding a power switch between the battery and the ubec. Many ESP32s drain quite a bit of current when on standby and will drain the batteries quite rapidly.
Gonna make a few more and tweak the electronics. I’m also not happy with the first iteration. It does work though. I’m going to try a higher amperage dc-dc and see if I can get the temps down. As is this thing gets mighty toasty. It melted the heat shrink on my current buck converter. Overall I’m thrilled with the idea. It looks super cool and everyone asks what it is.
Oh! Excellent tip regarding rolling the seams with a screwdriver. That worked FAR better than I ever expected that it would! (edited)
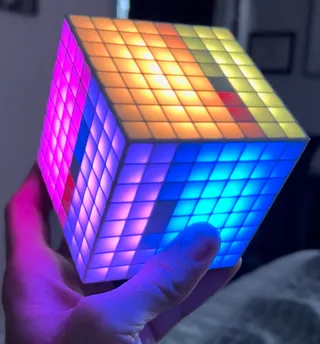
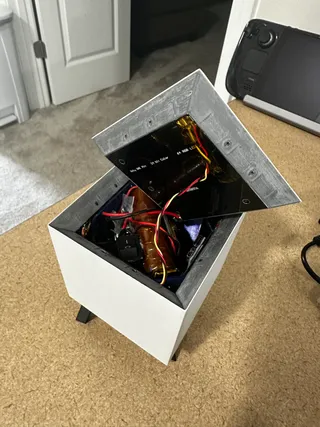
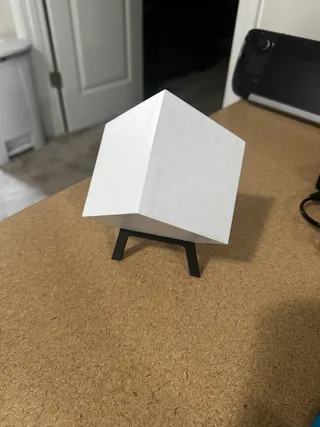
I am looking forward to building this one. I might do it with an external power source as well as the internal one. So if desired, I can quickly remove the internal batteries and dc-D.C. converter for better heat management and then use it at a low power on the desk. Only component I a, struggling to find are the magnets. Seems 1mm ones are hard to come by.
@DistinctlyAve_191065 here are the exact magnets he used https://s.click.aliexpress.com/e/_DBQNu0b but not available rn :( (edited)
Finished, made some changes at charging and didn't glued the esp32 and step down to the Battery for better cooling. Printed the panels out of PLA and the insert ABS (edited)
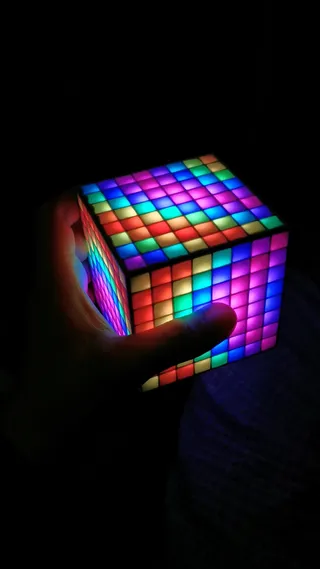
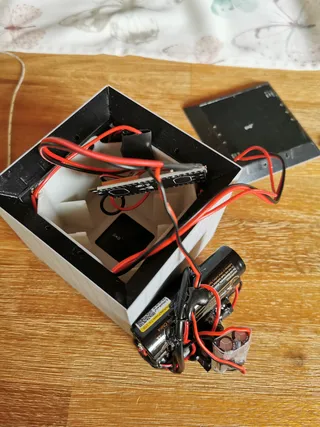
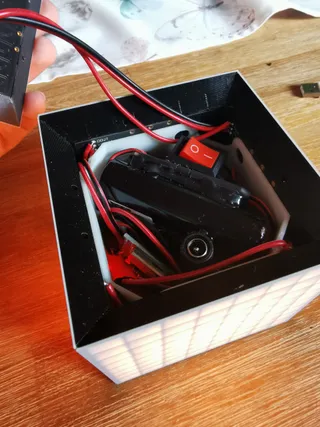
@1liminal1_293497 nice one. Have you got any special heat management? When it's running on over 2A it's getting hot really fast
@pino1021 Yeah I printed a similar matrix out of PLA and it warped real fast lol :( So this is all ABS and also using something like Twinkle Cat keeps the heat down... And it looks great as well.
Whats your fave effect?
thanks looks great. I ordered some LED panels from the link and just a heads up when they arrived they are 65mm x 68mm and don't fit the print. Does anyone have a source for the correct 65 x 65 panels ? Cheers (edited)
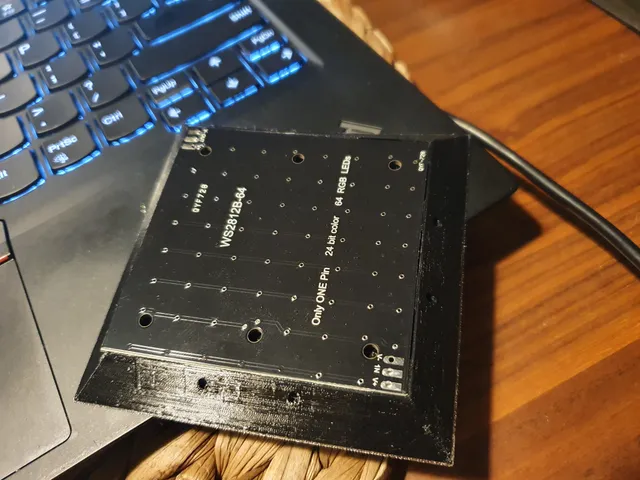
@MacGyverr_271271 sounds great. Thanks


