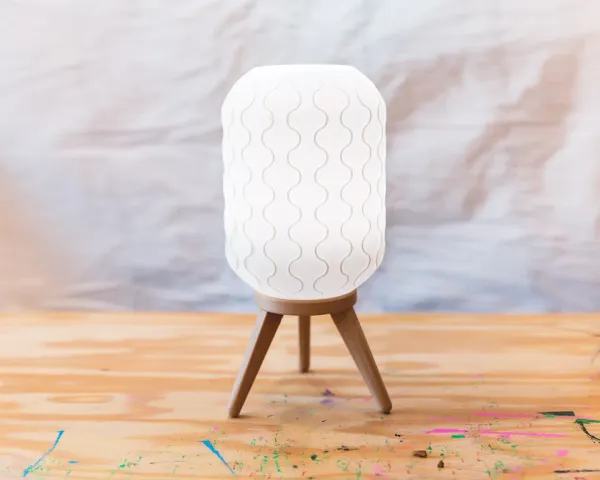
Ikea Skadis pegboard cups (vase mode)

Description
PDFThe Ikea Skadis pegboard is cool, and cheap, and quite functional, but at the same time, its accessories are quite expensive. When I moved into my new apartment, I got three of them in order to store a bunch of stuff on the wall of my new work area. But at the same time, it just felt wrong shelling out for like 12 of those cups for $3.50 each. I can make my own, of course. I have a really old roll of Sunlu PLA that's just been sitting on my shelf forever, so it's practically free. But popular models take the better part of a day to print just one, and I am an impatient millennial that demands instant gratification.
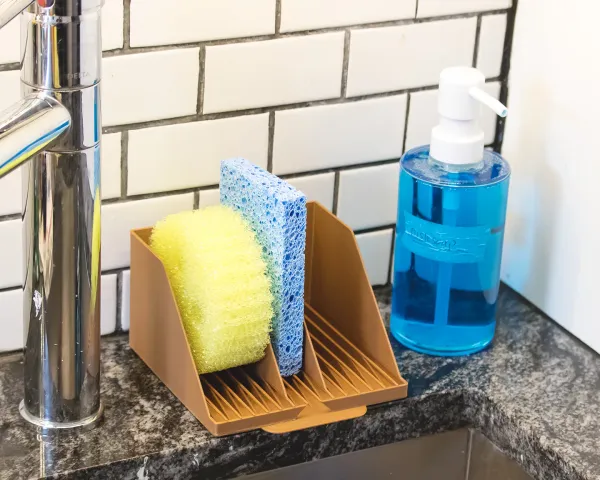
Side note: the cups are really the ultimate pegboard accessories. Yeah, sure, you can print super specific one-off mounts for every unique object you own, but the design time is not worth it and it makes your whole setup that much more inflexible. Just shove whatever you are holding into a cup, it will function exactly the same.
So I decided to really make my own, designed from the start purely for speed. And what's faster than vase mode, I said. But there's a problem. Pegboards require hooks. And those can't print as one continuous surface. And vase mode doesn't even have support. Right? Right? The answer is yes. The answer is obviously yes. What followed were all bad ideas.
So what did I design
Since I started 3D printing, I've read complaint after complaint that support are too difficult to remove, create bad parts, and are an overall general pain in the 🍑. But that was never my experience. I always found supports come off very easily, leave a satisfactory finish, and are just fine. But it seems… people are willing to tolerate a pain in the 🍑 for some reason and continue on printing with supports when needed. So then let's go ahead and make supports a thing in vase mode and make them a real giant horrible pain in the 🍑.
Enter: vase mode with “supports” that are actual real proper geometry but you have to cut it off at the end. (Look, I warned you it was all bad ideas, but you kept reading anyway. This one's on you.)
Now let's get real
So vase mode itself isn't technically inherently fast. The fastness is more of a side-effect. But we can get that side-effect in regular mode too. So let's talk about the design that actually makes these models print fast.
Using the default slicer profile for my printer in Cura, a popular cup model sliced with an estimated time of 6 hours 42 minutes. For the sake of comparison, the final model I uploaded here (which is larger in volume) takes 6 hours 47 minutes… basically the same.
The way that I print fast is by deciding on my optimal slicer settings and then working backwards to create a design matching those settings. So let's talk settings y'all!
I start with knowing what the maximum flow rate of my printer is. You can find this out yourself if you want, or you can take my super rough rule of thumb that it is about 10 cubic millimeters per second (you would for sure know if you did anything to get this value higher). When in doubt, bump up your regular print temperature by 10 degrees or so. Taking that flow rate, we throw away every single other rule about 3D printing we have heard in the past and just adjust all our settings freely, making sure we stay below the maximum flow rate. In my case, I settled for a 0.6mm extrusion width, 0.4mm layer height, and 35mm/s wall speed (this model will be all walls, so that's the only speed that matters). Yep, we are doing all this with a standard 0.4mm nozzle. We will also print 2 walls, without any gaps, in order to make the cup strong enough for its job.
Those print setting now dictate our geometry. 0.6mm extrusion width, with 2 walls, gives us 1.2mm of thickness for all parts of our model. Any less, you'll have trouble printing with those settings, and any more would result in gaps, resulting in both slow infill printing and an overall weaker part… why would you make it both slower and weaker? A few button clicks later (and some magic added to allow vase mode prints with multiple walls) and we have our models. The resulting model, with our optimized settings, now prints in 1 hour 43 minutes, including supports… or one quarter the original time. I can now print 4 of these in the amount of time it would have taken me to print just one.
Just to show vase mode itself is not the fast part, the vase mode variant of the same model prints in 1 hour 29 minutes. So… it's technically faster, but not significantly.
If you want to print these, I encourage you to print the “boring mode” models, with supports touching the buildplate. It you hate yourself, go ahead and print the vase mode models! I did.
Print settings (vase mode)
Start with your favorite profile and change the following:
- Spiral vase mode / Spiralize outer contour: turn this on, that's what this mode is all about
- Layer height: 0.4mm
- First layer height: keep this where you are comfortable, your choice
- Line width / Extrusion width: 0.6mm
- Bottom thickness / Bottom layers: 1.2mm (that's 3 layers at our layer height)
- Wall speed: 35mm/s (you can bump this up a bit if you are confident in your printer, or if you tested it yourself and found your maximum flow rate to be higher than 10)
- Printing temperature: 10 degrees hotter than your usual temperature
- Flow: 110%
Print settings (boring mode)
Start with your favorite profile and change the following:
- Layer height: 0.4mm
- First layer height: keep this where you are comfortable, your choice
- Line width / Extrusion width: 0.6mm
- Bottom thickness / Bottom layers: 1.2mm (that's 3 layers at our layer height)
- Wall speed: 35mm/s (you can bump this up a bit if you are confident in your printer, or if you tested it yourself and found your maximum flow rate to be higher than 10)
- Printing temperature: 10 degrees hotter than your usual temperature
- Flow: 110%
Vase mode cleanup
Okay, why did you print the vase mode version? Like… you read all those words, right? And you still decided to do this?
You will need to cut away the extra plastic that allowed printing the hooks (see the photos). Tools you will need:
- side cutters / flush cutters
- razor knife / x-acto knife / really sharp pocket knife (just any small knife that cuts well)
- lighter (maybe, if things go bad)
- super glue (maybe, if things go bad)
- trash can (maybe, if things go really bad)
Here's how I did it:
- Start with your side cutters. Use them as a weird cutter/pliers hybrid. Just a couple of millimeters at a time, pinch with the side cutters about half way to create a deep dent, and then bend to the side to break that little chunk off
- Keep going up, slowly. The triangle under the hook will break off pretty easily, but once you reach the hook, things get fragile
- Once at the hook itself, you'll have to do the pinch situation on both sides. It's a little awkward. Once both sides are pinched, try to bend and snap off the extra plastic. Again, only a couple of millimeters at a time. Don't try to do too much or the hook might snap off
- Once you've cleaned up as much with the side cutters, you'll see that you have really mangled edges. Grab your knife of choice and… just have at it. Cut away from your fingers
- Try to not put too much pressure on the hook when cutting. You might break the hook. I broke just one while cleaning up all the models I printed. Ideally, if you are not just going ham, you'll only delaminate partially at a layer line, but not completely break the hook off. When this happens, I find it easiest to just use a lighter and melt it back together. You don't need this to be pretty, do you?
- If that all fails, you can always super glue the broken hook back together
- If that all fails, just cut your losses, throw it away, move on with your life. Don't forget to comment and rate!
Notes
All the prints in the photos were printed on an Elegoo Neptune 2 with a 0.4mm nozzle in Sunlu gray PLA that I left sitting on a shelf without a bad for at least a year. I sliced only the fastest and slowest variants of the models just to give you an idea of the time and materials that the models require. You should be able to slice your own with the settings above.
Tags
Model origin
The author marked this model as their own original creation.