AM8 / Anet A8 BIQU H2 V2.0 Extruder Mount

Description
PDFThis design replaces the stock X carriage bracket of a Anet A8 / AM8.
The backplate features a mounting pattern for a BIQU H2 V2.0 extruder / hotend, using 4 attachment screws. A second part features attachment points for a 5051 blower fan, an inductive bed level sensor, as well as a mount point for a drag chain (see my drag chain design).
The backplate comes in a 4mm version, and a 5.7mm version. The 4mm version is meant to be used with a 1.7mm drilled aluminium backplate. The 5.7mm version is meant to be used standalone. For the drill pattern, see the technical drawing. You can probably use a 1.5mm or 2mm plate as well, 1.7mm was just what I had around. In fact, you can use any thickness you want, the only thing it influences is the alignment of the drag chain mount points and the lenths of the bolts required.
I included a model of the aluminium backplate, if you want to try and print it instead (e.g. if your printer can't pause prints). I do recommend the 5.7mm version for printing though.
Two fans are attached, the aforementioned 5051 blower with a modified centered fan duct, and an optional 40x10 replacement extruder fan if you want to replace the included 24V 35mm fan.
The extruder fan duct is based on this design: https://thangs.com/MandicReally/Angled%2040mm%20to%2035mm%20Fan%20Duct%20-%20Biqu%20H2%20Cooling%20Fan-22933 (Creative Commons License)
The optional cooling fan duct is based on this design: https://www.thingiverse.com/thing:2305368 (Creative Commons License) . I do recommend using it though, because it provides additional attachment points for the extruder.
Additional parts required:
- (Optional) Drilled 1.7mm aluminium backplate
- BIQU H2 V2.0 extruder / hotend: https://www.biqu.equipment/products/biqu-h2-v2-0-extruder
- Extruder gear PTFE grease: https://www.amazon.de/gp/product/B007UU9JMS
- Replacement heater cartridge if you use 12V: https://www.amazon.de/gp/product/B082FCW22C
- 5051 blower fan: https://www.amazon.de/gp/product/B0177QGEPY
- (Optional) 40x10 extruder fan: https://www.amazon.de/gp/product/B009NQLT0M
Nuts and bolts needed (maybe I forgot some, use your own jugdement):
- 12* M4 x ~10mm countersunk bolts (for backplate)
- 4* M3 x ~10mm countersunk bolts (for extruder from back and front)
- 2* M3 x ~10mm bolts (for extruder from top)
- 4* M3 x ~20mm countersunk bolts (for parts fan and sensor)
- 4* M3 nut (for parts fan and sensor)
- 4* M3 x ~15mm bolts (for extruder fan)
- 4* M4 nuts (for belt bolts)
- 2* M4 x ~10 bolts (for belt bolts)
BLTouch mount
ElRobbo designed an adapter for the BLTouch probe: https://www.printables.com/model/264003-anet-a8-biqu-h2-bltouch-mount . The STL is also included in this project for convenience.
Print Settings
Rafts: No
Supports: No
Resolution: 0.2mm
Infill: >=40%
Filament: Any PETG / ABS
Notes:
For parts layout, refer to the images. You may have to use a tiny support for the crossbrace of the extruder cooling fan duct, depending on your printer.
If you print the 5.7mm standalone backplate version, you have to pause the print at 5.2mm in order to insert two captive M4 hex nuts.
Prepare Extruder
- Disassemble Extruder
- Check for dirt or grinding motion
- Clean gears
- Grease geartrain using high-temp PTFE grease, do not get any grease on the filamant wheels.
- Rotate motor such that its cables come out the top
- Assemble extruder
- Leave 35mm fan removed if you want to use the 40mm adapter and fan
- Verify smooth turning
Assembly
This design makes heavy use of countersunk bolts, assembly order is critical.
- Insert two M4 hex nuts into the hex holes on the backside of the backplate if you use the 4mm version. Then, lay the backplate on top of the aluminium plate.
- Or, for the 5.7mm plastic only version, the two M4 hex nuts should be already embedded inside the plasic.
- Attach the three bearing blocks to the backplate using 10 M4 countersunk bolts.
- If you want to use the 40mm fan, attach the extruder fan duct though the backplate to the bearings, using two countersunk M4 bolts. Otherwise, just attach the remaining two M4 bolts to the backplate.
- Attach the H2 extruder using 4 M3 countersunk bolts, two from the backplate backside and two from the top. Ina ddition, attach the extruder fan duct to the extruder heatsink using the provided fan bolts.
- Attach the 40mm fan to the extruder fan duct using four M3 bolts if you want to use it.
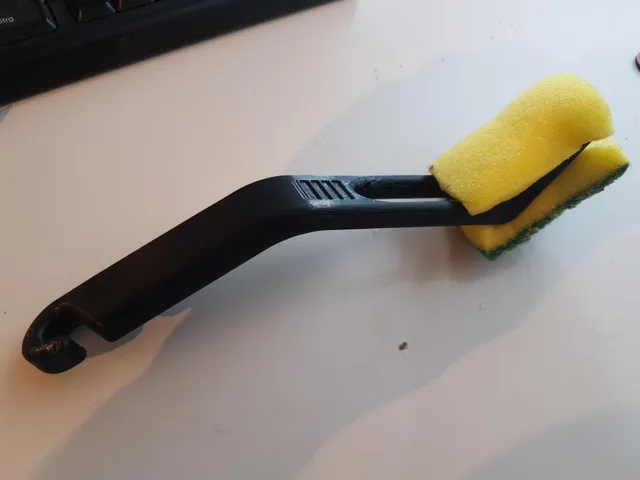
- Attach the 5051 parts cooling blower fan to the mountin bracket using only one, the lower, countersunk M3 bolt from the backside. Fix them using one M3 nut. Leave the lop hole empty.
- Attach the inductive sensor to the mounting bracket using two M3 countersunk bolts from the backside into the slot holes. Fix the sensor using two M3 nuts.
- Rotate the parts cooling fan around its lower bolt, about 90 degrees clockwise, such that the extruder mounting holes become accessible.
- Attach the mounting bracket to the extruder using two M3 countersunk bolts.
- Rotate the parts cooling fan back into position and attach the top M3 countersunk bolt from the backside, fix it using a M3 nut.
- Attach the parts cooling fan duct to the blower fan, using the friction fit (or glue).
Category: 3D Printer Parts
Tags
Model origin
The author marked this model as their own original creation. Imported from Thingiverse.