Desiccant Drying Trays for the Creality Space Pi Filament Dryer
Description
PDFFirst things first; make sure you have a filament that is suitable for the max temp of the dryer (70°C according to Creality) plus a margin to account for the heat being greatest at the back near the exhaust vent. Any filament with a softening / glass transition temp of >100°C should be fine.
Failure to do this may result in your trays sagging, and spilling desiccant into the bottom of your dryer, which has the potential to cause a fire. Proceed at your own risk!!
I used ASA for the print in the pictures. which has a softening temp of ~105°C. ABS would be a good choice too. So would PC.
Do not use PLA (softens at 60-65°C), or PETG (softens at 85°C). Temps can vary with specific filament manufacturers and formulations, check with the manufacturer if unsure.
There are 3 parts:
- A base - with legs that fit onto the rollers and provide some air space under the first tray.
- A pin - you need 4 of these to fit into the base.
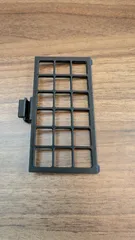
- A tray or trays - up to 5 of these will fit in the dryer.
The pins have two different diameters on them. The larger diameter should press fit into the holes in the base. The smaller diameter is a free fit with the holes in the bottom of the trays, making it easier to put together and take apart. You may need to scale the pins slightly to get a good fit in the base.
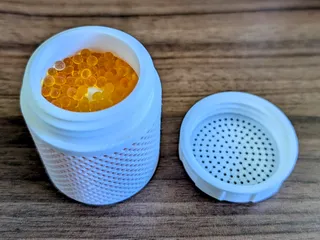
Each tray is 120 x 77 x 20 (excluding the up-stands) and will comfortably take up to 100g (3.5oz) of 3-5mm desiccant.
I printed these a little slower than usual, to make sure all the holes came out well:
- 0.2mm layer height
- 3 walls
- 75mm/s outer and inner wall speed
- 25mm/s bridge external wall speed
- 50mm/s internal bridge speed (not sure that is relevant though!)
For the tray, I recommend using a height range modifier from 0 to 1mm to reduce the outer wall speed a little lower than above, to make sure you get clean holes on the bottom.
Hopefully the print orientations are obvious. You may need a brim for the pins, depending on how well things stick to your plate.
Happy drying!
Tags
Model origin
The author marked this model as their own original creation.


