Yavoth Toolhead Demon Remix For Rapido 2 UHF, Orbiter 2, BTT Eddy, EBB36, Voron, SV08

Description
PDFPlease be sure to hit the like button as this really helps me out here! Also be sure to post a make too! Would love to see your prints & installs!
Here's my remix of these awesome files from chirpy2605 to bring them all together in this easy to print & assemble version for the listed components, other parts may fit but are untested!
Added second “status” NeoPixel LED as original doesn't have one! It only has one nozzle led. Also made a few visual tweaks.
Plus included is one of my favourite EBB36 mounts from Armchairt-Heavy-Industries remixed to fit here.
The printing, fit & assembly MUST BE PRECISE & EXACT!! Everything does fit, & works if printed on a well tuned & setup machine!
DO NOT LEAVE A BAD REVEIW BECAUSE YOU HAD A BAD PRINT OR COULDN'T GET SOMETHING TO FIT! It clearly does fit & does work!
If you have an issue, make a comment or send a pm, not just leave low stars as that's not cool.
BOM
x1 bottle blue thread lock!!!
x1 Rapido 2 UHF Plus (or Rapido 2F!)
x1 Orbiter v2.0 or v2.5!
x1 BTT EEB36 toolhead board.
x1 BTT Eddy Probe - version your choice.
x2 GDSTime 4010 blowers - DO NOT CHEAP OUT on Amazon specials! Don't be that guy!
x1 Honeybadger or GDSTime 2510 Hotend axial fan.
x2 NeoPixel 10mm GRBW LED's.
x1 short length Capricorn PTFE tube, cut to length.
x7 Voron BOM M3 heat inserts
x5 DIN 562 M3 Square nuts.
x2 M3 40mm SHCS
x5 M3 8mm SHCS
x8 M3 10mm SHCS
x2 M3 10mm BHCS
x1 M3 12mm BHCS
x2 M3 washers
Also print a couple of these!
They’re used to attach the Eddy probe.
PRINTING
- Use Voron BOM settings for ABS/ASA for main parts.
- Print parts with included support pieces face down!
- Clear PETG for LED Holder!!!
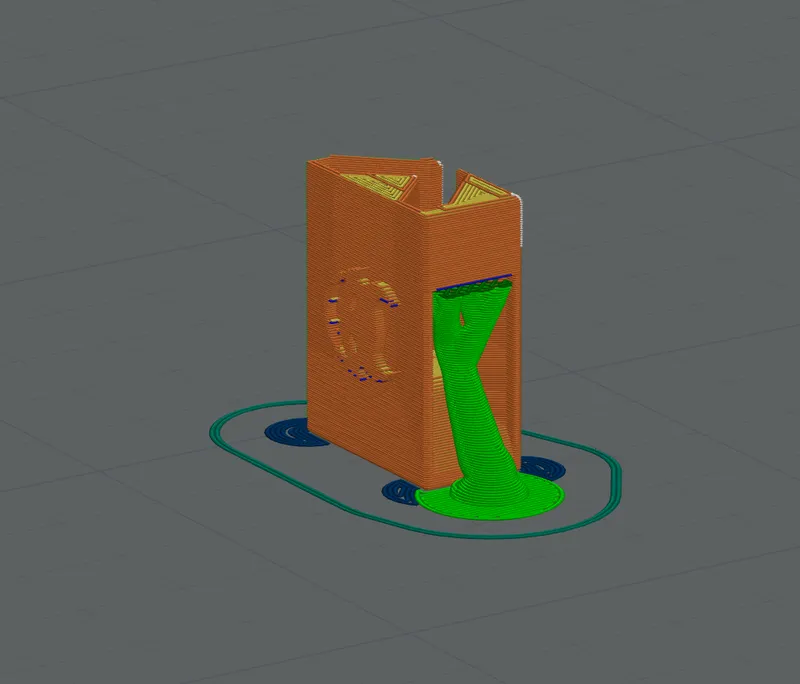
- Print on shortest flat closed side! Use tree supports in the open side.
CONSTRUCTION
Follow the images & text below…..
THREAD LOCK ALL BOLTS!
- Add x2 heat inserts
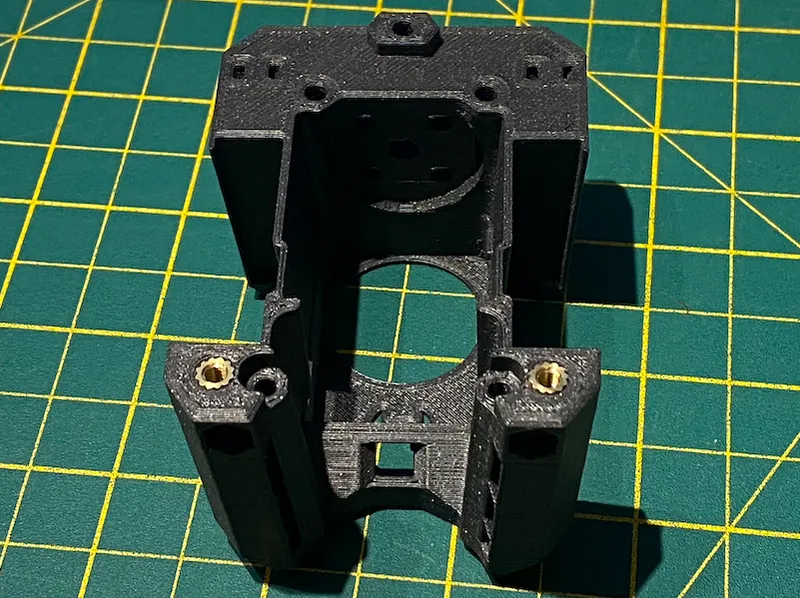
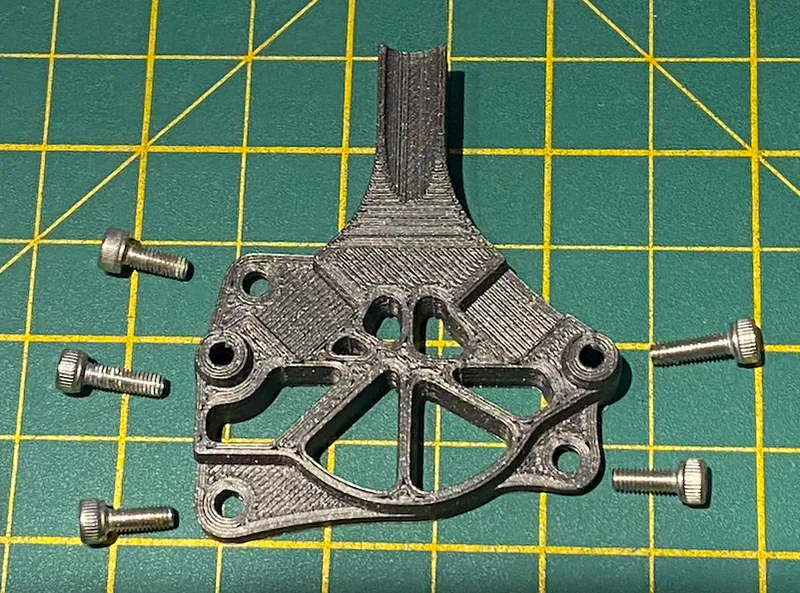
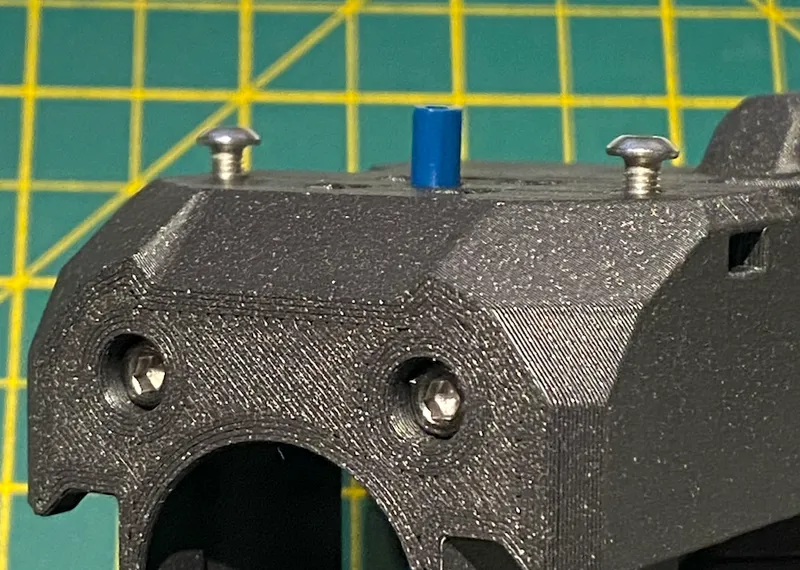
- Add x3 heat inserts & bolts. x3 M3 8mm SHCS top & bottom, x2 M3 10mm SHCS middle, x1 M3 12mm BHCS top.
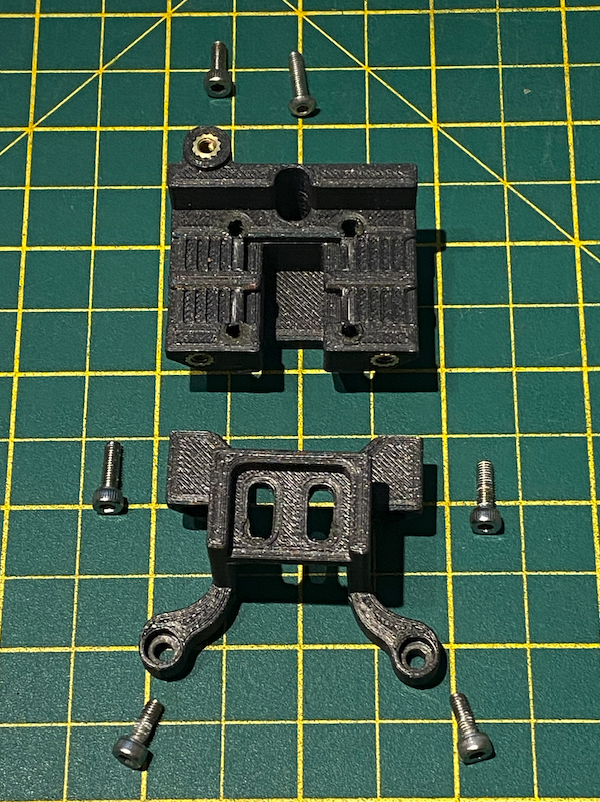
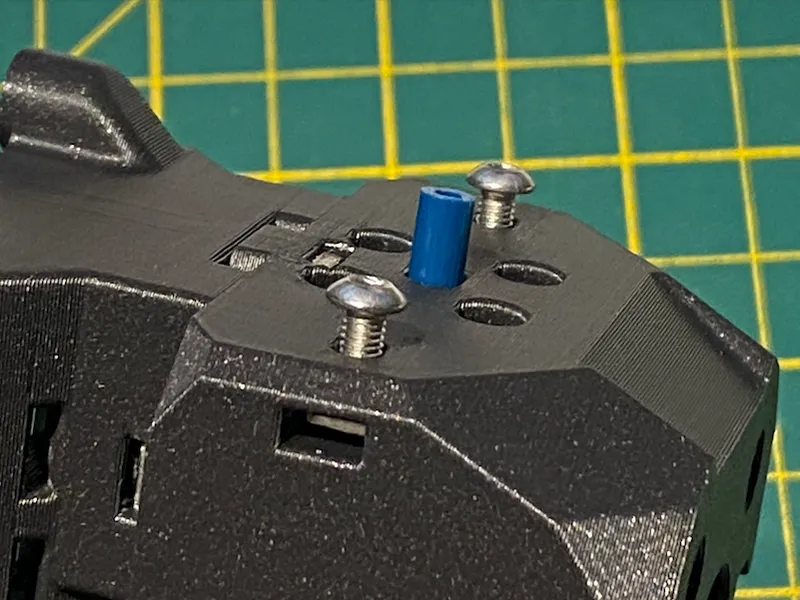
- Add heat inserts
- Bolts x3 M3 8mm SHCS top & bottom, x2 M3 10mm SHCS middle.
- Insert your NeoPixels like this, BE CAREFUL! Don't break them, use very thin wire (1mm silicone wire!) & make sure your soldering is good & compact OR THEY WILL NOT FIT!!! Also be sure to get the orientation correct!! You don't want to have to change this after it's built!
- TEST LEDs BEFORE ASSEMBLY!!!

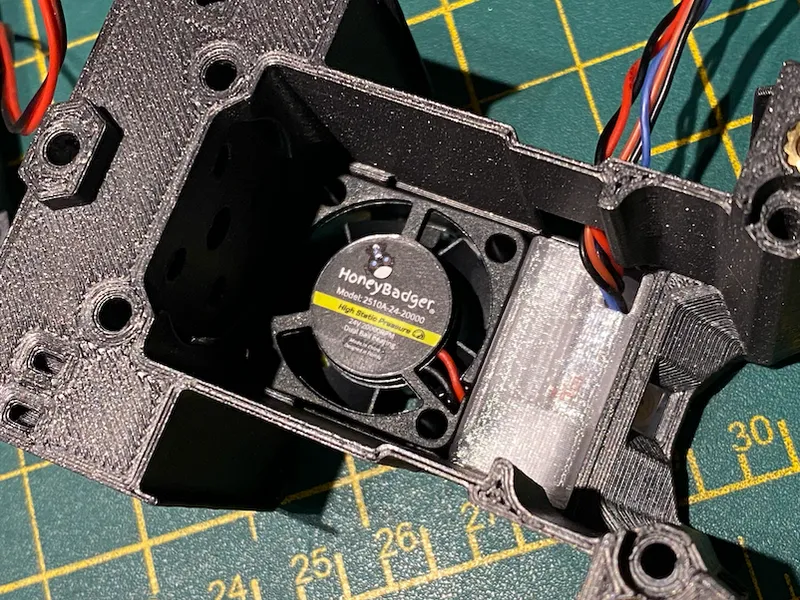
- Feed 2510 fan wires through the top!
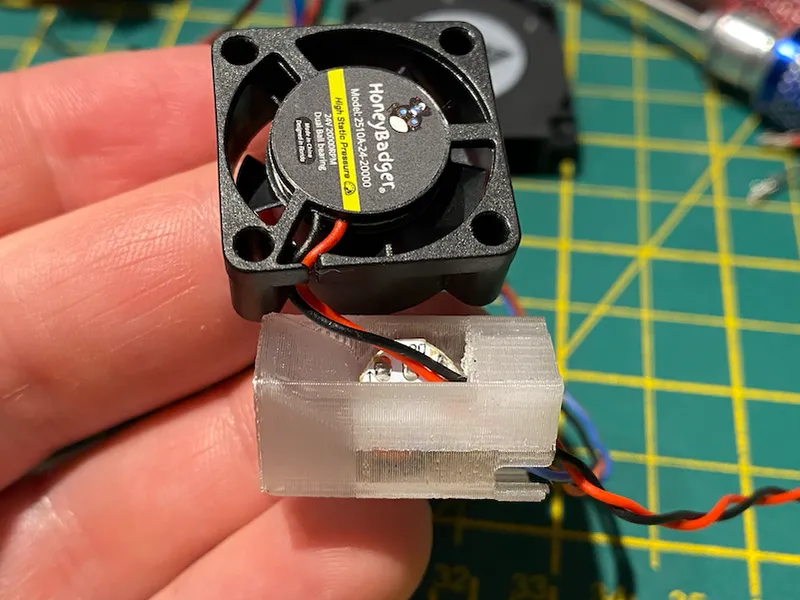
- Insert into main body feeding wires out the right side as you do. Make sure the little demon face pops into the cutout correctly & evenly. Your prints must be good or this will not fit!
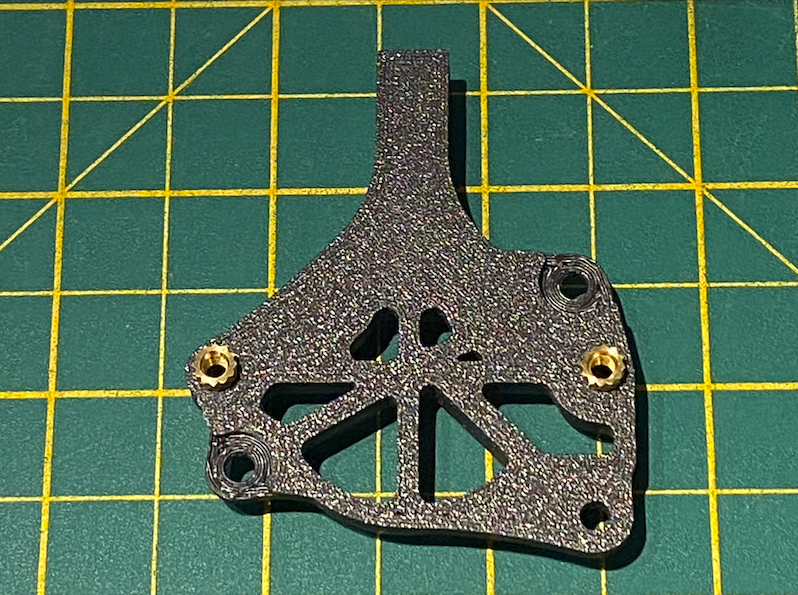
- x3 heat inserts & x2 square nuts. Use dot of super glue to hold in correct position.
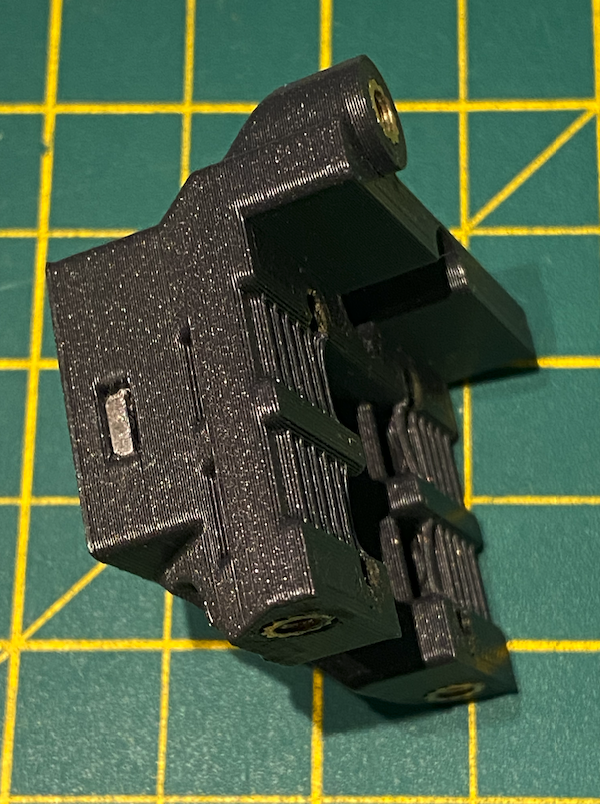
- Use x1 M3 12mm BHCS here because uses smaller size hex wrench! You'll need this!

- PTFE tube & x2 M3 10mm BHCS to attach extruder, held by x2 square nuts loaded from sides. Use dot of super glue to hold in correct position.
- x2 M3 40mm SHCS in the front there.
- See x3 square nuts top centre & sides.
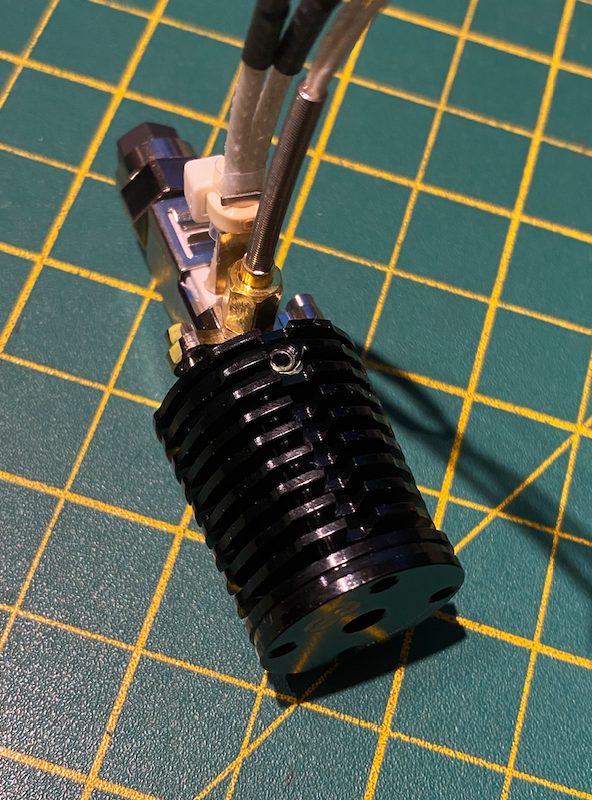
- Make sure your hotend is aligned like this, with the set screw inline with the cables, or this unit will not fit!
- Slide 4010 fans in from the rear, BE CAREFUL OF WIRES!!! You can break stuff here!!!
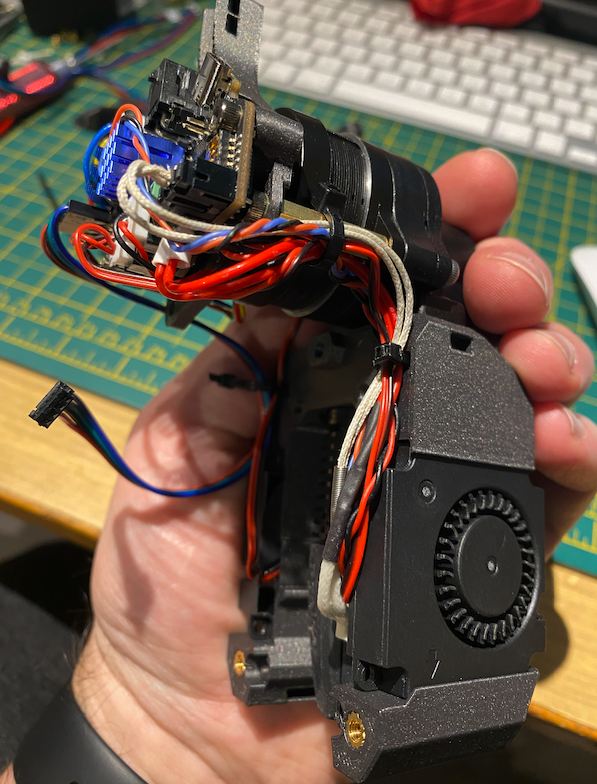
- Add hotend & secure with wires out the rear right side as per the images below.
- Insert PTFE tube.
- Add extruder and cut tube to correct length.
- Attach toolhead board.
- Tidy up wiring!

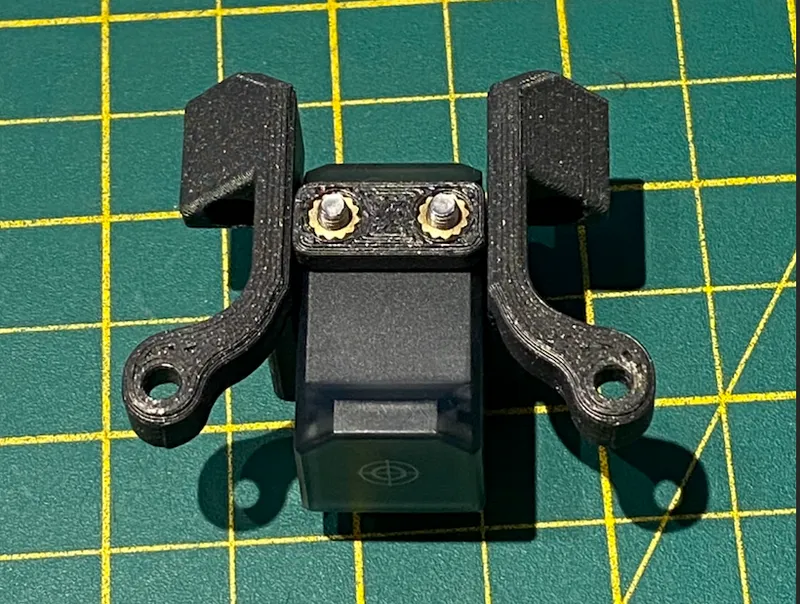
- Add long bolts from Eddy to STL link below & fit THIS WAY ROUND! This is so the probe can be adjusted when attached to the toolhead!! Add x2 M3 washers under bolt heads! IMPORTANT!!
MOUNTING
- Feed belts through slots.
- Attach the carriage to the X axis bearing block, MAKE SURE THE M3 12mm BHCS is in place BEFORE you fit this!!!
- Set belts evenly!!
- Tighten bolts to secure.
- Next drop the main assembly onto the carriage. Fix in place with the x2 M3 40mm SHCS. Tighten up the 1x M3 12mm BHCS bolt from the rear of the top of the bearing block. Sliding hex tool into slot.
- Now add the Probe mount to the rear & connect everything up!
DO NOT FORGET THIS!!!
You will need to print one of these! For the Eddy probe
The printing, fit & assembly MUST BE PRECISE & EXACT!! Everything does fit, & works if printed on a well tuned & setup machine!
DO NOT LEAVE A BAD REVEIW BECAUSE YOU HAD A BAD PRINT OR COULDN'T GET SOMETHING TO FIT! It clearly does fit & does work!
If you have an issue, make a comment or send a pm, not just leave low stars as that's not cool.
Model origin
The author remixed this model.
Differences of the remix compared to the original
Remixed parts to fit together with listed components. Added second “status” NeoPixel LED as original doesn't have one! Also a few visual tweaks.


