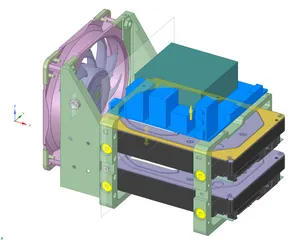
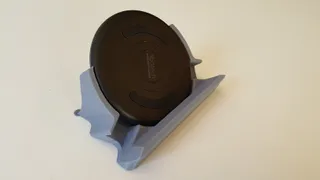
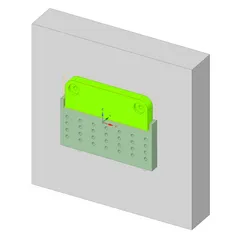
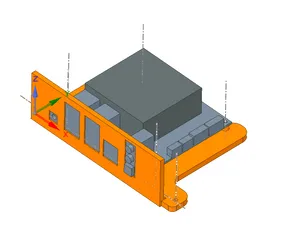
Raspberry Pi 2 Exoskeleton
Description
PDFInspired by http://www.thingiverse.com/thing:374377 by SOUNDSK
His design was modified to fit the Raspberry Pi model 2/3 and provide
more mounting options.
Assembly can use 4x #2 screws or 4x M3x10 cap head screws to hold
the two halves together. Lots of other pass holes ( some with hex nut
recesses ) to allow more bracketry or mounting. The pc board is
"pinched" between the upper and lower components.
The assembly and the two halves supplied in Designspark format (.rsdoc).
This will allow you to modify any hole sizes or wall thicknesses
to work better on your printer.
RaspberryPi2 model derived from step file included in :
https://grabcad.com/library/raspberry-pi-2-model-b-3d-cad-assembly-model-2
created by Robèrt Akòpov
Print instructions
Category: Electronics Print Settings
Printer: Hadron ord bot
Rafts: No
Supports: Doesn't Matter
Resolution: 0.35mm nozzle, 0.2mm layer
Infill: 15%
Notes:
No support needed but some of the screw holes and nut tramps
have internal transition layer when lower diameter is larger
than upper hole.
3 perimeters and 15% infill looked good on my printer.
use netfabb to section out a corner to tune in the design before you
print the entire thing. (see rpi-exo-bot_sample2.stl)
top : filament used = 2983.0mm (19.2cm3)
bottom : filament used = 2255.9mm (14.5cm3)
Tags
Model origin
The author marked this model as their own original creation. Imported from Thingiverse.


