Qidi Plus 4 Filament Cutter Buffer Block

Description
PDFI wanted to utilze the maximum surface area of my Qidi Plus 4, but while setting up a test print I ran into a problem with the exclusion zones pre set in the Qidi studio slicer.
With the “filament replacement” command on the printer display, the extruder is moved to the right front of the printer where the filament cutter handle on the extruder is pressed onto the buffer block to cut the filament for easy extraction of the filament from the extruder.
The original buffer block protrudes 3.5mm from the surface of the standing right front frame beam. Preventing you from using an area of the bed because of it. If you remove the exlusion zones in the slicer, a full bed print will have a layershift to the left as a result.
I made a new endstop to give you 5mm extra bedspace on the right hand side. In the slicer you need to change the extend of the exclusion zone on the right front of the bed.
Photo 1 shows the original values in the printer settings box.
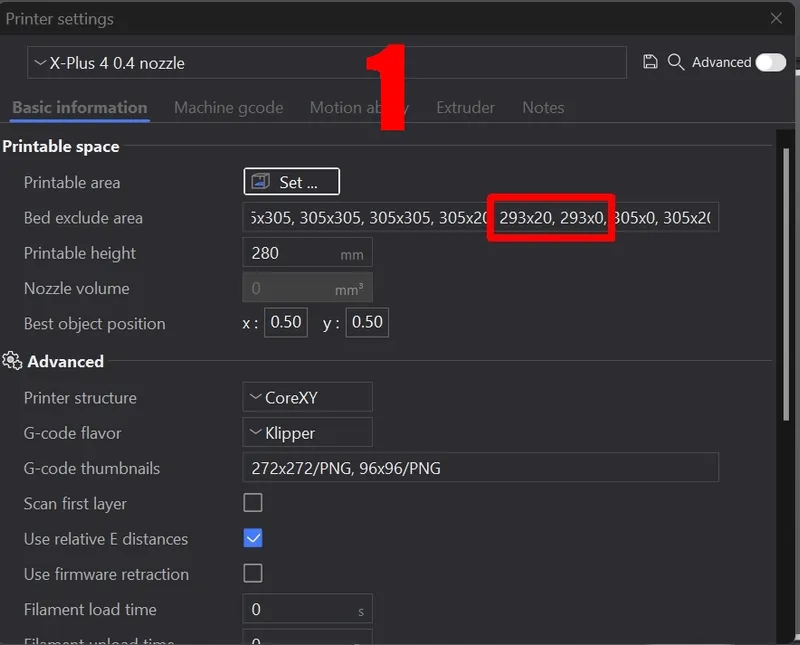
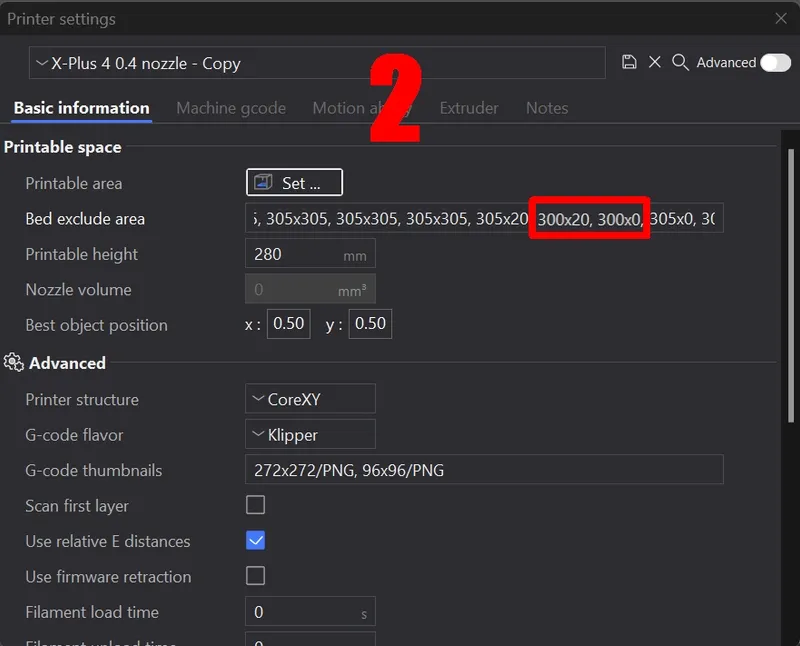
Photo 2 shows the modified values in the printer settings box.
After you have changed these values, save the new printer profile with a name of your choice. It could be useful to have the name include something that shows that the values of the exclusion zones have been altered.
In my printer the handle is very lightly touching the side now, when I am printing a 300x300mm square surface. It no longer causes a shift of the extruder to the left, so I will leave it like that.
If you want the handle not to touch the side, set the value to 299 instead of 300, to give you a 1mm space between the lever and the buffer block.
At your first print utilizing the full plate, please check while the first outer walls are printed to see and hear if the cutter handle is touching the buffer block or not. I assume the length of these handles is the same on each printer, but I do not know this with 100% certainty!!
Print settings:
- Flip the model upside down on the buildplate, then there is no need for supports. After printing you will need to pierce a 0.2mm layer in the bolt hole!!
- 0.4 mm nozzle with 0.4 wall thickness
- first layer 0.2, following layers 0.25
- 5 top and 5 bottom layers
- 20% grid infill
Check out my other modification for the Qidi Plus 4 too, here and here
Tags
Model origin
The author marked this model as their own original creation.


