Single Extruder - Dual Color - Tutorial

Description
PDFPlease download the sample files and have a go at cutting the model yourself to get a better understanding of how the cutter works.
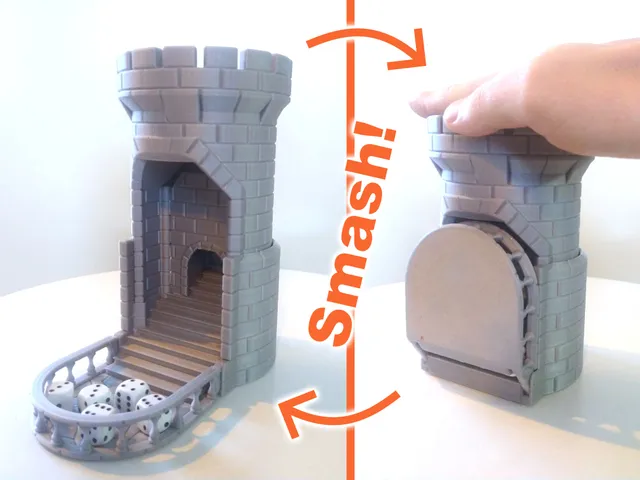
This design is based on my Single Extruder - Dual Color - Burp the Derpy Frog model:

Since there is a contest based on my “single extruder - dual color” designs, I thought it would be helpful to create a tutorial on how I make these models!
I have added the sample files as a download to better inspect the geometry of the cutter and to experiment with cutting the model in TinkerCad.
Now, onto the tutorial!
First get or create an organic base model that you would like to convert. Make sure it has enough bed surface area to create enough adhesion for both parts.
Part one: Creating the cutter
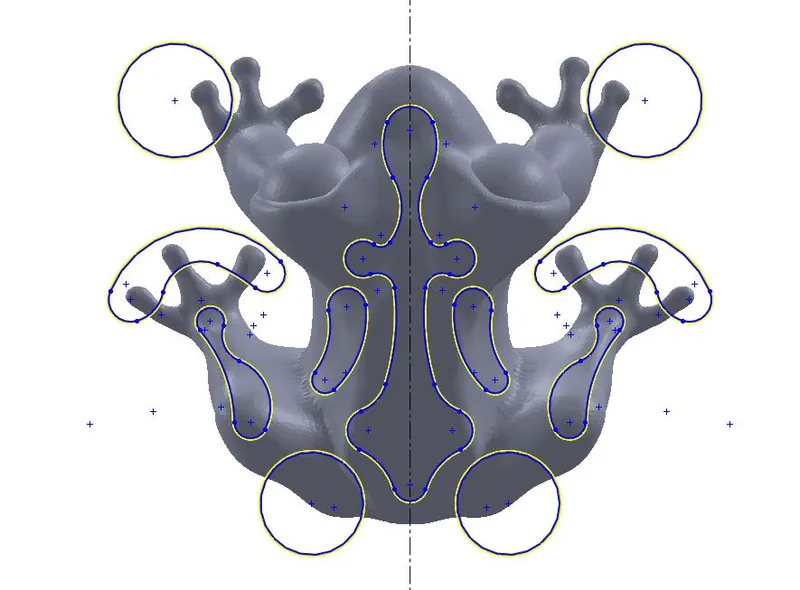
First, load your organic model as a reference into a parametric 3D design software (SolidWorks, Fusion360, OnShape, etc). This can be done as a graphic model or even as a top down reference image (scaled correctly). Most programs don't like to work with complex solid STL files, that's why I only use a reference.
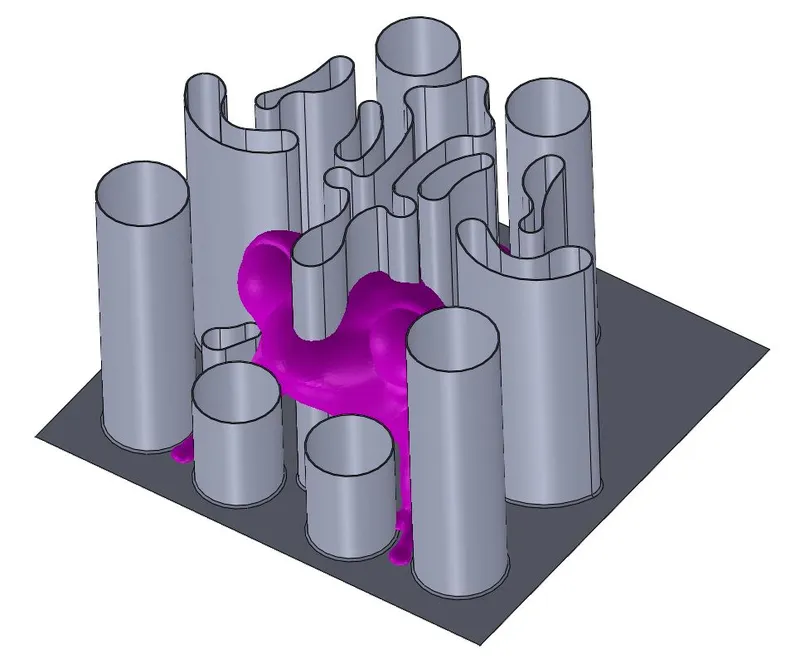
In this software draw your ‘split lines’ on top of your reference and extrude them out with the width of the desired tolerance between the two parts that extends beyond the height of your model. Also add a bottom slice plane between the cutting parts (not closing off the cutting contours, only in between)
Export your ‘cutter’ as an STL
Part two: cutting the model
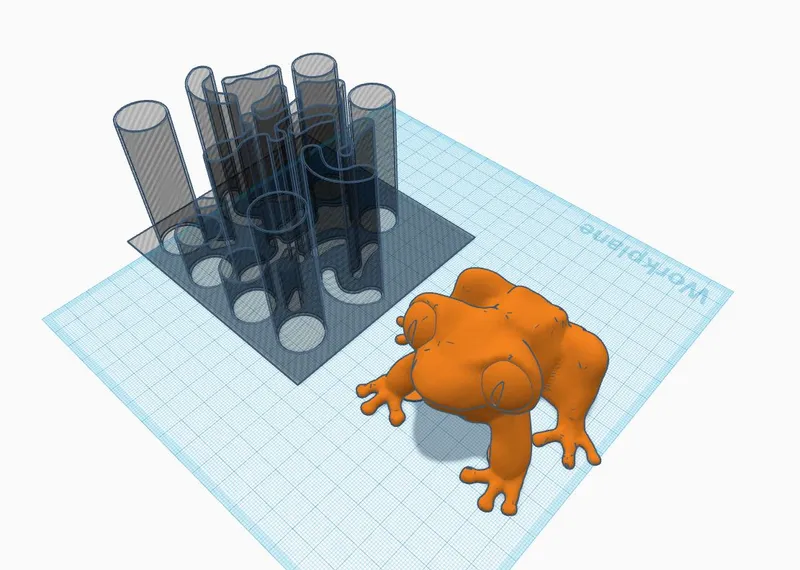
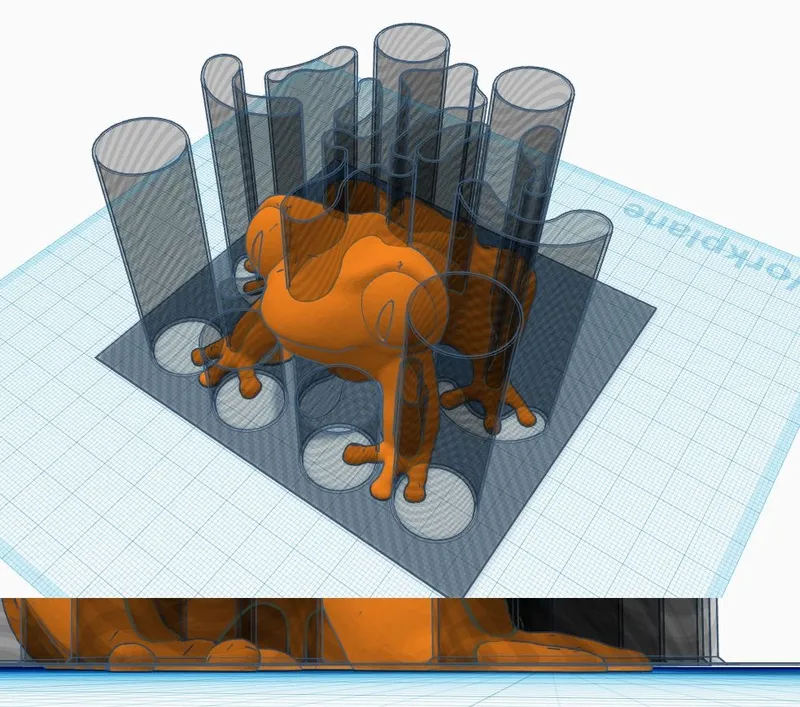
For this I like to use TinkerCad but you might be able to do this inside the parametric software. Load both STL files and line them up correctly. Make sure to lift the cutter about 1 or 2 mm to create a base that connects the inner pieces into one, and make a ‘hole’ feature from the cutter.
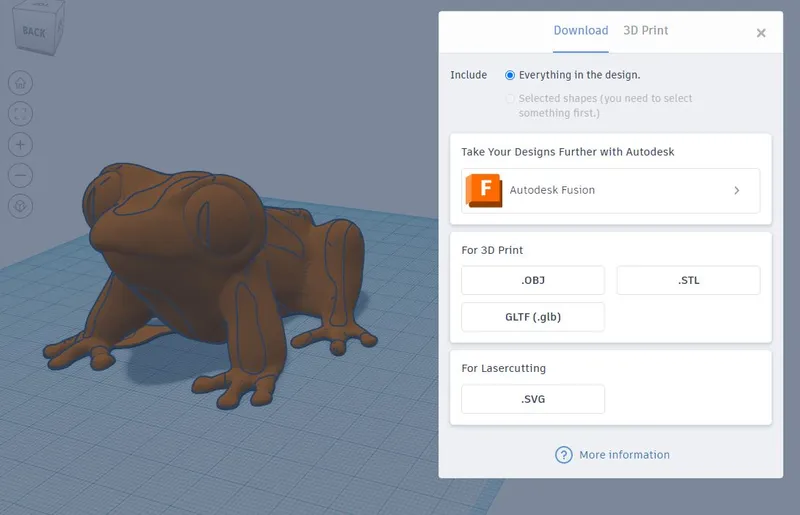
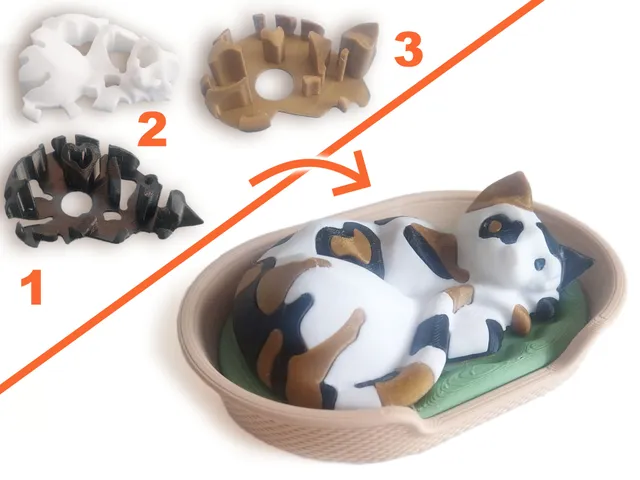
Combine the base model and the cutter into one, essentially splitting the model into two separate parts. Export this model as an STL for the next step.
Step 3: Seperating the bodies
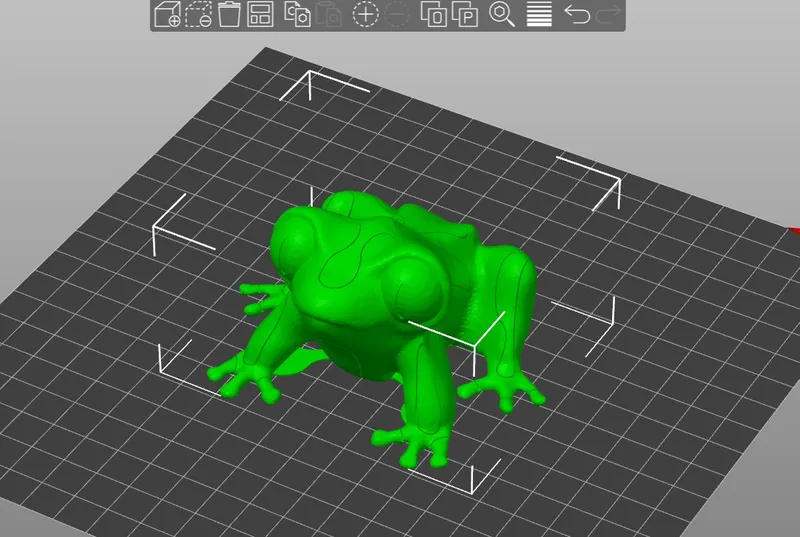
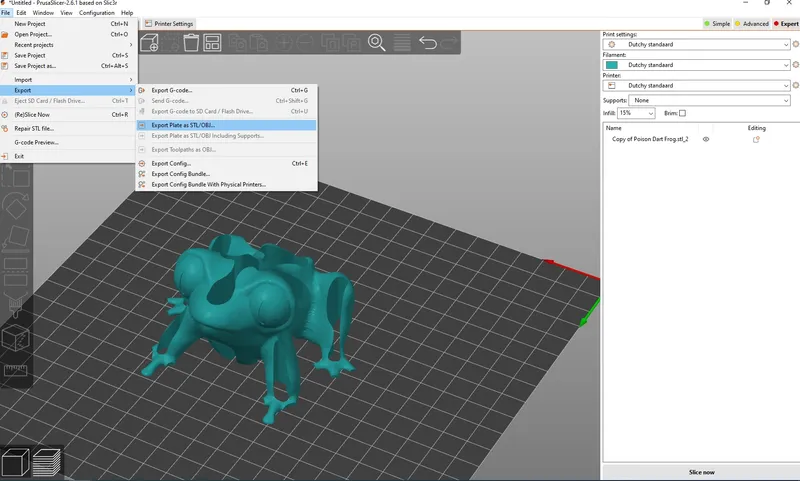
Load the model into your slicer. Select the model and click “Split to Objects” ( the [O] at the top of the screen). Now you can drag the two parts apart, delete one of them and “Export Plate as STL”. Now CTRL+Z to bring the deleted part back, delete the other one and again “Export Plate as STL”.
This is a very quick overview!
There are more advanced cutting techniques possible (like cutting only the feet, or having a cut at an angle at the edge). Not every model is suited and you might run into problems, just keep experimenting!
Good luck and happy printing :)
And don't forget to follow if you like my models
Tags
Model origin
The author marked this model as their own original creation.