


Made a few of these now including some larger ones. I had to separate them before slicing as the extrusion stuck them together.


Made a few of these now including some larger ones. I had to separate them before slicing as the extrusion stuck them together.


Tips:
- Sink the model down in your slicer a couple millimeters before slicing. The model has a sharp corner at the bottom, which doesn't provide any area to lay on the build plate.
- Use supports. The model is almost horizontal in one area, which doesn't print well.
I think the designer of this model doesn't understand why these bulbs are usually closed. When it's closed the bulb will create a vacuum and stop water flowing until it can suck in some air when the soil gets dry enough. This is just a fancy funnel and will not do anything to restrict the flow of water through it. The only hope you have of making this slowly water is smashing it into soil so hard that the tip gets mostly clogged.
My pretty funnel printed fine with a brim. (edited)
@PatrickLamarr_844090 Overwaterring certainly does, my assumption is that this would work better as being used as a glorified funnel to the bottom of the pot/soil. You'd just water it every few days and not every day. But I am by no means an expert.
The idea Potato had that would be interesting would be if you could cork the bottom with a semi-permeable membrane, that would mean that osmosis could come into play and pull the water at a slow/reasonable rate. But there are so many variables that could make it better/worse. 🤷♂
@Zewb_251824 I really think the only option for something like this model is to make a TPU cover to seal the top creating a vaccum. This would allow to siphon the water out as needed once the soil becomes too dry. This is how the bulb style feeders work and is the best solution in my POV.


Scaled a little bit directly in the slicer for my needs. Fast print, easy usage, let's see how long will it survive after being exposed to UV long-term. Thanks!


Printed in black ASA 0.2 layer height, 3 shell count, 5 layers top/bottom, 20% hexagon infill.

Love it! printed it in some old filament so it has a little bit of stringing that i need to clean up.
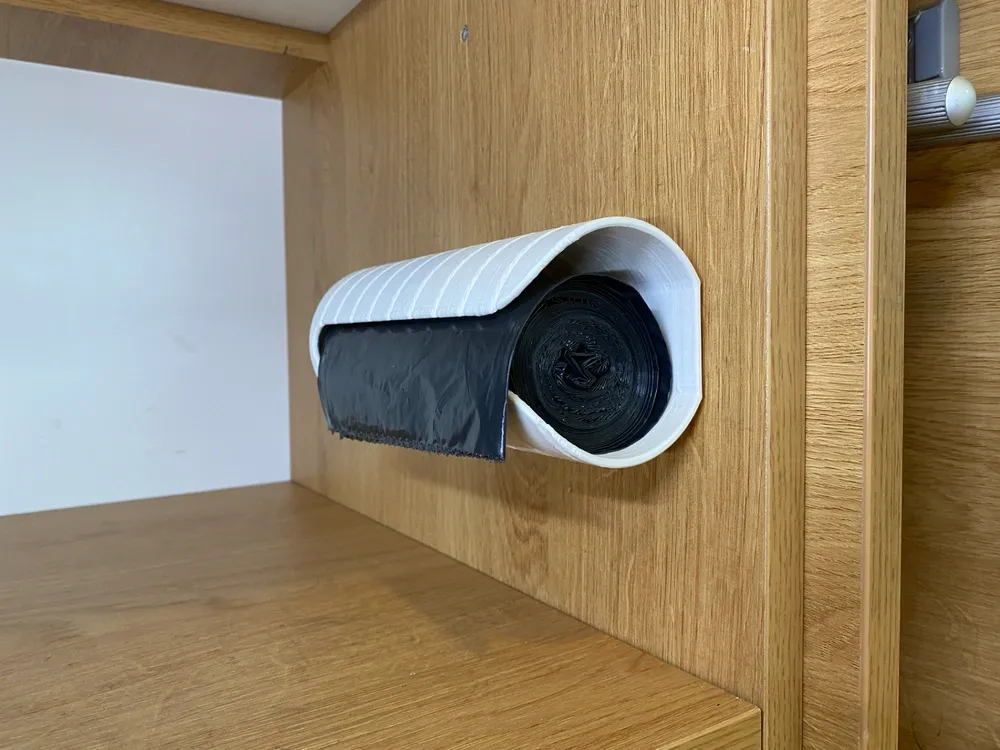
I do wish the model had some holes to mount it with crews though

@garflon I made a remix with screw holes. But its resized for smaller bags. Aaand, yeah, i guess its to late for you since you do not need a second one likely.
@moWerk All good, double sided tape does the trick, and saves having to drill holes in my kitchen cupboard.


Great game! Thanks for the files. The "stone" board printed but had some holes at the top. Haven't seen that problem before. It's as if when Cura sliced the file it left out a couple top layers. Wondering what settings you've printed it at. My Ender3v2 is pretty dialed in especially for PLA/PLA+ which is what I used.
Infill at 20, high quality (.12), skirt, no supports.
Any tips would be great. Thanks again.
@MarkHedstrom_467461 It's hard to tell without a picture, but to make the top layer look better you could enable ironing it would smoothen the top layer
Easy and quick print. Comes out great without any fuss. Nice little game too, a more strategic tic-tac-toe.


The printing was without problems, I removed the loop and made a circle in the model, as the loop would probably break.


Printed in PETG on my AD5m, print came out great and works well for all those times you need a paperclip and cannot find one!


can you please upload a .stl file to adjust the printing parameters. thx maik (edited)


