Better Dock and Mount for the PCB Klicky Probe
Description
PDFWhile the world seems to talk about eddy current based sensor probes nowadays, I still like the little PCB Klicky 🥰. So building my 2.4 I just optimized what is out there to dock the probe securely in place.
Support me : Please leave a Like if you actually like and use this model. It does help a lot to get some of the filament that is needed for all the test prints while creating models to share with you! And especially check out my other models if you're building a Voron!
Optimizations
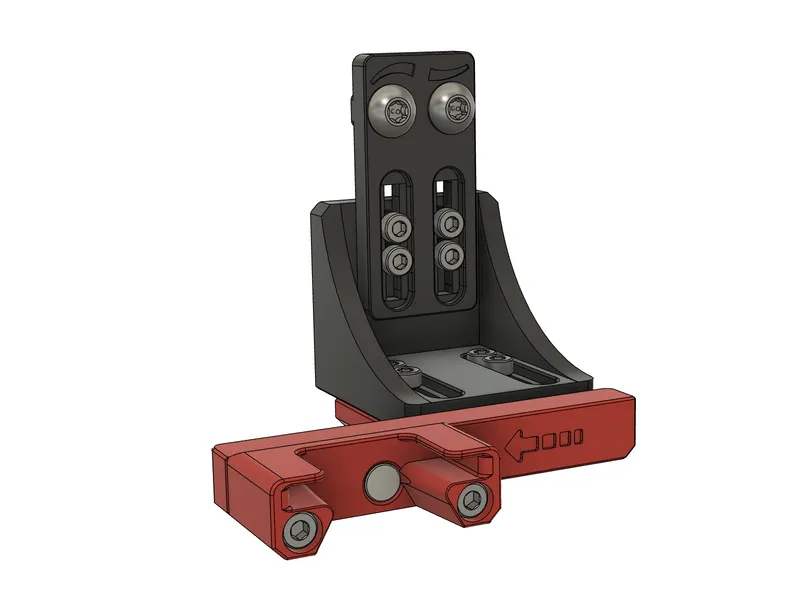
The original probe dock did not hold the dock securely, the remixes I found had smaller things I did not like, so here it is, my personal favorite 🤩:
 |  |  |  |
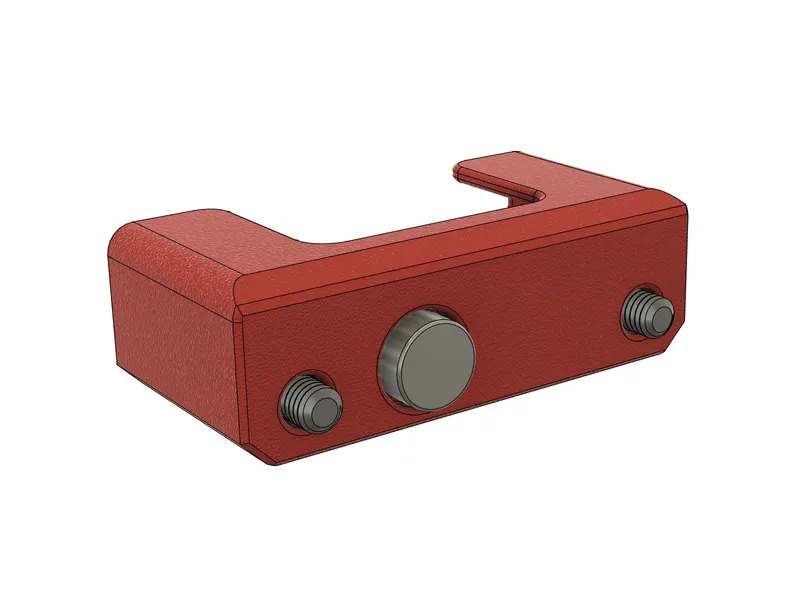
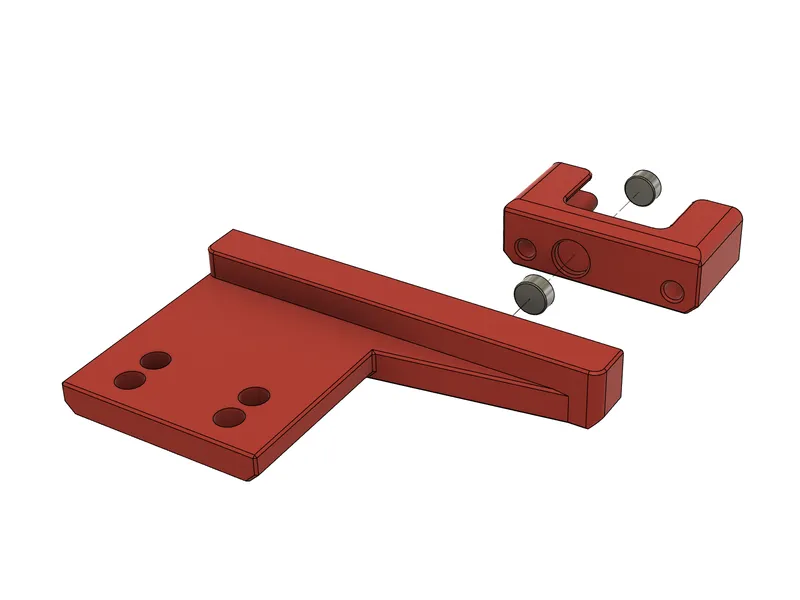
Probe Dock
 |  |
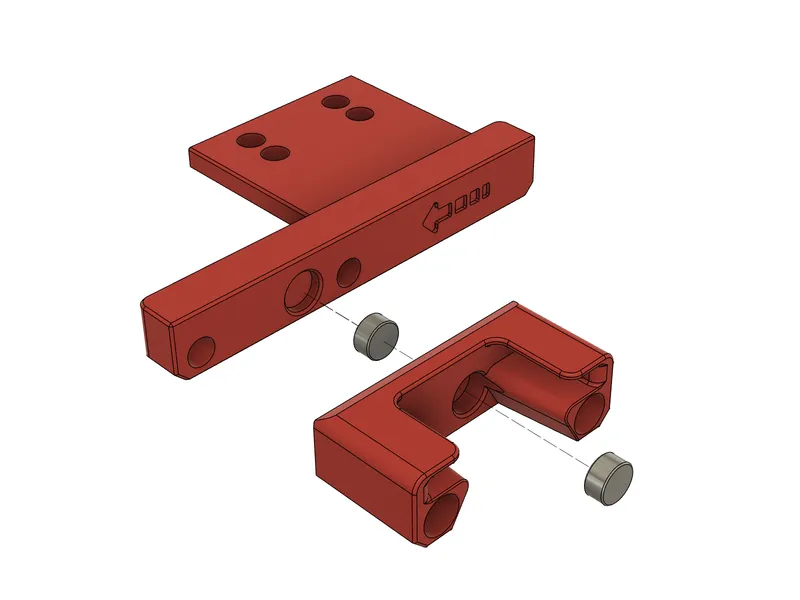 |  |
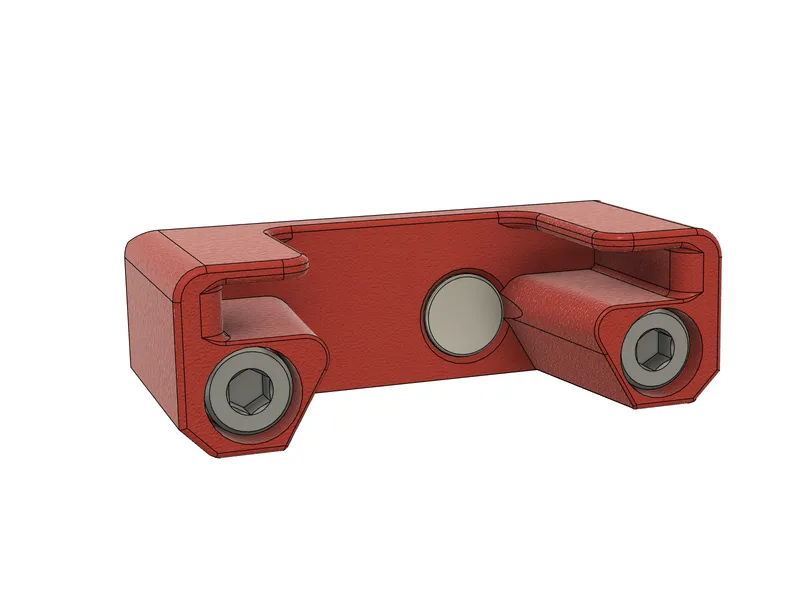
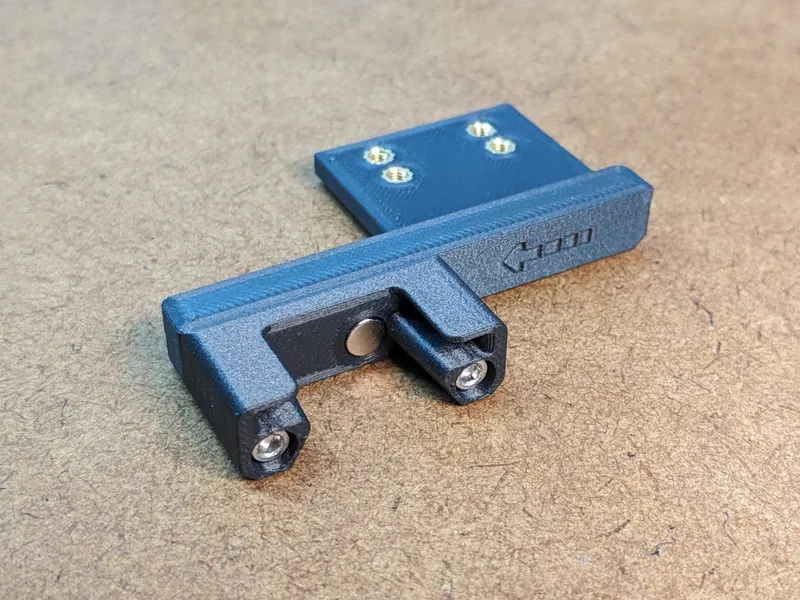
- It uses two magnets instead of one to hold the probe (and magnets) securely in place
- … and extends the dock on the top side for the same reason (both ideas from this mod)
- The magnets are placed exactly matching the position of the screw in the probe
- The probe is now guided as intended by the printed parts and not by the PCB
Undocking in Action
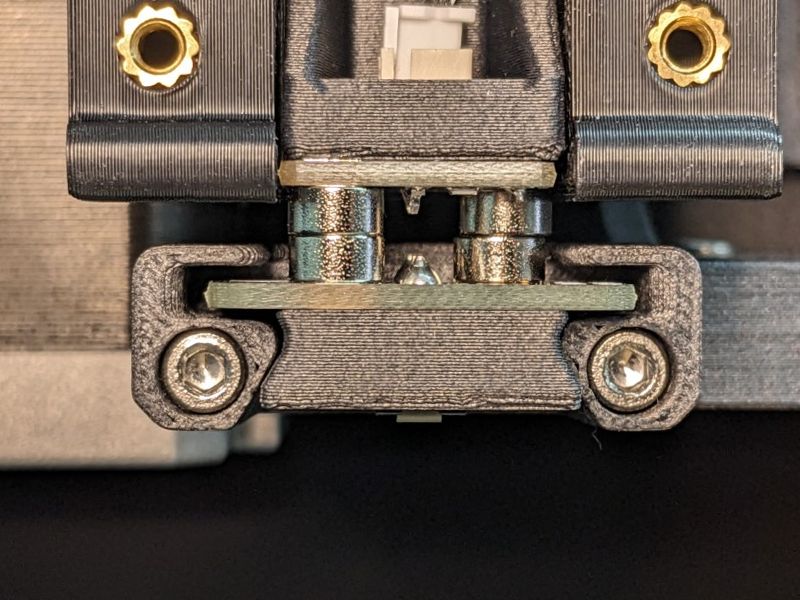 | 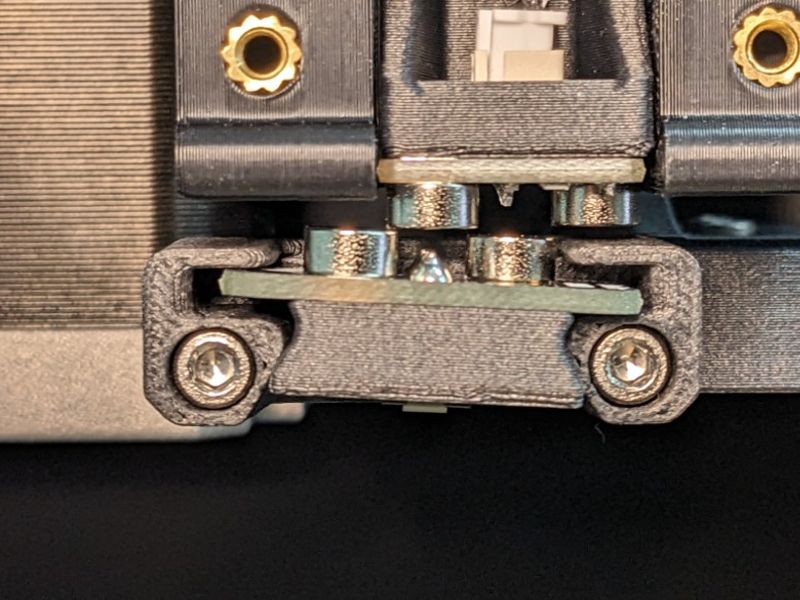 | 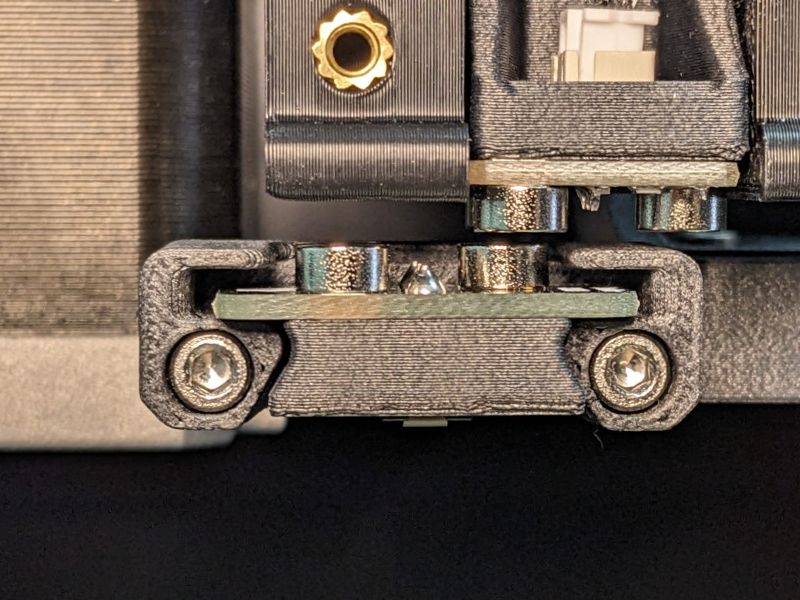 | 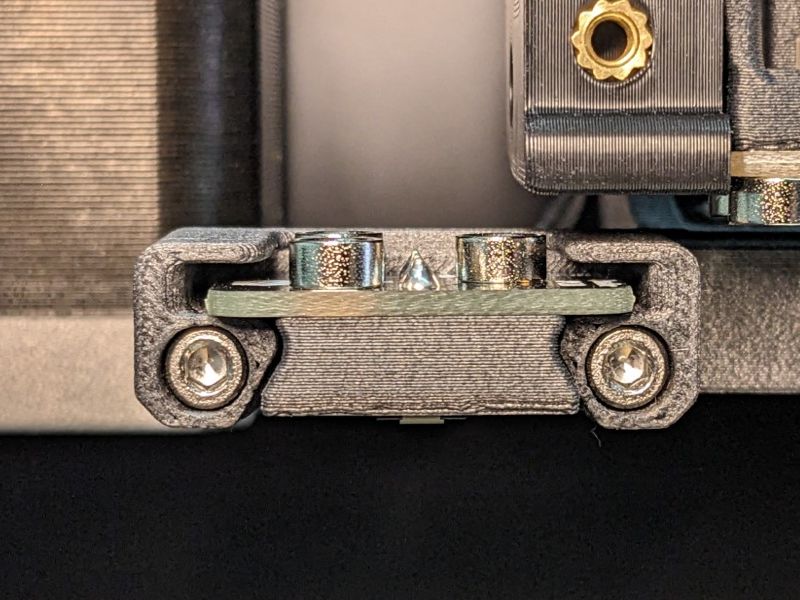 |
If you have the polarity of the magnets correct (the pair of magnets on the right is installed with reversed polarity than the two pair of magnets on the left!) the undocking will work like a charm:
- Picture 1: Probe is placed in the dock
- Picture 2: When undocking starts and the toolhead moves to the right, the probe is still “dragged” by the toolhead.
- While the right side of the probe is pushed down (good thing 👍)…
- …the left is trying to go up and follow the toolhead 😳.
- But the improved dock will securely keep the probe in the dock. 😎
- Pciture 3: Due to the reversed polarity of the magnet on the right side of the probe, the toolhead will push the probe back down into the dock…. (and every time into the exact same position) 😍
- Picture 4: …. where it stays and waits or the next bed leveling activity.
Probe Dock Mount
 | 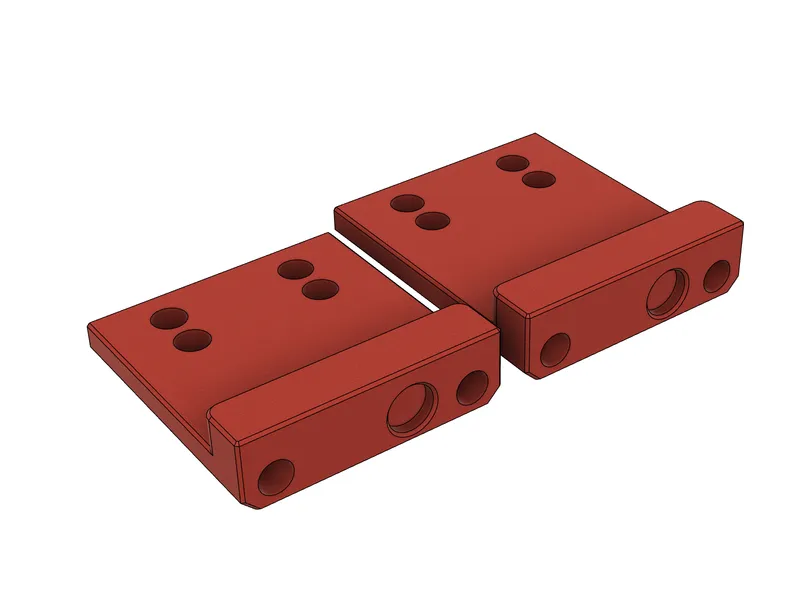 |
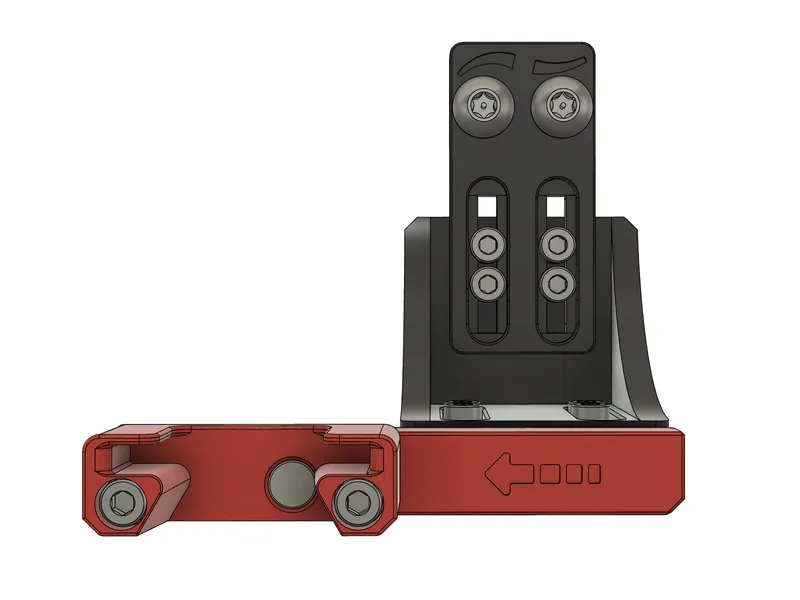
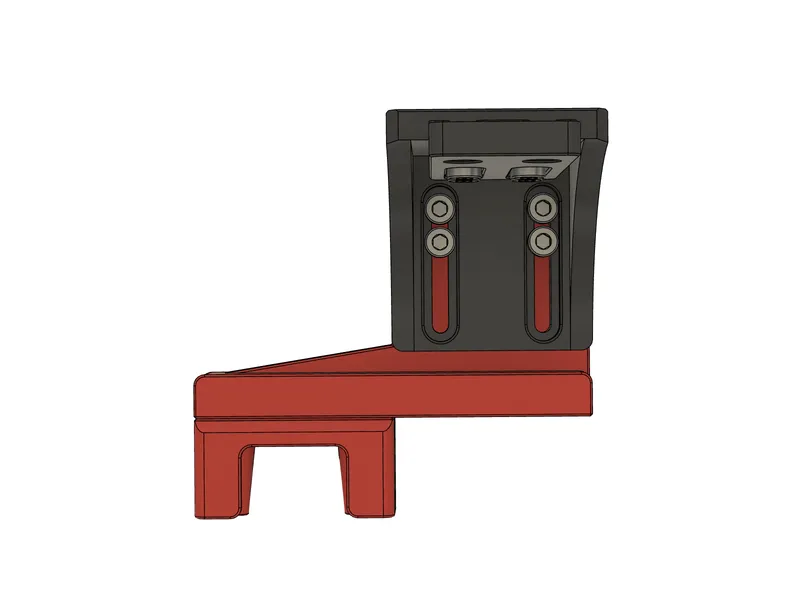
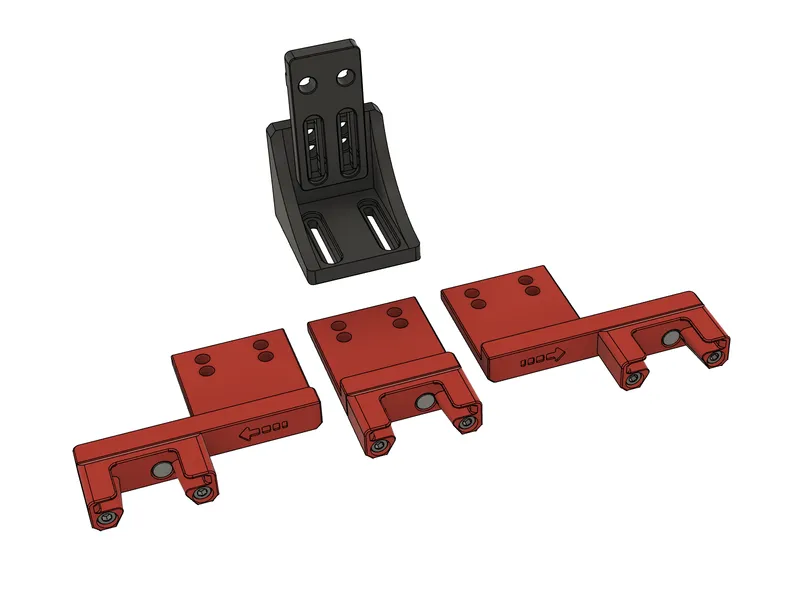
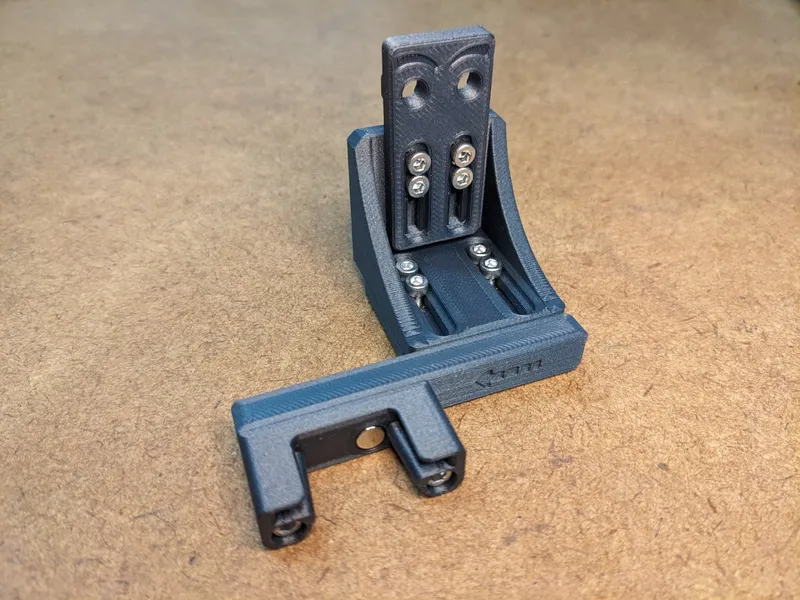
The new dock requires some recess in the mount for the second magnet. And I took this chance to create some mount adapters for different scenarios.
- There are versions for left, center and right side mounting of the dock
- As the new dock moves the probe position by around 2 mm in the Y direction, I also included short versions of all the adapters which compensate for that by moving things -5mm in Y. So this will give you even more flexibility to find the perfect spot with the probe out of the way when not in use.
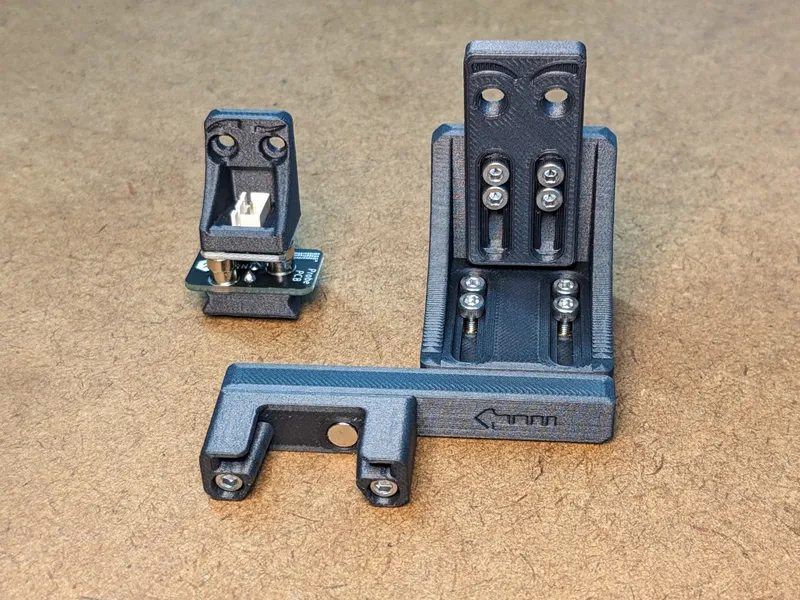
Last but not least: EYEBROWS! 😎 ... how could that be missing in the original design…. 🤔
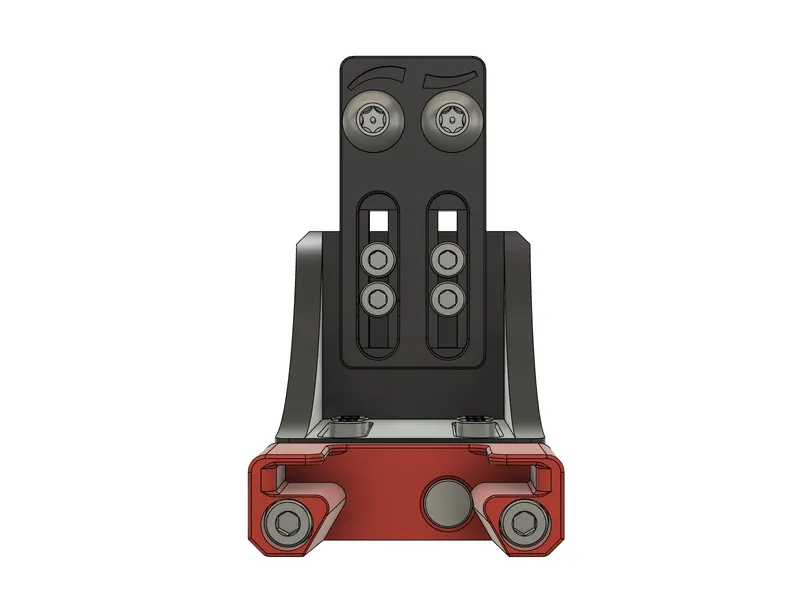 | 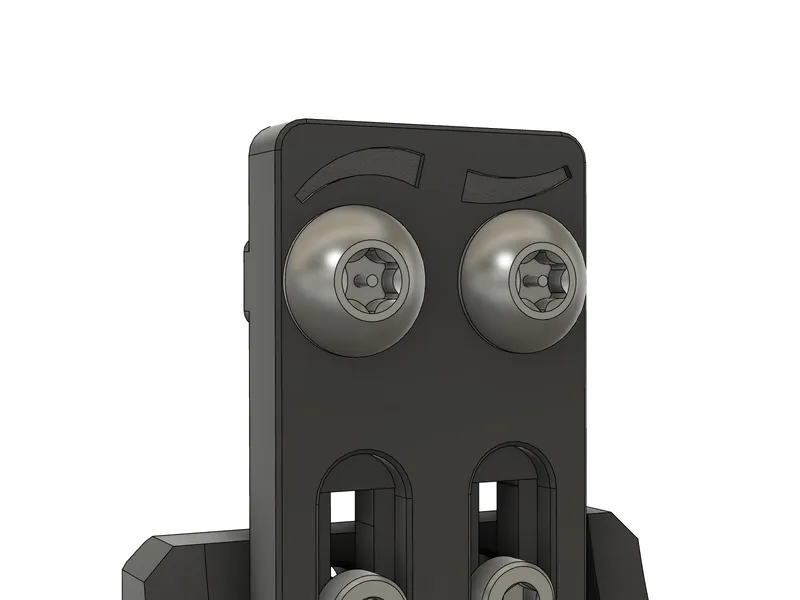 | 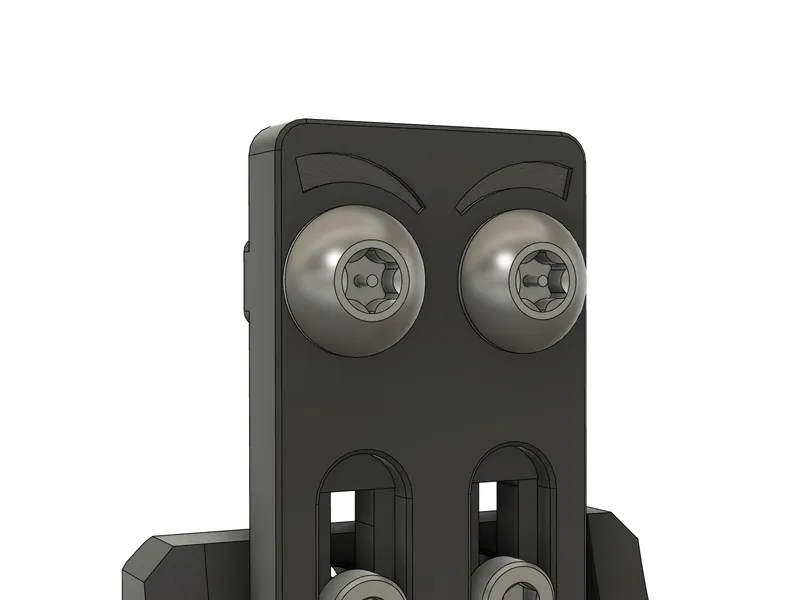 | 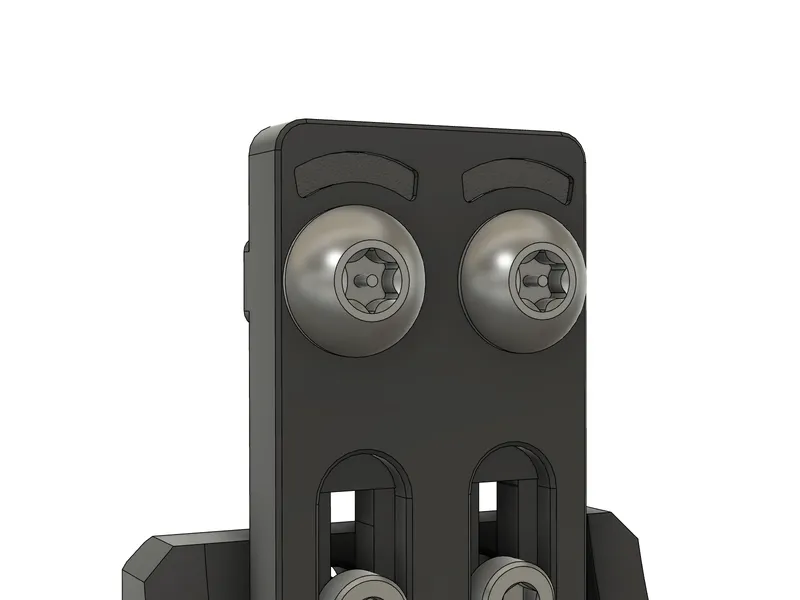 |
Printing and Assembly
BOM
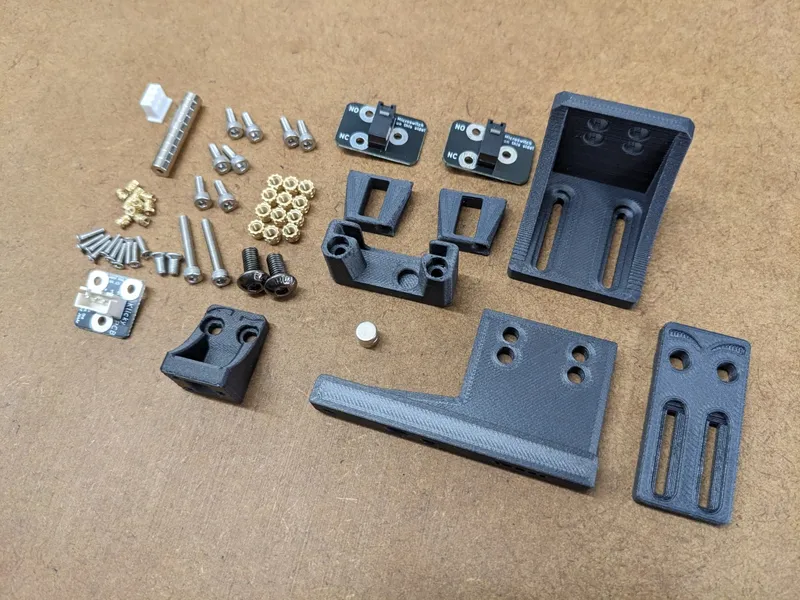
- Just one additional (ideally high temperature resistant) 6x3mm magnet
Printing
Nothing special, go with the Voron settings (no supports are needed). If you have the option print the parts in a material that provides high temperature resistance and dimensional accuracy like PC-CF.
Assembly
Note: You do not need glue! The magnets will reliably hold each other in place.
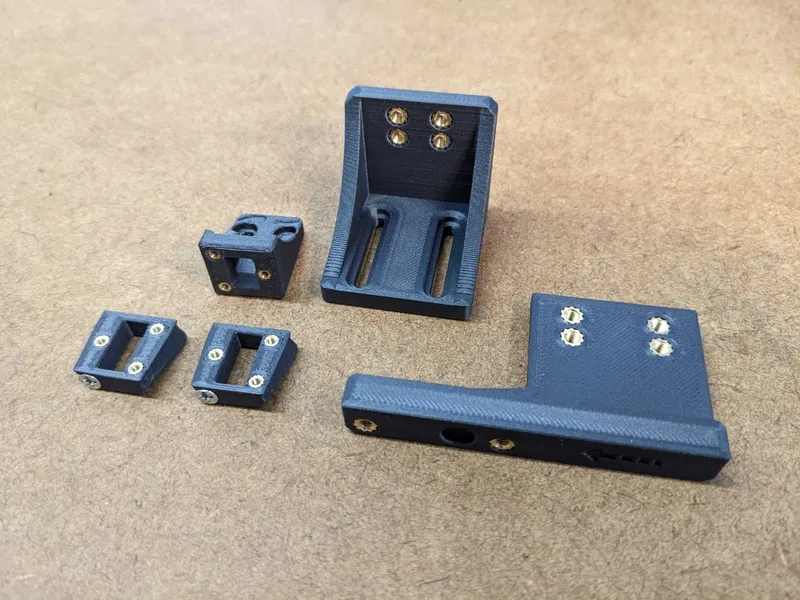
- Insert the front magnet. This is designed as a friction fit so it will stay accurately and quite securely in place.
- Add the second magnet to the backside
- Add heat-set inserts to the adapter of your choice and mount the dock
- For the probe and the setup Follow the documentation for the PCB Klicky Probe.
Take special care for installing the magnets with polarity in the correct orientation (the left and right pairs must be “reversed”, see Undocking in Action above.
 |  |  |  |  |
Compatibility
This optimized probe dock will work with all printers that allow for using the adaptive Klicky probe mount. In case you want to use it with any other printer / mount adapters there are some options:
- 🤩 Good Job: You can add the recess for the second magnet to your mount. There is the STEP File of the dock in the files section, so this task should not take more the 5 minutes. Probably you want the recess to be slightly bigger than the actual magnet is. It does not need to be a tight fit as the magnet is held in place by the front magnet.
- 😎 Dirty hack: As above, just do it in the slicer as it does not need to be accurate
- 🙉 SuperGLUE: Forget about the second magnet and just glue in the front magnet
- 📲Last but not least: Drop me a note about what model you need to be modified and I will take a look if it makes sense to add it to the model.
- 🙊 NO! A drill bit is not considered an option for people having access to a 3D printer
Tags
Model origin
The author remixed this model.
Differences of the remix compared to the original
Probe dock changes:
- Added top surface to better hold probe in place. The magnet-based holding mechanism was redesigned (with two magnets) and aligned with the position of the steel screw in the probe
- The probe was “guided” through the circuit board rather than through the printed parts of the probe, which may not be optimal (and probably not intended). I added some space on the left and right sides of the dock where the circuit board sits when the probe is docked, so that the probe is now guided only by the printed parts.
Probe Dock Mounting Adapter Changes:
- Added a recess for the probe dock's second magnet
- Added side mounting option directly to the probe holder slide, eliminating the need for an adapter
- Since you lose 2mm in Y for the thicker probe dock (due to the space required for the second magnet), I added shorter versions of the slide that give you +5mm back in the Y direction and give you even more flexibility when moving the probe along away from the bed.
- EYEBROWS!!! - How could they not be part of the original model? … Added them 😁
Attribution
The changes for the dock are based on the ideas in the improved PCB Klicky Mount which I just optimized and made it work for me. But the design of the dock is based on the CAD files of the PCB Klicky repro, and the adjustments for the variable probe mount are based on the CAD files from the Klicky-Probe repo.
As I can only reference a single original model for the remix and as this surely is PCB Klicky specific I will choose the PCB Klicky.

