A little bit filed and drilled. . . and it's perfect! (edited)
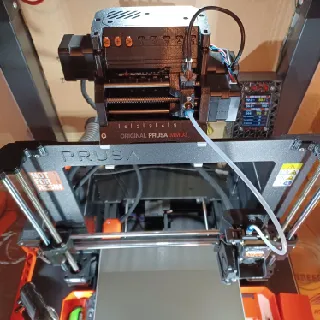
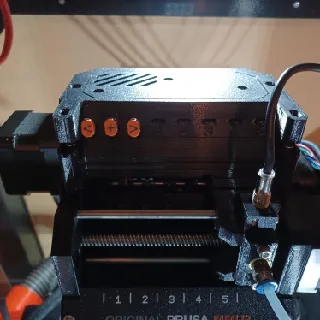
@akf_was_here really glad you like it, I don’t mind but I think it would be good to have it as an option with your files
@akf_was_here I forgot to mention, I noticed that the + sign on mine looks a little thin compared to the arrows, I did consider thickening it a bit - not sure what you think? I forgot that I combined the button parts so that there were only 2 parts for each button so its probably best if you modify it and retain the 3 parts per button.
@DavidIOntinyen_97061 Thanks Sir!
@akf_was_here hope you can use it . Please let me know and if posible post a picture
Nice rendering but doesn't fit super well on my side. I'm afraid buttons can fall down into the MMU easily with time and vibration
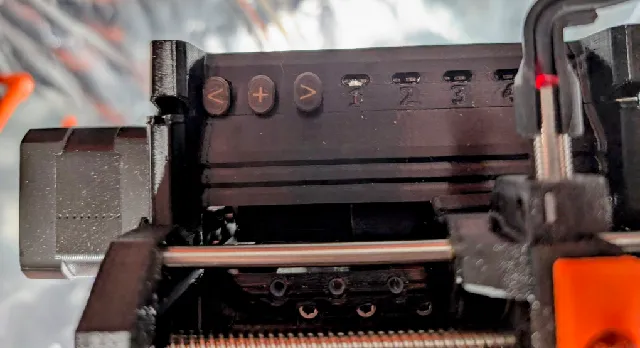
@akf_was_here Thanks for your answer, I'll give a new try
@deimosfr_1155564 Ok, added a 0p3 and 0p4 version, each a little (0.1mm offset on the perimeter ) smaller than the 0p2
@Expance nice, love the color change in the mmu3 body too!
@Papyjo Looking good!
That looser fit did the trick, thank you. Works perfectly now. Tried a few colour combos - gonna use the black one. Printed in Rosa3D ASA natural and black using .25 nozzle. 5 stars now :) (edited)
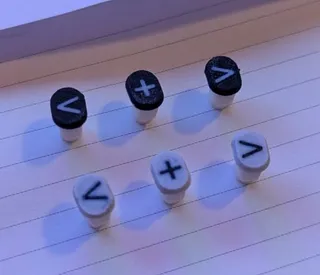
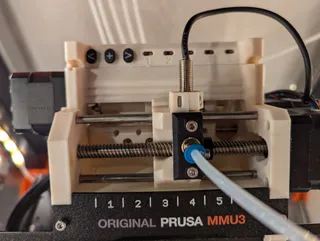
@IbPalle Nice, glad that worked better. Nice color scheme!
Nice design but they fail to work on my MMU3 - cant feel the buttons getting pressed. (edited)
@akf_was_here I think my board is a bit lover than normal and the holes in the cover, printed in ASA, doesn't have a smooth surface at the bottom - the button gets stuck. I tried filing and removing material which made the buttons press but didn't release. A me issue really :) I'll play around with the design a bit and see if I can make some that fits my MMU3 better.
@IbPalle ok, I added a couple of options for a looser fit, one with a 0.2 hole size offset/reduction from the Prusa hole (original offset was 0.1mm) and then the same but with the top and bottom of the hole shape trimmed off.