Beam alignment tools for cloudray c-series laser head 25mm (focal lens shaft 24mm)


Description
PDFAlignment package for co2 laser cutters with cloudray c-series head.
********If you are doing this on a FF Y-1200 laser or Y-400 substitute every time I reference the x axis with the y axis and vice versa because they are flip flopped. Anybody else proceed as normal.********
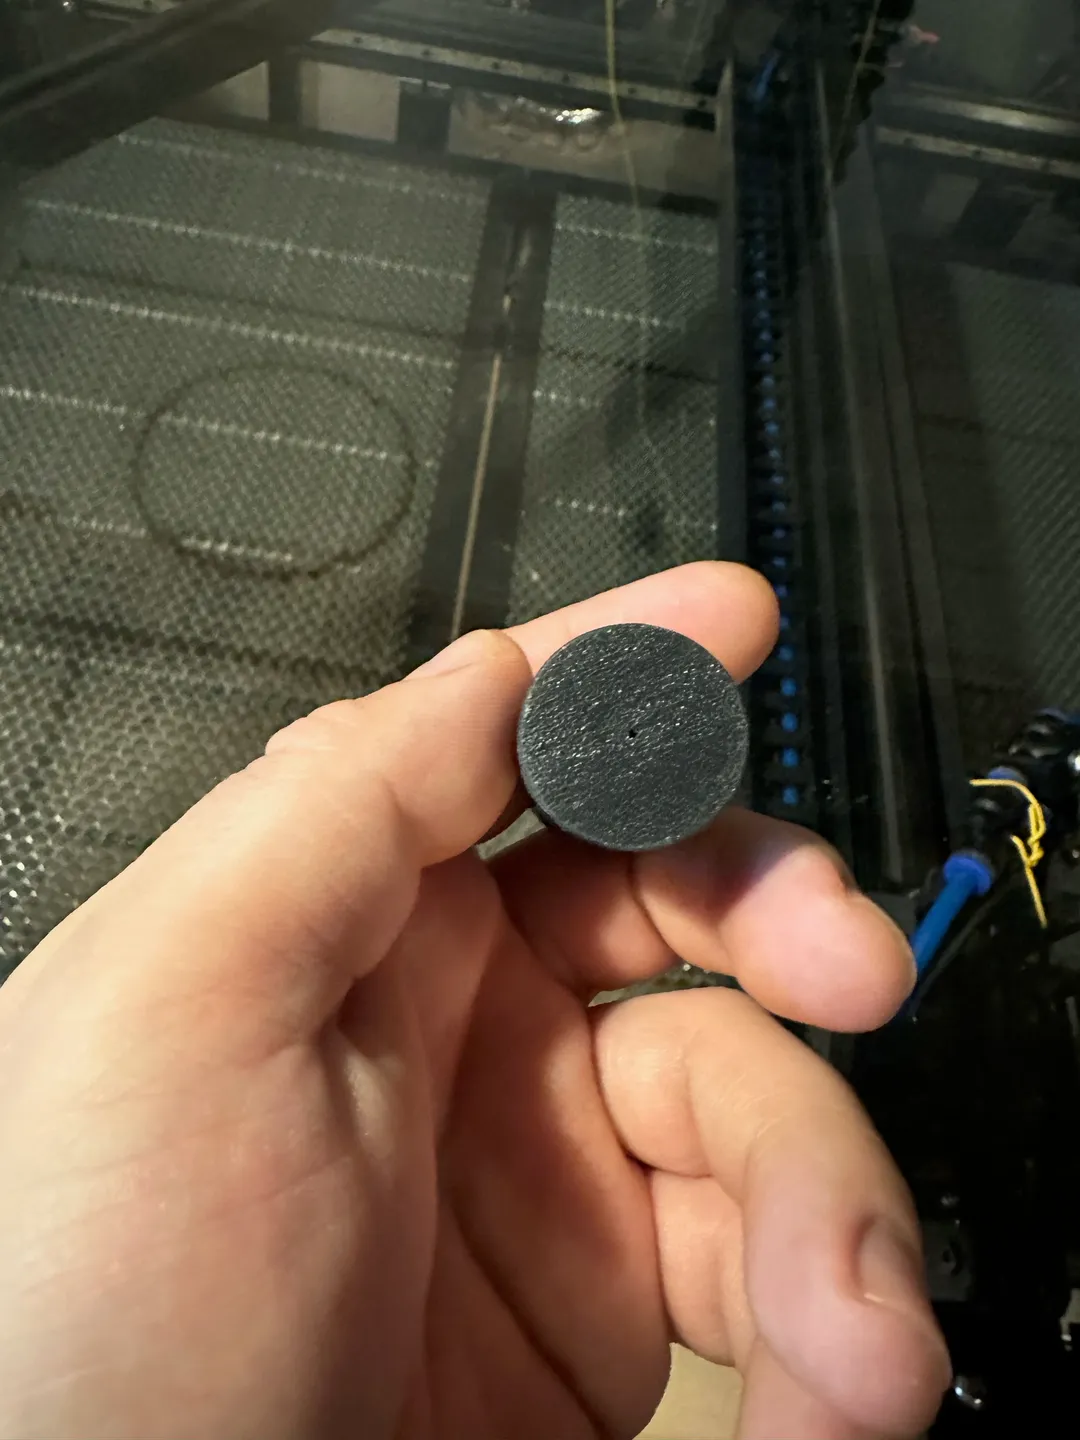
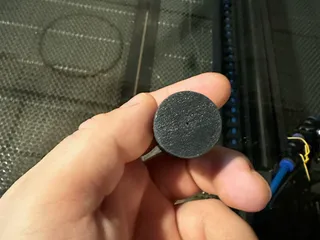
All you need is a .223 bore sight off amazon I used this one personally (https://www.amazon.com/MidTen-Sight-Boresighter-5-56mm-Batteries/dp/B0794YFRYP/ref=sr_1_1?crid=3S62GDAVFIAI5&dib=eyJ2IjoiMSJ9.F5TlFGsdyw_eYx0utFpgjiTlKDFm4yDdkAGuTdv-ywy3gTvxXi5_U_iPCwk3ejzoS1hFtXjXSN6Vf3toRmixRjeJ4s4S9QYSsMFeFL3PvwuXG2510sYPc1CgnQYLtPMpqBKK9Dy8N7R1VRg13JvcdZPDhgvG5pEUsRPfn-qq1so9L1AtfxDFR4o34IYEG27ZZZeOEX3AviJAULoFrSKyuEZO8D01aU3boJV8qlt3ejhwU1GCZKmS4bMrn1DX1JxTedlr0d0Nh7YEELTiKx0m_8RoPK1tfqjKJIMclJrZs6U.kw5s5R-VFXFPWrNP6b_mSAZFoNo1v-yI_HJ0ZaQ-B30&dib_tag=se&sprefix=.%2Caps%2C257) for the reverse alignment tool. I included a 1.5mm version for printers that tend to have more first layer squish that way your final hole ends up around 1mm. The 1mm version is for well tuned printers. You want the hole as small as possible, 1mm was my limit personally. The hole needs to be round and in tact to get a nice circular focused beam.
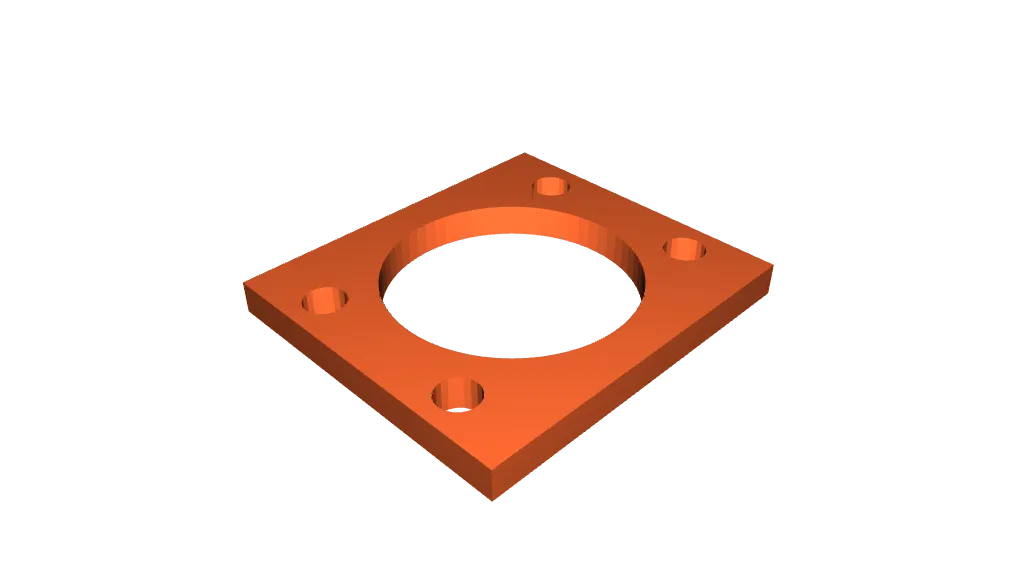
The laser head risers included here are 4mm, 5mm, and 6mm however if you need something thinner you can put it in your slicer and unlock the scale and adjust the z height as you see fit to get your laser head to perfectly accept the beam right down the center.
You will need m4 shcs screws to accommodate the riser plate with a height over 2mm as well because the stock ones will be too short.
*****How to use*****
1.) Align mirror one with the laser tube itself using the burn test on painters tape etc. making sure it is centered as much as possible with the beam.
*** USING THE A, C, D METHOD AS SHOWN HERE***
2.) Align mirror 1 with mirror 2 using burn the burn test on painters tape until you get the beam consistently hitting the same spot all the way down the axis. After that is established adjust mirror two height and back and forth placement along the y axis to catch beam in the center of the mirror.
3.) Align mirror 2 to mirror 3 using the burn test on painters tape at this point don't worry about centering on mirror 3 hole yet just make sure you are hitting the same spot on the painters tape at all 4 corners.
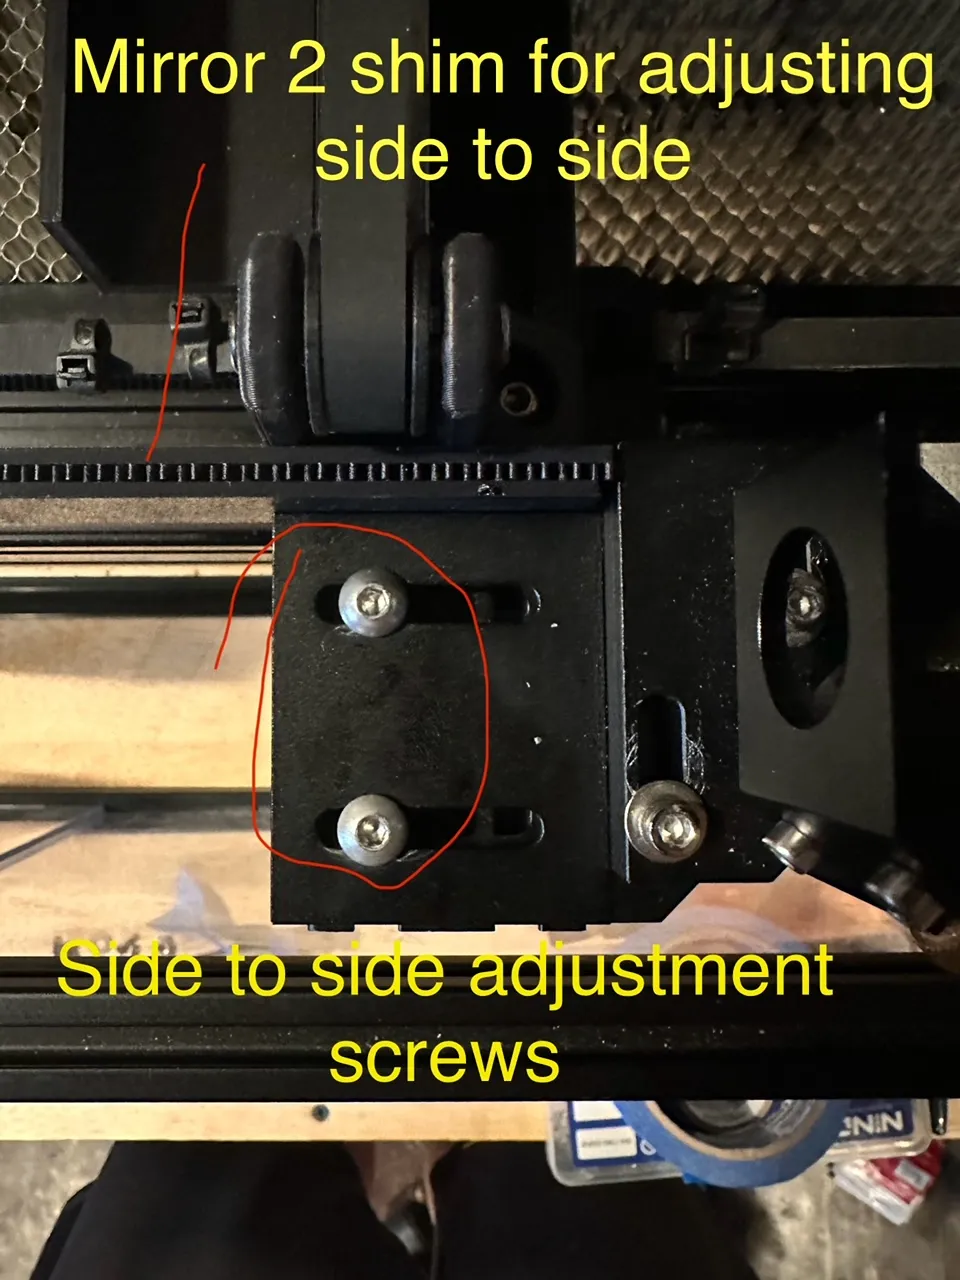
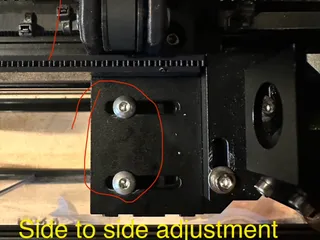
4.) After you have your beam hitting a consistent spot on all 4 corners and only after you have a consistent 4 corner burn adjust mirror two to hit mirror 3 in the center on the side to side on the x axis via the mount screws not the screws for the mirror adjustment (see photo). You are trying to slide the mirror toward or away from mirror 1 depending on where the burn mark lands on mirror 3 (the laser head). I would highly suggest making something to make sure the mirror mount doesn't slide forward or backwards (the shim in the photo was my solution) because you should have it centered from the last step. Sliding toward mirror one or away will not change the centered beam but sliding toward mirror 3 or away will. When you do this step it will make sense. Like I said above some kind of shim to hold it steady in it's back and forth position (y axis) would be extremely helpful to you for this (I printed one).
5.) You should now have a beam that hits the same place and is centered as much as possible on mirrors 1 and 2 and is centered on the x axis on mirror 3. If your luck is anything like mine you might have a beam that is striking too high (z axis) as the goal is to have it enter the hole for mirror 3 directly in the middle.
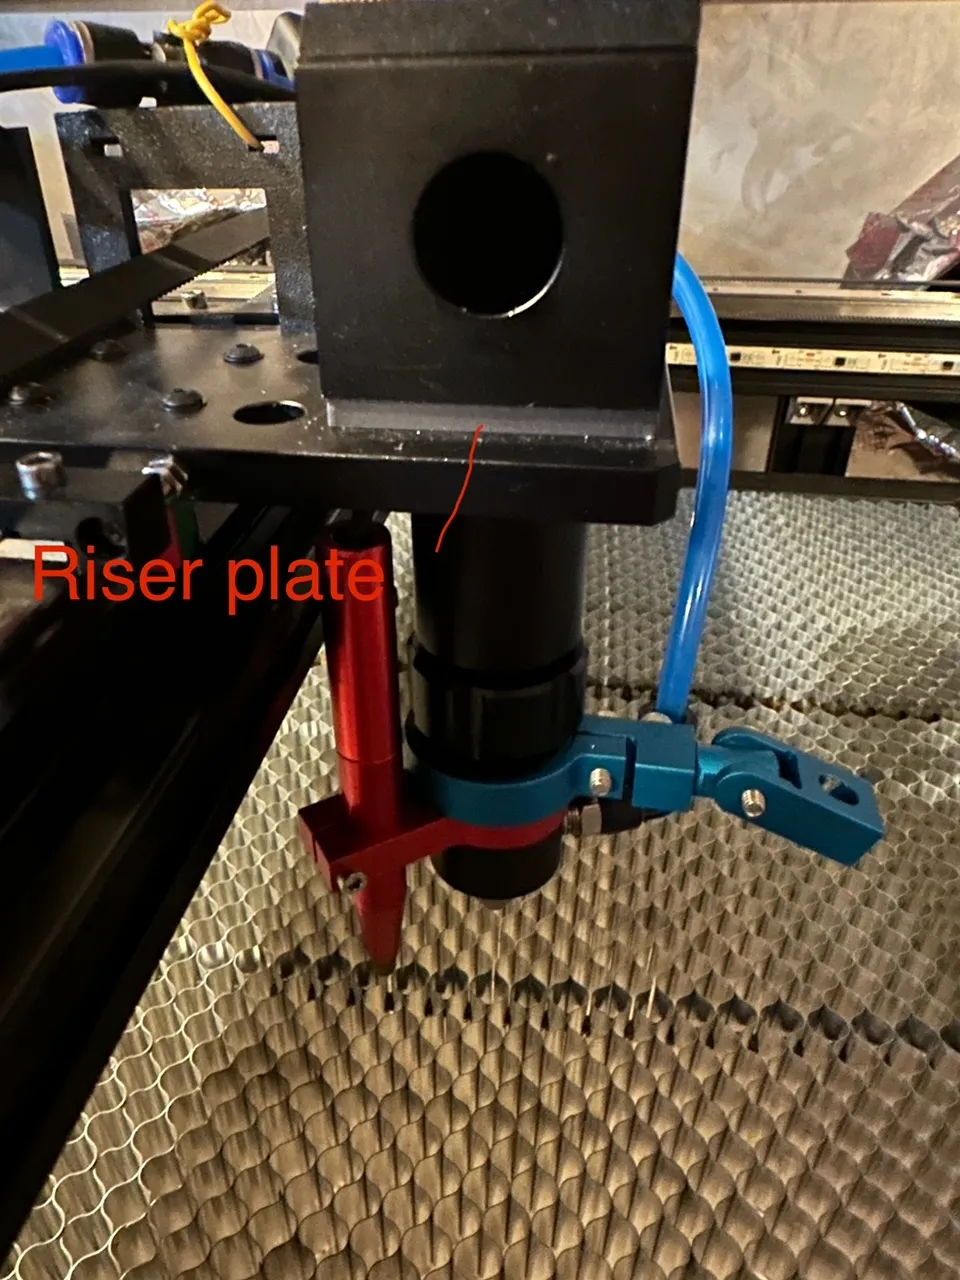
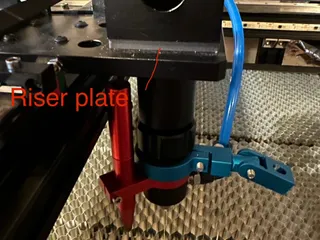
At this point you will want to measure where the middle is and mark it with a sharpie and then measure your burn mark height vs where the middle is and use the riser plate included in these files to lift your mirror 3 mount up to the correct height (see photo). If your beam is striking lower, you need to adjust the height of your laser tube itself and keep shimming the tube via the mounts until it strikes the middle of the mirror 3 hole. You can also adjust the laser tube to the right angle to fix a high beam as well but its 1000x easier just to print a riser plate and a lot more precise imo.
6.) You should now have a consistent burn on mirror 1, 2, 3 with the beam hitting the middle of mirror 3. If you are having a 4th corner alignment problem (beam hits the same place on all 3 corners but is off on corner 4 watch this video to correct it before moving on).
If your beam is hitting the center of mirror 3 on all 4 corners proceed to the next step.
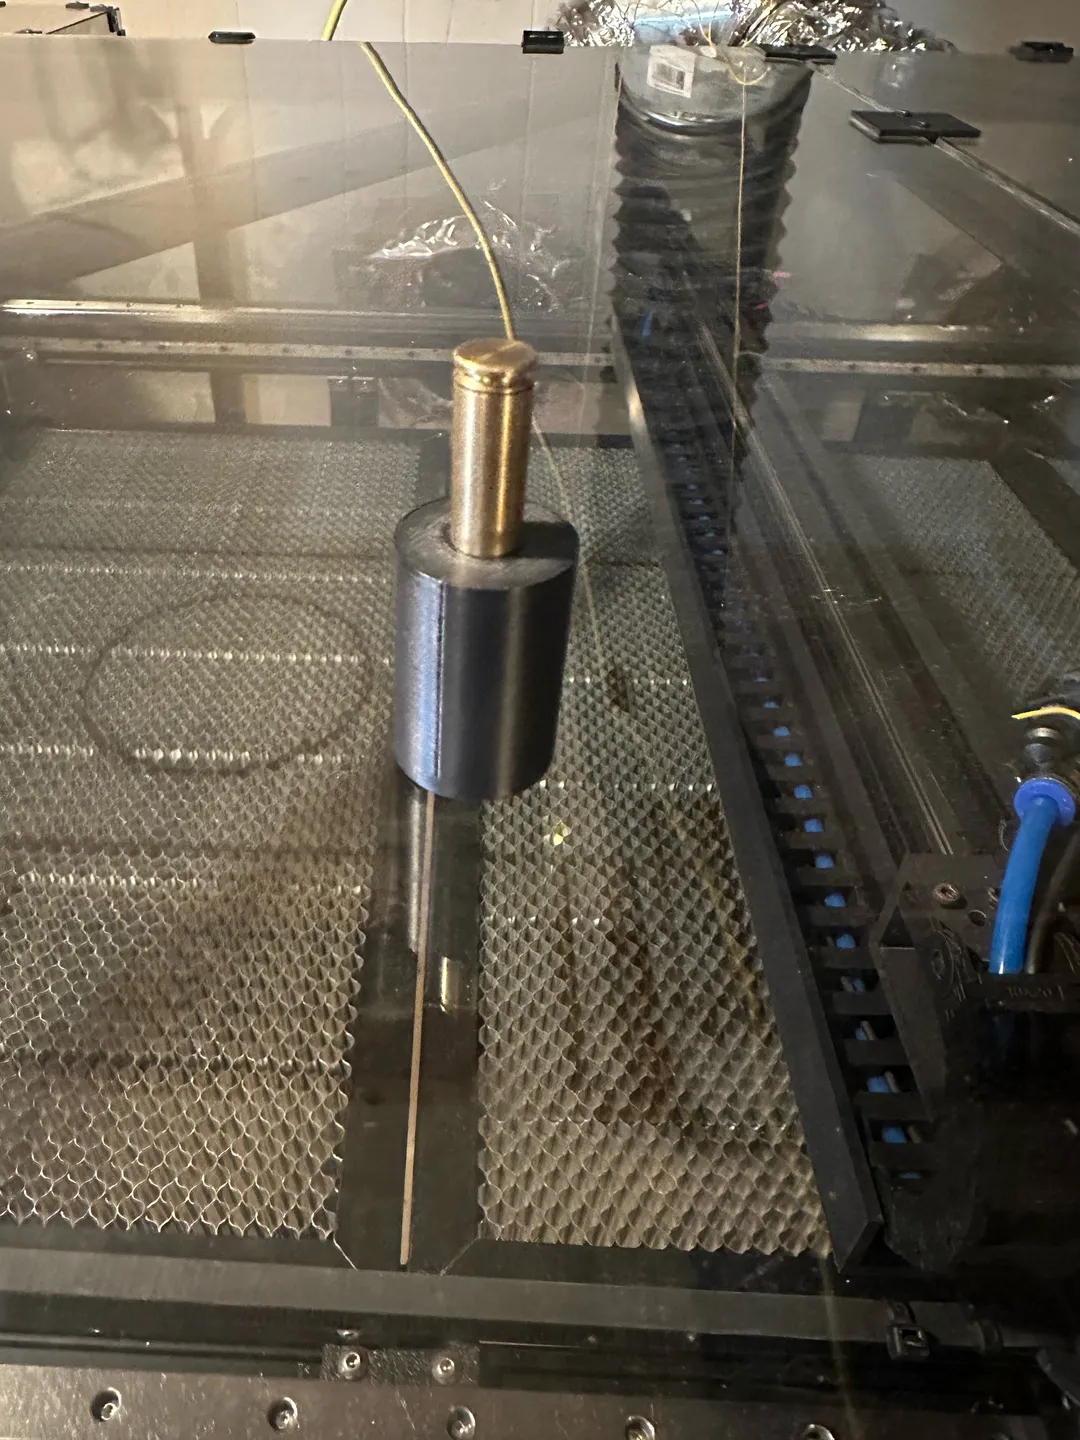
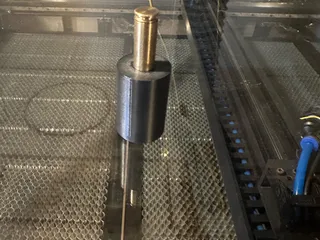
7.) Insert .223 bore sight into the reverse alignment tool and remove the shaft from the laser head and insert the reverse alignment tool and tighten it with the compression nut on the laser head. Start with the 3rd mirror set all the way as low as it goes. Place a piece of painters tape over the mirror 3 hole evenly turn all 3 thumb screws on mirror 3 to raise the red dot beam up to the very center of the hole.
Once you have the beam as centered as possible remove the tape over mirror 3 slide mirror 3 along the y axis (the short axis) to mirror 2 as close as you can get them place a piece of tape over mirror 2 and mark the spot the red beam is sitting on mirror 2. After you have the spot marked slide the 3rd mirror as far away from mirror 2 as you can along the y axis and adjust it until it sits in the exact same spot as you marked on mirror 2 without moving when you slide the 3rd mirror along the y axis back and forth. Tiny movements with the beam are going to happen (jumping around a little while moving you can't stop that but the placement when it's not moving are whats important). Once you have that dialed in move on to the next step. You shouldn't have to make any major adjustments with the thumb screws to do this these are all very small adjustments to get it running parallel along the axis. Your beam will still be centered through the hole of mirror 3 this should barely affect the placement.
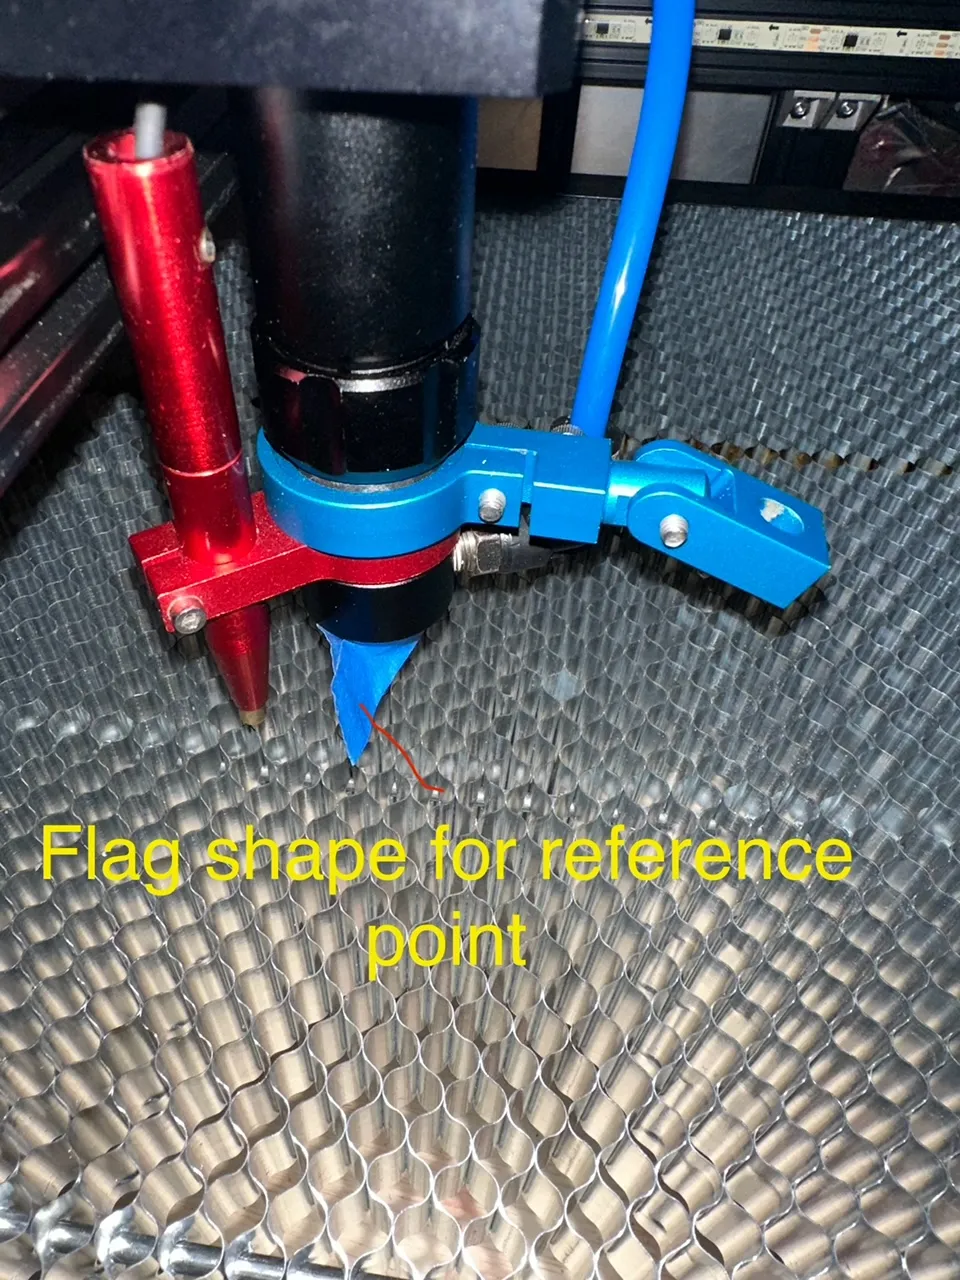
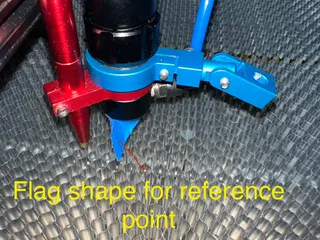
8.) Your alignment should be about 98% good at this point. Insert your shaft with the focusing lens into the laser head and tighten down the shaft. Take a piece of painters tape and put it over the hole on the end of the nozzle and press firmly to imprint the hole onto the tape (I usually make a flag shape with the excess tape and have it point straight back so I know where to adjust after the burn test and have a reference point, see image included).
If you are lucky you now have the burn hitting dead in the center of that hole. If you are unlucky like me it should be very close but further adjustment is needed. The reverse alignment tool method gets you extremely close but never perfect in my experience so this is where you get it perfect.
Leave the diagonal thumbscrew on mirror 3 alone (top left screw). With the 3rd mirror hole facing you the thumb screw on the bottom left side moves the beam along the y axis back and forth. Turning the screw clockwise will move it towards the back of the machine. The screw on the top right moves the beam along the x axis side to side and turning the screw clockwise will move the beam to the right of the machine.
Micro adjust these screws a little at a time until your beam is hitting dead center of that hole.
9.) Your beam should be 99.5%-100% aligned at this point. To verify your beam is good to go bring a piece of wood or cardboard etc. about 10mm away from the hole on the nozzle and pulse to create a burn mark. Lower the wood about 20-30mm and pulse again. The burn mark won't be as focused looking however it should be hitting the same spot as the close pulse. If it is a little bit off micro adjust your screws until its hitting the same spot (micro adjust means micro adjust we are talking about barely having to move the screws here as it should be extremely close as it is). Verify one more time your beam is not impacting any of the nozzle by doing a final tape test on the nozzle. If your beam does not touch any of the sides and puts out a nice clean circle on the tape you are good to go. It should still be very centered at the end of course.
10.) Make sure the locking nuts are all tight on the thumb screws without turning any screws and do one last burn test on all the mirrors and the nozzle hole to verify you didn't knock mirrors out of alignment, clean all mirrors with acetone (I use q-tips and wipe dry with the dry side) and enjoy your new laser cutter / engraver.
Tags
Model origin
The author marked this model as their own original creation.


