Plug-In Mesh Inserts for Voron 2.4 Skirts
Description
PDFI wanted the nice mesh-style look for the skirts of my Voron 🥰 but without reprinting the complete skirts and especially without “meshing” with the slicer 😉. So I designed these plug-in mesh inserts which besides the awesome look also protects the electronics in the bottom compartment – and your fingers 🤞.
This model…
- gives you a sturdy mesh that won't break
- is modular in the way that it can be attached to the standard skirt parts without the need to reprint anything
- does not require to do any “magic” in the Slicer
- gives you the multi-color look without a multi-material setup / filament changes mid-print
The Mesh Insert
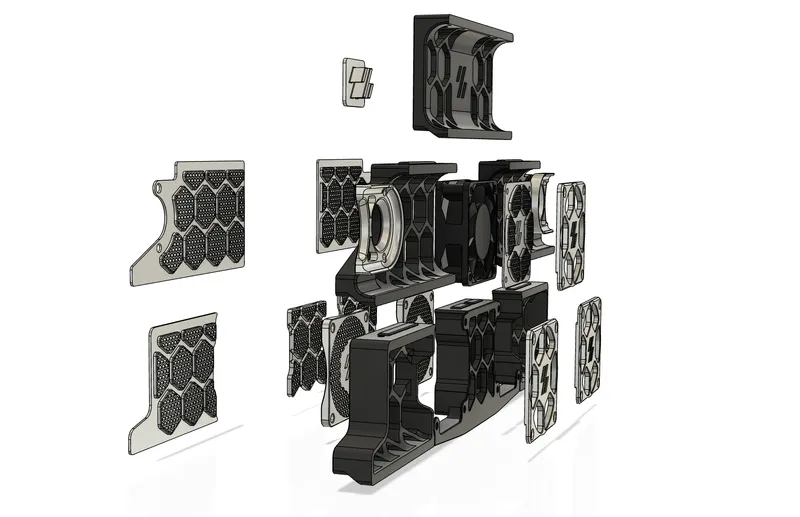 | 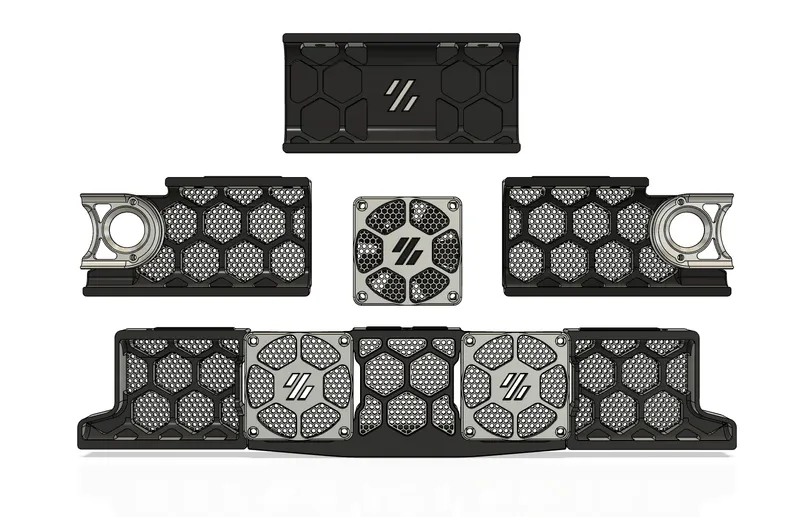 |
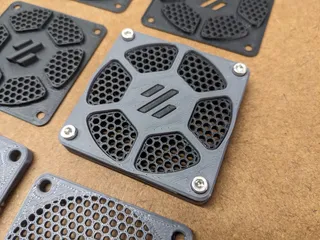
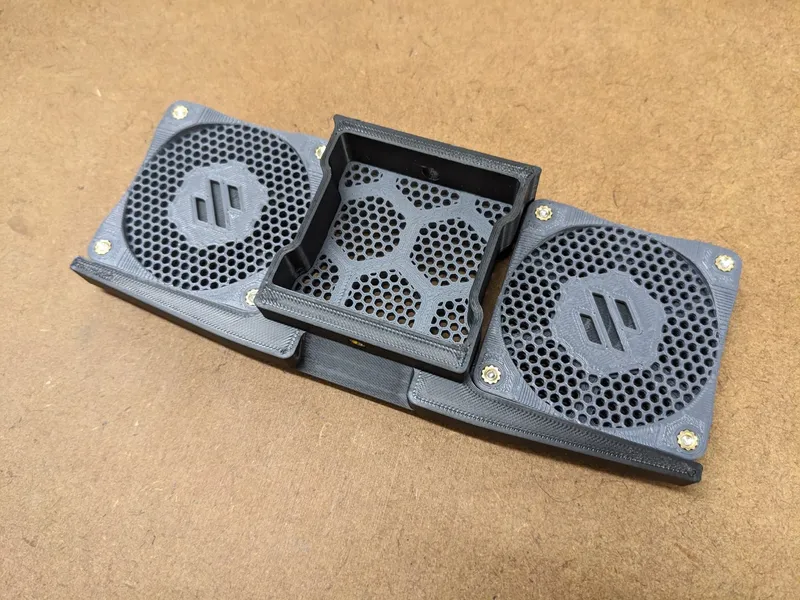
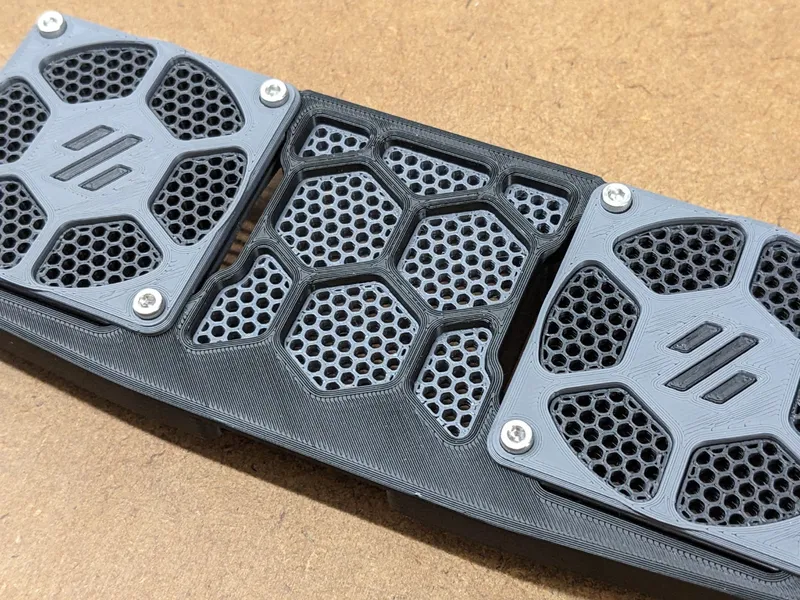
This is a complete set of mesh inserts for the skirt of a Voron 2.4 (front and side skirt as well as a rear logo insert). Note that I put the fan grill mesh shown in some of the pictures in a separate model. So have a look there as well: Modular Mesh Inserts for the Voron Fan Grille
Compatibility: I designed the parts for a Voron 2.4 R2 300mm and this is also the version that I tested. I added the parts for the 250 and 350 version and I am quite optimistic they fit 📐 . If there is an issue with these versions, just let me know and we will fix it.

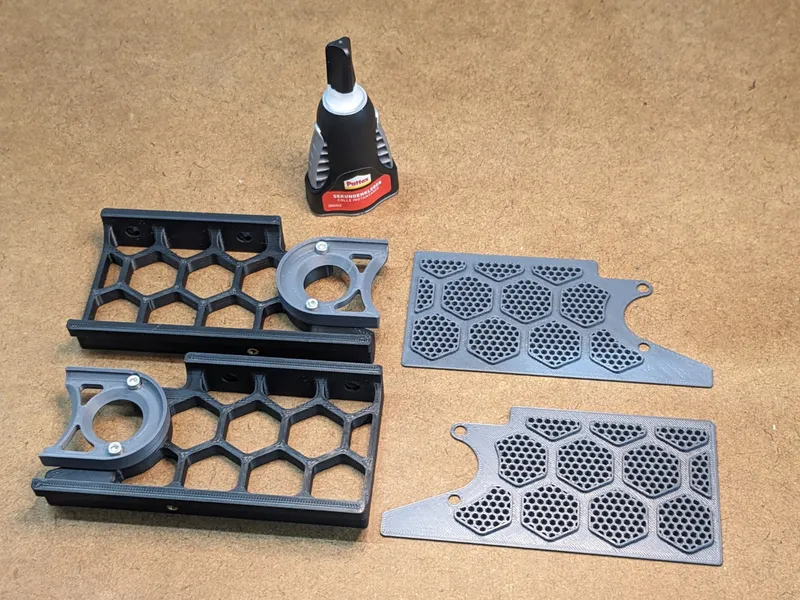
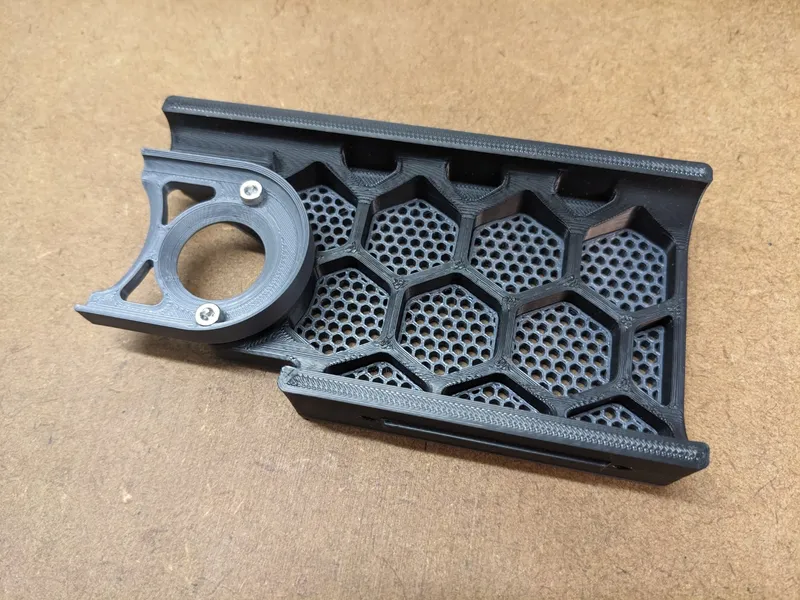
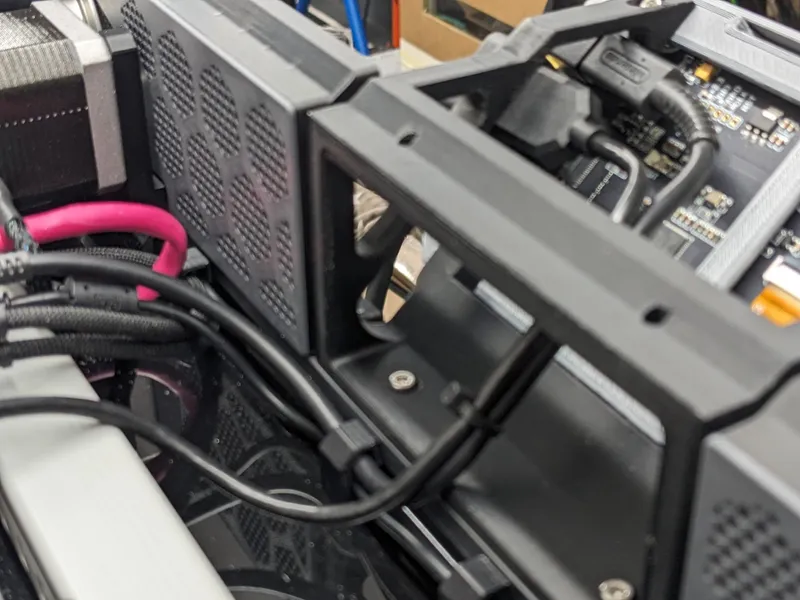
There are two versions for the front skirt inserts. The ones I created first (CNC version) work perfectly with Chaoticlab's CNC Z motor mounts, but looking at the CAD these might conflict with the standard Voron printed parts (see image). For this reason I created a second version that should work in both cases.
Support me : Please leave a Like if you actually like and use this model. It does help a lot to get some of the filament that is needed for all the test prints while creating models to share with you!
Printing
There are no special requirements for printing. Just use the default Voron profile with an extrusion width of 0.4mm. No supports are needed
The parts are designed with just 0.1mm spacing between insert and skirt so they fit fairly snugly into the skirt and give it a bit of a clip feel.
Assembly
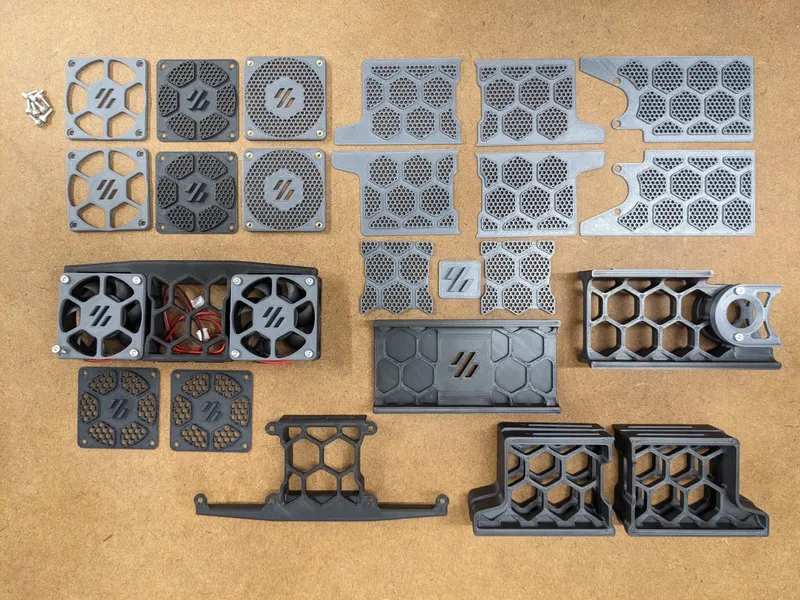 |
Side Skirts
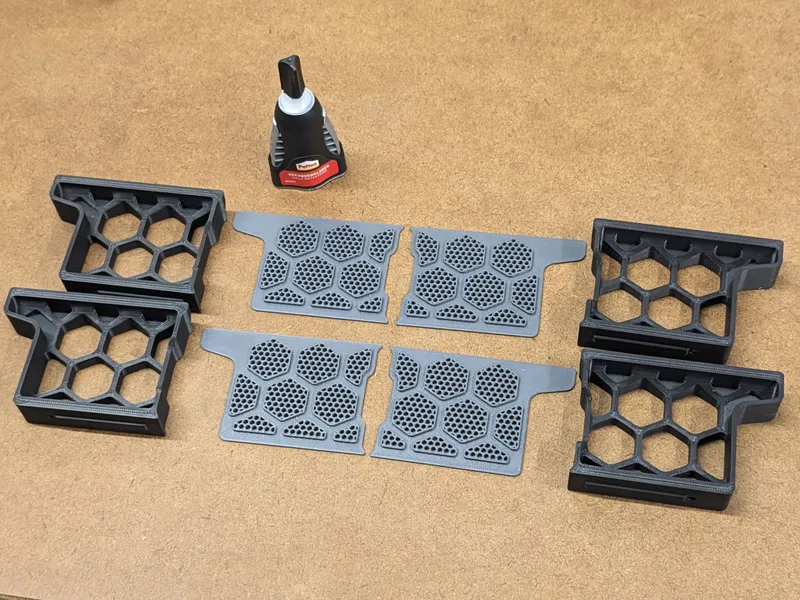
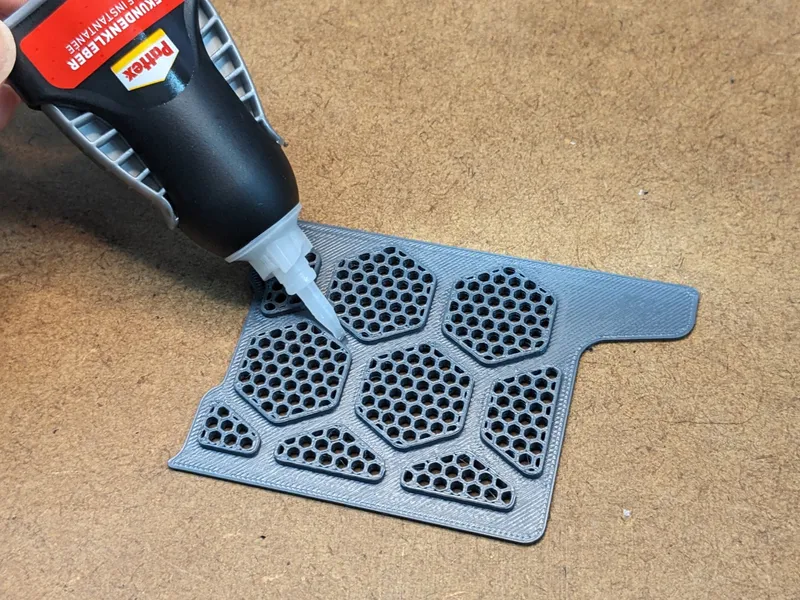
For the left and right mesh panels, after you checked that everything fits, apply some superglue to the mesh insert as shown in the image. Due to the “walls” around the hexagon shapes it is really easy to apply the glue and it will stays where it should be without a chance to create any mess ;-) . After applying the glue, just firmly press it into the skirt.
 |  |
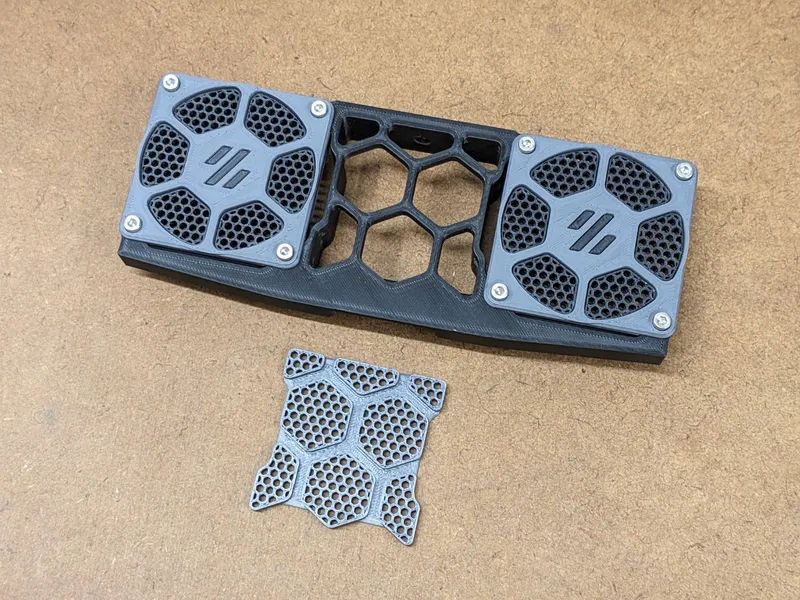
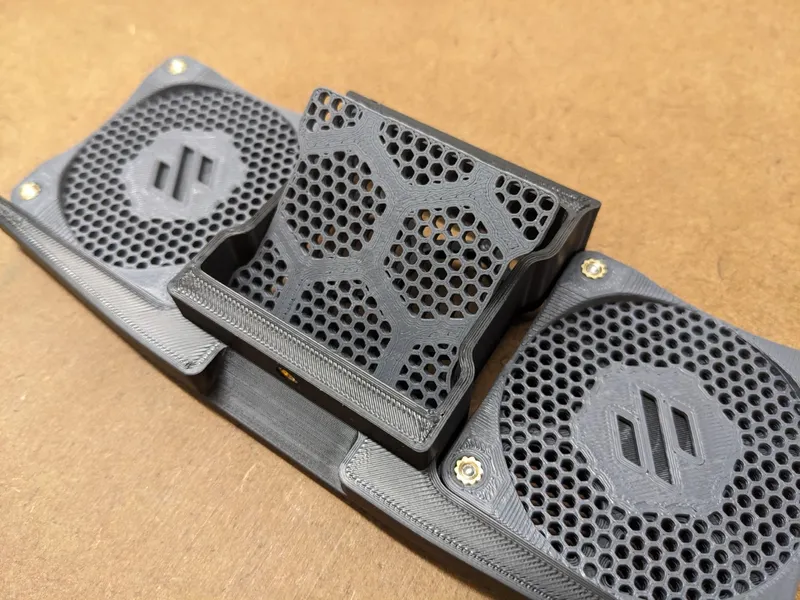
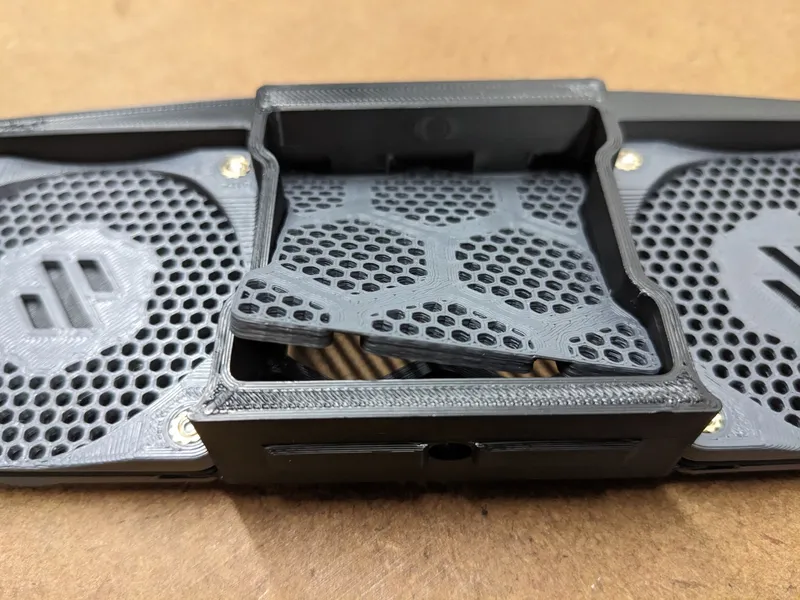
Assembling the center skirt is a little difficult, but since the part is somewhat flexible, it fits in and stays in place very securely without the need for superglue:
- Start by inserting the bottom of the insert
- Bend the insert a little to get one of the top corners in
- While still bending a bit, get the other corner in as well
- Now press everything firmly into the skirt
 |  |  |  |  |
Front Skirts
Make sure to select the correct version depending if you have printed Z motor mounts or CNC versions of it.
And as for the side skirts, add a bit of superglue
 |  |
Fan Grilles
There is separate model for the fan grille giving you some options to choose from, so check it out:
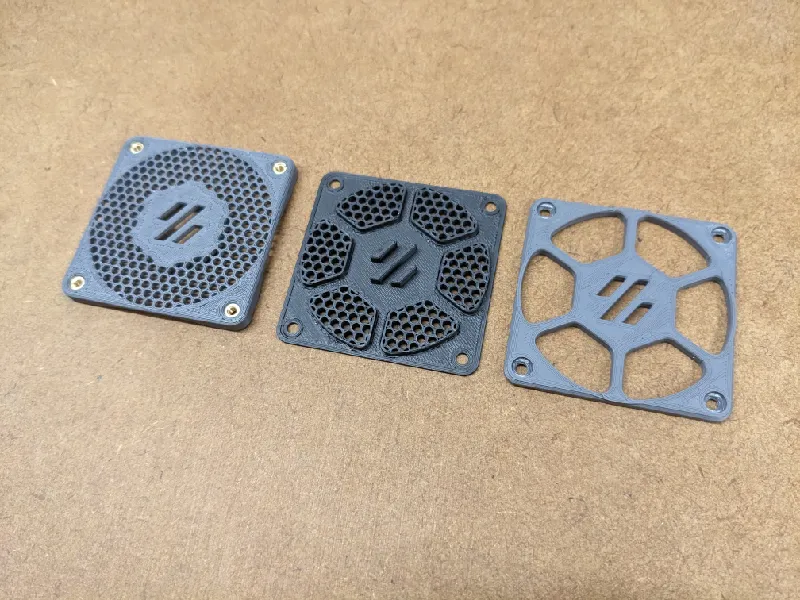 | 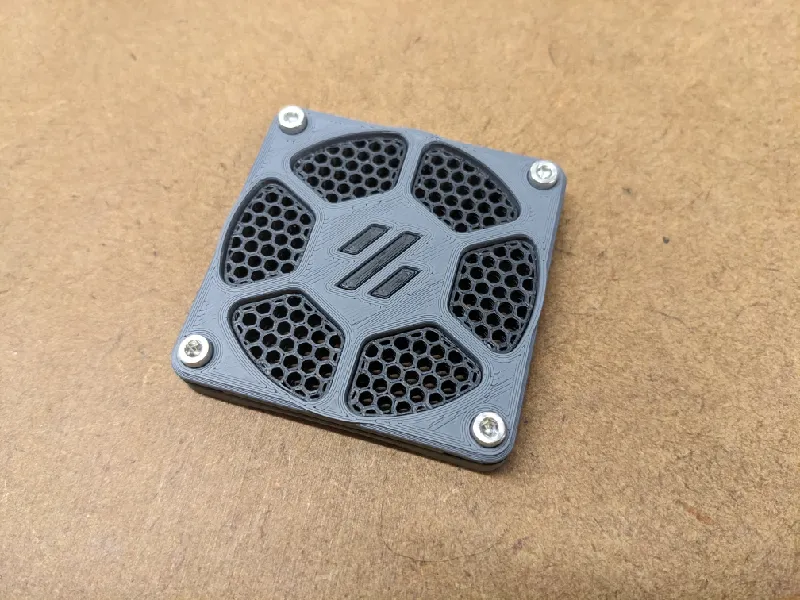 |
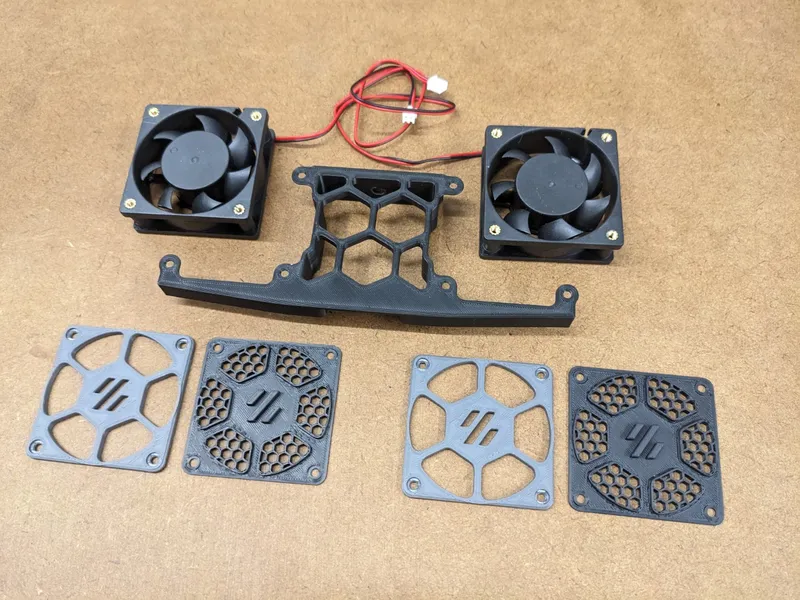 | 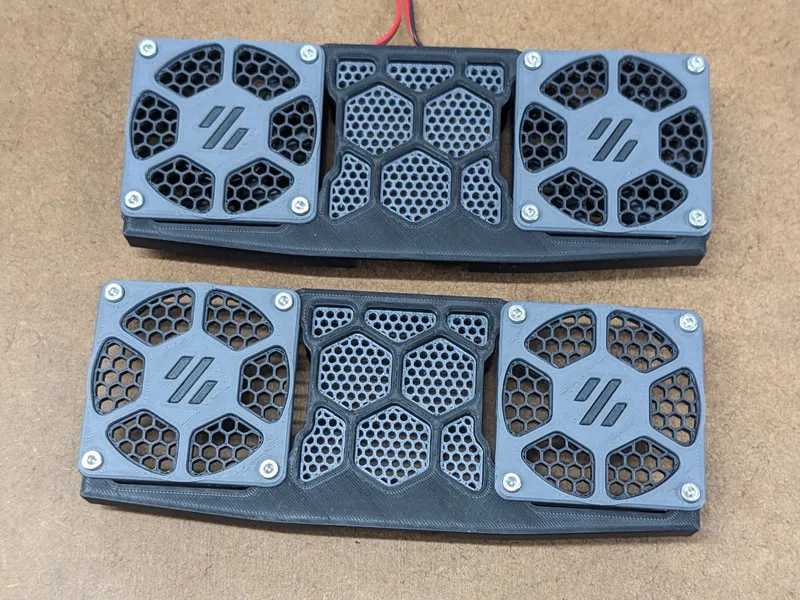 |
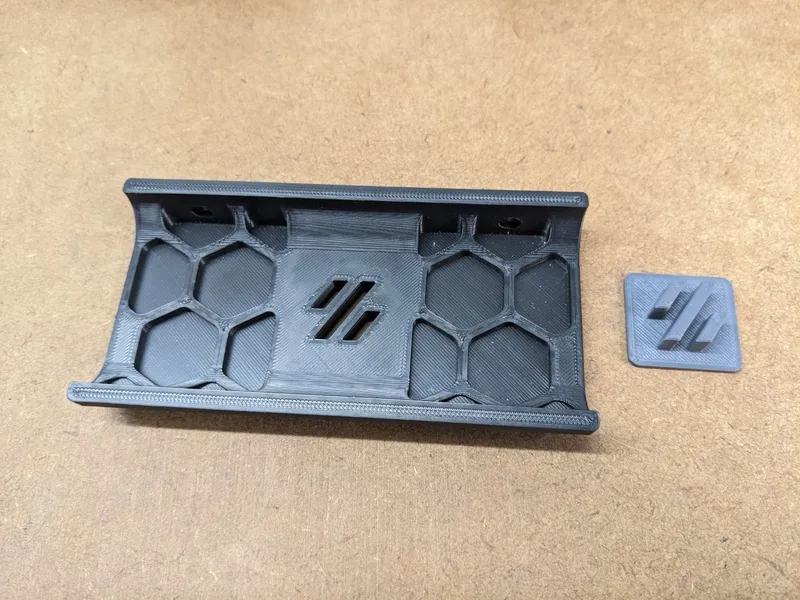
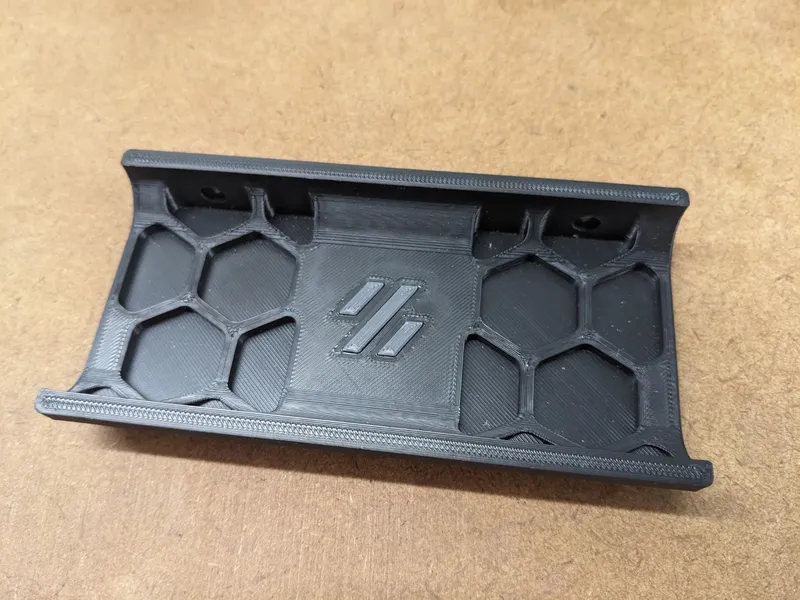
Rear Skirt
Not much to say, just a Logo insert to press in.
 |  |
Final Assembly
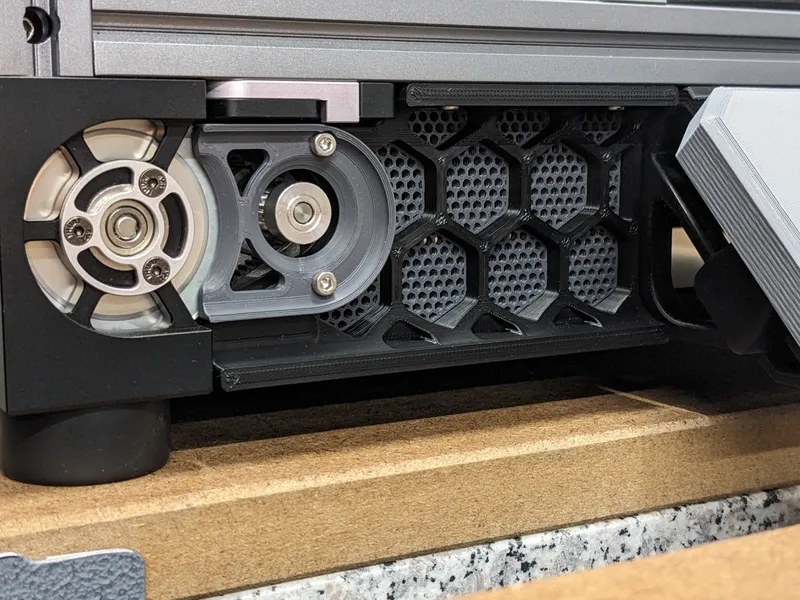
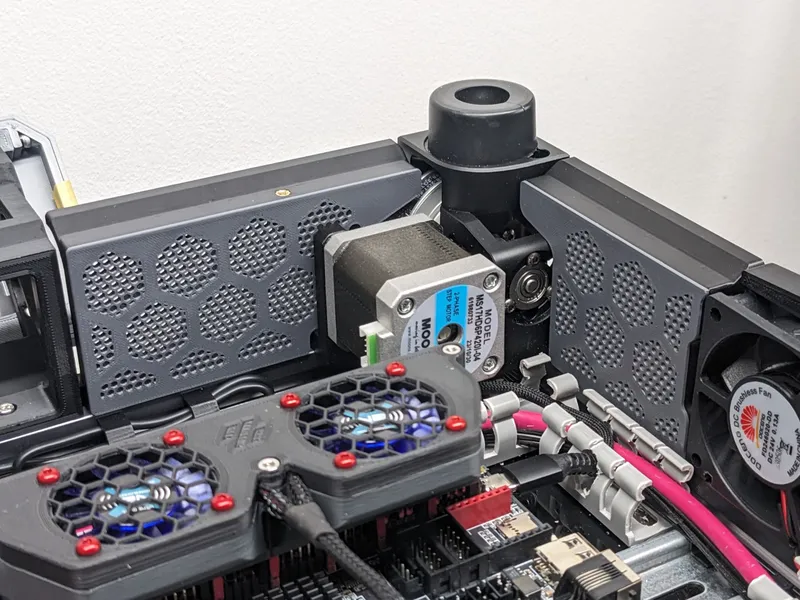
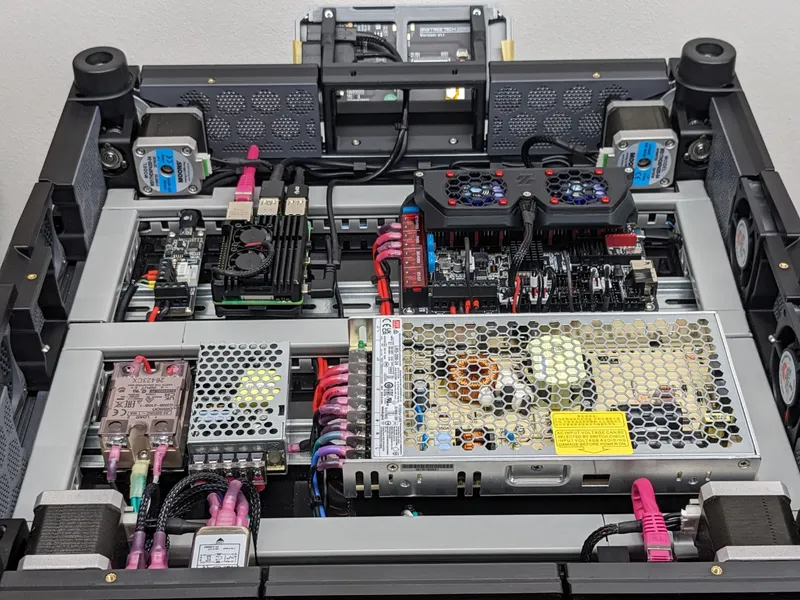
Just mount it to the frame as you would for the unmodified skirt. The mesh inserts and the fans will add 1.2mm to the skirts towards the inside of the electronics compartment, but that should not interfere with anything you do or any mod I am aware of.
 |  |  |  |
Tags
Model origin
The author remixed this model.
Differences of the remix compared to the original
Added a hexagonal mesh insert for the Voron skirt.

