QUICK-CLIP : Rugged Organizer / Parts Container

Description
PDFNOTE: This is an add-on to the pre-existing "QUICK-CLIP : Base Starter Kit"
Post-Processing Difficulty: Medium (Parts Ready to Use From Printer, Minor Assembly Required)
Tools/Items Needed: Side Cutters (to trim hinge to size); Super Glue (optional)
Introduction:
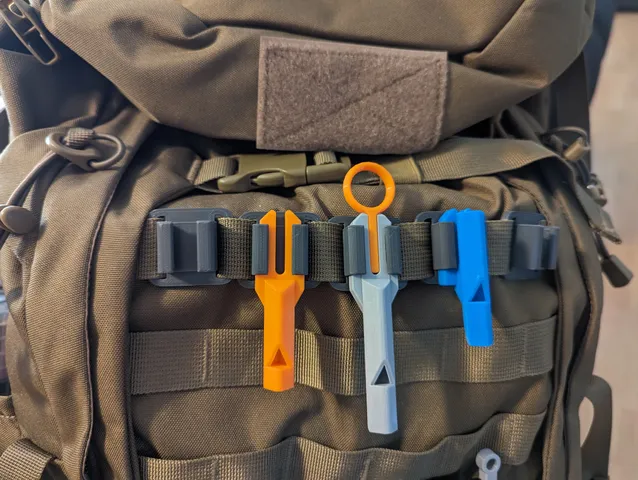
QUICK-CLIP is a versatile mounting system that I designed for backpack and MOLLE webbing. This is a rugged storage case/organizer with various inserts included with different layouts to best fit your needs. It is designed to integrate with the base starter set (found under my profile). It is attached to and removed from the mounting system in the same way as the other modules. There is also a base included in the files without the clip attached to it, so that it can be used for other purposes as well!
The version that is included measures a total internal dimension of 70 mm x 130 mm x 18 mm, with the inserts installed. (NOTE: I will soon be uploading a parametric model of the rugged box to my page, so be on the lookout for it in the future!) :D
I printed it with 0.16mm layer lines with PLA with no supports or brims.
Assembly Instructions:
The two required pieces are the top shell and base shell. The two outer shell pieces are attached together using two pieces of standard 1.75mm filament as a hinge, which can be cut to length using a side cutters.
Next, you can print any of the base inserts available, or you can use the blank one provided as a template to customize your own! The base inserts, as the name suggests, insert into the base shell to split the base into smaller organizer compartments. The base inserts can also be used to add a touch of color to your print to match your favorite design style/theme. It is designed to be a slip fit, but if you want to anchor it firmly in place, you can add a drop or two of super glue underneath.
Then, the lid insert is installed in a similar way into the lid shell. This piece is not required, but provides a smooth inner surface for the lid, preventing small pieces from jumping between the small compartments when the container is closed. This small insert piece must be glued in place with a few drops of super glue.
To close the assembled container, simply press the two shells together, until it snaps closed. To open, pull lightly on the retention latch on the side opposite of the hinges while pulling upward. The latch is designed to be a tight fit, ensuring your valuables do not fall out unintentially. If you want a looser fit, you may sand or file the inside point of the latch, where it contacts the base shell.
Depending on your printer settings, using filament as a hinge may be a tight fit. In that case, you can use a small drill bit to slightly ream the hinge hole to clear any plastic that has clogged it. I have yet to run into this problem, but it has an easy fix. They operate in the same fashion as the captured locking pins with the base starter kit.
Uses:
This rugged case can be used for a variety of purposes. Some of the photos show examples, such as a repair/storage kit for the QUICK-CLIP system, as well as a small fishing tacklebox. Additional uses could include holding small driver bits or a basic first-aid kit (and much much more!)
To make your gear even more organized, consider adding text to the inserts before you print them in your slicer of choice (pictured). In Prusa slicer, simply select the imported STL and press the “T” key to add text.
If you have any questions or issues, please let me know so I can work on fixing them.
I hope you enjoy!
Tags
Model origin
The author marked this model as their own original creation.