XRP Robot Servo Arm with Grippers

Description
PDFOverview
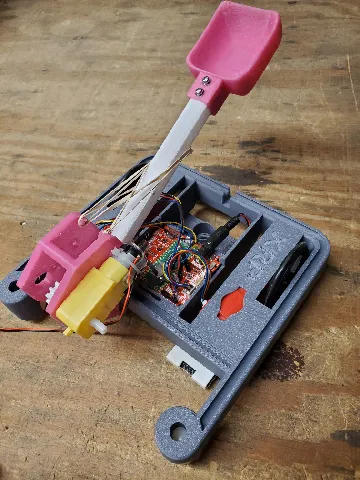
This model consists of a two-axis robot arm and a dual-jawed gripper allowing the XRP Robot to effectively manipulate objects. With this arm design, students leveraging the XRP robot platform can advance their programming knowledge with a unique mechanism to control along with the drive-base.
Hardware
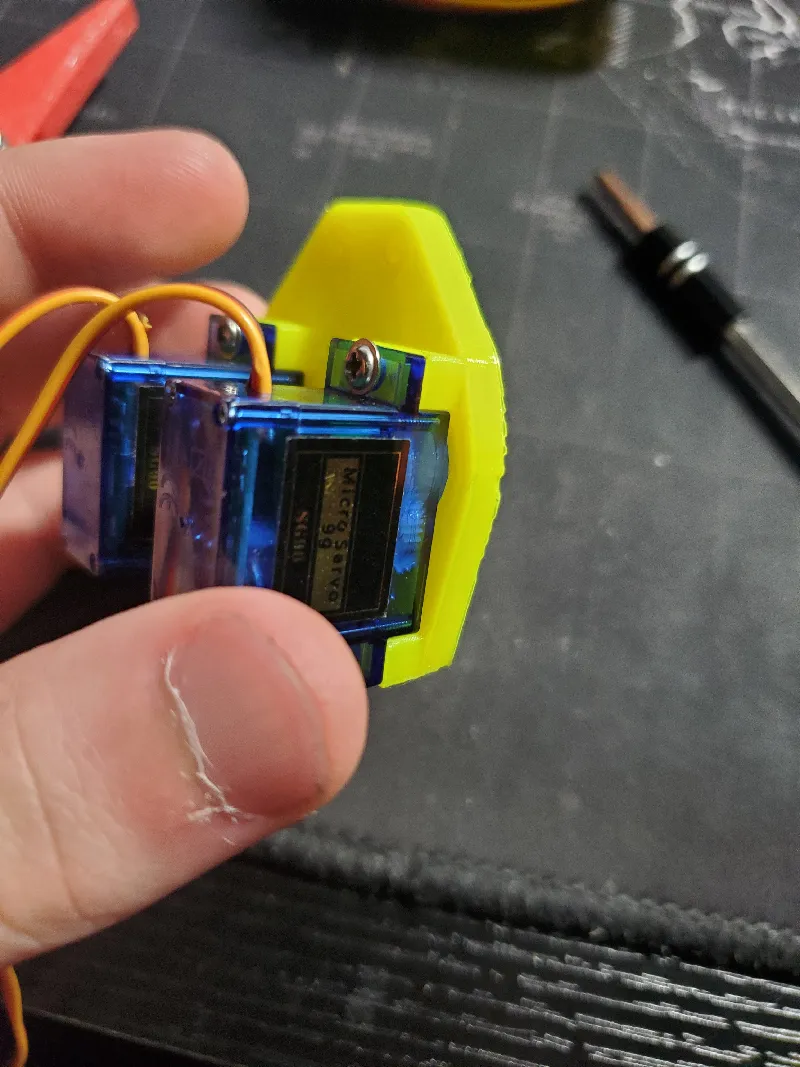
This design utilizes five affordable servo motors: four Towerpro sg90 servos and one TowerPro SG-5010 Servo (non-brand name equivalent motors may be used for affordability).
To fasten the arm you may use common M3 screws. I happened to use six 8mm, six 16mm, and two 20mm long screws. If you have different lengths available you may use those as long as they fit in the model appropriately. Some screws such as the ones going into the arm shafts and the ones on the gripper linkages thread directly into the printed plastic so you may need to tune the size of the holes according to the size of hole your particular printer will make.
The rest of the screws used to mount the servos are included with the servo motors.
Printing Instructions
This model was designed with printability in mind by separating the model into 14 manageable parts. I suggest printing with 4 shells at 20% hexagonal infill in PLA or PETG with any average FDM 3D printer.
The four parts that require supports are marked with embossed text. Those parts with the embossed texts should be printed with the text facing the print bed. For the other parts supports aren't recommended but optional.
Programming
When programming the arm keep in mind that the servo motors driving the gripper and the second arm axis are mechanically tied. Therefore, it is important they are calibrated such that they won't fight against each other and will move together.
The larger servo motor can be linked to the larger arm using a bent paper clip going from the servo horn to the arm as shown in the photos.
BOM
M3 Screws: https://a.co/d/09i2cNSR
9g Servo Motors: https://a.co/d/0g25o19t https://www.sparkfun.com/products/9065
Standard Sized Servo: https://a.co/d/00uPYWGV https://www.sparkfun.com/products/9347
Assembly Instructions
1. First we will assemble the gripper portion of the robot. First screw the two SG90 servo motors on the gripper plate.
2. Next fasten the bar linkage and the servo horn linkage to the jaw with two 16mm screw. The servo horn can be inserted into the gear segment.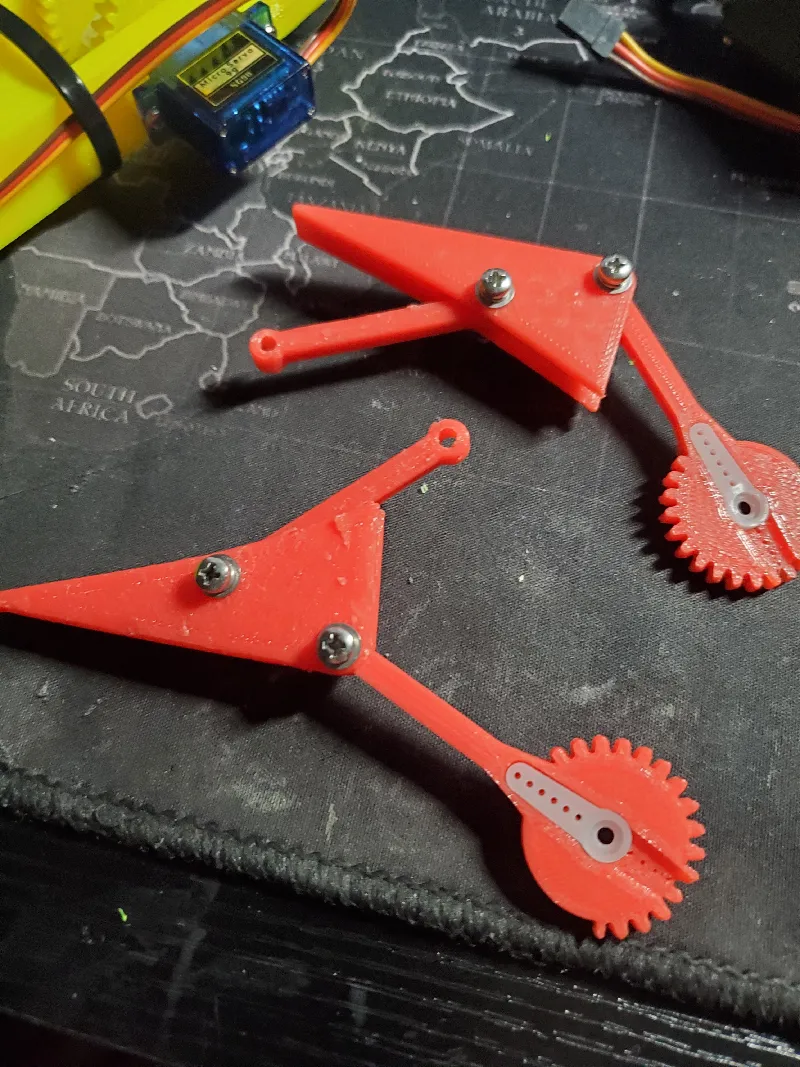
3. Then attach the two bars to the gripper base by pressing the servo horn on and screwing on the linkages with two 8mm long M3 screws.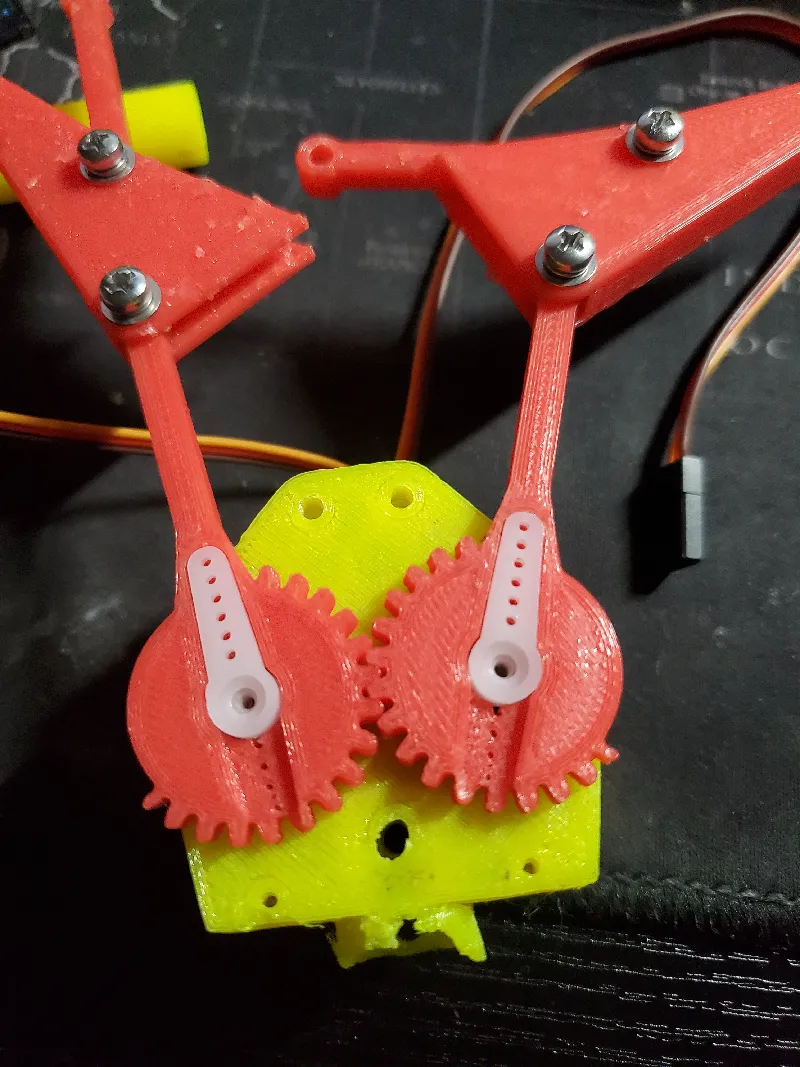
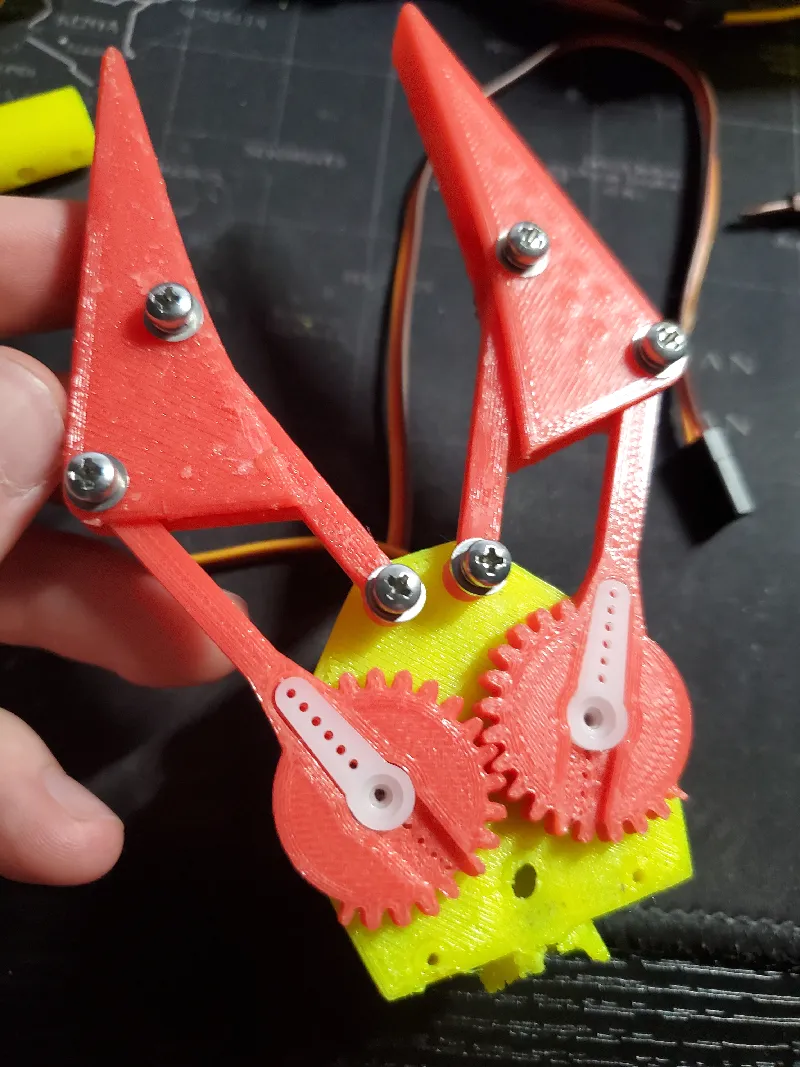
4. After that push the end of the geared arm into the back of the gripper base and attach it with two 20mm screws.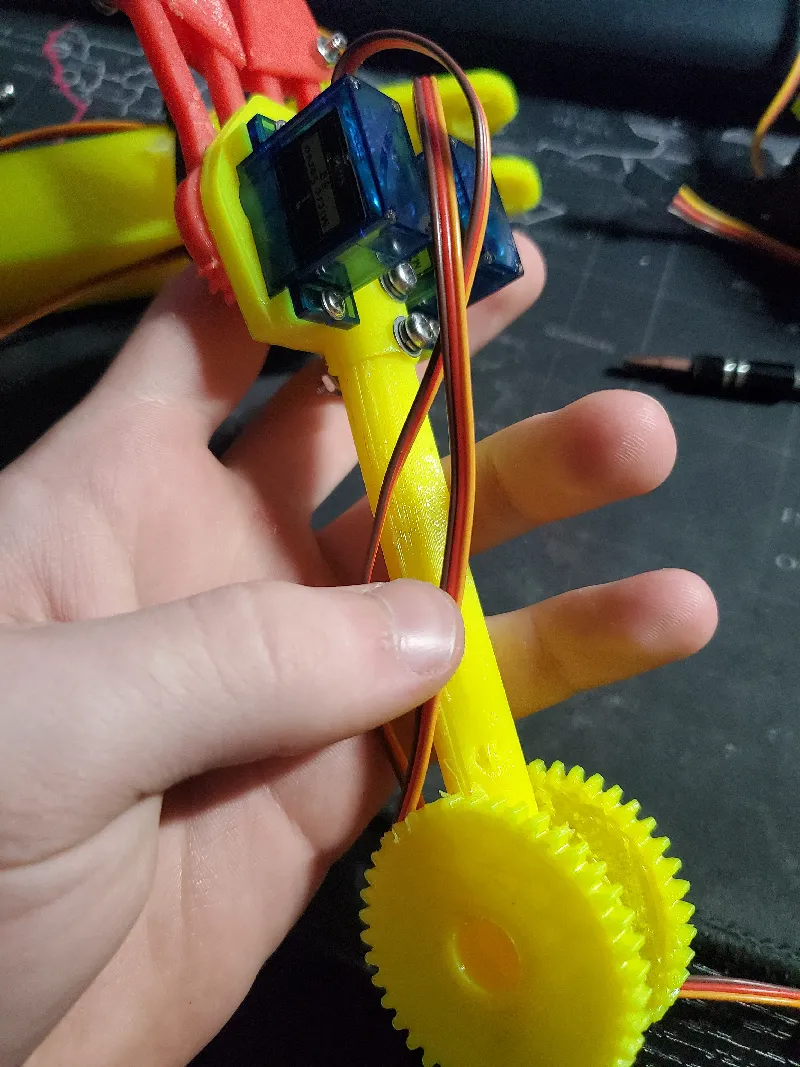
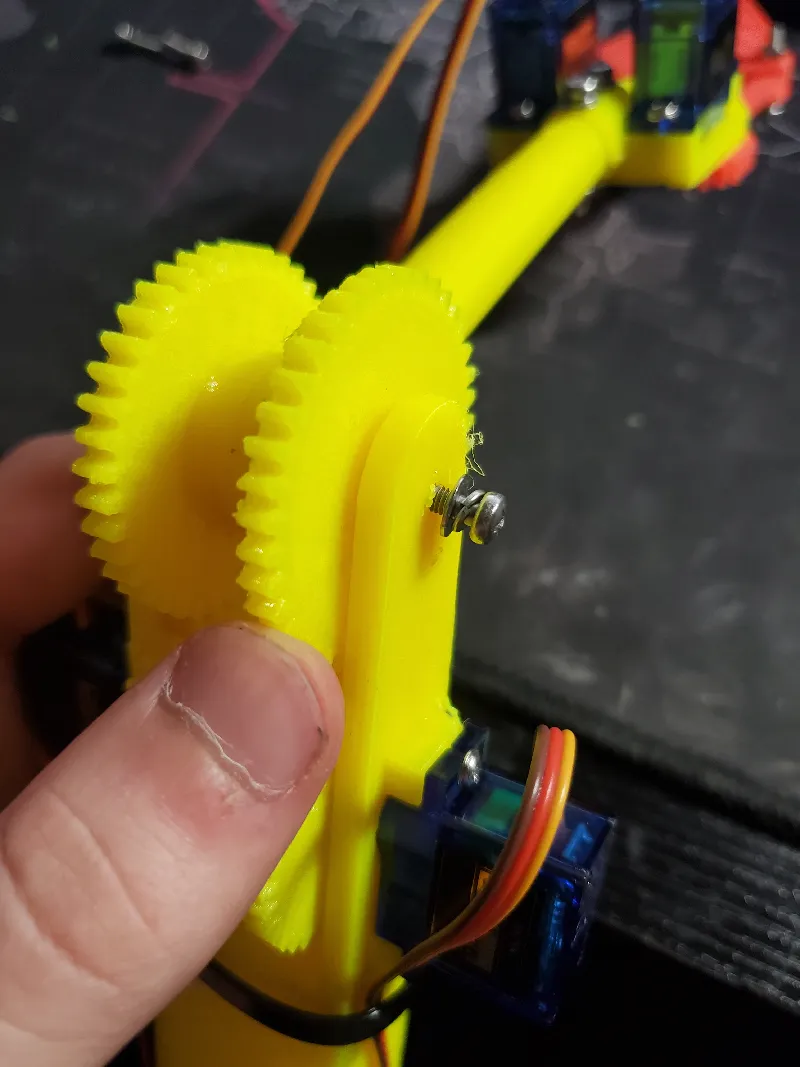
5. After that move on to the larger main arm. Similar to the gripper fasten the motors to the arm and press on the servo horn with the depicted gear.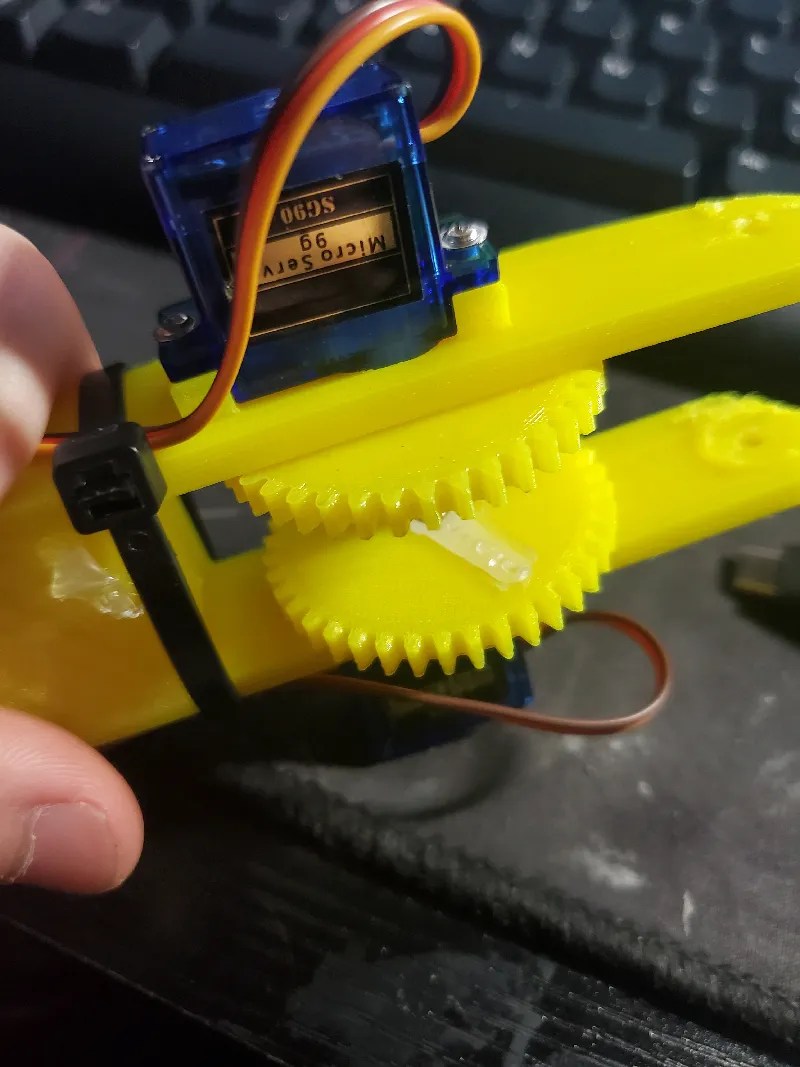
6. Next step is attaching the two arm segments together. To do this slide the shaft into the arm and move the shaft and the secondary arm between the forks of the large arm. Once positioned correctly thread an 8mm M3 screw into both sides of the shaft. The arm should spin with the motors engaging with the arm.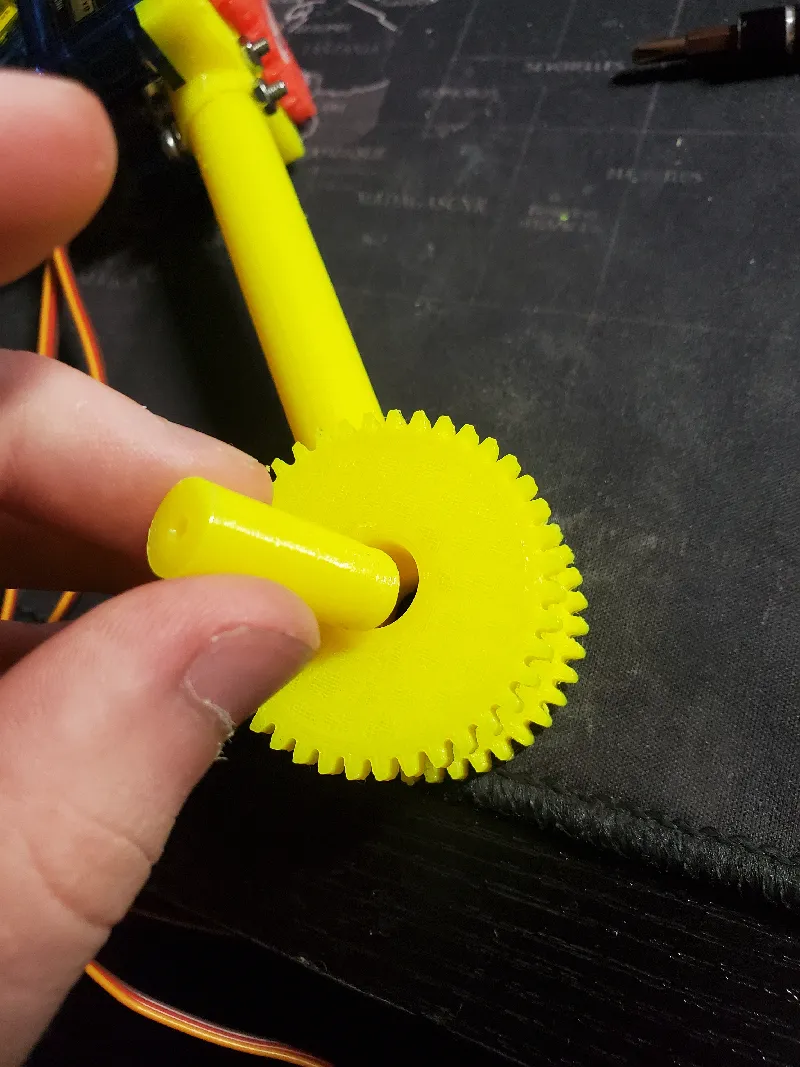
7. With the two arms and the gripper made move on to the base of the arm. Attach the SG-5010 motor to the base as depicted. Press the servo horn on the motor.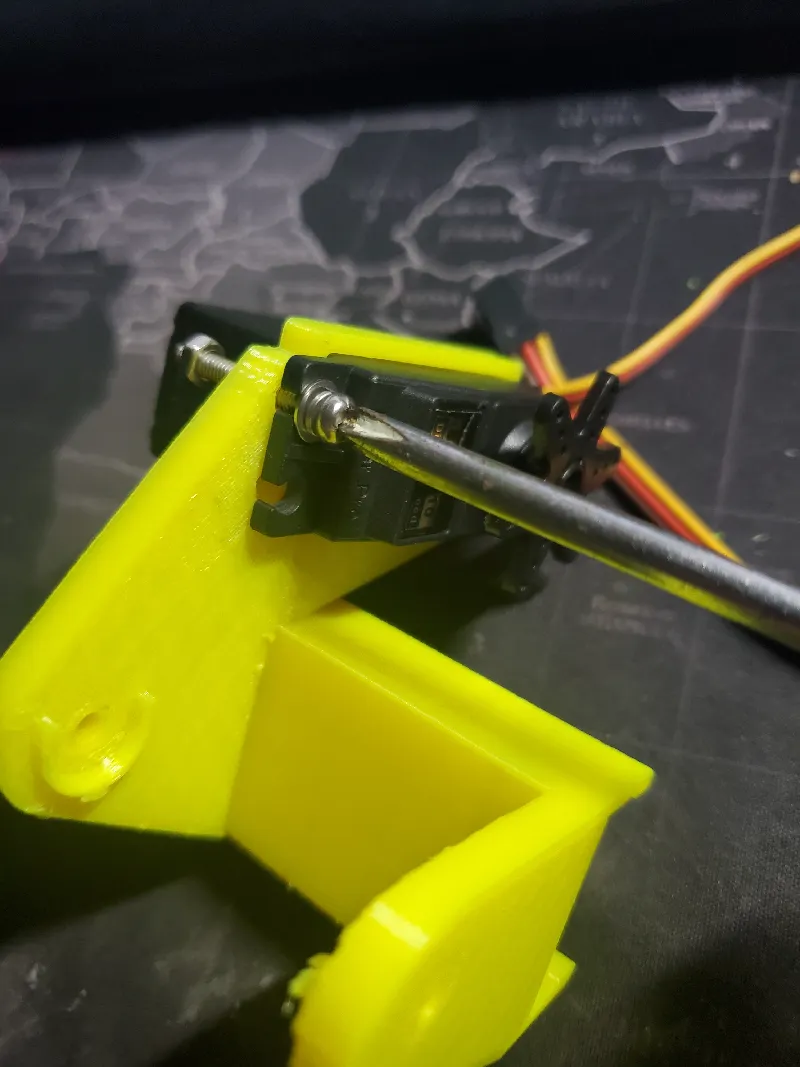
8. Then attach the arm we just assembled to the base the same way we attached the two arm segments earlier.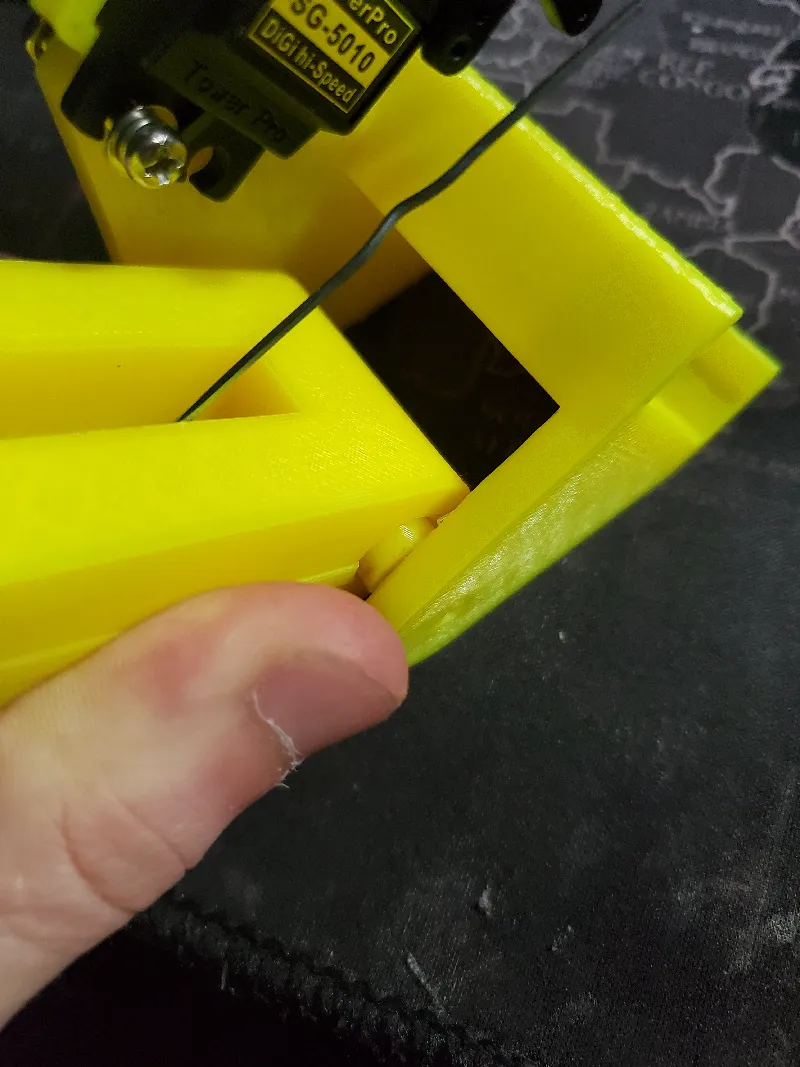
9. Finally, after all those parts are joined together, use a standard paper clip and bend it with pliers to connect the servo horn to the large arm. You now have a fully-assembled arm ready for use with an XRP Robot. 
Tags
Model origin
The author marked this model as their own original creation.