Creality K1 & K1c Door Hinges Geared Print in Place

Description
PDFThis is a remix of my Original K1 & K1 Max geared hinges. This set is adapted to fit the Creality K1c.
Why you need this:
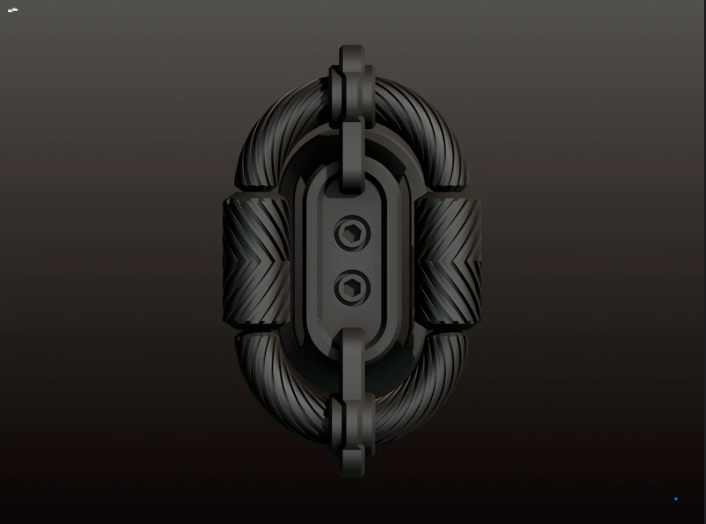
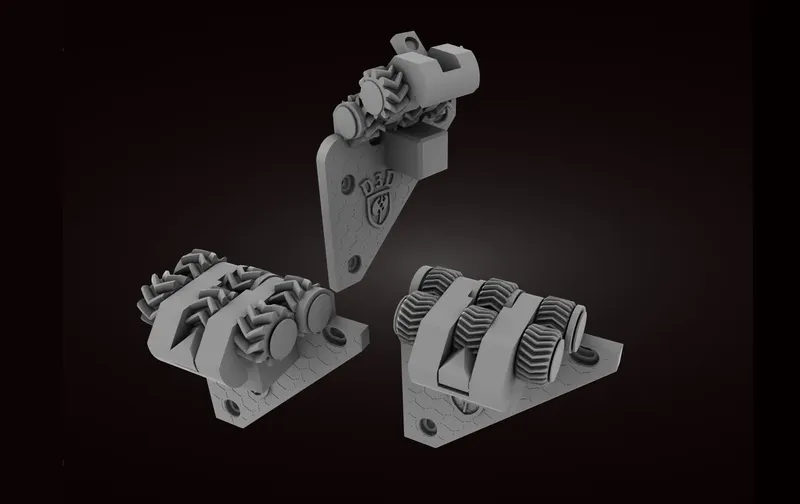
This is a beautiful print in place set of hinges that will enable your door to open completely. The geared hinge is better design choice because the two pivot points can hug the chamfered frame with a tighter profile.
Will these fit your Creality K1c?
Yes. These models have been tested to perfectly fit most K1c printers:
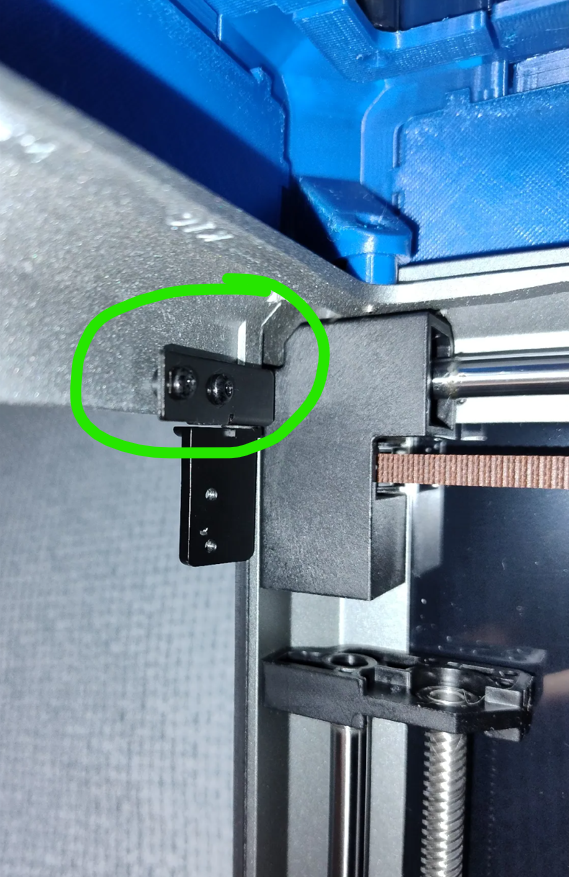
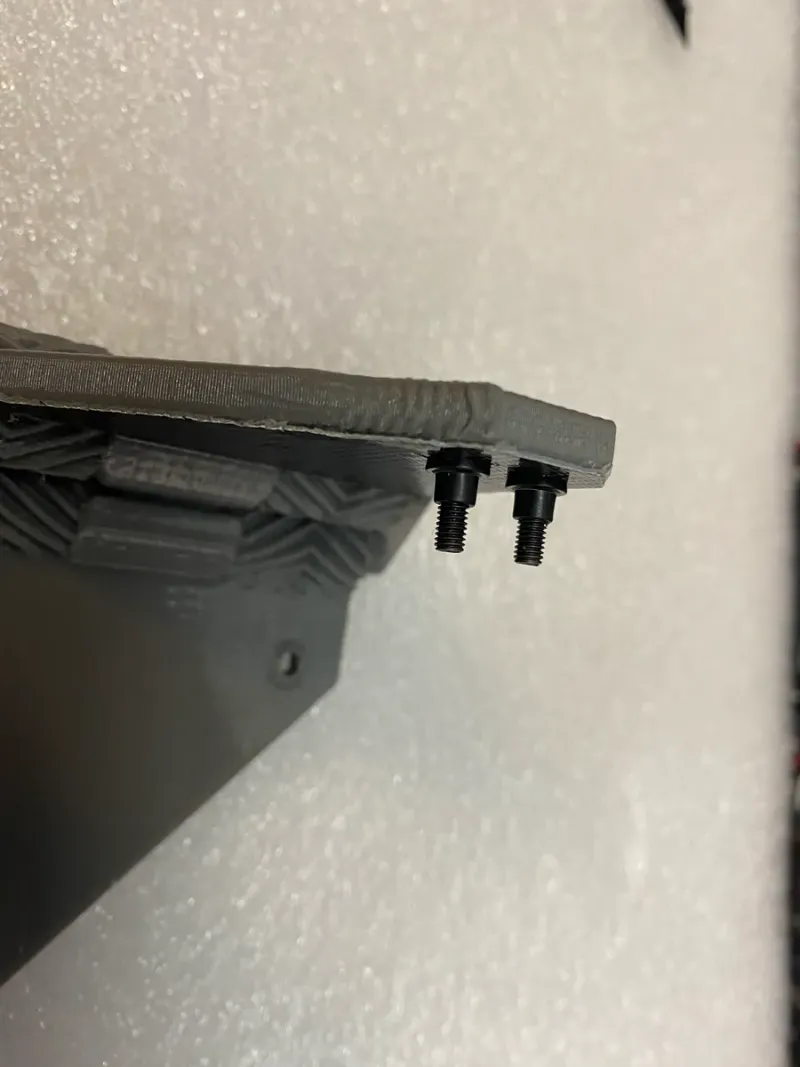
Not sure if your printer is a K1, or a K1c? Look at the placement of the screws that hold the side panels in place. The original K1 where about 65 mm (~2.75 inch) apart. The K1c those screws are about 20 mm (~¾ of an inch) apart.
BOM (Bill of Materials):
- Printed parts
- 4x M3 10 mm screws *
- 4x M3 14 mm screws *
- 4x M3 Nylon Lock nuts * (or M3 nuts and LocTite)
- Optional Tape (I used Gorilla Tape but blue painters tape should work.)
* (Not found in USA hardware stores. Best to order them online.)
Print instructions:
These hinges need a well-tuned printer. Your XY print tolerance is VERY important. I suggest you test your printer, filament and settings on this tolerance test piece. I have provided two sets of print files that are designed with a 0.2 mm and 0.1 mm air gap between the moving parts.
- Material is your choice.
- I tested PLA, ASA and PETG. PETG was most likely to get stuck during the print and break.
- Many other users have used ASA, ABS and PLA with great results. Others have used PETG with mixed results. (See comments & makes for examples.)
- Use three or more perimeters.
- Support material is not required. hard to believe but it’s true.
- Use small layer height 0.2 mm recommended.
- Infill - Gyroid 15% or more for the hinges and 50% or more for the Nut trap.
- Set your filament “Extrusion Multiplier” a little low. 95% (.95) is usually good.
- I used a .6 mm nozzle.
Additional notes from the community:
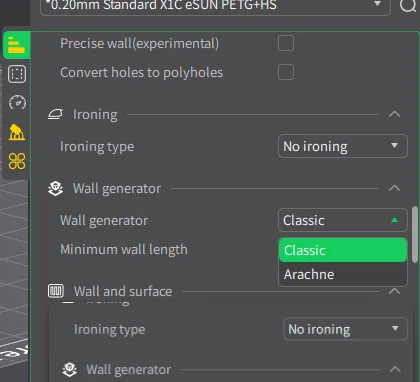
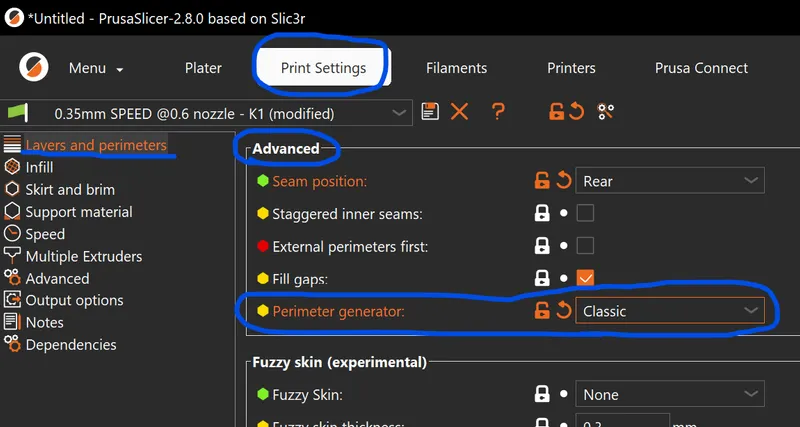
User k1-801 discovered that the PrusaSlicer has an issue that causes the parts of the hinge to weld together in several places. He suggests you can avoid the issue by using Classic slice algorithm instead of the new Arcane.
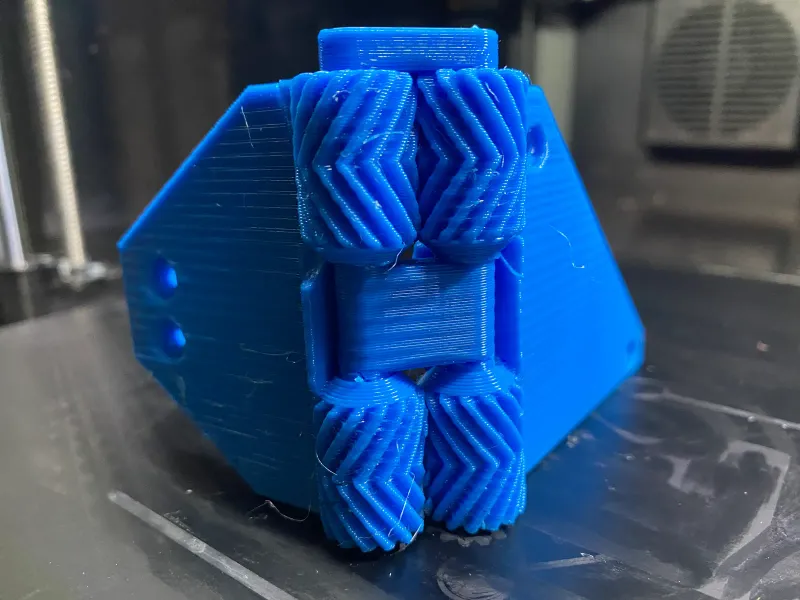
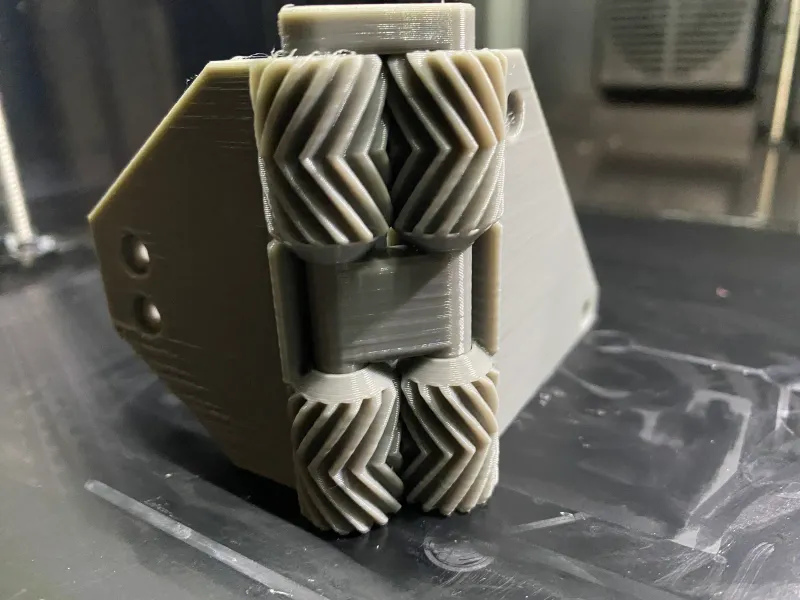
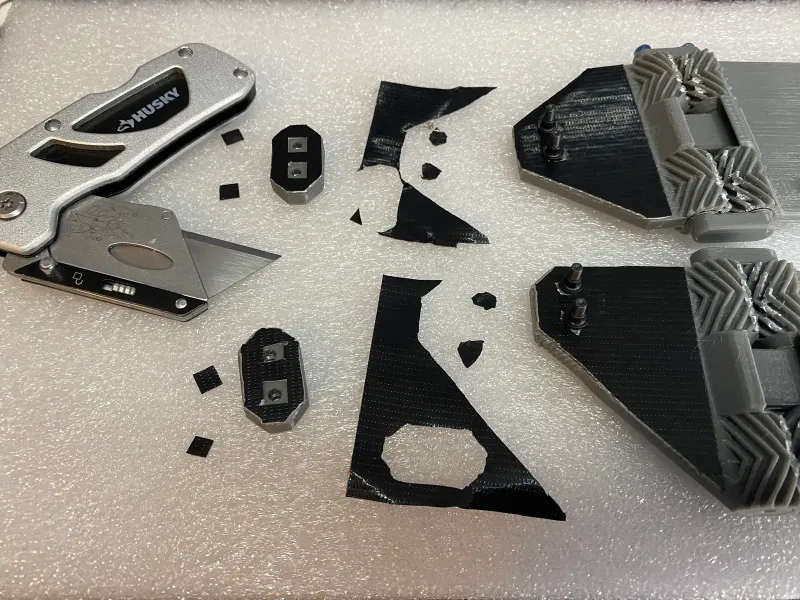
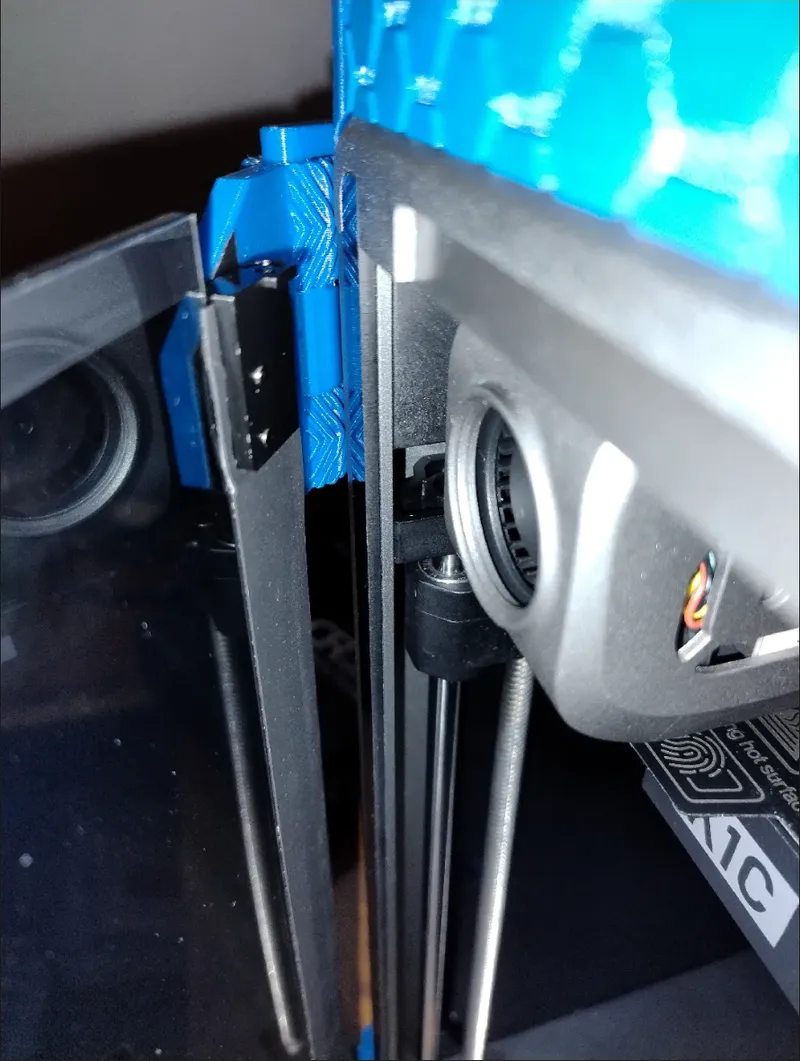
Quality print is key!
Here are pictures of an early prototype (blue PETG) that printed as maximum speed on the K1 max. Calibration was disabled so it didn’t turn out that great. Notice wavy walls. Those caused the parts to fuse together and they broke. The next pictures were printed slower (grey PLA) and they turned out great.

Assembly instructions:
Disassemble the Stock door:
- Remove the Door
- Remove the two screws holding the lower metal hinge into place.
- WARNING!!! Newer printer models have a new top hinge that will not allow the door to simply slide down and out. Read the next few steps and proceed with caution.
- Firmly grab the door and lift. The lower hinge will slide forward and fall out.
- Lower the door to remove it from the upper hinge.
- Caution.
- If the door does not Fall out of the top hinge then you have a newer type of TOP hinge that will require extra steps.
- Gently slide the lower hinge back into place and close the door.
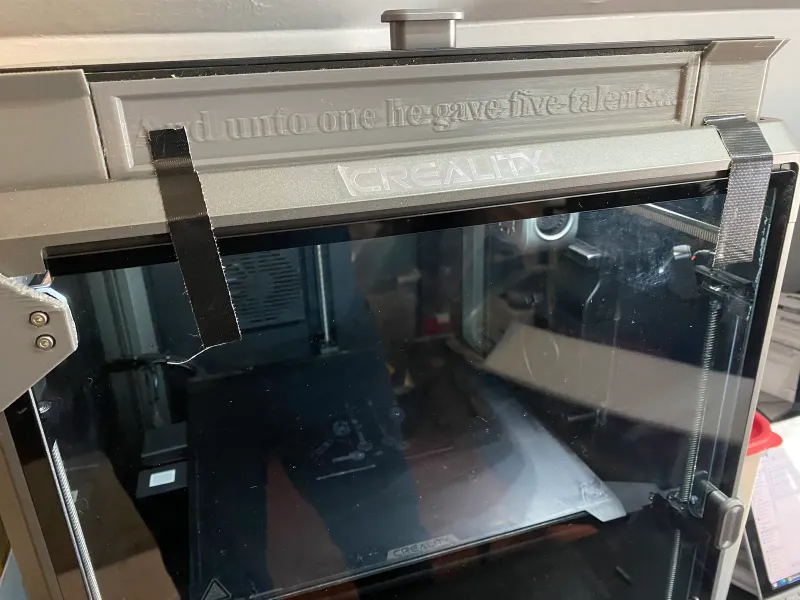
- Tape the door shut to prevent it from falling open and breaking.
- KEEP the door closed. Remove the two screws holding it into place from the inside.
- Access the screws from the open top of the printer.
- Gently open the door and remove it.
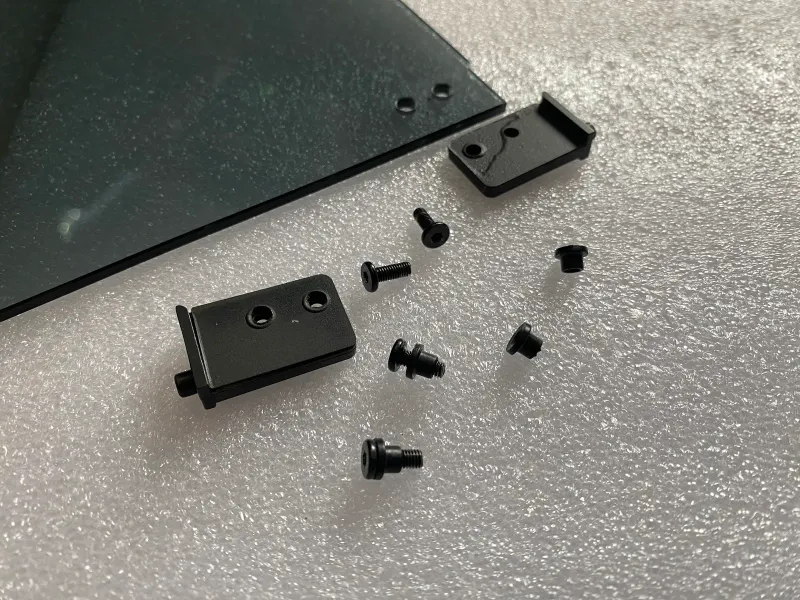
- Remove stock hinges
- Some people have chosen to reuse the stock top hinge as nut traps for the new printed hinges. This has been known to prevent the tool head from crashing into the thicker printed nut trap.
- Carefully lay the door on a flat surface.
- Remove the screws to remove the stock hinges.
- KEEP the small liners. You will reuse these to protect the glass from coming into contact with the M3 bolts.
Reassembly:
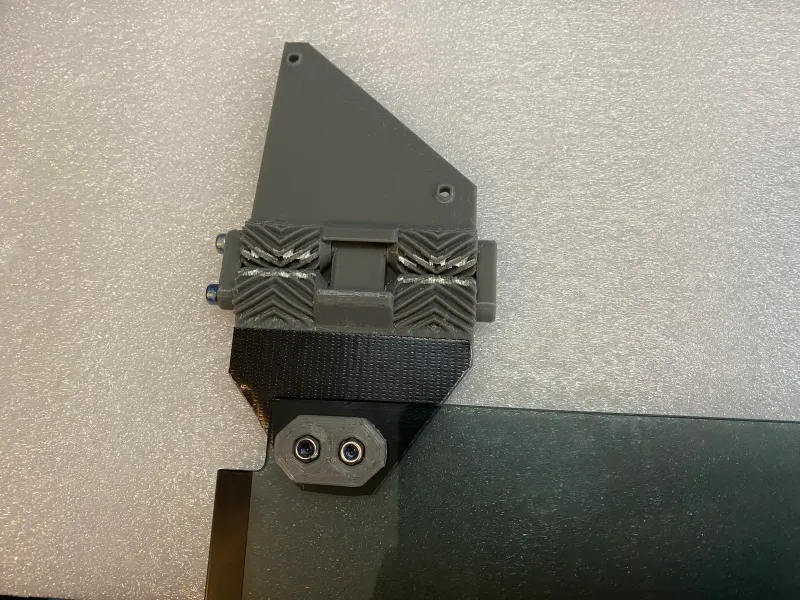
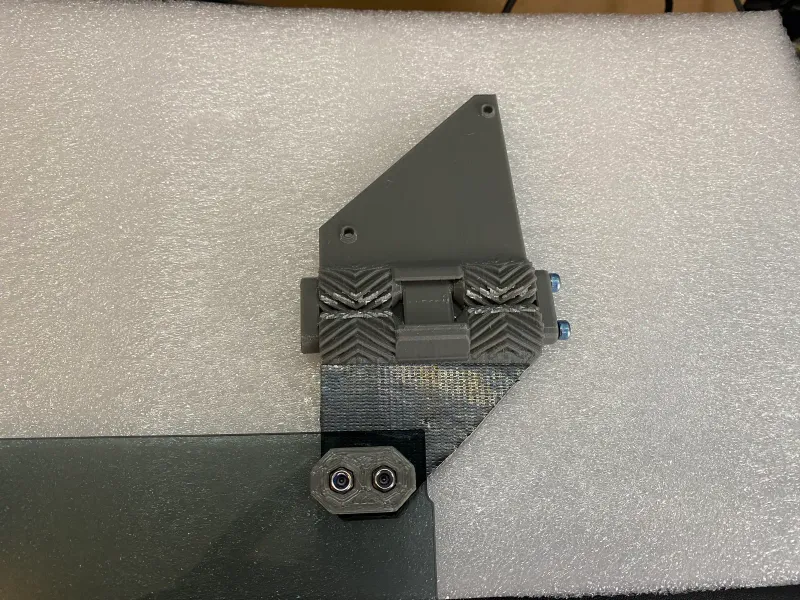
- Work the hinges loose so they can move freely. You may notice that the teeth from the gears have welded together in some spots. This looks like poop but it doesn't affect the function of the hinge.
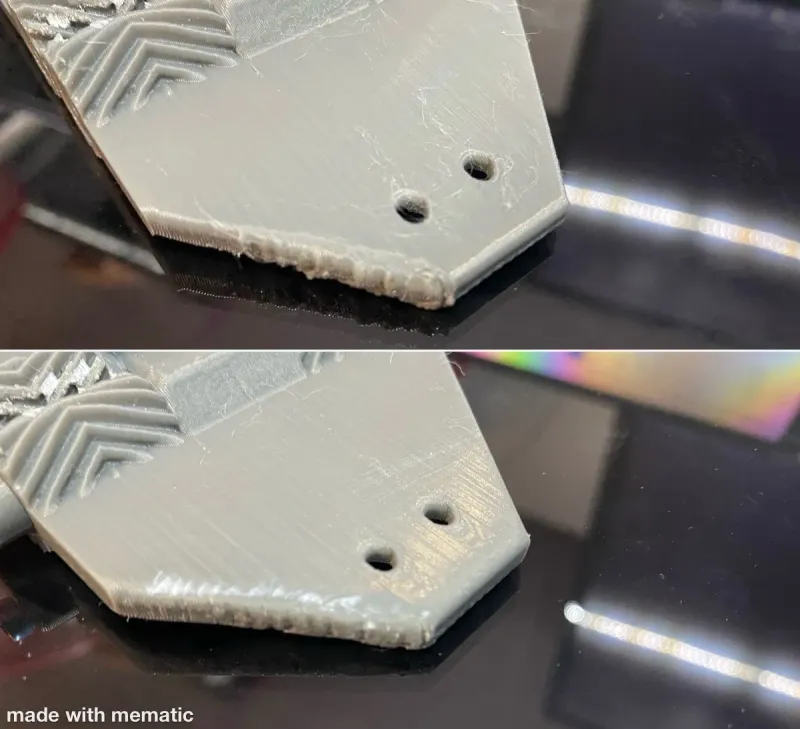
- Trim any print defects that could put pressure on the glass.
- In this picture you can see a few print defects and how I sanded them flat.
- Optional add tape to the hinges and the backs of the Nut Traps.
- This is only intended to protect the glass. If you have a rubber seal on your glass skip this step.
- Use a blade to cut the holes for the bolts.
- DO NOT apply the tape to the glass and DO NOT CUT ON THE GLASS. You may scratch and shatter the tempered glass!!!
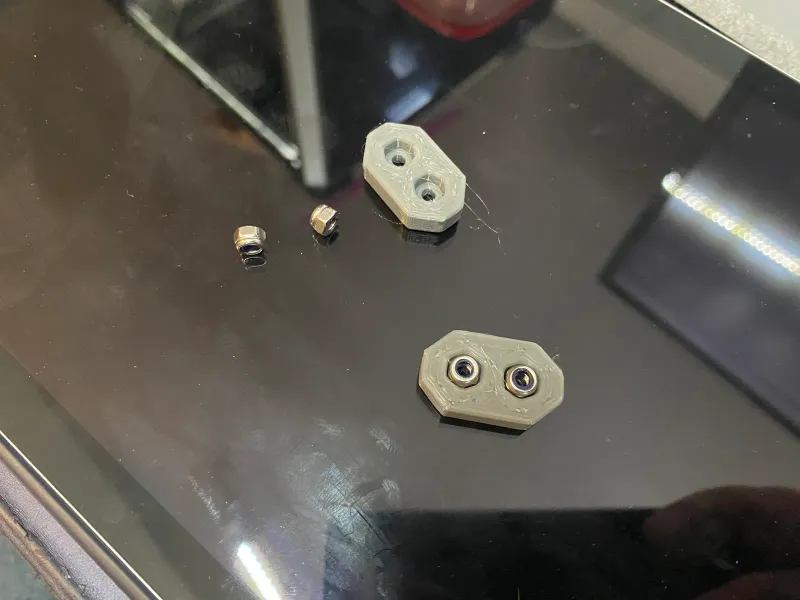
- Insert the M3 x14 mm bolts and add the stock inserts.
- Add nuts into the nut traps.
- Attach the hinges to the door.
- WARNING!!!
- https://www.printables.com/@manio_2862351 Pointed out that the K1 and K1c toolhead can crash into the top hinge nut trap during the homing process. He brilliantly suggested reusing the stock hinge as a nut trap with shorter screws.
- Attach the hinges to the printer frame.
- Carefully put the door into place with the door closed.
- Apply tape to hold the door closed.
- Use M3 x10 mm bolts to attach the hinges to the side of the frame.
- Start with the top most bolt and work your way down.
- Remove the tape holding the door closed.
Consider these related addons:
Door Handle by Graffyte
Door catches by Diablo
(To hold the door open)
- https://www.printables.com/model/797179-k1-maxk1-k1c-vorlon-door-catch-for-use-on-printers
- https://www.printables.com/model/786556-k1-max-k1-k1c-penwald-door-catch-270-degree-hinge
PLEASE CLICK THE LIKE BUTTON
This took me several days to design, test and document. Likes and downloads help me earn Prusament. Thank you.
Other hinges
I had several other issues with the other hinge models so I created my own from scratch.
Featured Differences:
- Fixed the issue where the mounting bolt holes don't fit correctly.
- Fixed the issue where the print in place hinges are out of alignment with the frame and eachother.
- Fixed the issue where the original hinges needed an additional spacer to get the door to close properly.
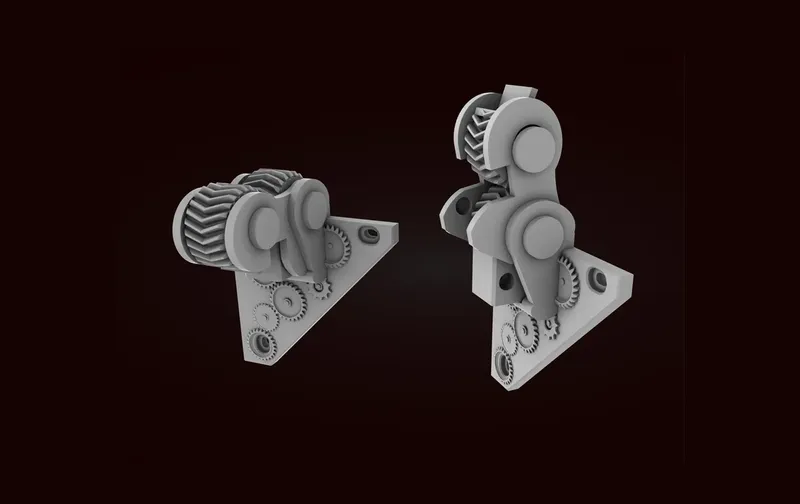
- Added gears so the teeth hold the weight of the doors spread across a wider area.
- Added a second pivot point.
- The original hinges had a single pivot point sticking out away from the printer frame.
- The geared hinge can hug the Chamfered frame of the printer while still being able to open 270 degrees.
- Appearance changed from a clunky Frankenstein mod to a sexy Steampunk style.
Want to make a Remix:
I have provided the STEP files for you to remix.
If you are an OnShape user then here is the link to the document you can copy.
Disclaimer:
Use these models at your own risk. They are part of an experimental modification for your printer and may cause damage or injury. There is no warranty implied or otherwise.
Tags
Model origin
The author remixed this model.

Differences of the remix compared to the original
This is a remix of my Original K1 & K1 Max geared hinges. This set is adapted to fit the Creality K1c.


