Open Case - 3D Printed Keychron V1 Max Keyboard Case


Description
PDFFor a few years now, I've wanted to design a 3D printable keyboard case… Now, with the XL I finally have the build volume to manage it!
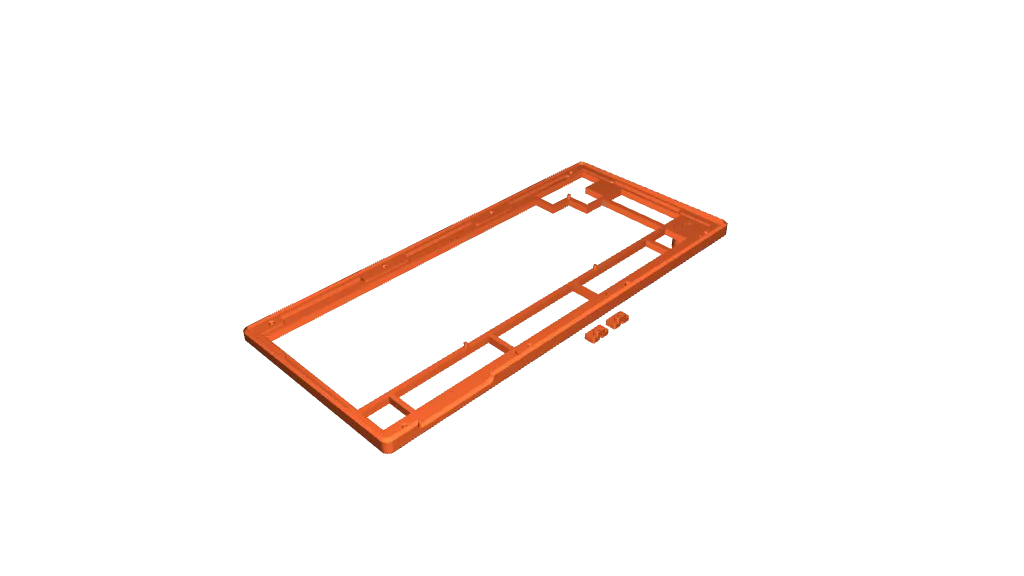
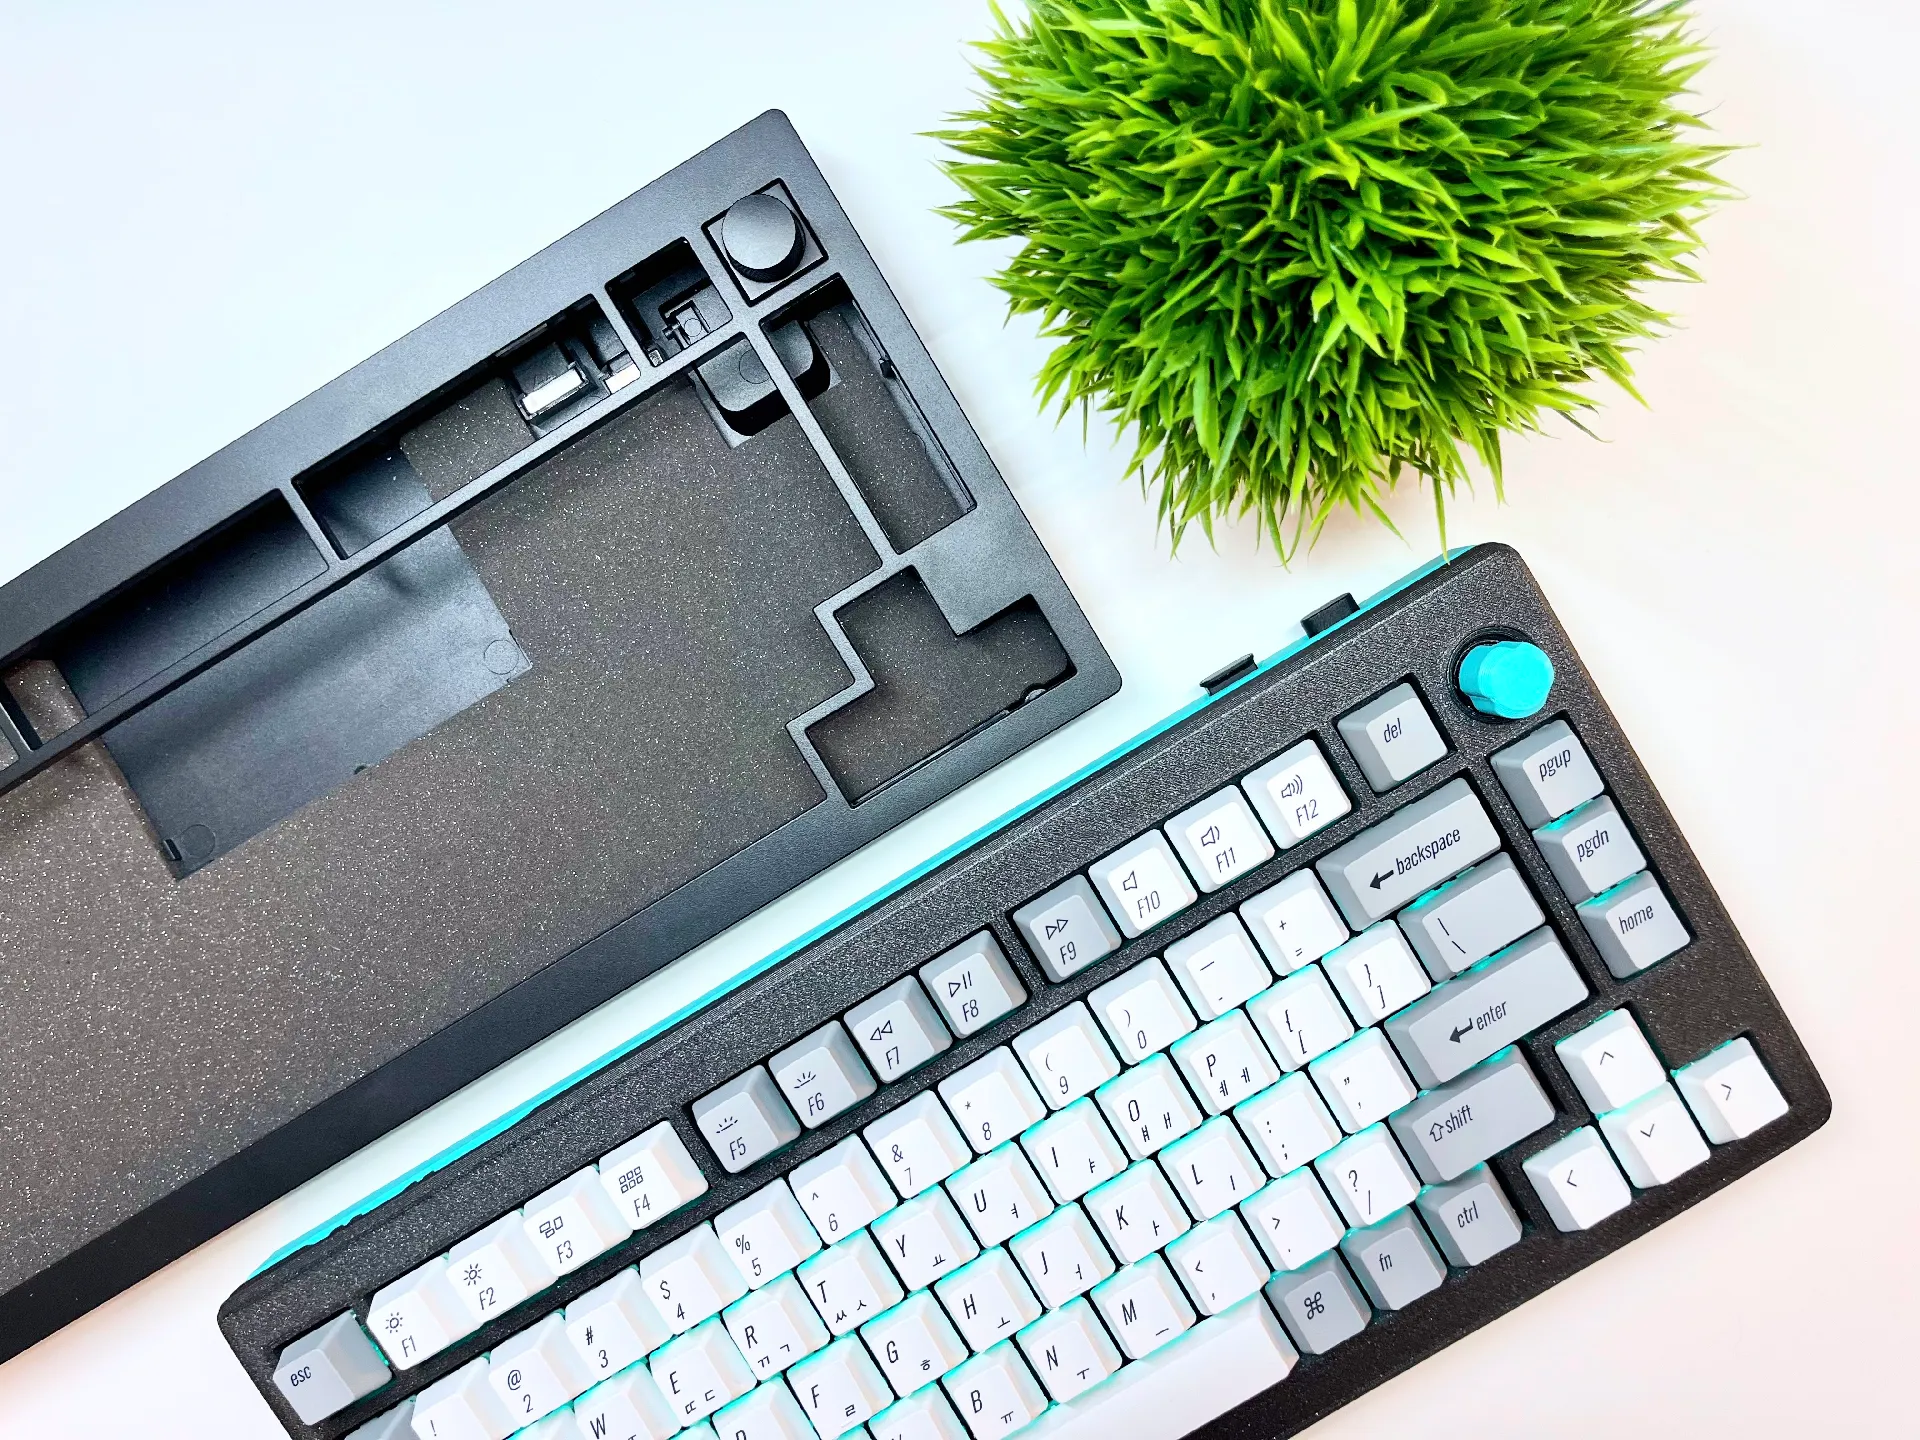
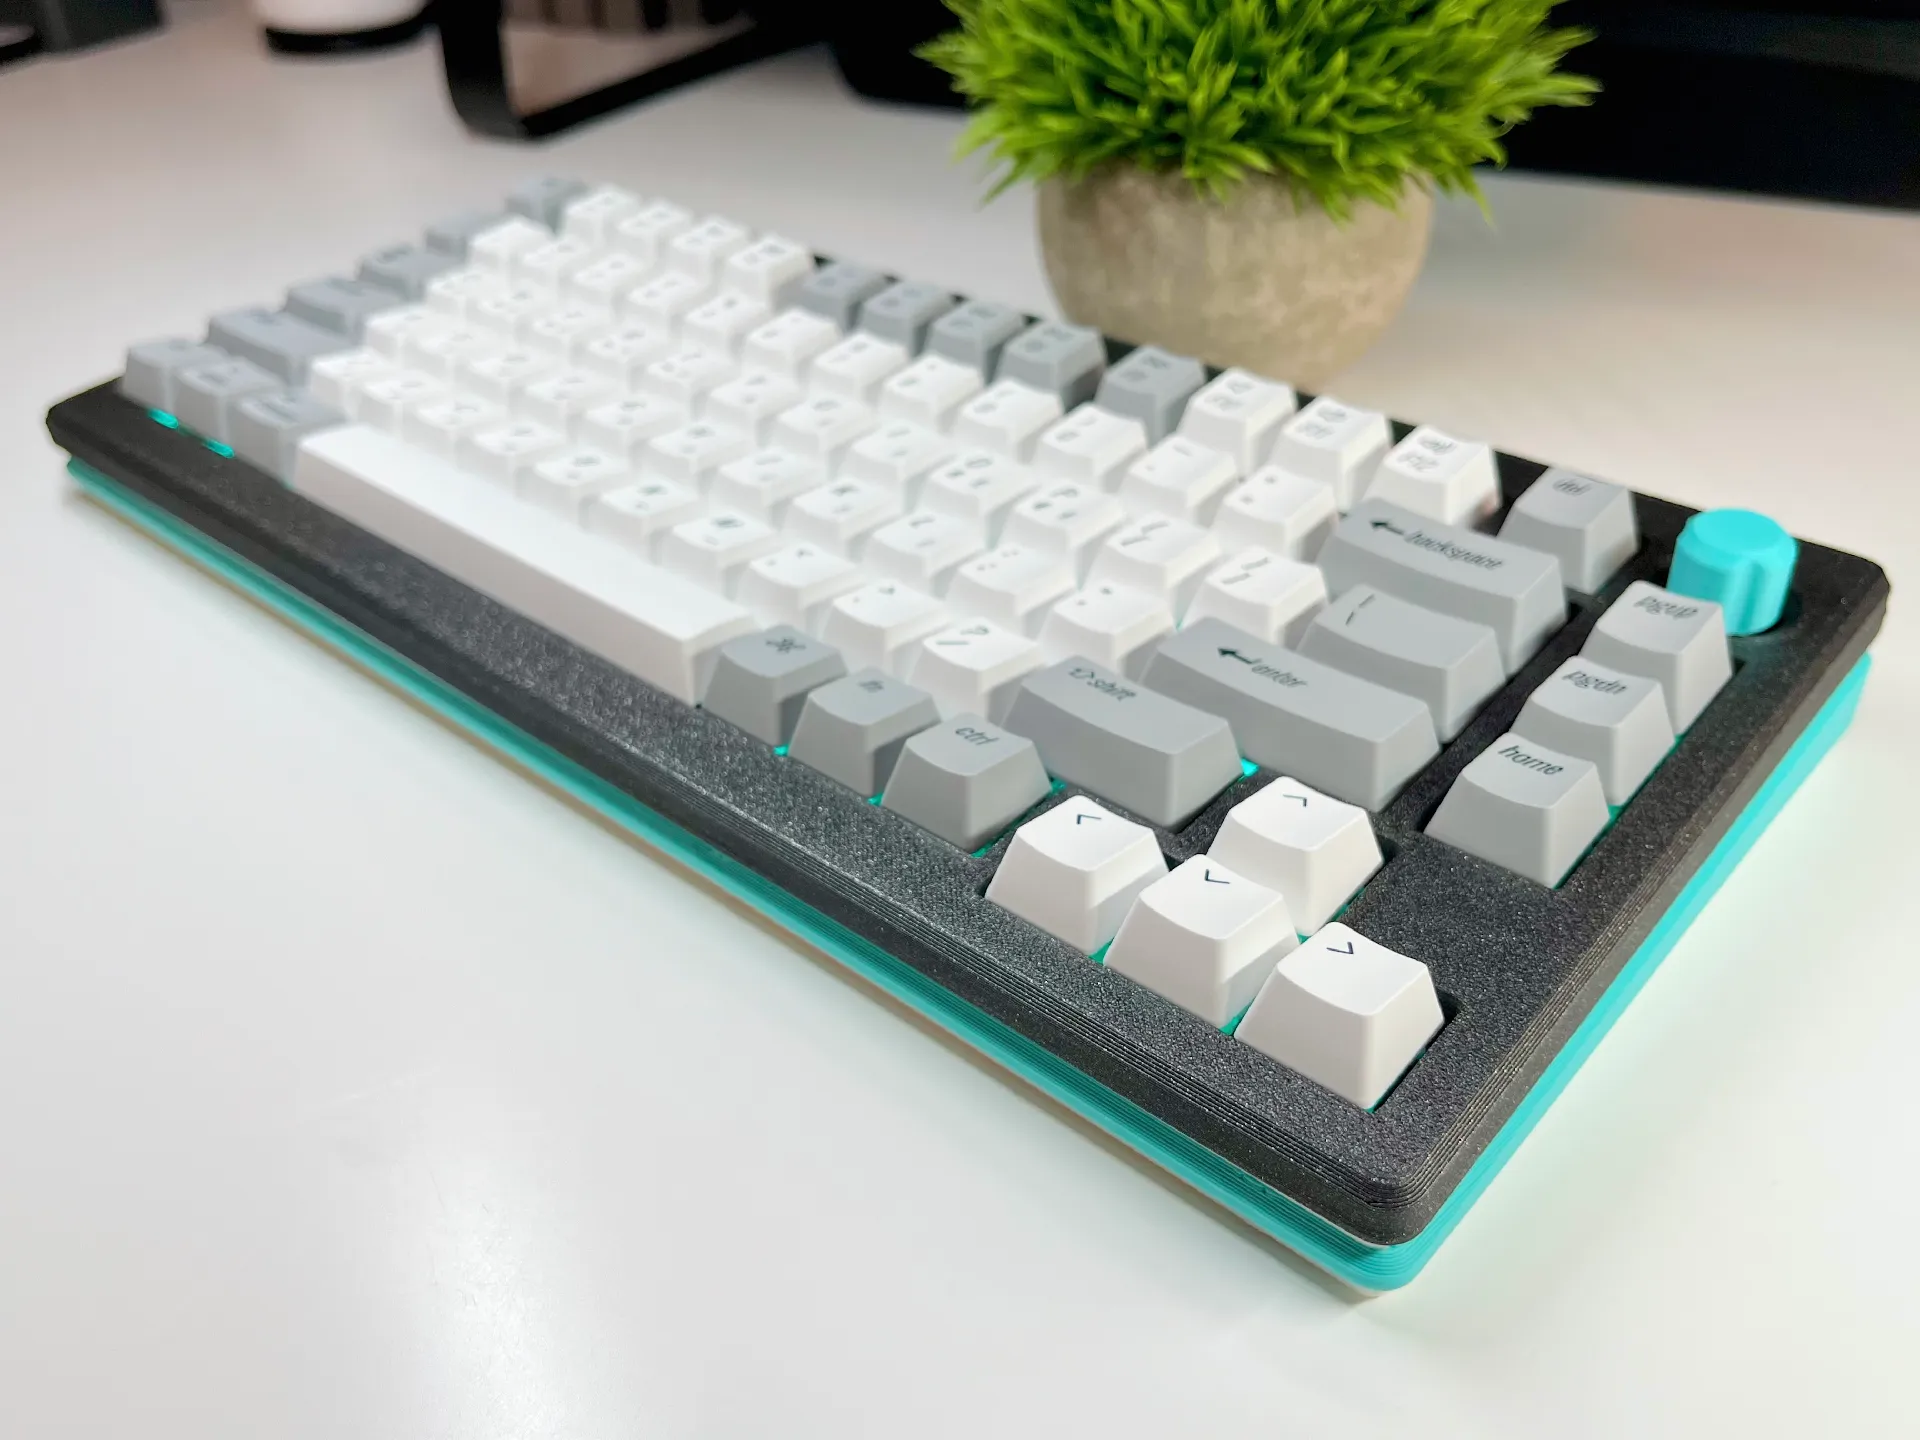
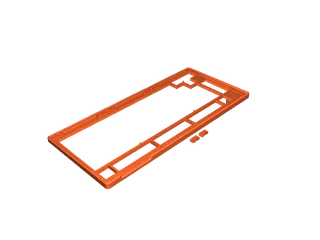
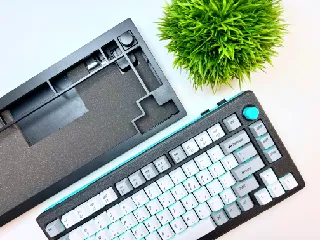
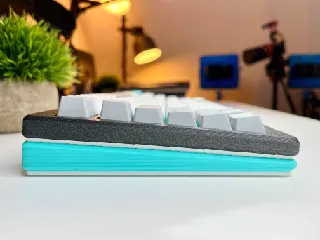
I designed this fully 3D printable case as a replacement for the basic one that comes with the Keychron V1 Max (NOT the standard V1). Why the V1 Max? Because it is a reasonably priced ($94USD assembled) and widely available keyboard that uses open-source firmware and has a case that is OK… but could be improved. My hope is that this open-source case design can be a starting point for further improvements.
Video
Key Printed Features:
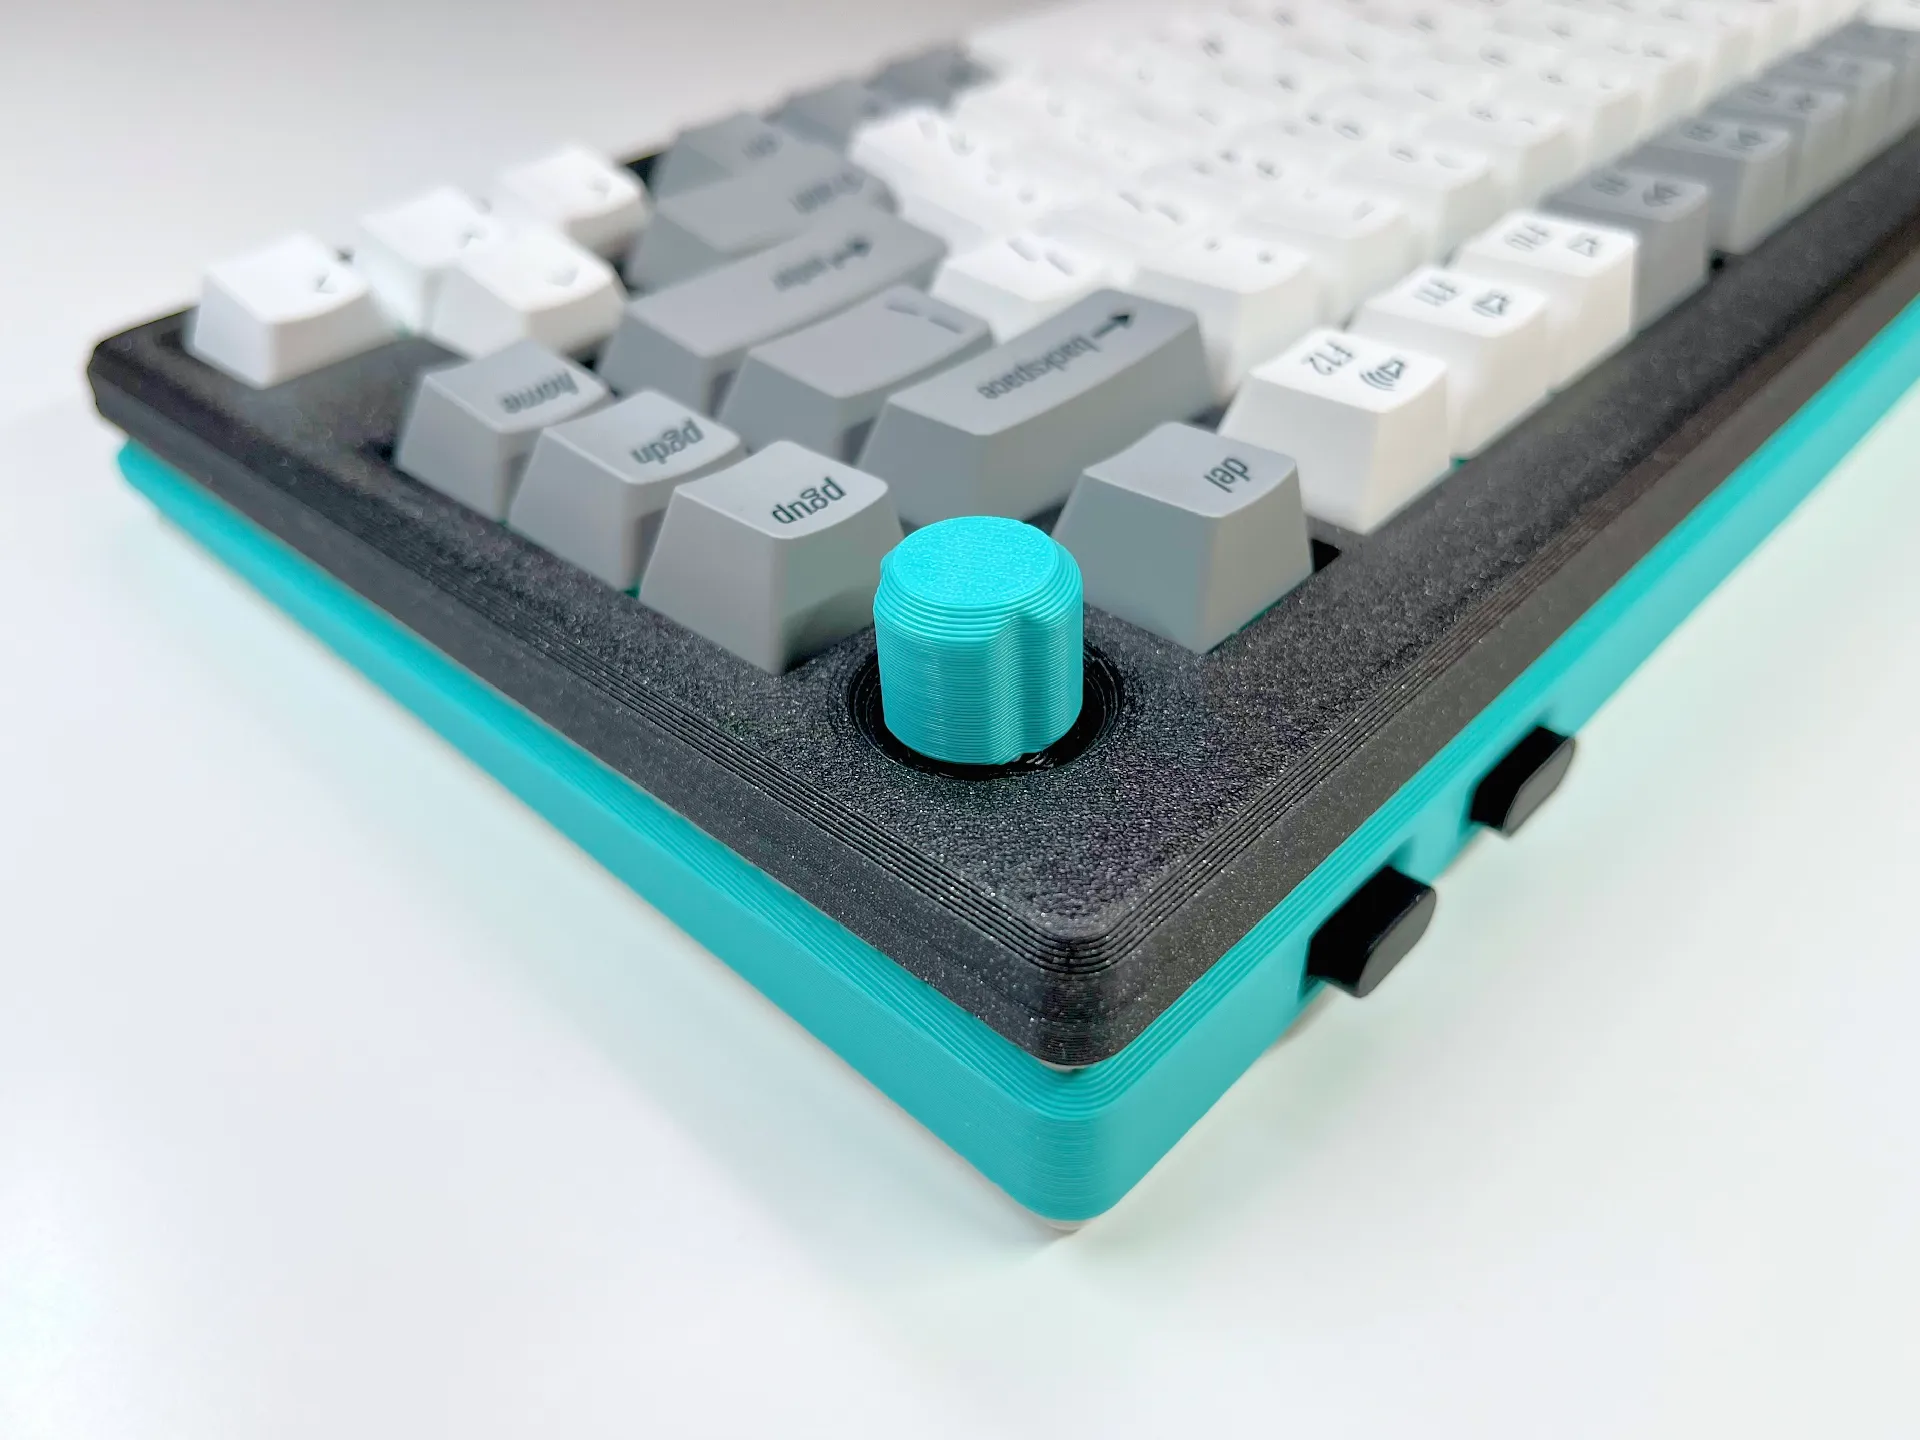
- TPU gasket mounting
- Unique case + knob aesthetic
- TPU base pad for acoustic dampening
Things You'll Need:
- 4x Rubber Pads (Amazon USA: https://amzn.to/4bUJ5YC, Amazon Canada: https://amzn.to/3yWuVHJ)
- For desk contact on the bottom of the case base
- 4x 6x1.5mm circular magnets (Amazon USA: https://amzn.to/3xhMWzB, Amazon Canada: https://amzn.to/3xl1XRc)
- For the slots inside the case base where the back of the RF dongle slots
- Keychron V1 Max (Amazon USA: https://amzn.to/3VynpLP, Amazon Canada: https://amzn.to/3XgDXcH)
- You'll use:
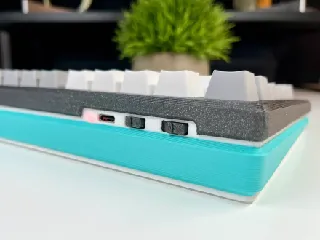
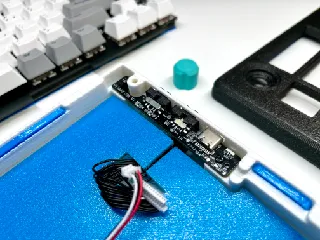
- PCB-Plate Assembly
- USB daughterboard
- 2x daughterboard screws
- 8x cap screws for connecting case top-base
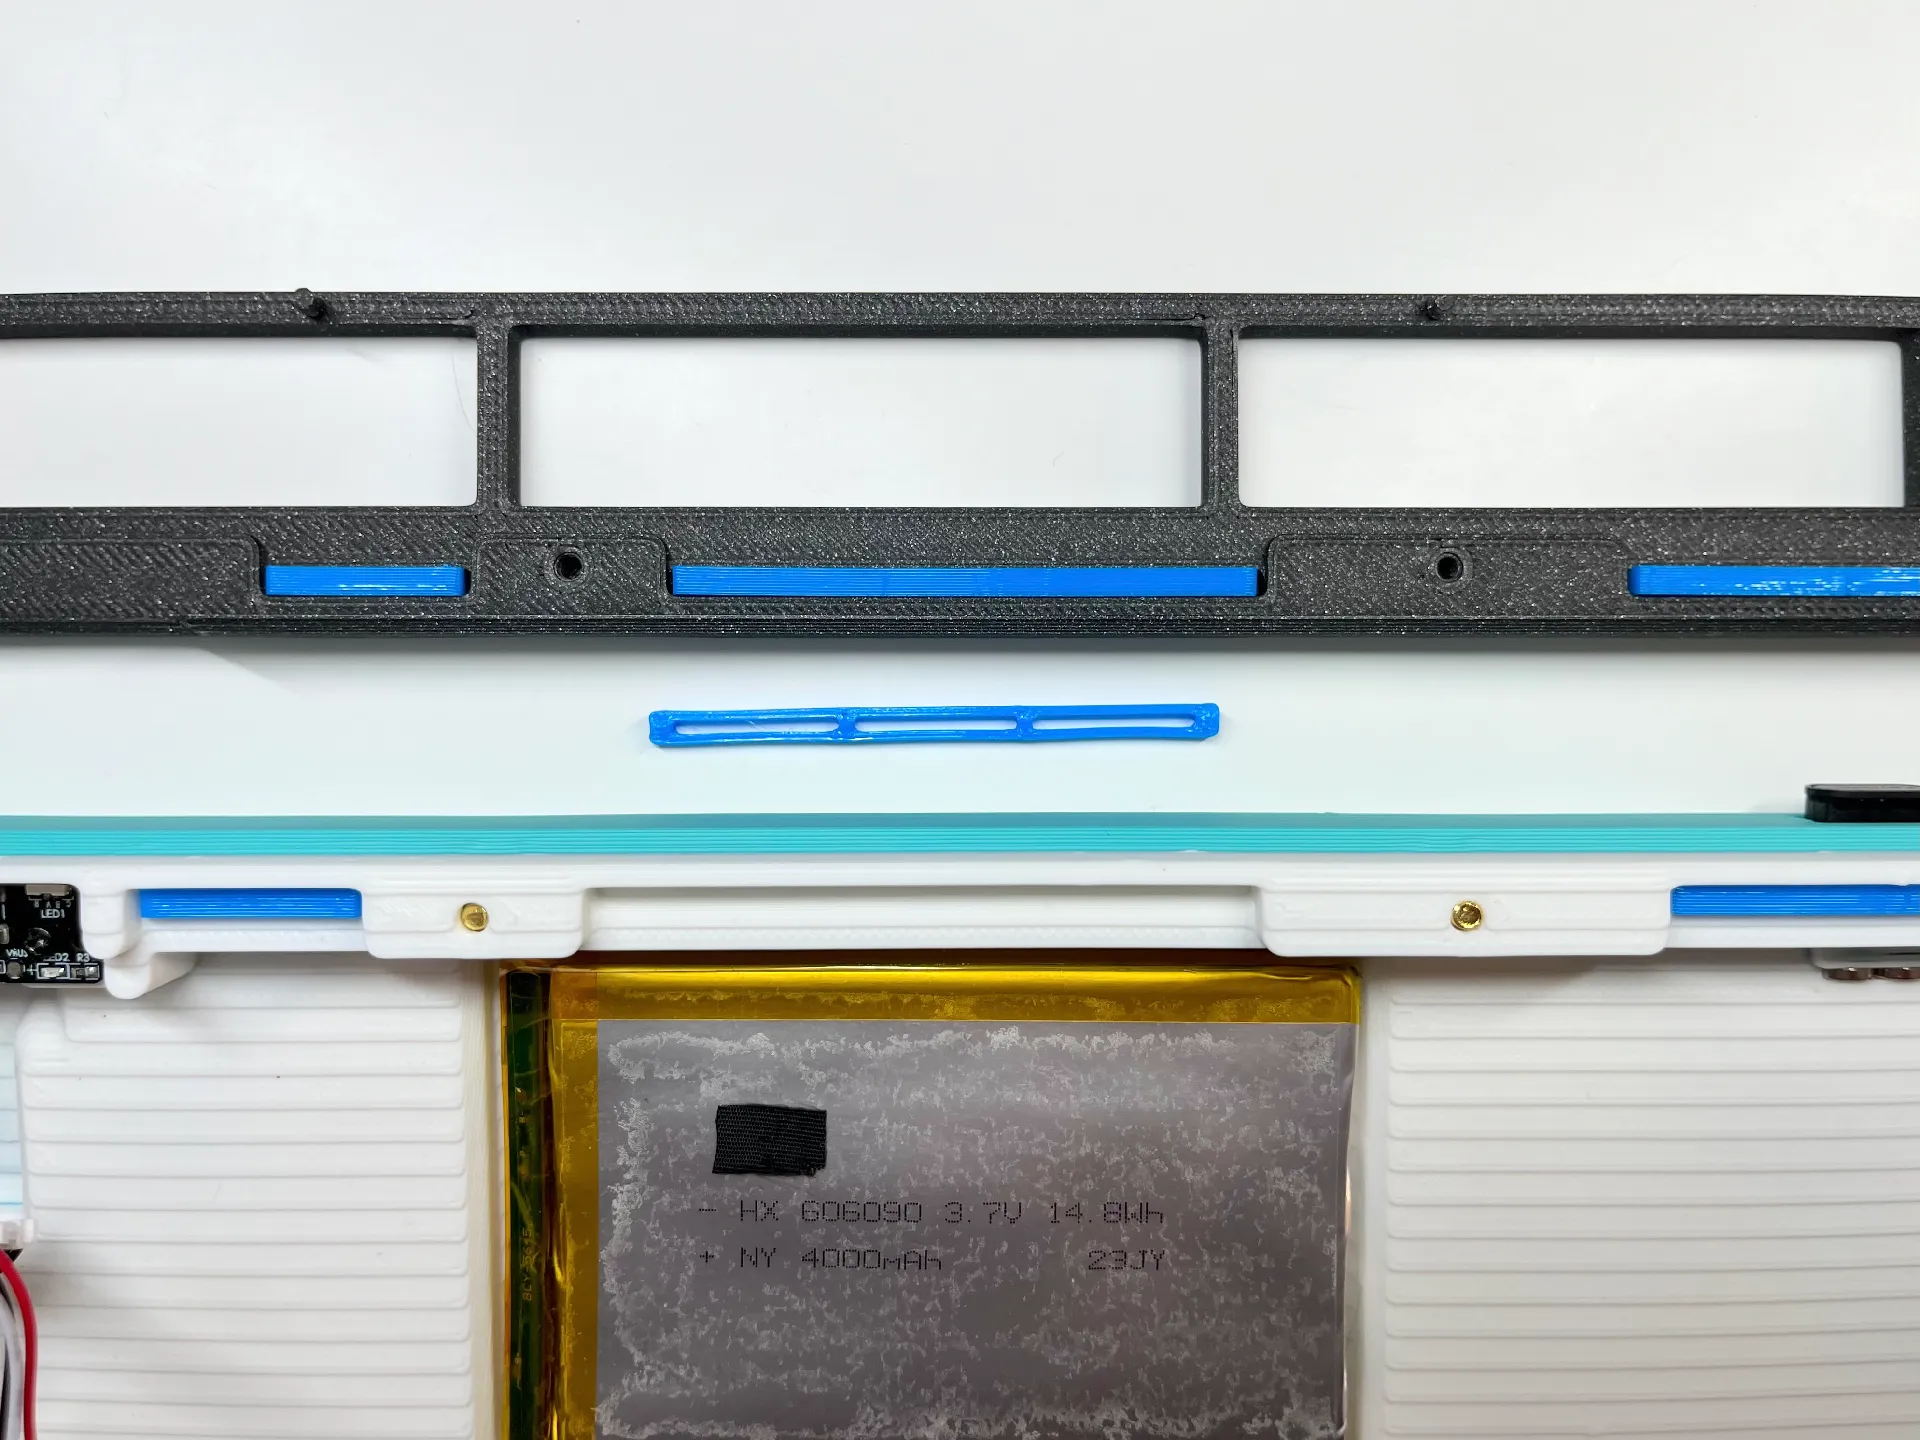
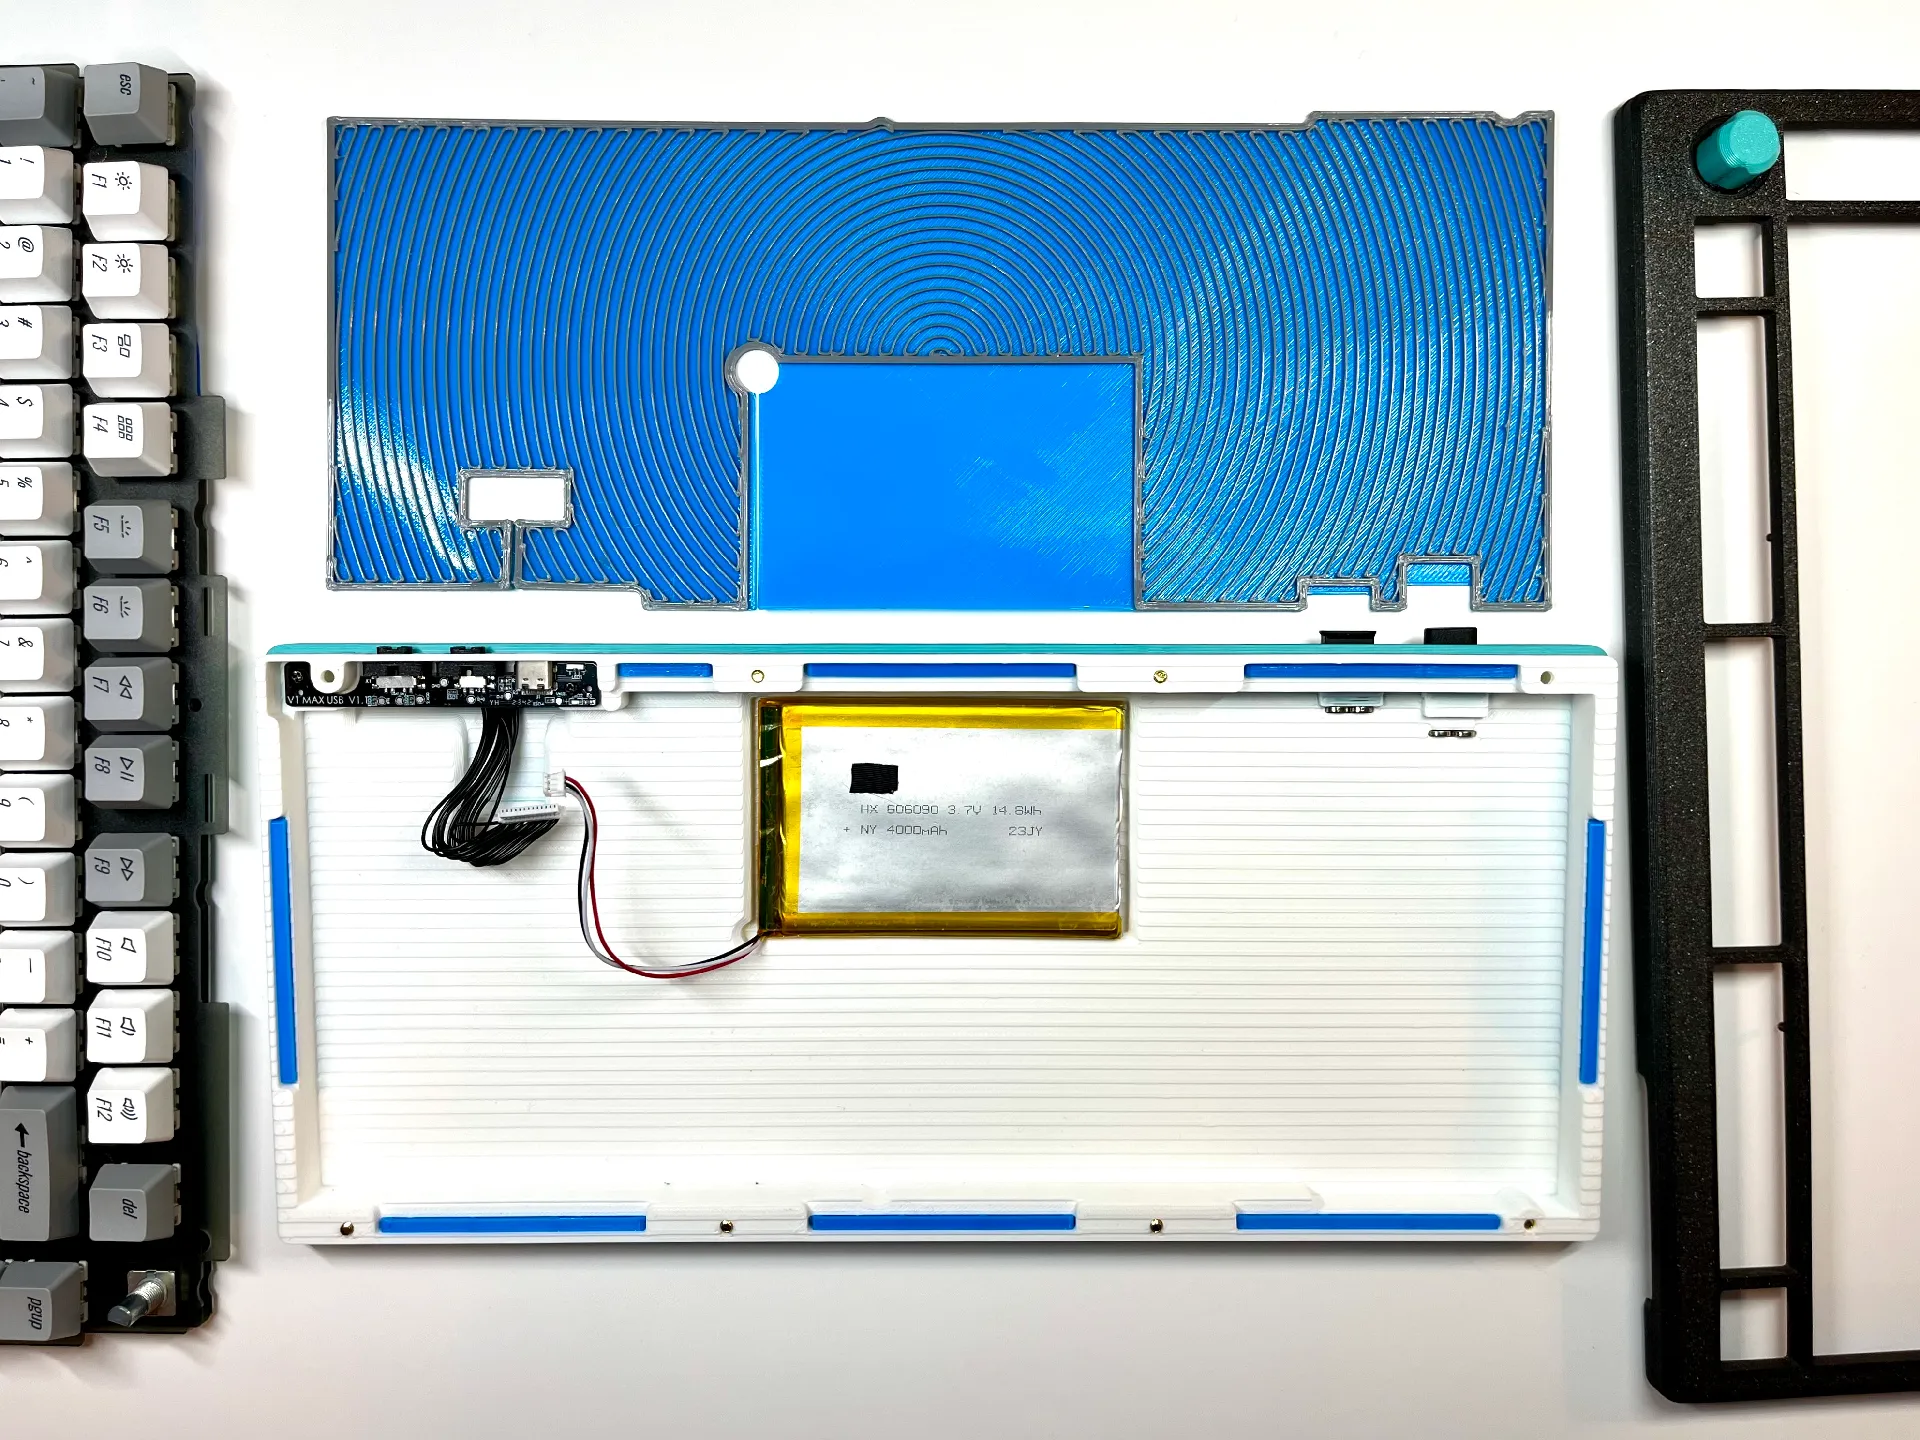
- 4000mAh battery (WARNING: removing this from the original case is challenging and risky, be very careful not to harm the battery while detaching it from the original case - do so at your own risk)
*Amazon links are Affiliate links, I use the funds from these sales to support projects like this one.
Printing Tips:
I've included all the .3mf files I used for my prints, but here are a few tips worth noting.
Universal Settings
- 0.32mm SPEED (layer height)
- 15% Rectilinear infill
- 2 Perimeters
- Textured print bed
- If you are going to work form the .3mf files provided, note that I used a mix of PLA+ (case base + knob, 220ºC) and regular PLA (case top, 205ºC). You will want to make sure the temperature and other print settings are appropriate for whatever filament you are using.
Case Base
- PLA+
- Use multi-material painting to colour the encircling motif + RF dongle slots
- Print flat on bottom of base
- Supports for daughterboard ports + RF dongle slots
- Use seem-blockers to prevent seems facing the outside of the case around the screw holes that connect the case base to the case top (see .3mf for example)
Case Top
- PLA
- Print upside down
- Modify bottom of the knob recess to have 6 perimeters for best look
- Supports for knob recess only
Knob
- PLA+
- Print upside down
- Use an Aligned Seem for smoothest results
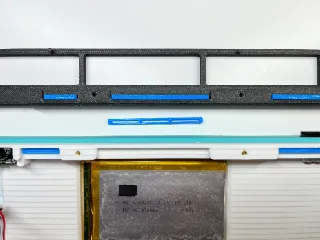
Gaskets
- TPU 95A
- Print with holes facing up and on the flat side
- 2x small gasket, 14x large gasket
Base Pad
- TPU 95A
- Print upside down
- Use the included modifier to define the volume to be printed with infill only (I used Archemedian Chords)
License: CERN OHL V2 Strongly Reciprocal
WARNING: Attempt this project at your own risk. I accept no responsibility for any issues/damages resulting from attempting this project or using the products that result from it.
Otherwise, enjoy! If you do end up making one or modifying it, please share pictures and details so others can see/enjoy it.
Tags
Model origin
The author marked this model as their own original creation.


