Neurosurgery Simulator v1

Description
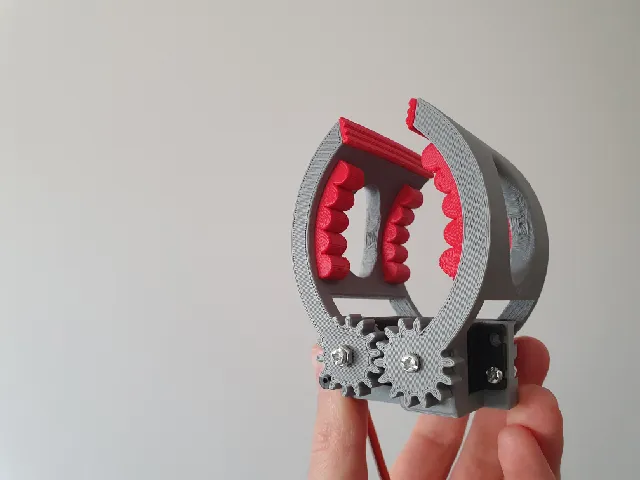
PDFDescription: This system consists of a stand, part of the parietal brain, and a piece of the skull that covers that part of the brain. This system allows you to drill through the skull bone, cut the dura, and enter the brain area where you can extract pathological tissue while the Arduino-powered system lets you know when you touched the healthy brain tissue, presents what part of the brain you touched and counts your mistakes so you can track your progress during continuous practice.
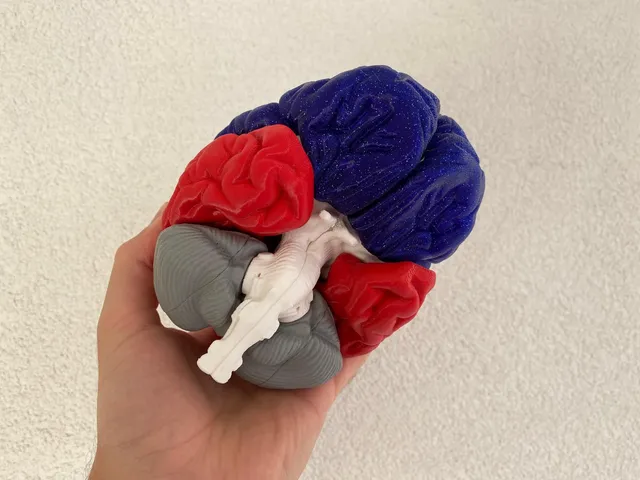
Printing technique: The stand can be printed in standard PLA or any other desired material as its only duty is to hold the parts together. The brain should be printed in electrically conductive material or, in my case, printed in flexible material and sprayed with graphite conductive paint afterward. The skull is preferably printed in resin as it resembles the real bone more in terms of drilling capabilities. Although the skull should work fine if printed with FDM material.
Assembly: After the brain is sprayed with conductive paint, different brain regions are isolated by making grooves with a sharp tool so that there is no conductivity between the regions. Every region is connected to Arduino by a wire. The brain is attached to the stand using glue, the skull bone is attached using glue, and a cloth-like material is inserted between the brain and the skull representing the dura. The final electrode is connected to the conductive tool that will be used in the operating process and as you close the circuit by touching the conductive surface of the brain the Arduino system makes a beeping sound and via Phyton script displays the message onto the screen.
For simulated pathological tissues I used a negative volume tool in Prusa slicer and made some spherical holes that were later filled with soft playdough material.
Tags
Model origin
The author marked this model as their own original creation.