BeamCase ATX and microATX - compact modular (m)ATX case


Description
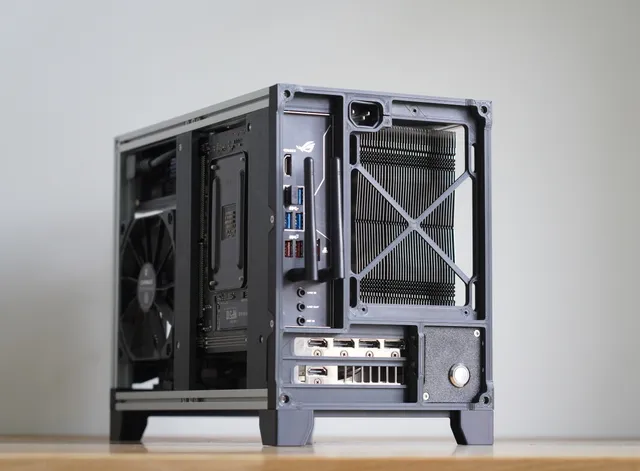
BeamCase is a system theat allows you to create your own case with the combination of 3d prints and Makerbeam XL profiles (or similar 15x15 aluminium extrusions).
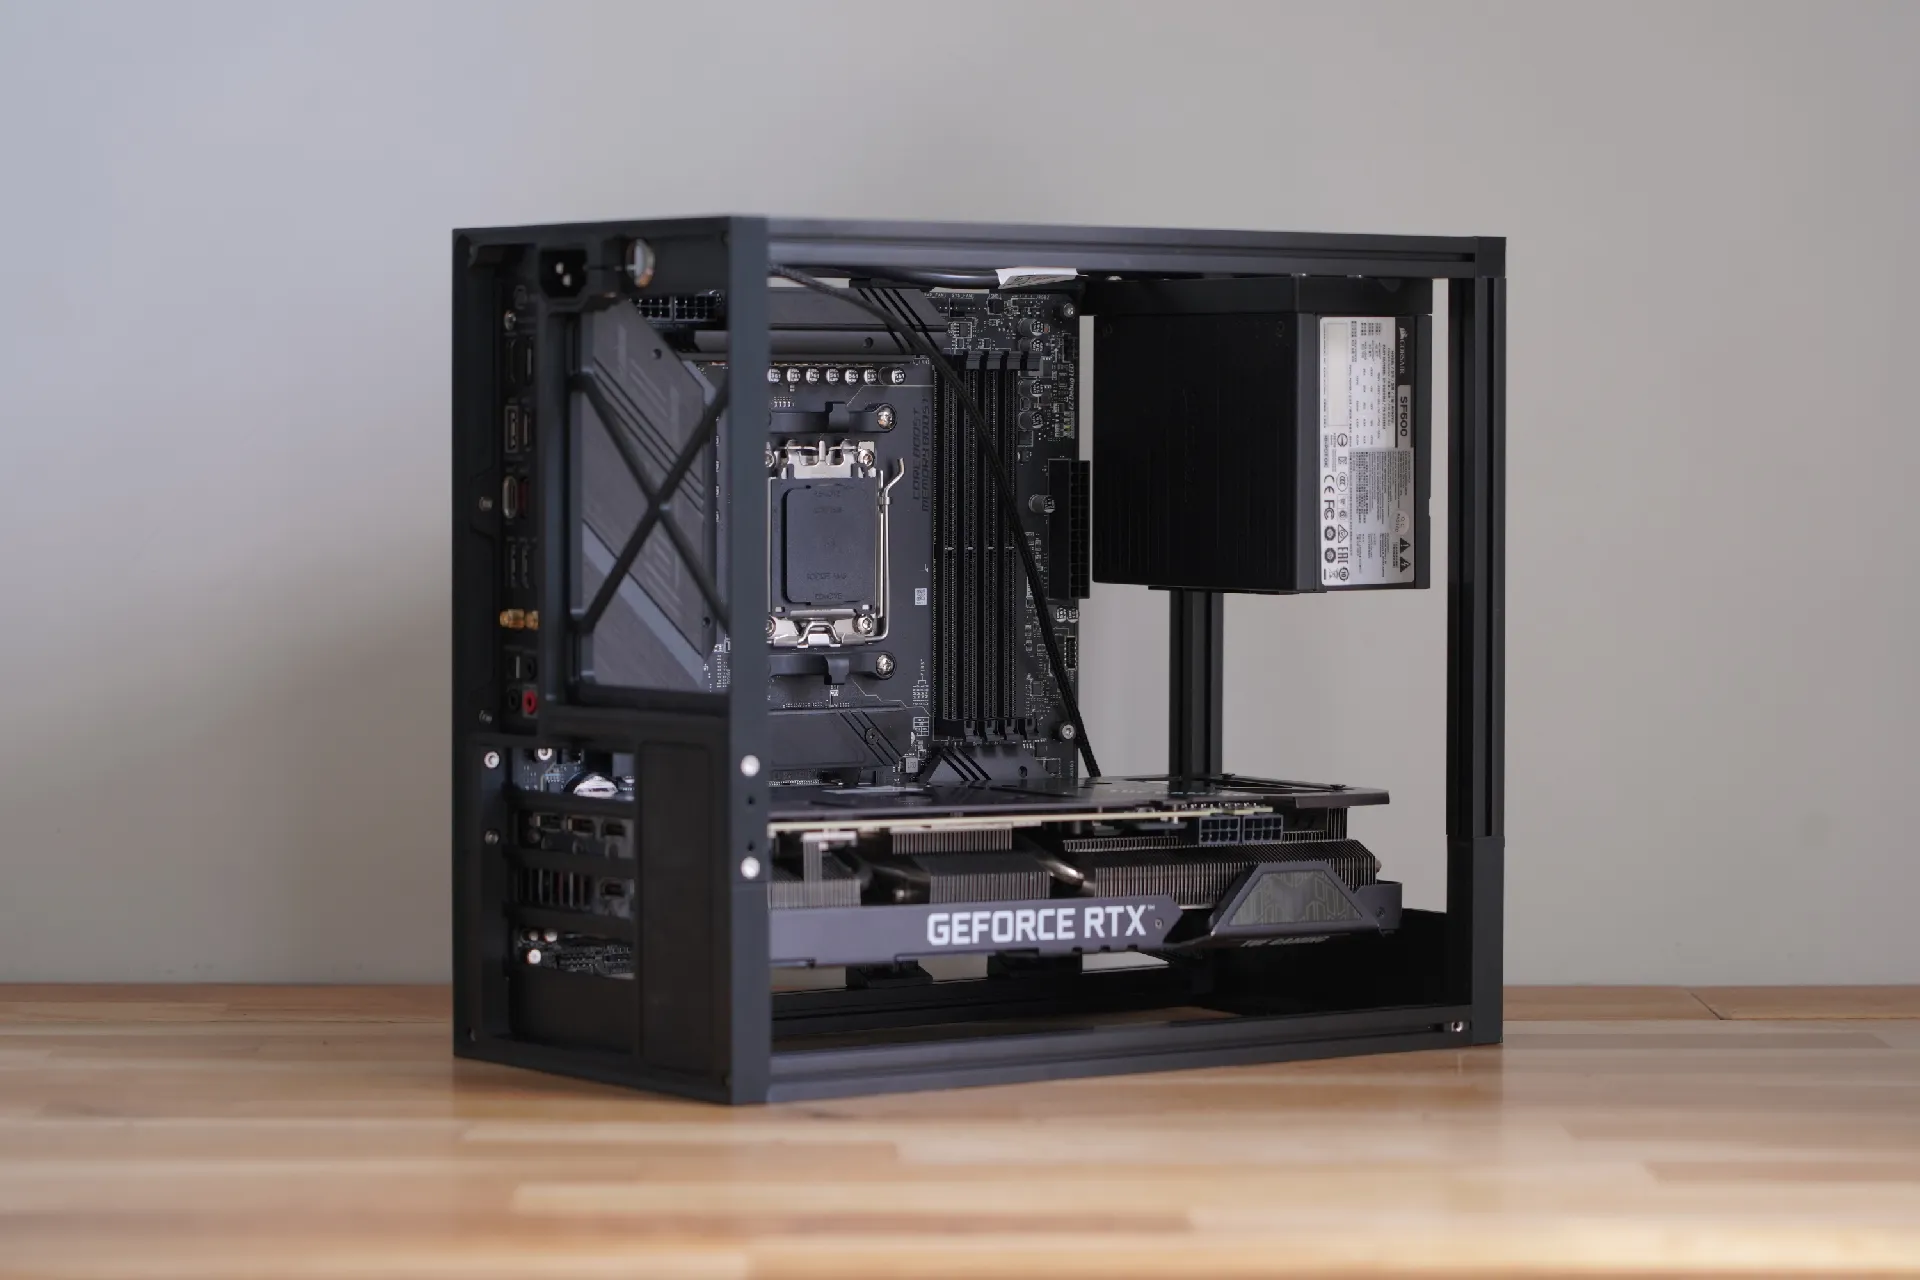
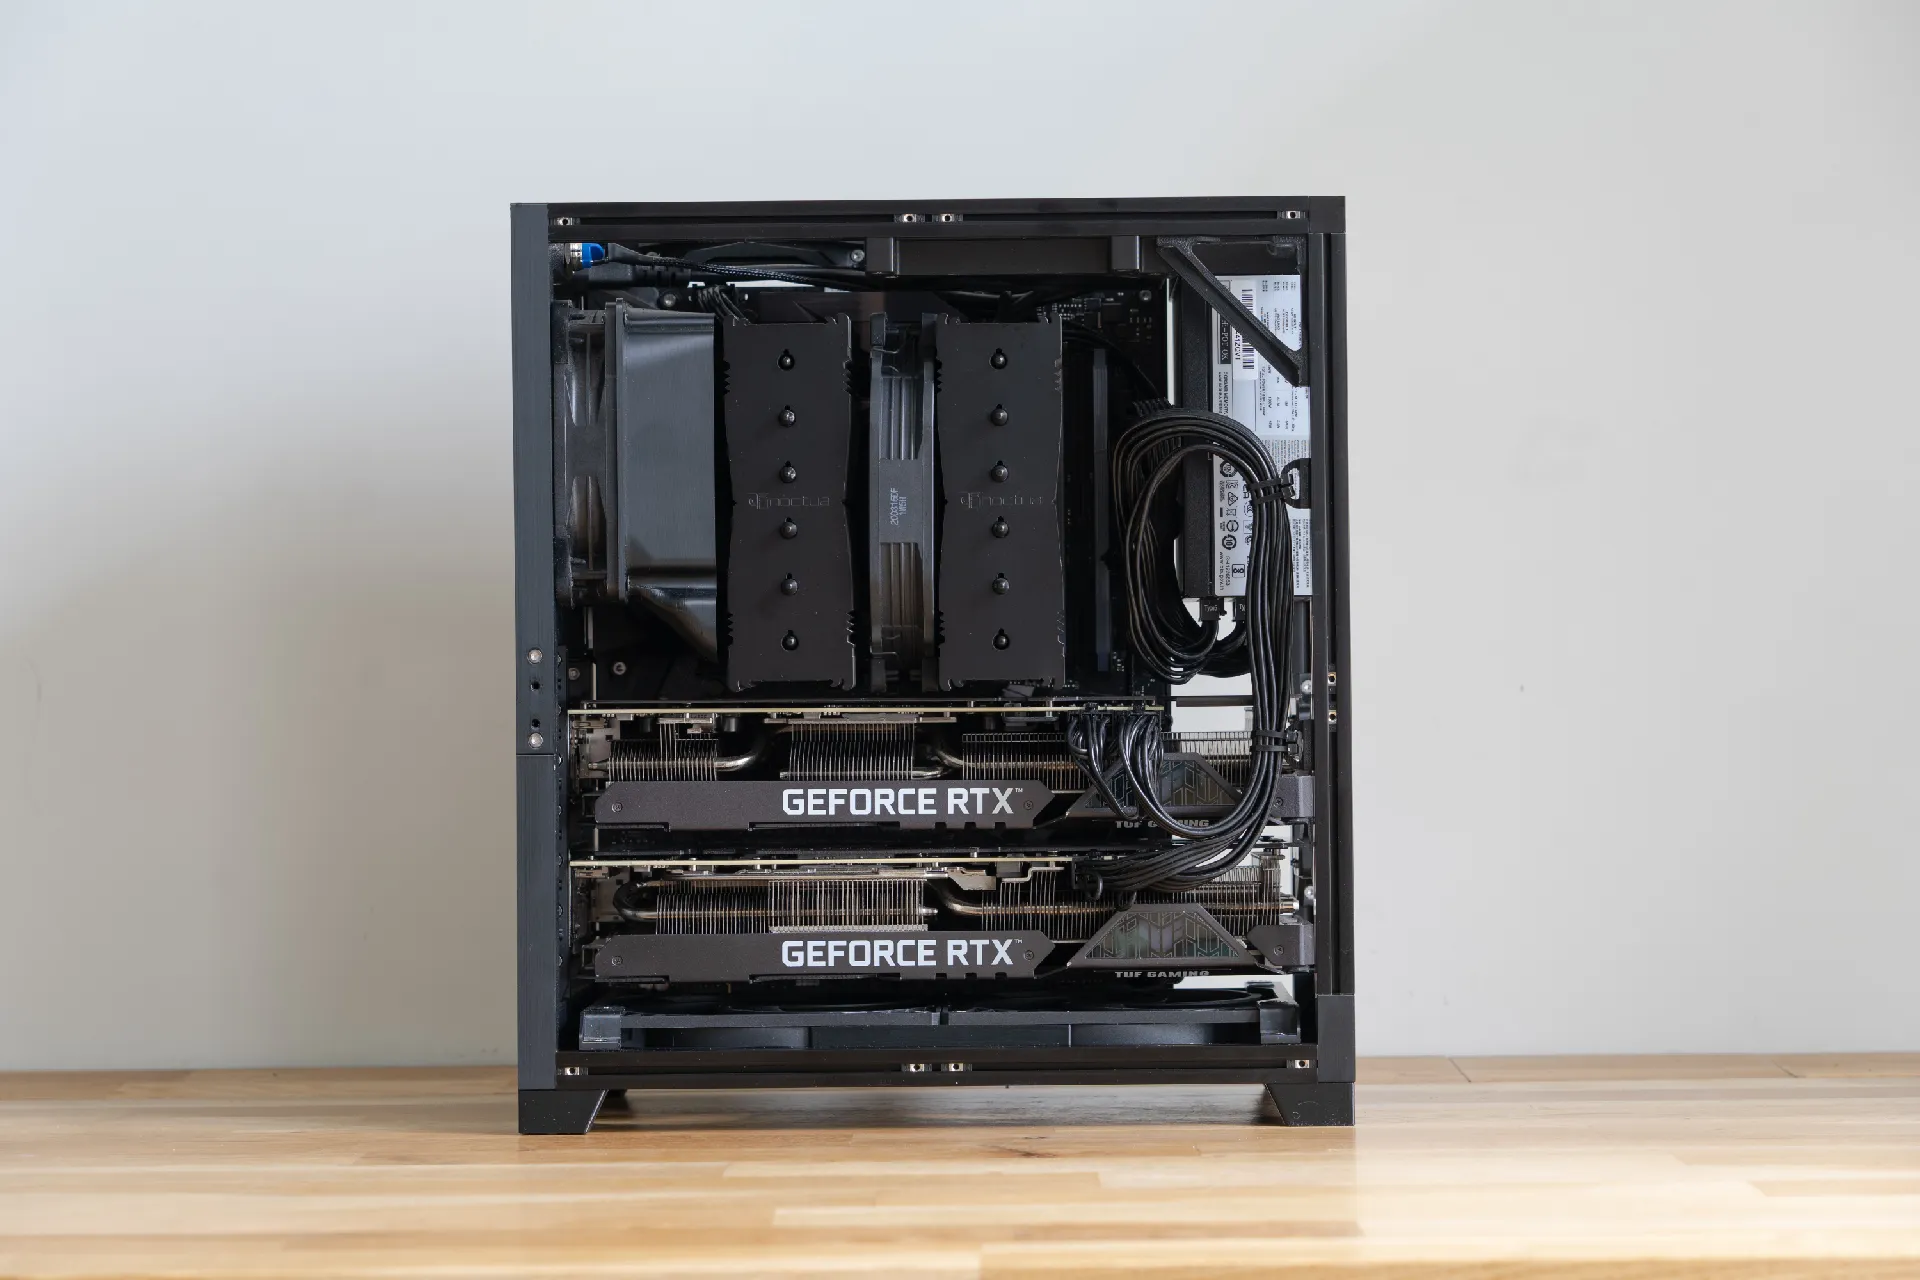
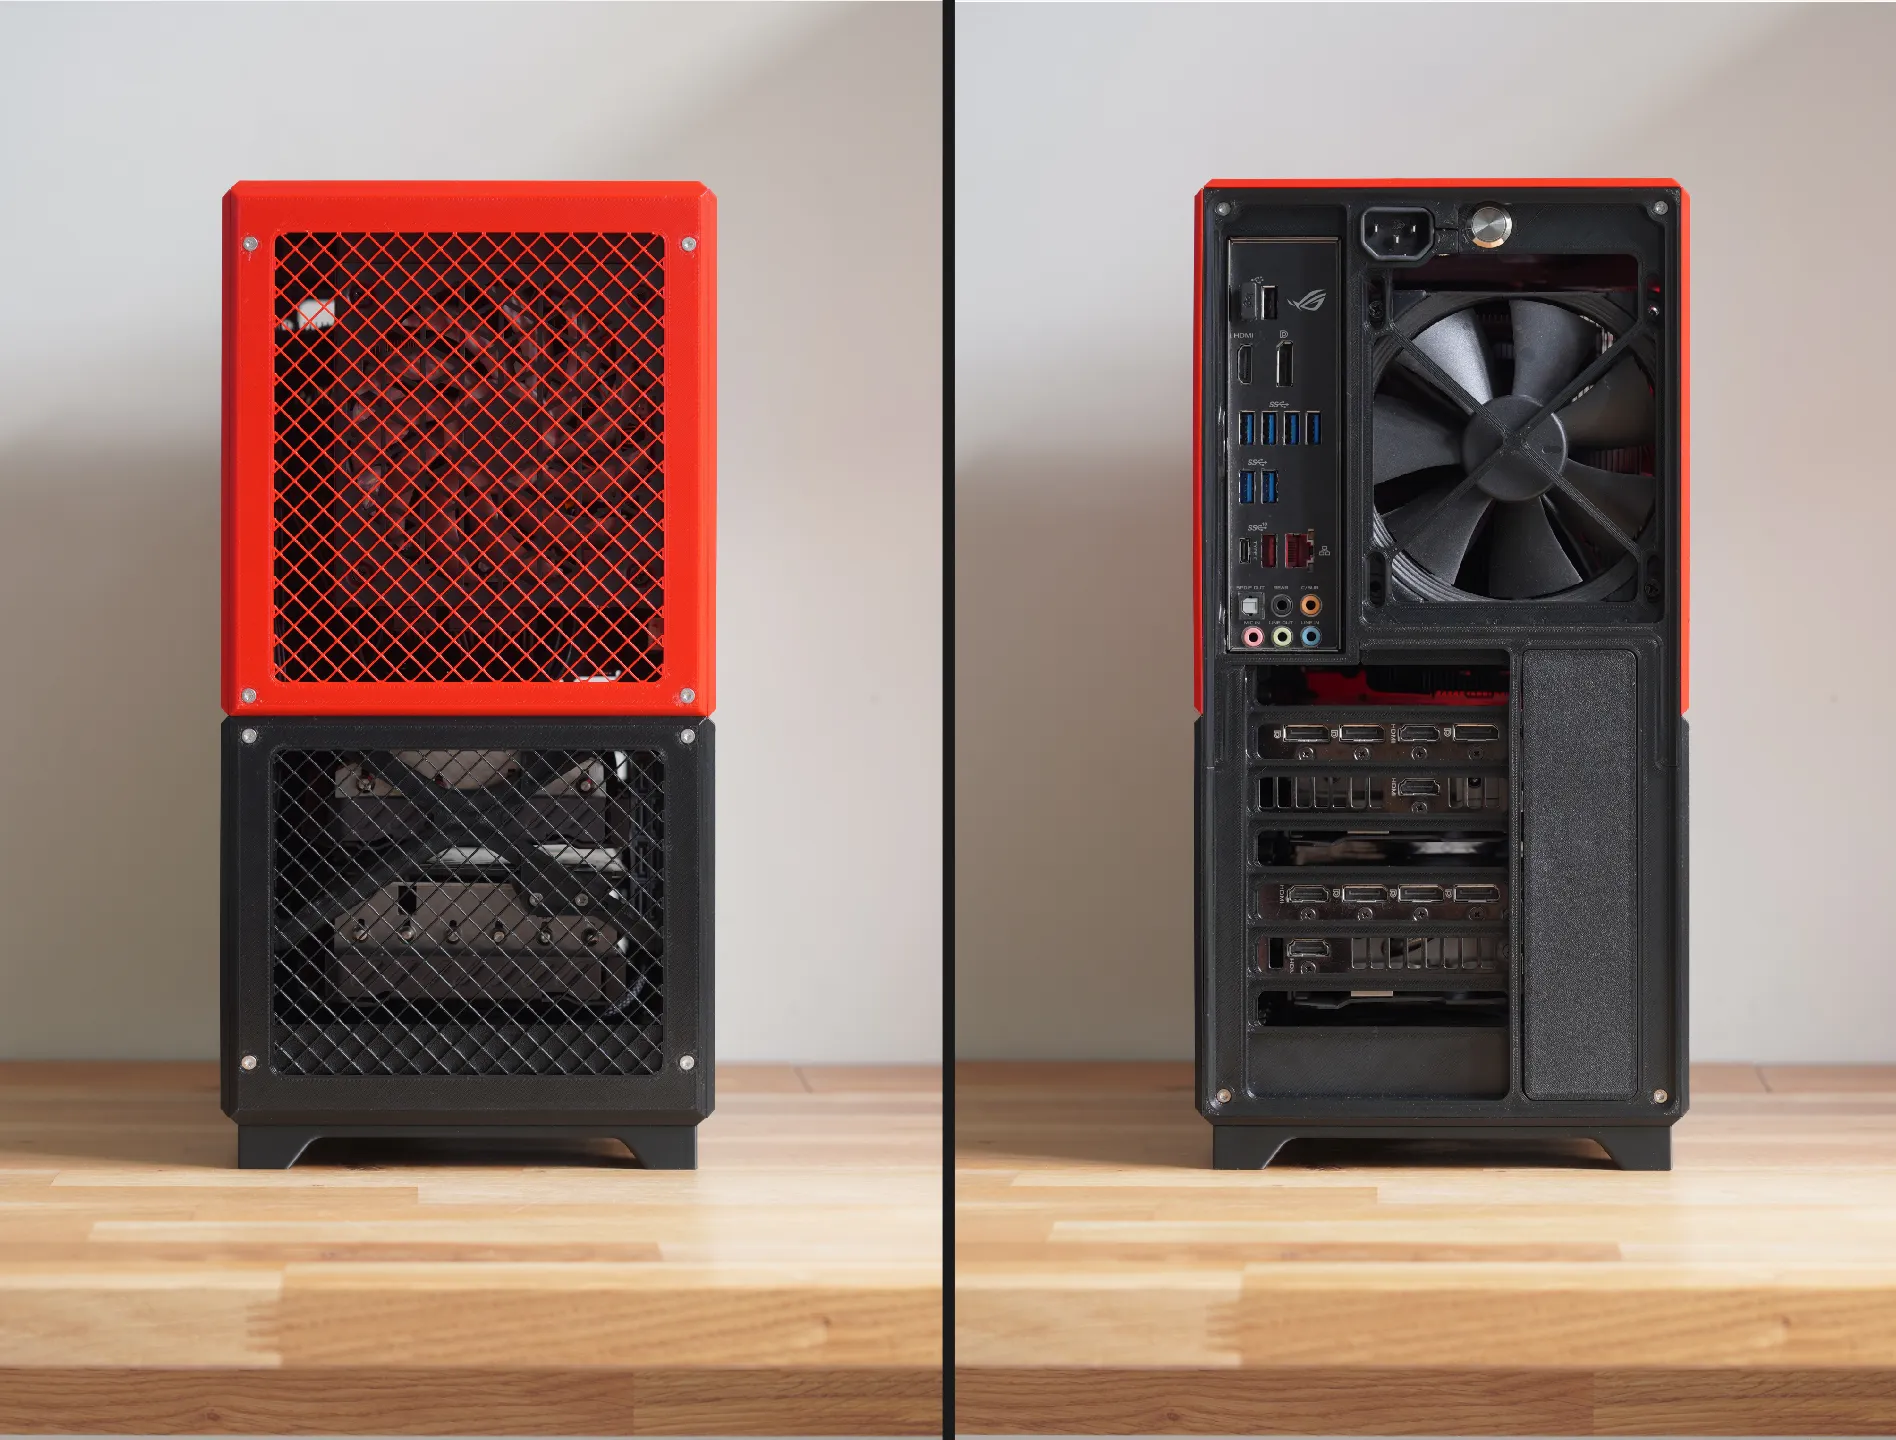
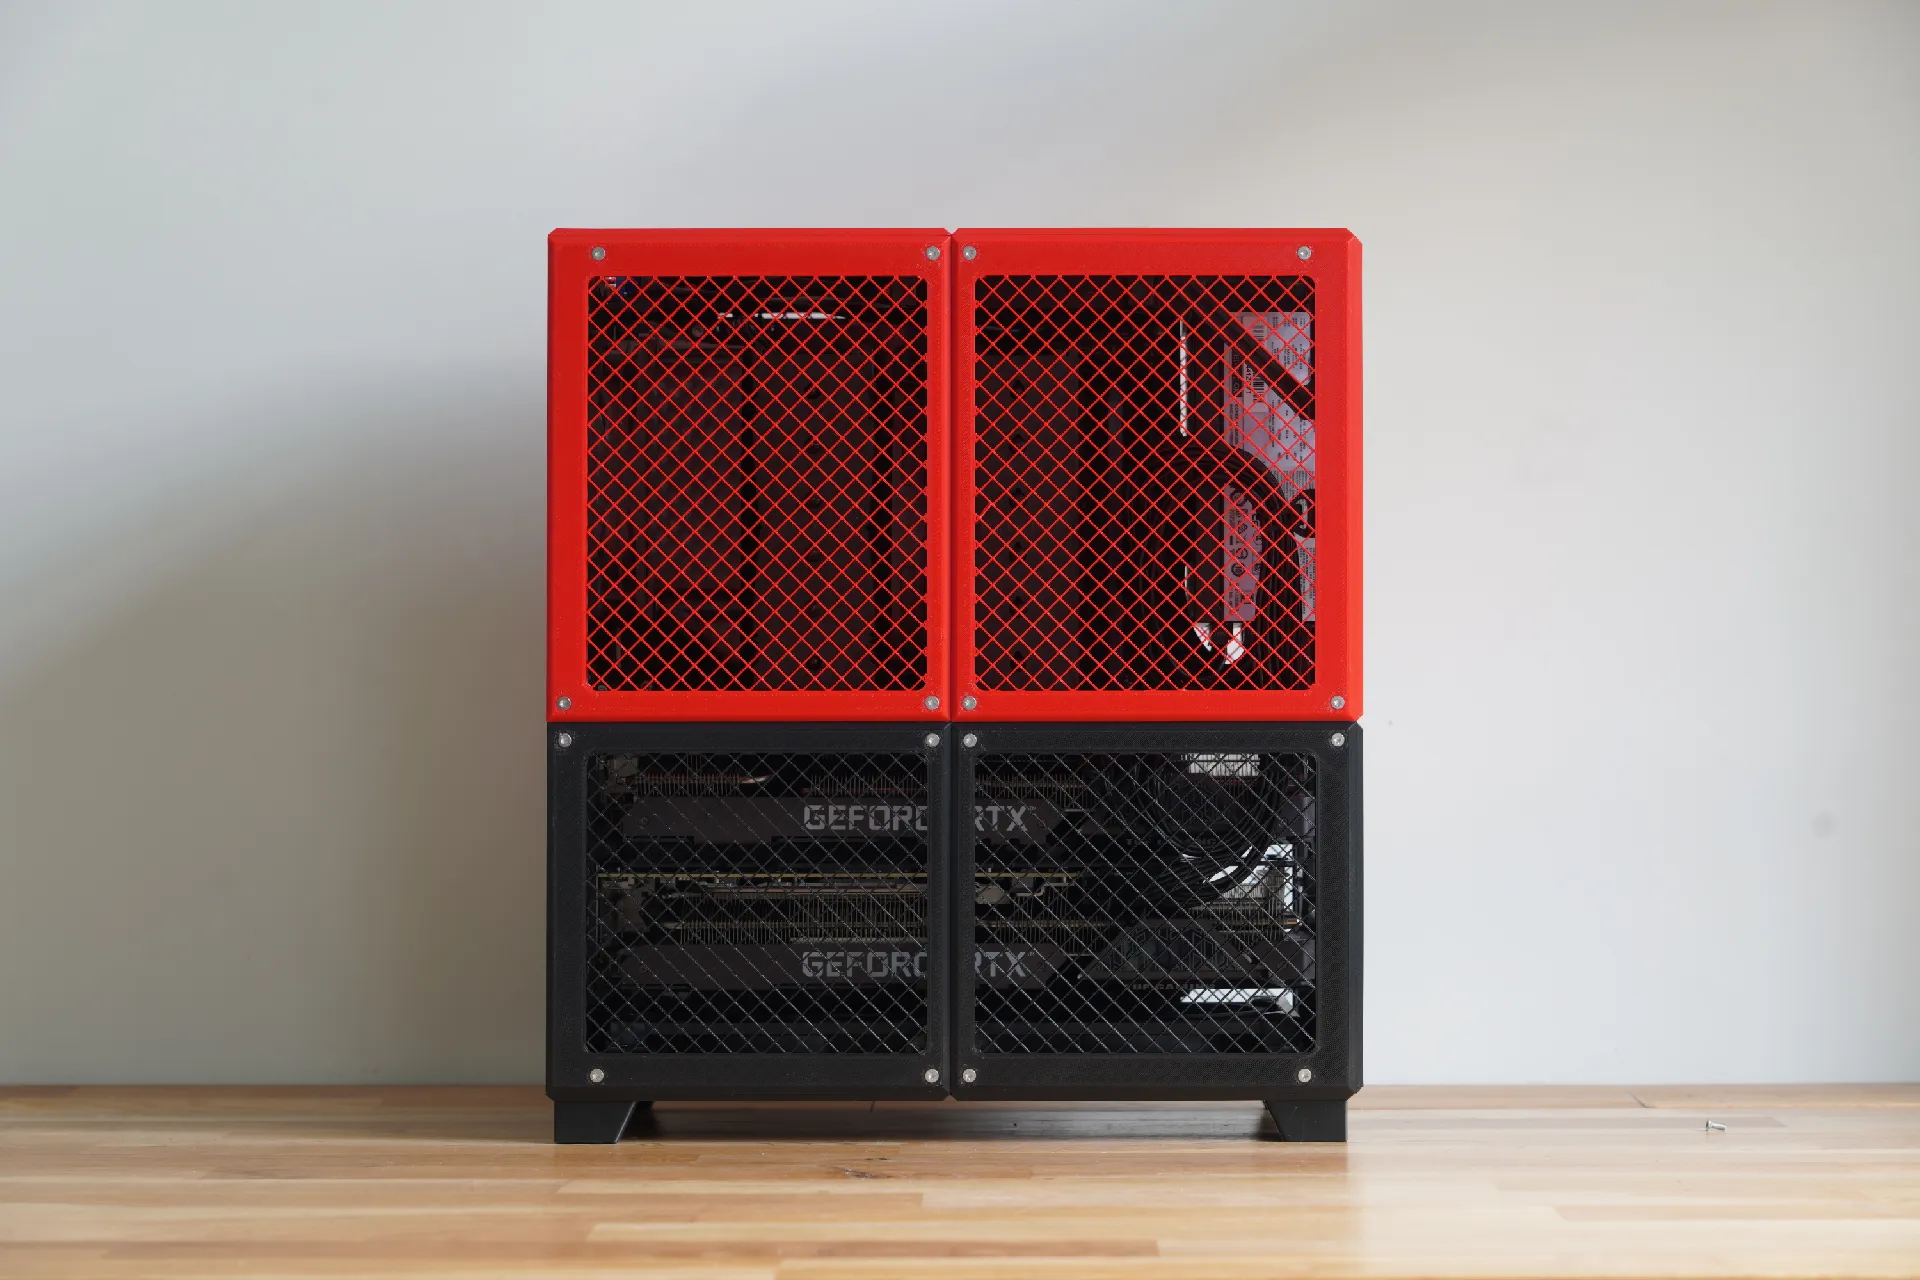
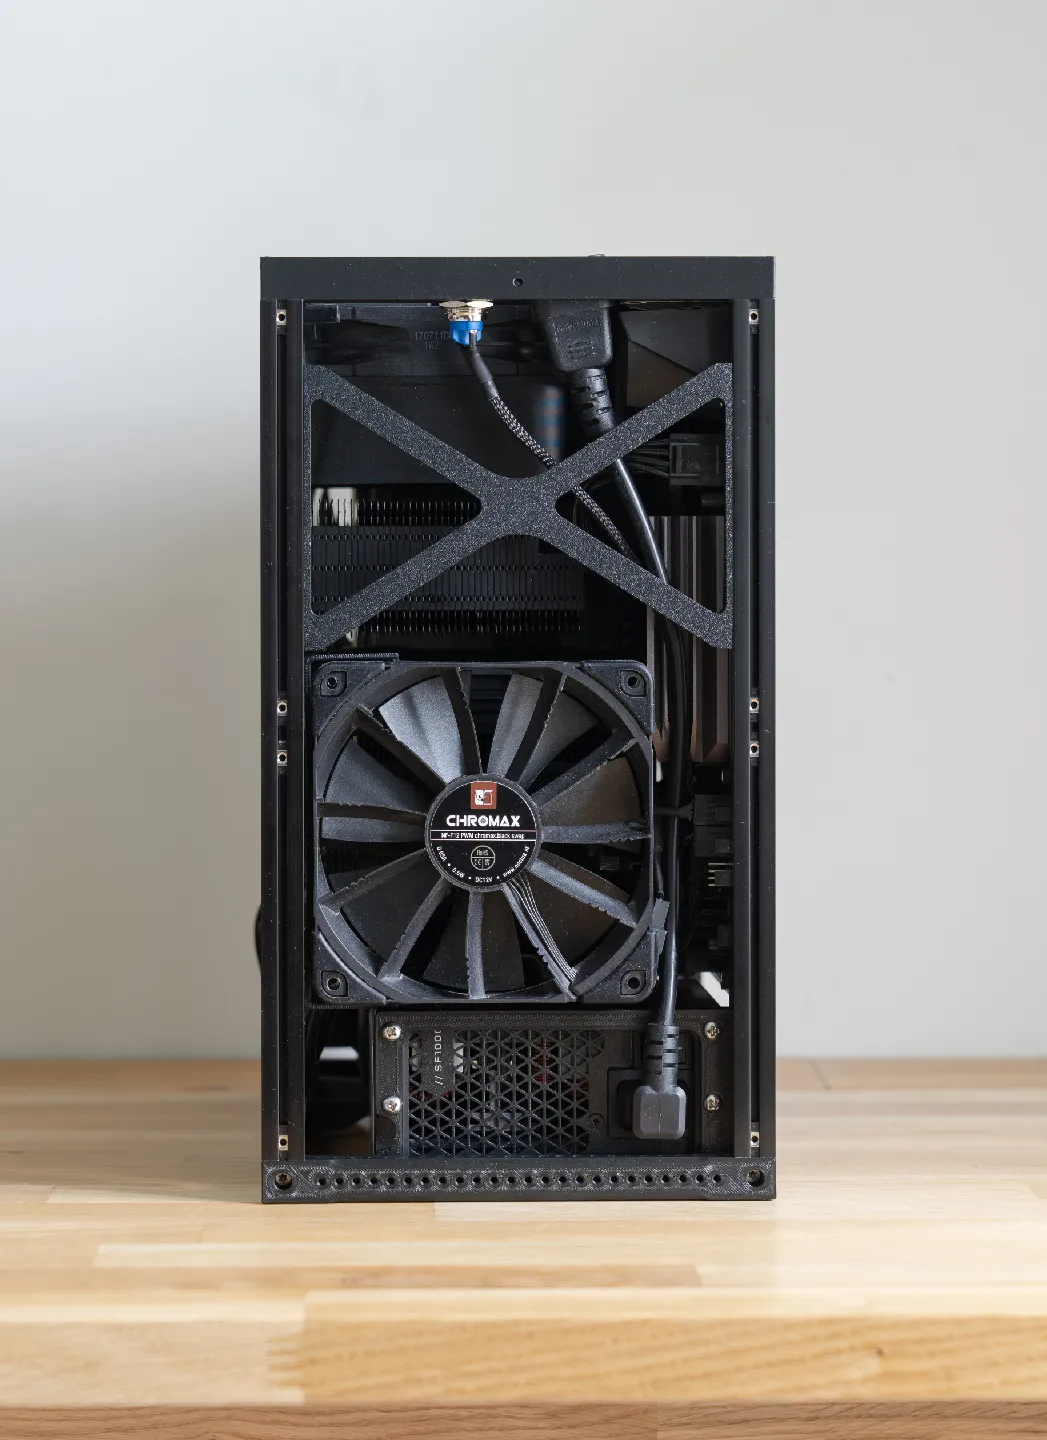
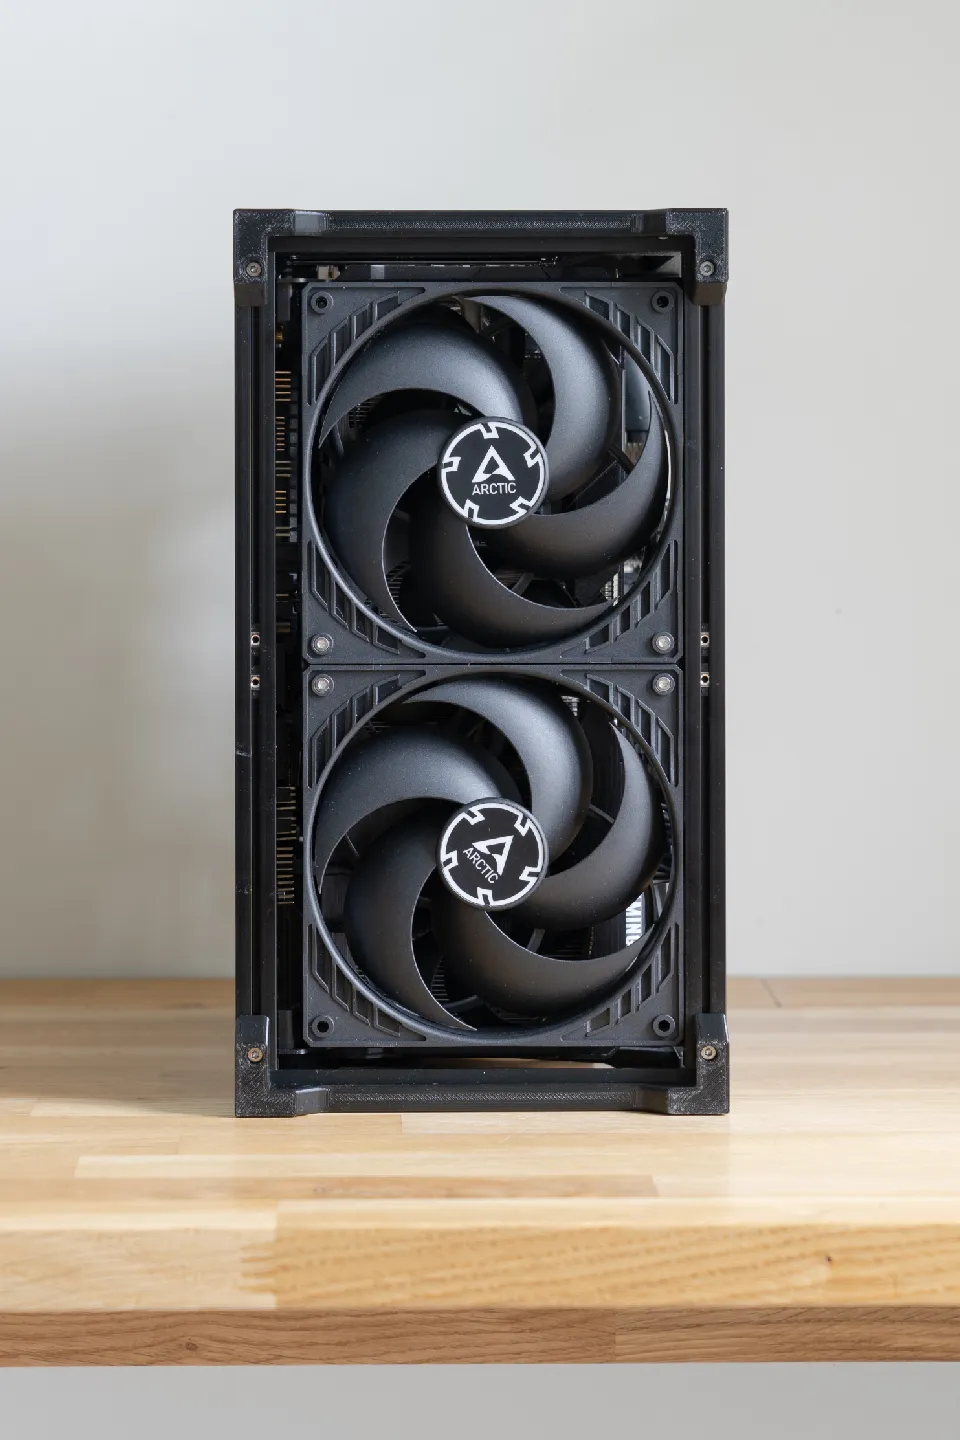
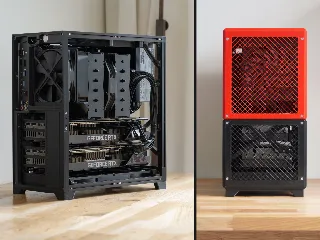
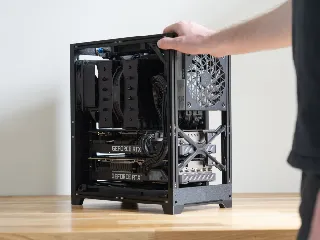
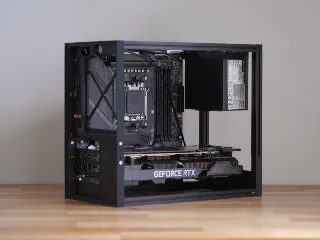
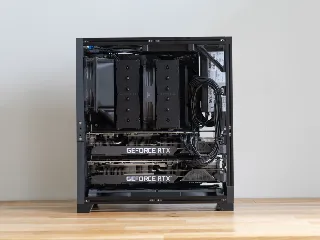
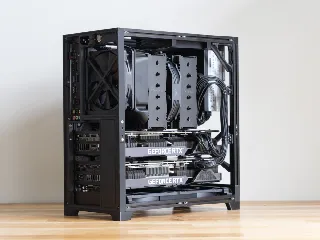
BeamCase (m)ATX is a system optimized towards compact builds with full size (m)ATX motherboards and good cooling while still allowing a lot of flexibility. It allows the use of large aircoolers like the Noctua NH-d15 and large GPUs. By combining 3d prints and Makerbeam XL profiles the case is extremely customizable and strong at the same time.
The files for sale here include all the brackets to complete a frame in multiple different variations, either for ATX or microATX motherboards and each of those has different options for the rear IO bracket, with support for a rear 120mm fan with different PSU extensions and the option for a rear mounted full size ATX power supply.
Fan brackets, alternative handles and more can be found on my profile for free.
Components structure and naming:
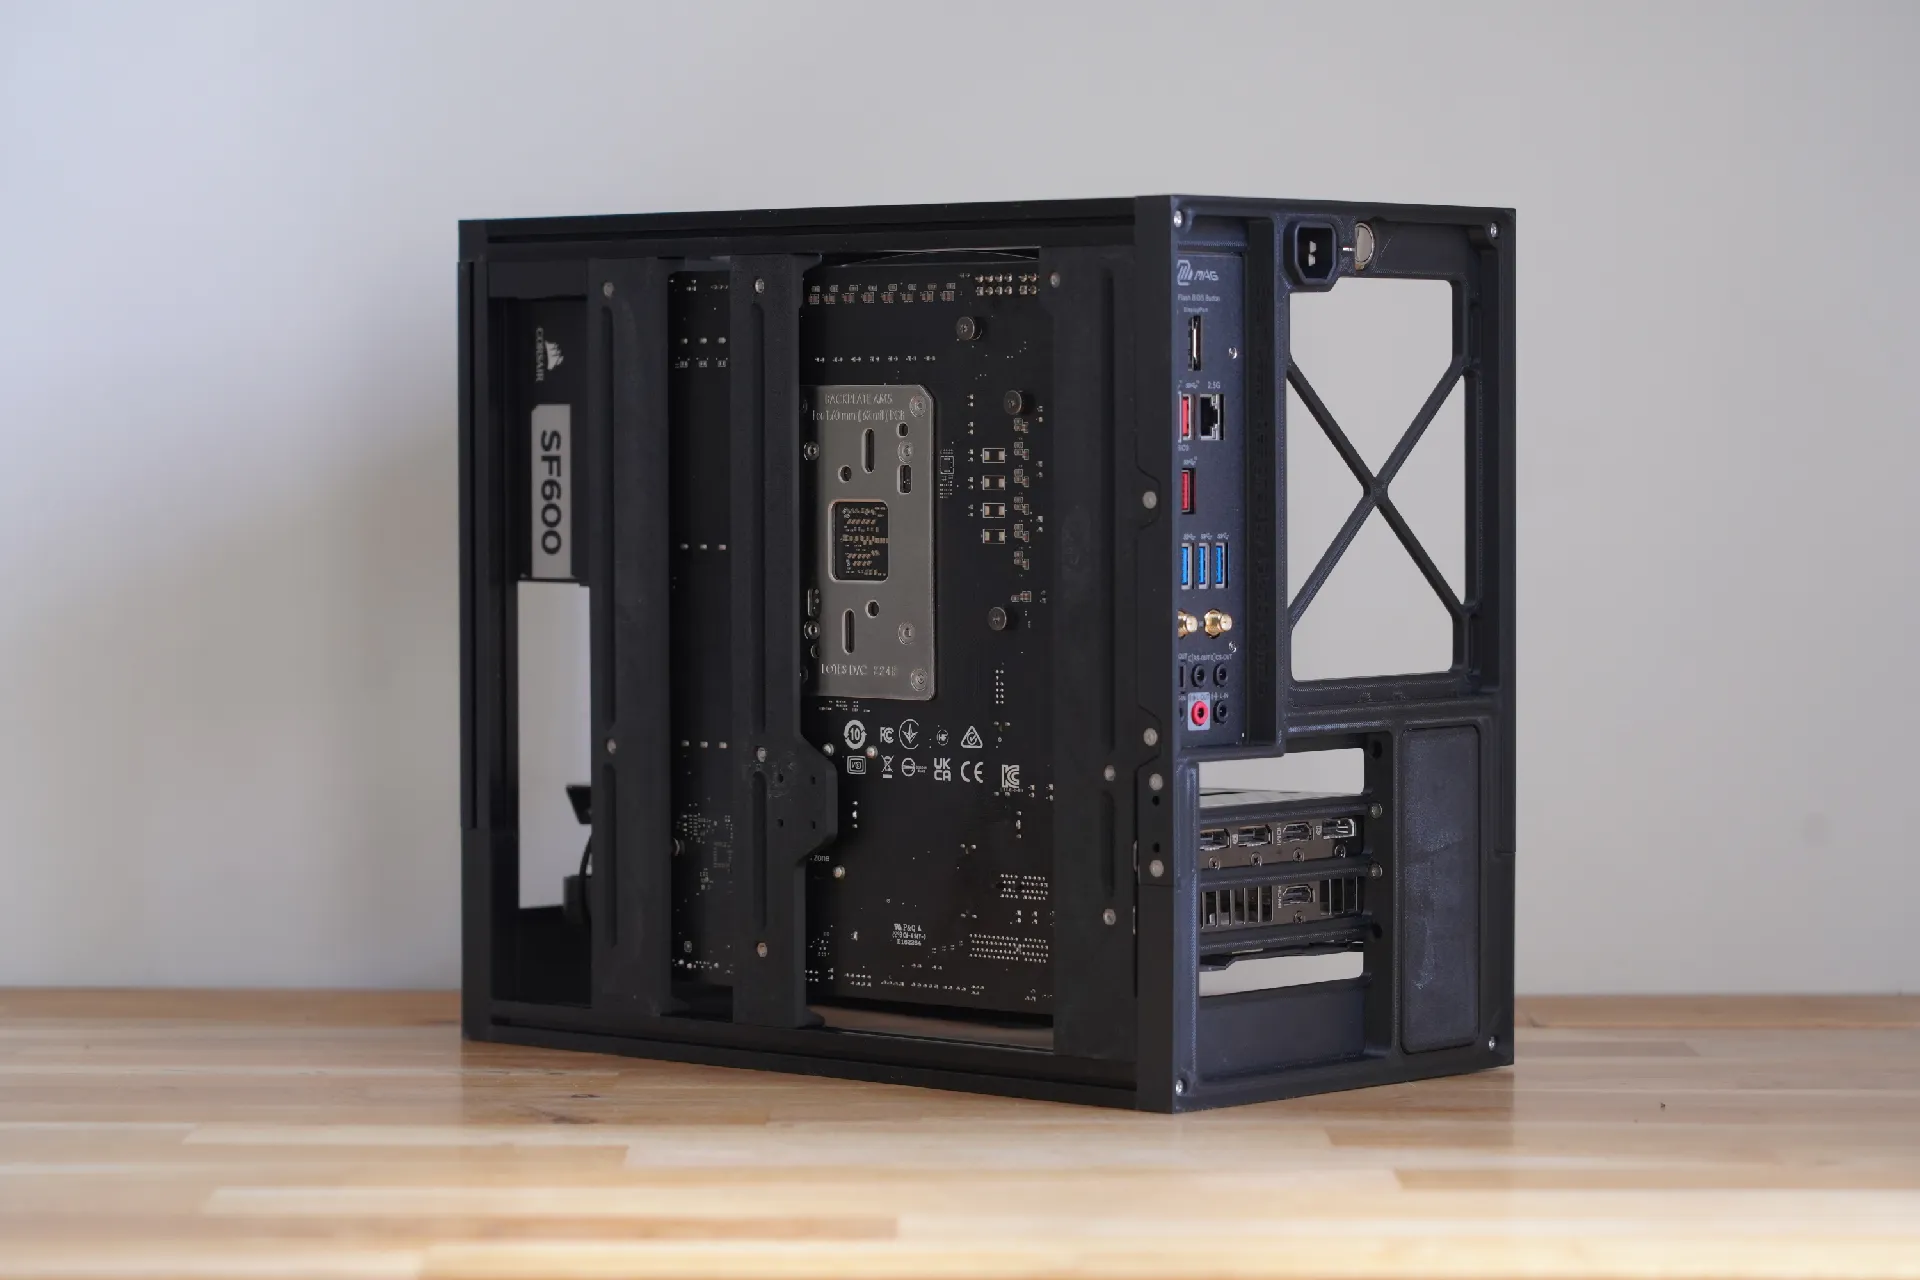
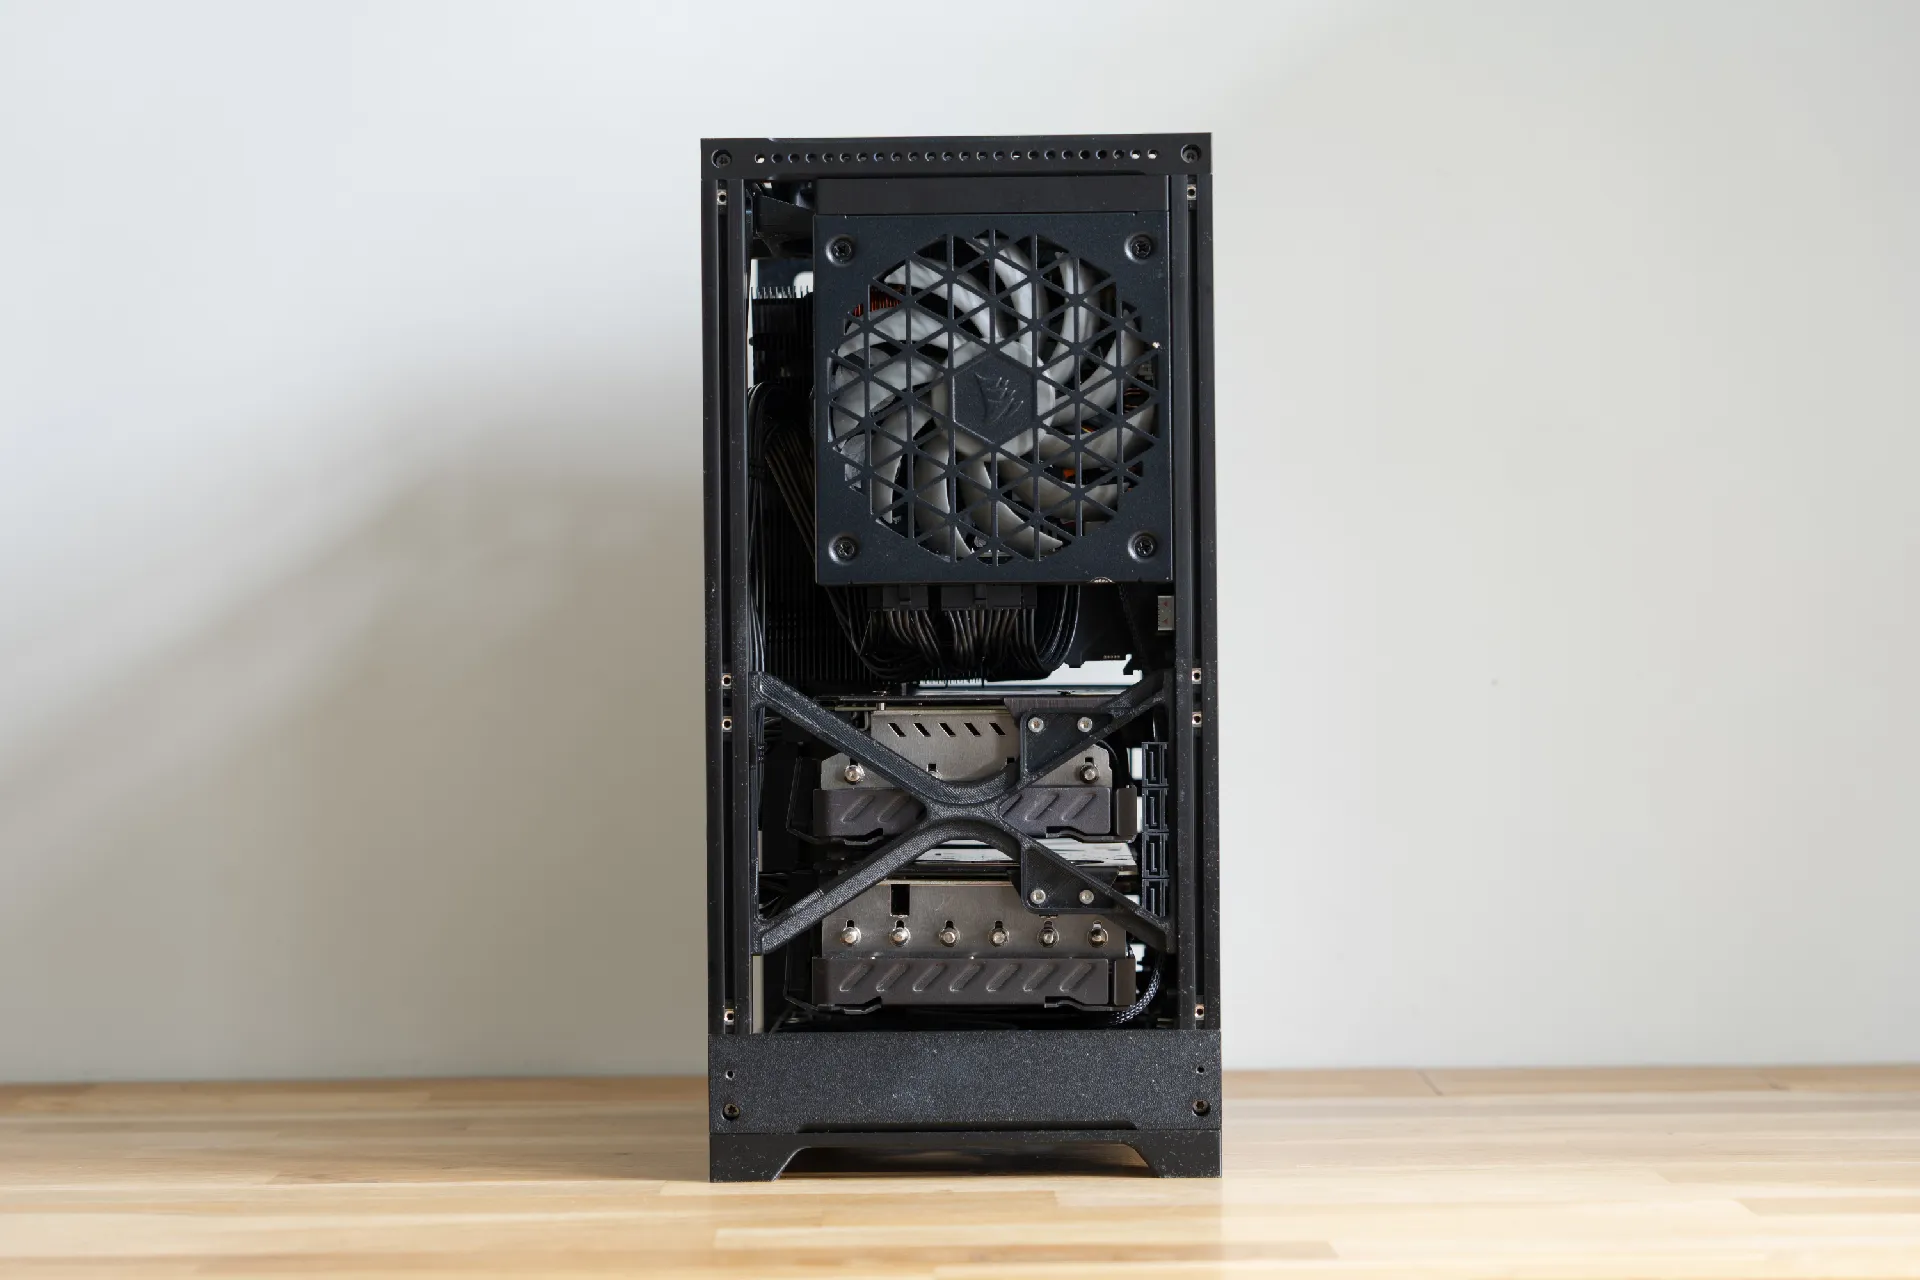
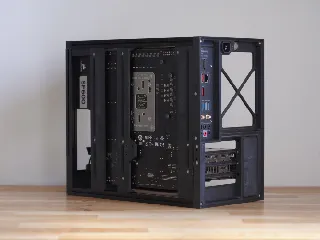
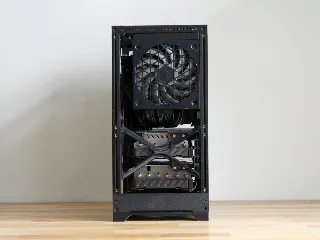
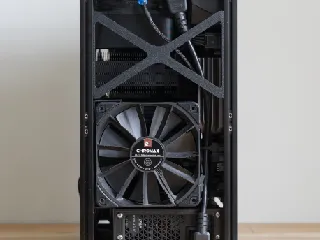
All frame variations use the same upper rear IO bracket, which comes in different versions. There is the option of a rear mounted 120mm fan and different PSU extension mounting options, as well as a rear mounted ATX PSU (which will limit the CPU cooler clearence). The files also include an empty upper rear IO bracket that can be used to create your own variations. (for example integrated pump mounts and so on)
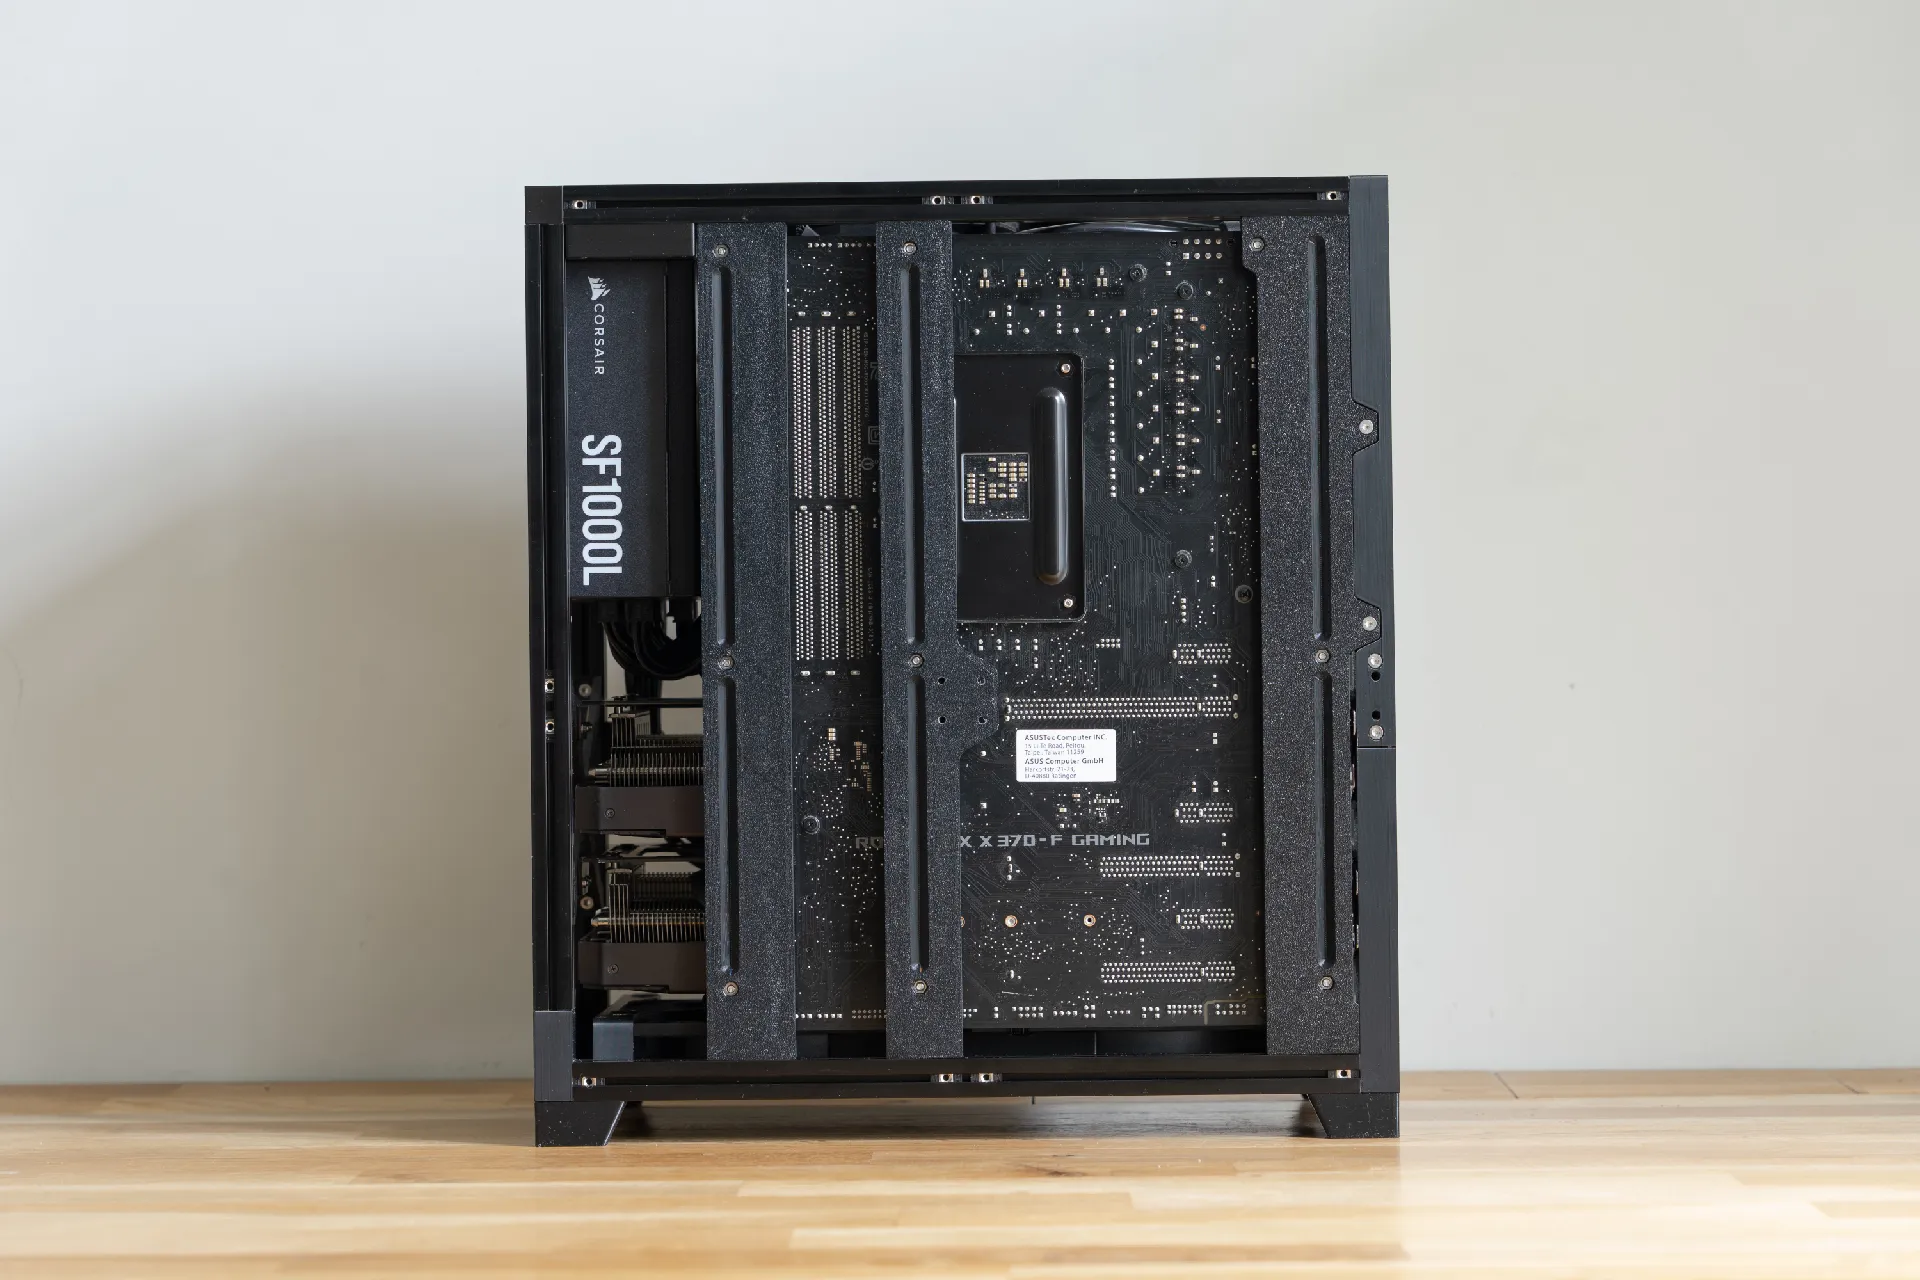
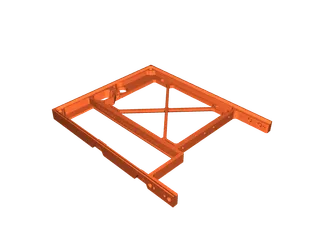
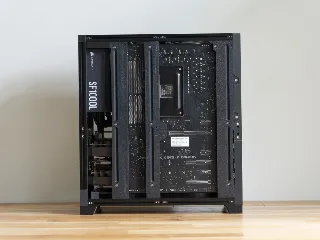
That upper rear IO bracket is combined with the parts for each version which can be found in the correspondingly named folder. That includes the lower IO bracket, mainboard beams and lower beam replacement, pcie cover, SFX psu mounting bracket.
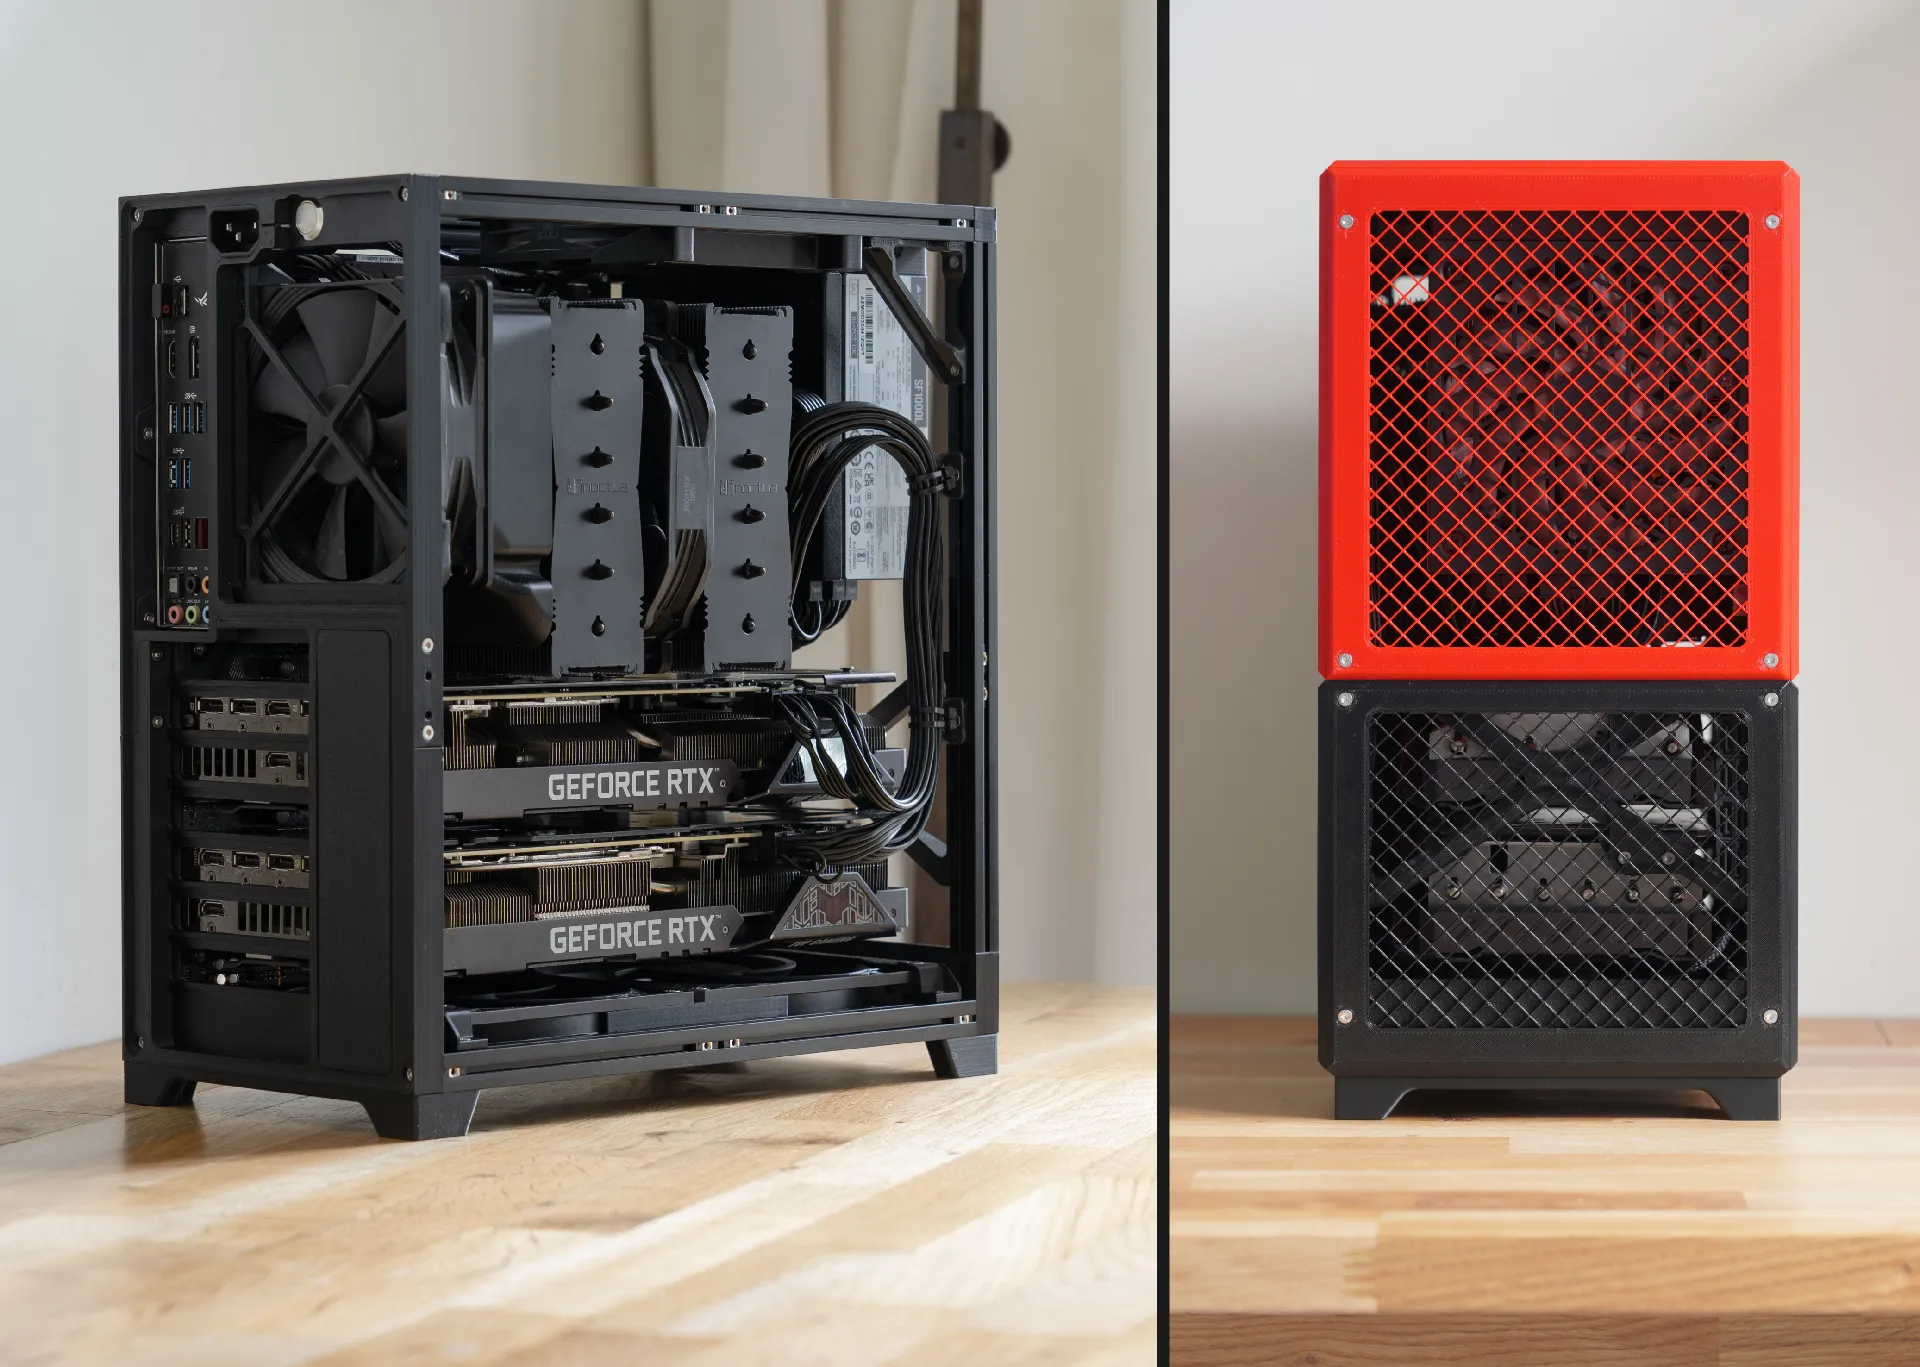
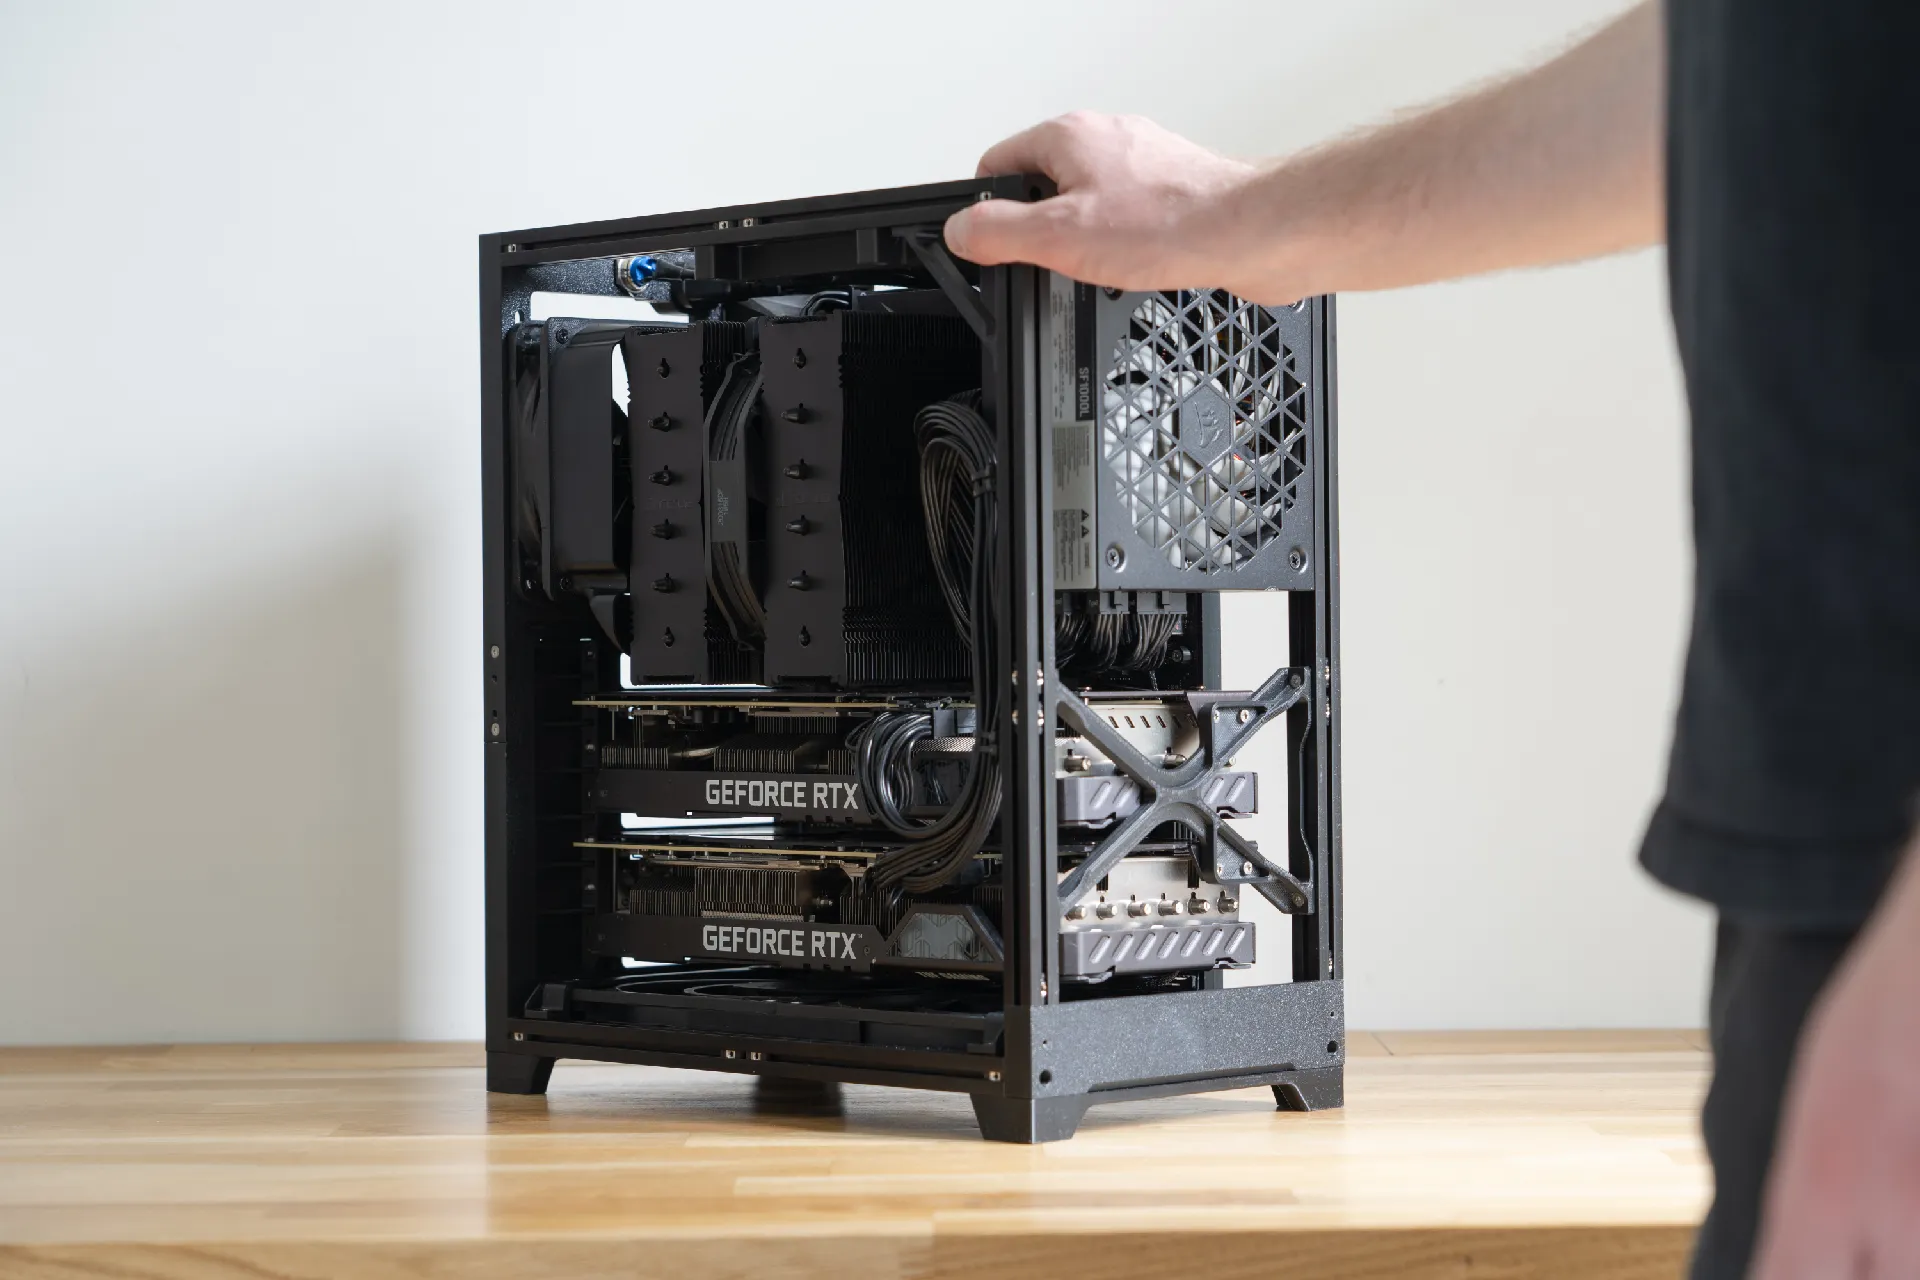
By default 300mm long Makerbeam XL (or simlar 15x15mm extrusions) are used for the length, which give enough clearance for 315mm long GPUs. The length of the case is purely defined, by the length of the profiles, so longer profiles, will give more GPU clearance.
Each case can be customized to your needs with additional brackets.
to make the positioning of brackets easier use these Nut-Positioners.
This is an Intro and in depth assembly tutorial of BeamCase ATX and SFF V5.
Dimensions of the Case
ATX version 330mmx350mmx180mm for just the frame
microATX version 330mmx290mmx180mm for just the frame
Required Hardware
Screws:
M3x8mm countersunk screws
M3x16mm countersunk screws
6-32 unc screws around 17mm long for the internal sfx power supply (4pcs)
(and 9-12mm long ones for a rear mounted ATX version)
Nuts:
standard M3 nuts (and potentially with these nut-positioners)
and optionally thin M3 square nuts according to DIN 562 (together with these nut-positioners)
(I am located in Germany and buy my screws here.)
Makerbeam XLprofiles (or similar 15x15mm extrusions using m3 screws and nuts):
4x Makerbeam Xl profiles 300mm long (or longer depending on your desires case length)
2x Makerbeam Xl profiles 200mm long for mATX version
2x Makerbeam Xl profiles 300mm long for ATX version
optionally 1x150mm Makerbeam Xl and corner cubes, but there is a 3d printed alternative included in the files.
Powerbutton:
The case has a spot for a 16mm generic power button at the back, but other options are possible, with additional brackets.
Cable:
For the internal SFX (or SFX-L) psu you will need a psu extension, the exact length and angle will depend on your setup. There are options both for a screw in type extension and a clamp in style (see different upper IO brackets).
(I am located in Germany and buy mine here)
Print Instructions frame:
The frame parts should be printed in somewhat heat resistant materials, PETG or better ABS. All parts are designed to be printed without supports, but a skirt is advised with the larger pieces.
The frame parts should be printed with at least 4 walls and 35% infill in order to be strong enough.
You should consider shrinkage of the material as the parts have to be precise in order to fit properly. (I use Sunlu ABS and Bambu Lab ABS, I adjusted for shrinkage by scaling everything to 100.5% but some people were able to print it in PETg without any scale adjustments.)
Print instructions outer panels:
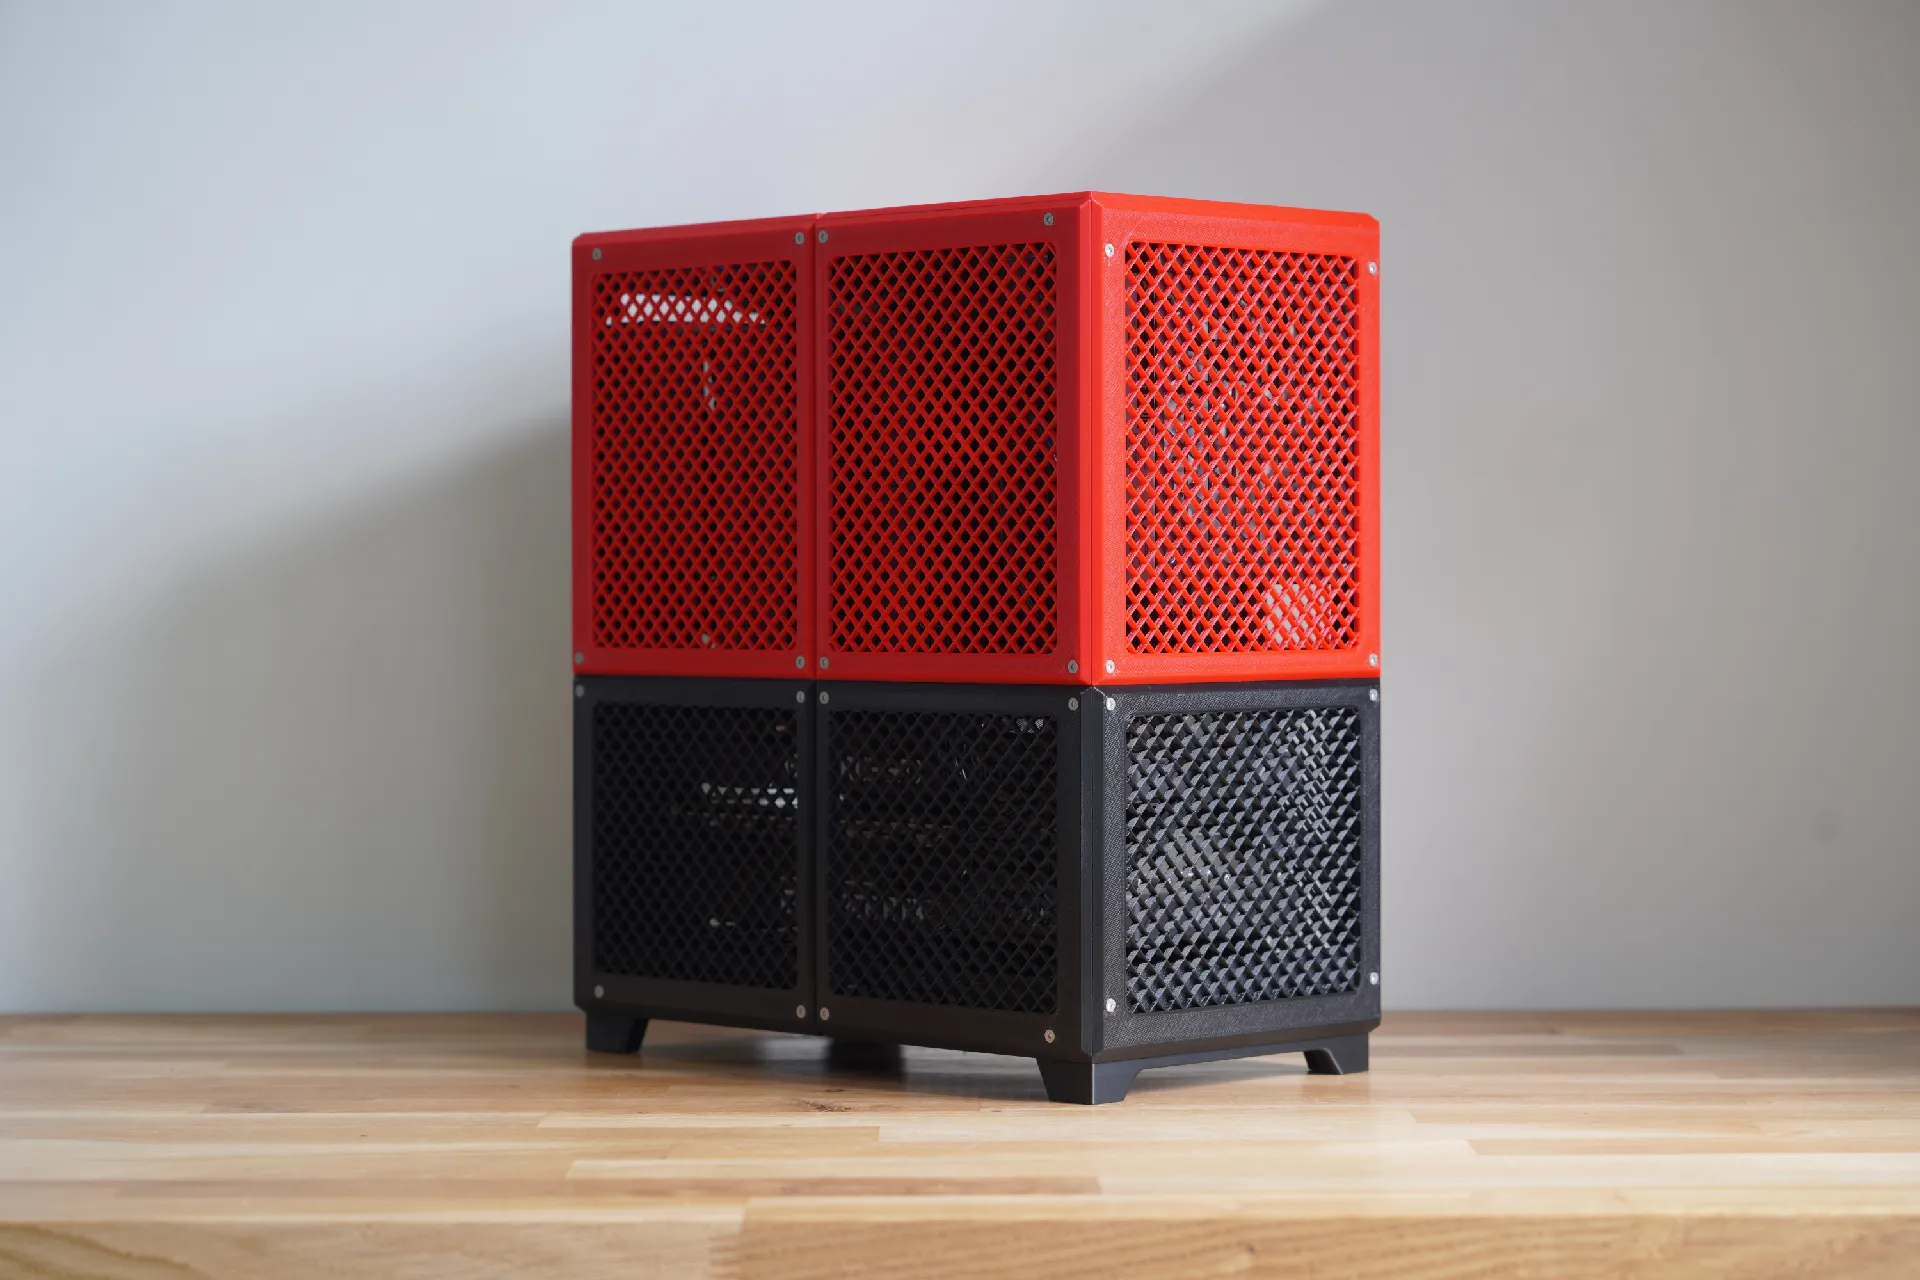
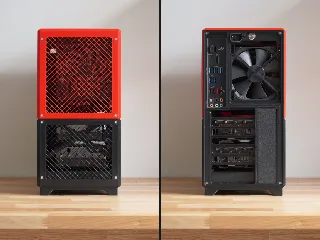
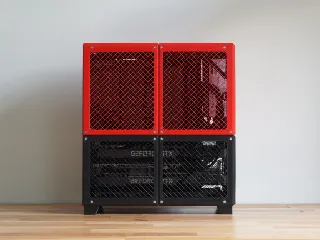
The panels have two parts in each STL. To print the fan grill/mesh pattern You first have to press split to parts and then you can select the inner part and reduce the top and bottom layers to zero, this way only the infill will be printed and act as a mesh. You can choose an Infill pattern you prefer, but for good airflow I would choose an infill percentage between 12-18%. (the case in the images uses grid infill as a mesh pattern and infill percentages of 15% printed with a 0.6mm nozzle)
These parts are primarily aesthetic so the can be printed in any material you like (in some rare cases PLA panels can deform with high exhaust air temperatures). In order for the panels to fit perfectly they have to be printed accurately, so ideally consider shrinkage.
Printer Requirements:
The 4 slot mATX version requires a printbed of at least 220x185mm.
(all parts should fit on a standard Ender 3 style printer)
The 7 slot ATX version requires a printbed of at least 255x255mm.
(a Bambu Lab P1S, X1C and A1 are just about big enough. The size requirement is due to the mobo beams which are 320mm long)
I printed everything on a Bambu Labs P1S which is just barely large enough for the 7slot ATX version.
Tags
Model origin
The author marked this model as their own original creation.