Shoe Rack

Simple shoe rack design. Easy and fast to print. Can be stacked to have more space.
20mm wood or aluminium stick.
7
30
0
306
updated June 20, 2024
Description
PDFSimple shoe rack design. Easy and fast to print. Can be stacked to have more space.
It could be stacked to have more space vertically.
Only tested with a single floor.
It is entirely customizable, but here are the values I used to build mine.
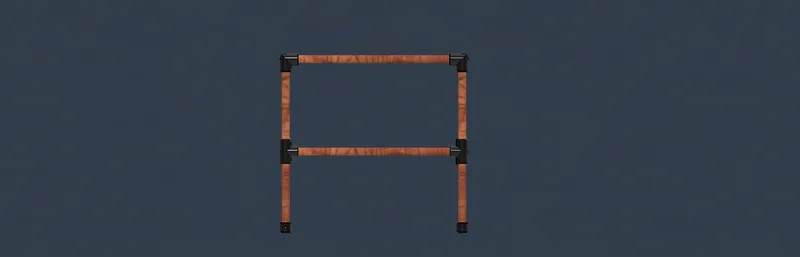
- 4x – 500mm stick:
- These are the vertical sticks.
- They are the feet, but also define the height the of the structure.
- Longer stick means taller structure.
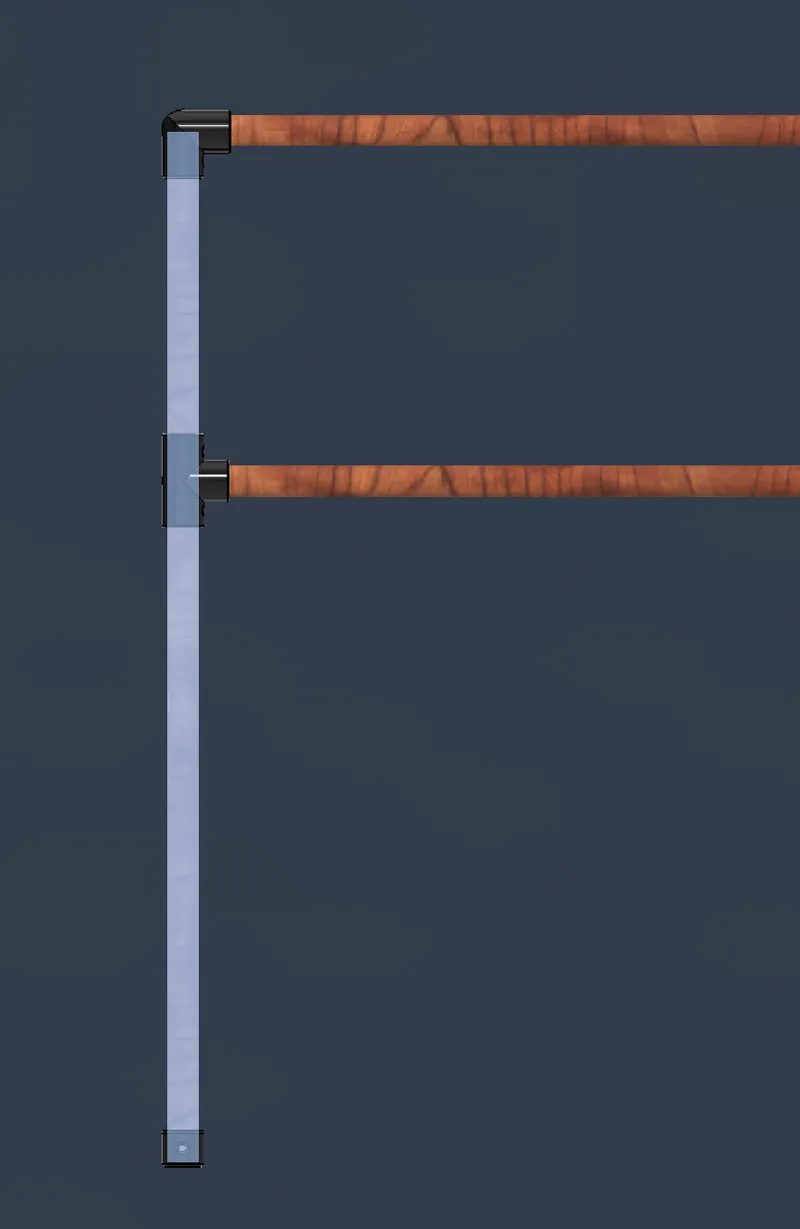
- 4x – 180mm stick:
- They are holding the feet together.
- You can use a shorter or longer set of sticks for small or bigger shoe sizes.
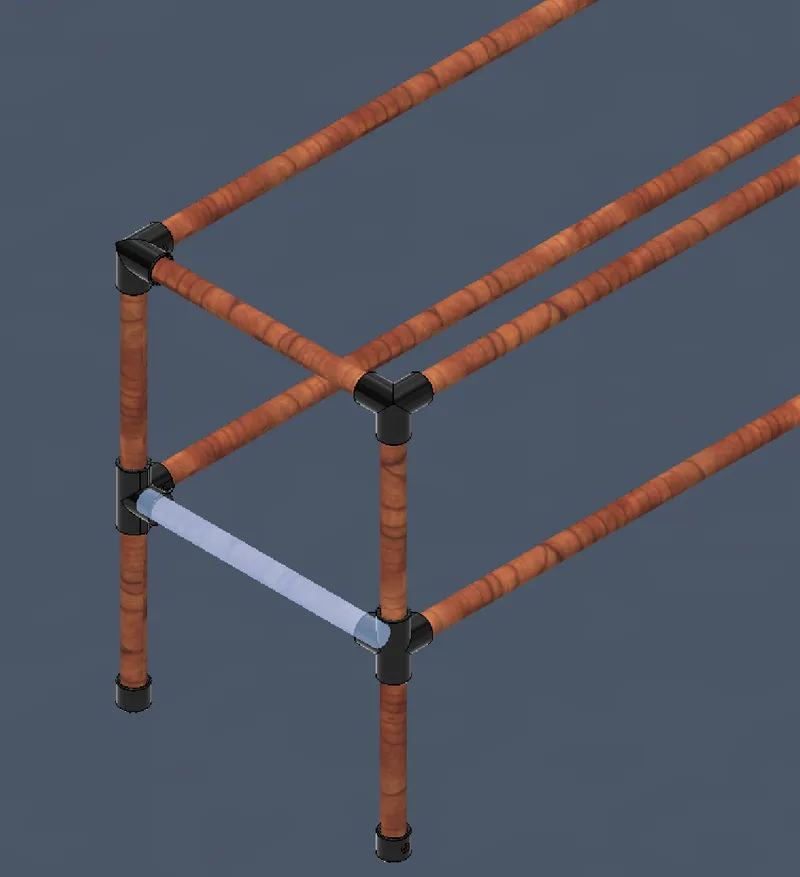
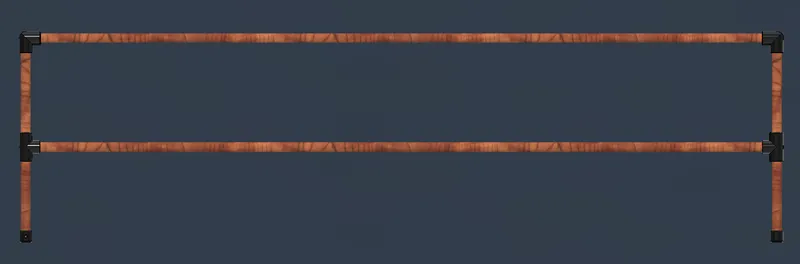
- 4x – 1000mm stick:
- They complete the structure.
- Their length defines the length of the structure and over all how many shoes can fit.
- Again, you can add more shoes by making them longer.
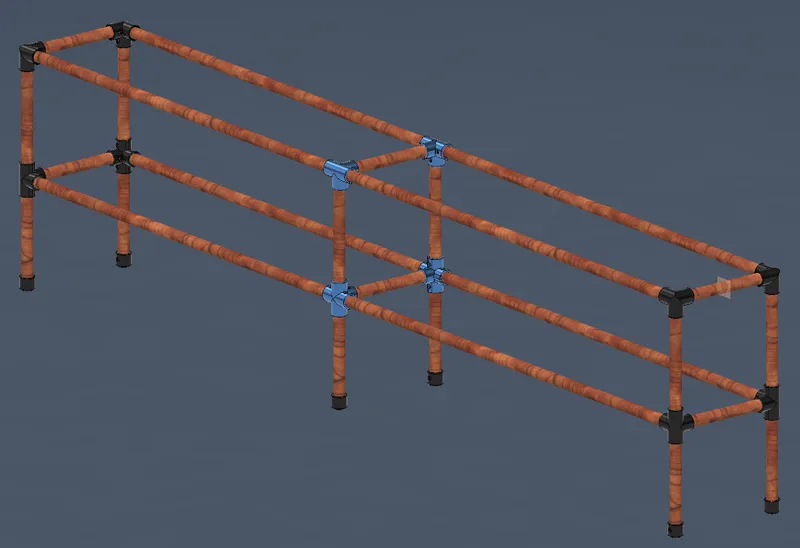
- WARNING: For structures longer than 1500mm, think about adding a mid-structure for increased rigidity.
- There are 3 main downloadable files.
- Foot_rack : As the name indicates, will be the foot.
- You can add furniture feet protectors to make it less slippery. Personally, it wasn't necessary, even on floor tiles.
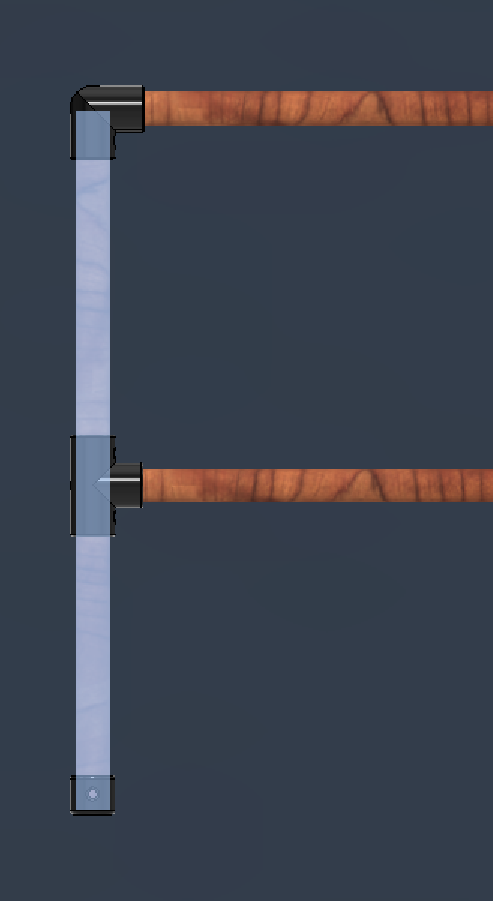
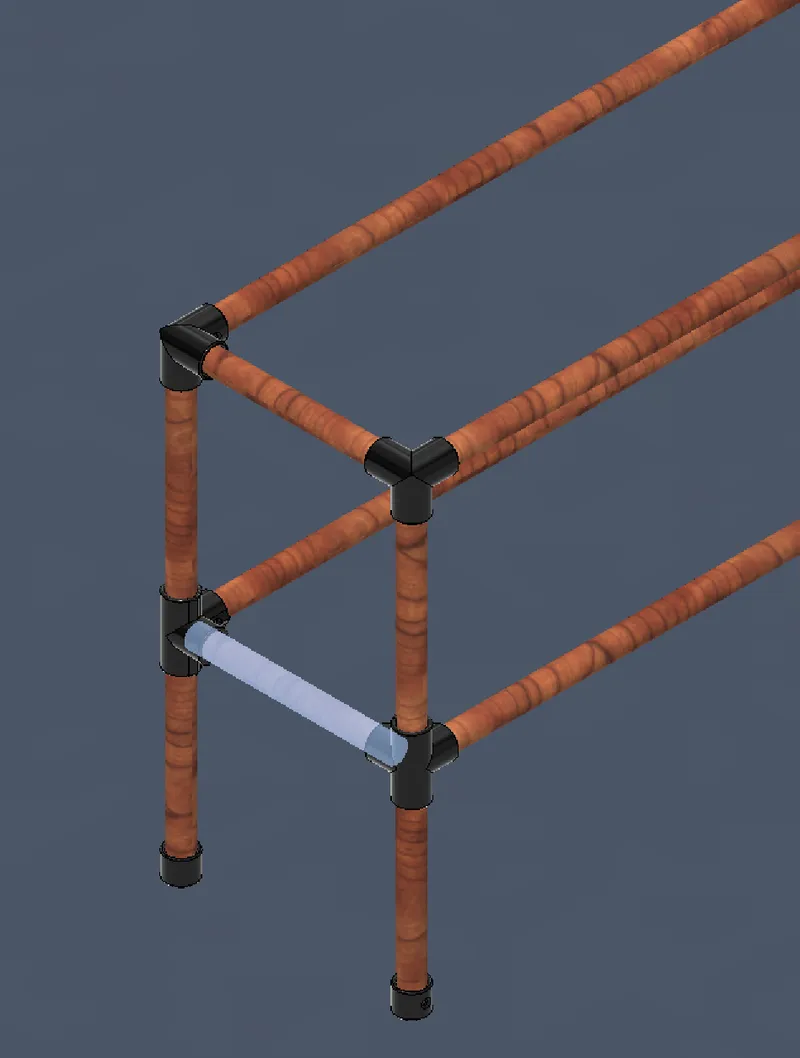
- Mids_rack : Which holds the mid-section in place.
- Tops_rack : Which connects the feet and allows to add more shoes on top.
- Foot_rack : As the name indicates, will be the foot.
- There are 2 more files for extra-long structures
- Mids_Support_rack : Supports the mid-section.
- Tops_Support_rack : Supports the top-section. You will notice that this part cannot. be found. The reason is that it's the same as the Mids_rack.
- PRINT SETTINGS:
- No support is needed, as the parts have been designed so.
- Keep the orientation. This helps the holes stay round while printing.
- Preferably, use PETG or tougher.
- NOTES:
- In the future, I plan to add the original fusion 360 files, so you can change the diameter to your needs. I am currently working on making it fully parametric.
Tags
Model origin
The author marked this model as their own original creation.